This tutorial will show you how to draw shapes, add color to them, and remove the outline.
Create a Shape
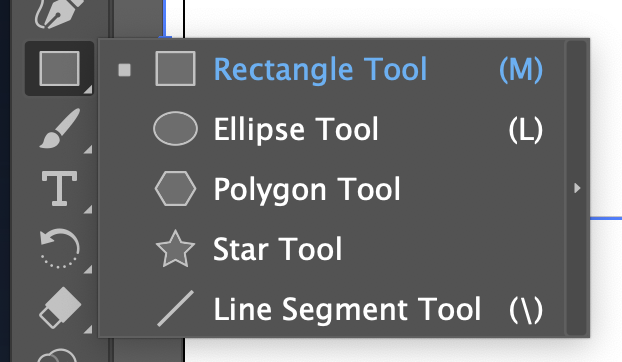
- Select the Rectangle Tool by clicking on it towards the top of the Tool Panel or by pressing the ‘m’ key on your keyboard.
NOTE: You can access other shapes by long-clicking the rectangle tool.
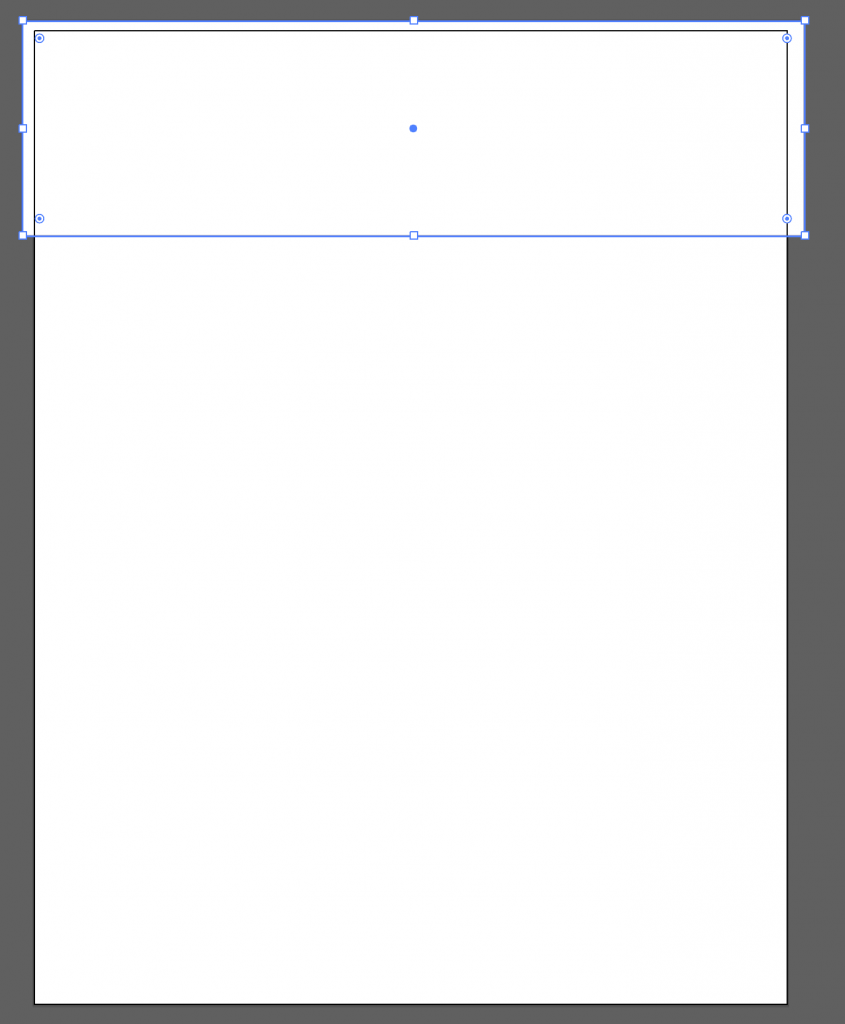
- Make a rectangle by click-and-dragging with the rectangle tool selected.
NOTE: To make a square, do the same while holding the Shift key.
Add Color to a Shape
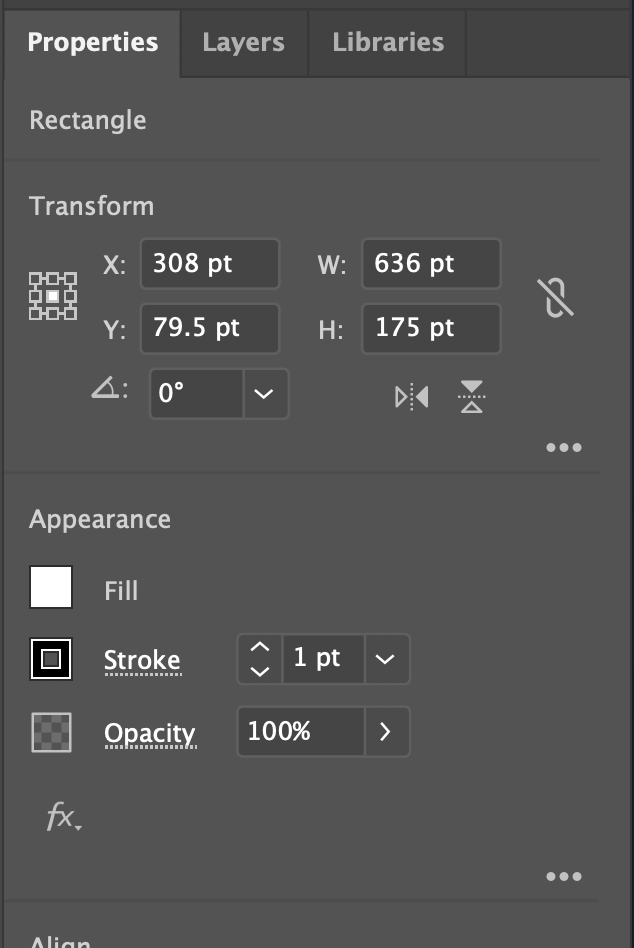
You will find the appearance settings for your shape in the Properties panel. If you don’t see the Properties panel, you can access it from Window in the menu bar.
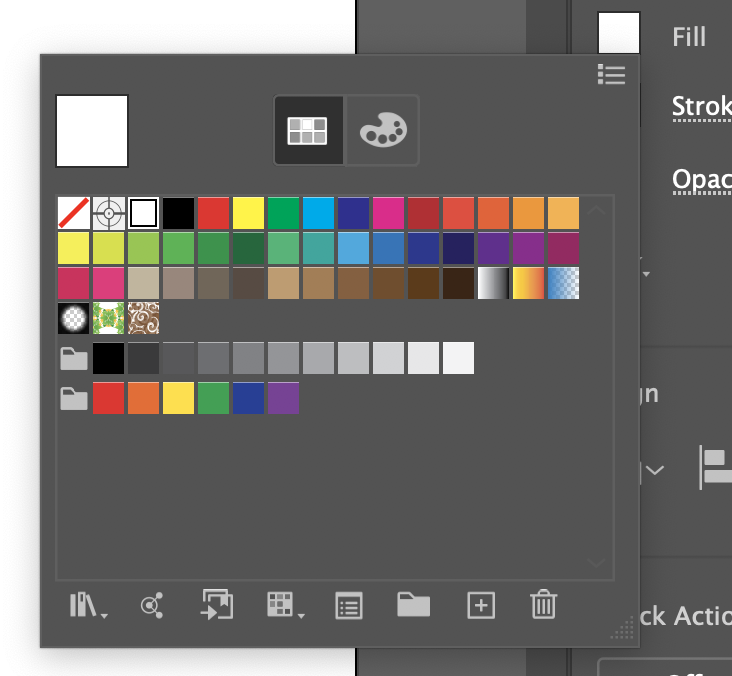
- Click the white Fill swatch
- Select the color you want, or the color closest to what you want.
Your shape will fill with the color you selected.
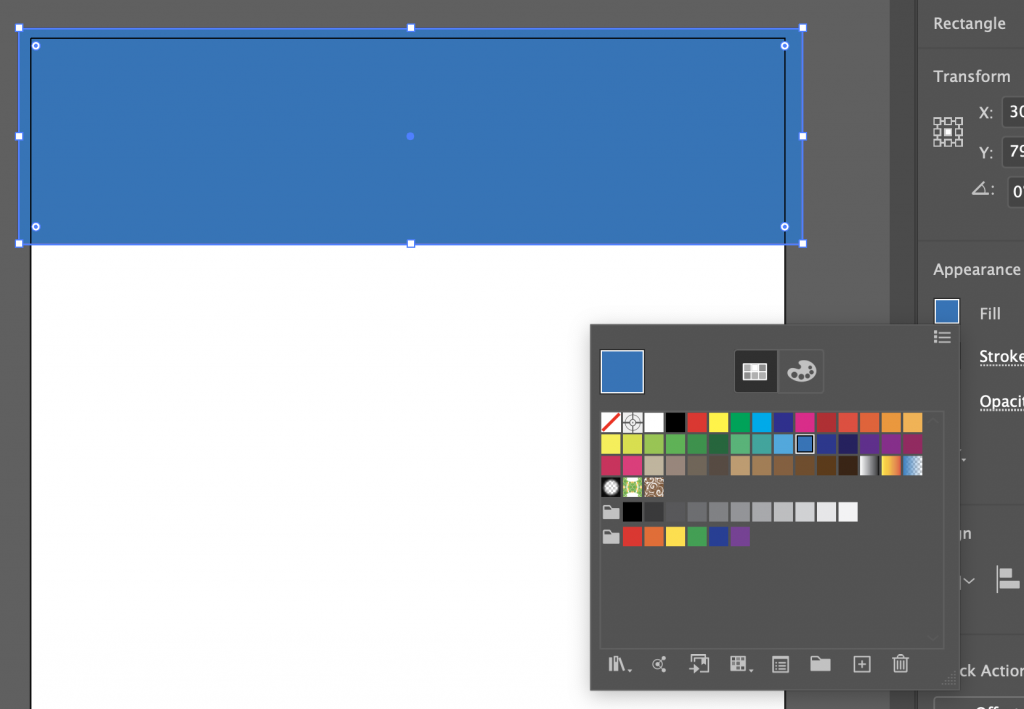
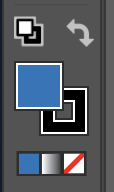
- To adjust the color you selected, double click the Fill swatch in the color panel.
The color picker window will open.
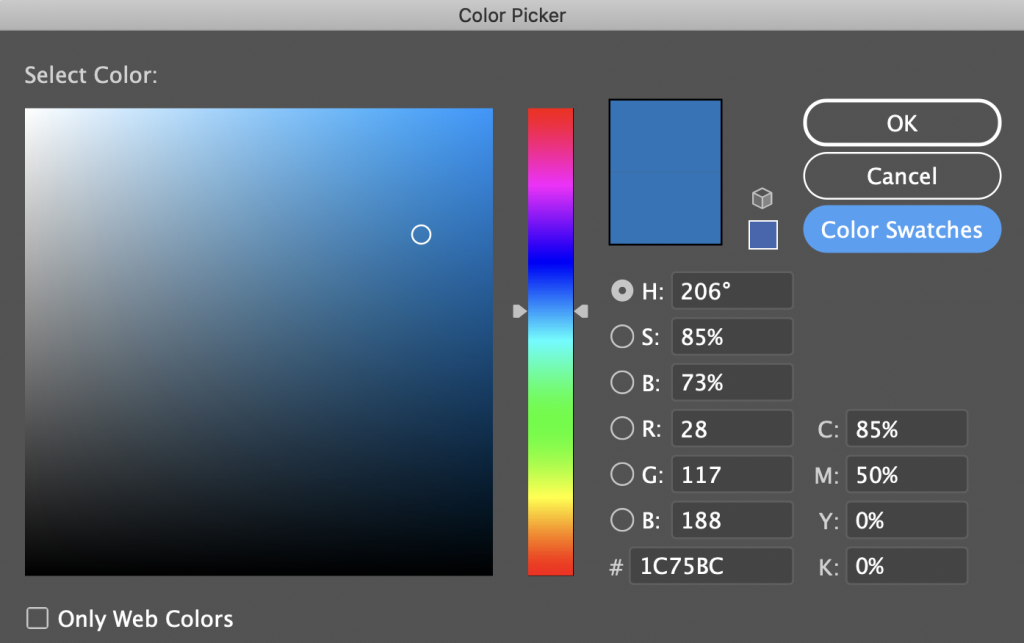
- Adjust the hue slider and selection circle to find the color you want.
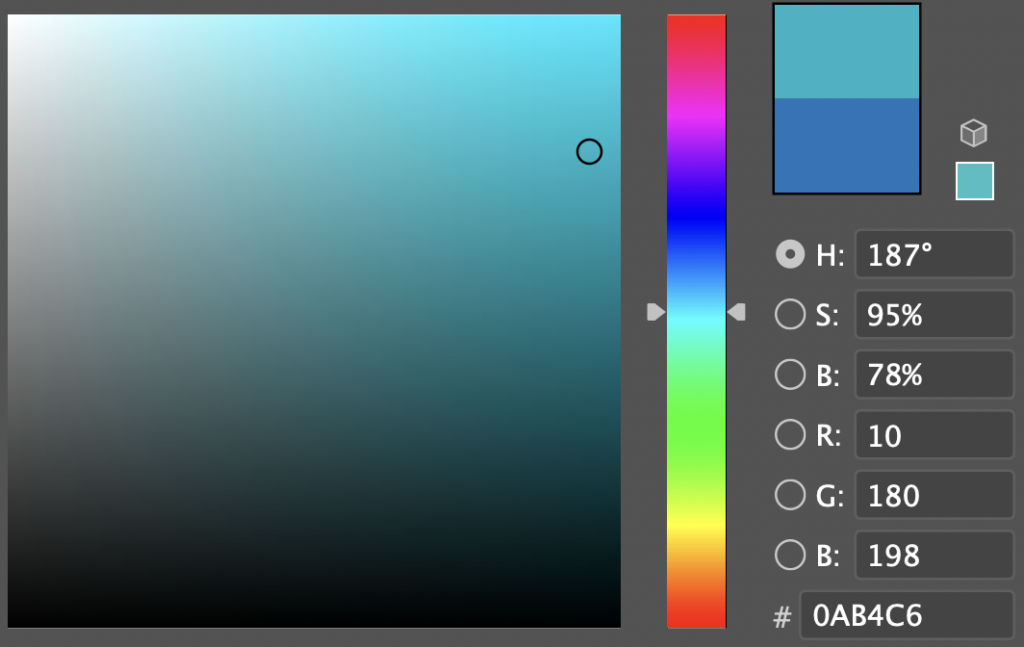
Tip: If you need this exact color for other elements in your design, you can copy the color number from the color picker. To apply it to something else, open the color picker for that item and enter the color number.

- Click the OK button and the new color will be applied to your shape
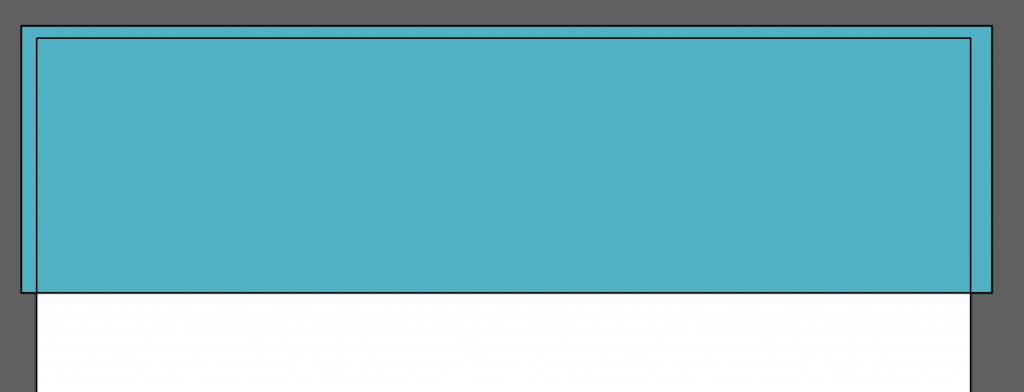
Removing the Outline of Your Shape
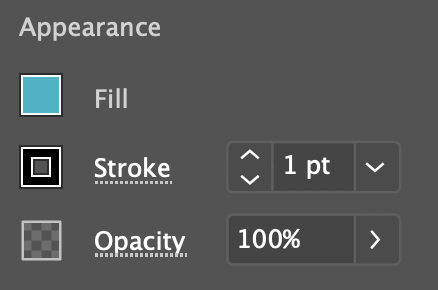
Stroke is the design term for an outline. The Stroke settings are found in the Appearance panel.
- Click the Stroke color swatch to open the swatches panel.
- To remove the stroke, click on the none swatch, the upper-left most swatch.
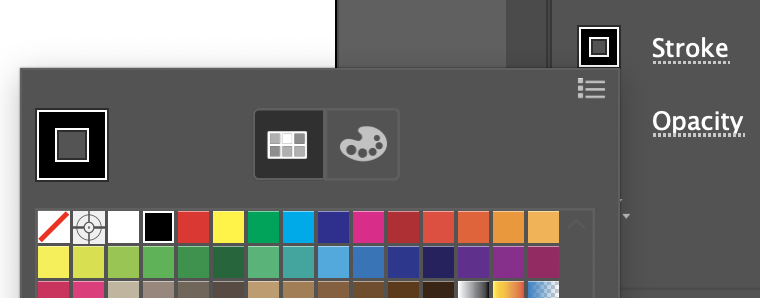
The none swatch is white with a diagonal red line through it.

The outline will now be removed from your shape.

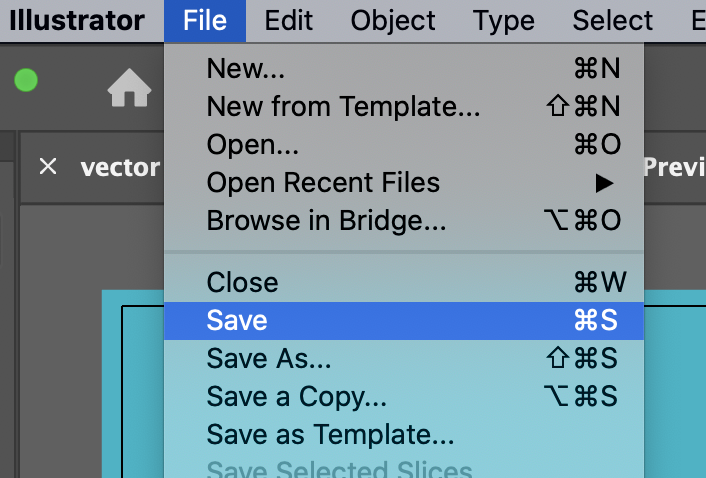
- Save your progress by selecting Save in the File menu.
