This tutorial will show you how to add various forms of content into your Page in Adobe Express.
You can add as much content into your page as you see fit. Express will always present you with a “+” button for the areas where you can add this content.
Once you click on the +, it will give you options to add photos, text, buttons, video, photo grids, glideshows, and split layouts. This tutorial will cover photos, text, photo grids, and split layouts. Please see our specific tutorials for using the Glideshow feature, adding videos, and adding buttons.
To start, click on the + icon wherever you would like to add content.

Photos
- Click the plus icon, then click Photo.
This will pull out a menu on the left-hand side of your screen. There are a few different options for adding photos into your page.
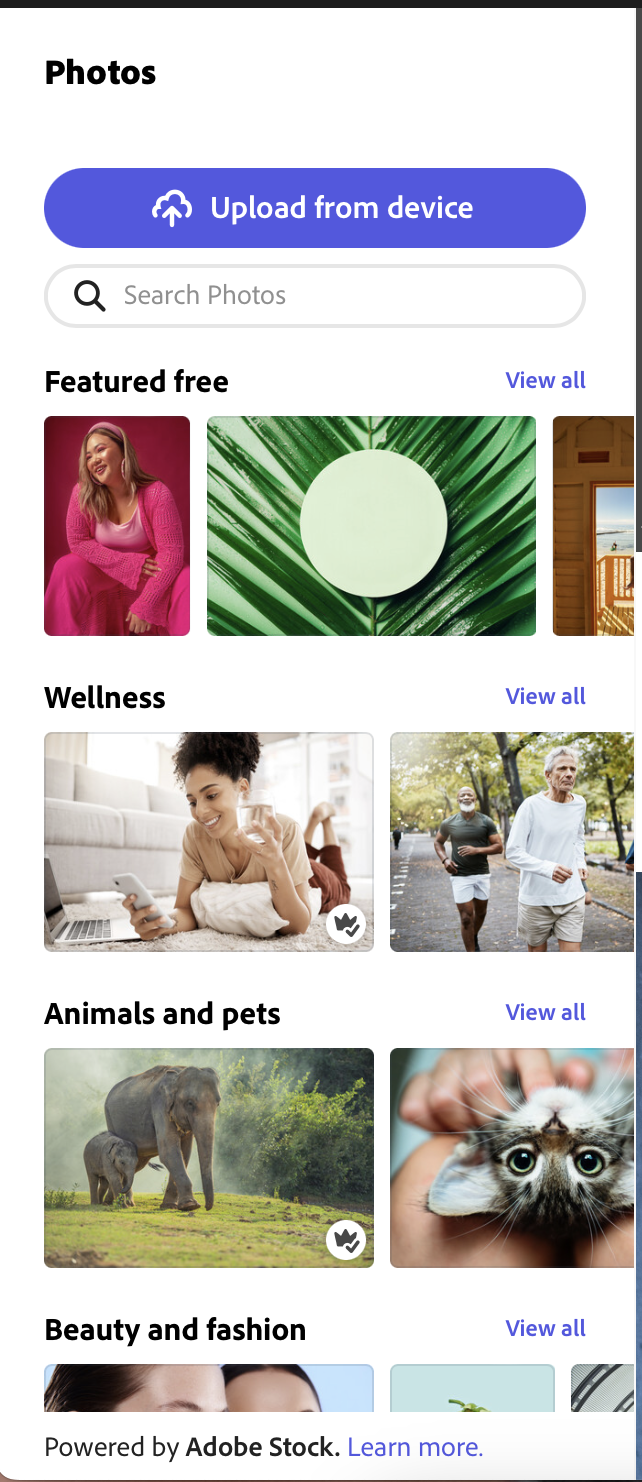
Add Images You Already Have
1. If you already have images you want to add, click the Upload from device button.
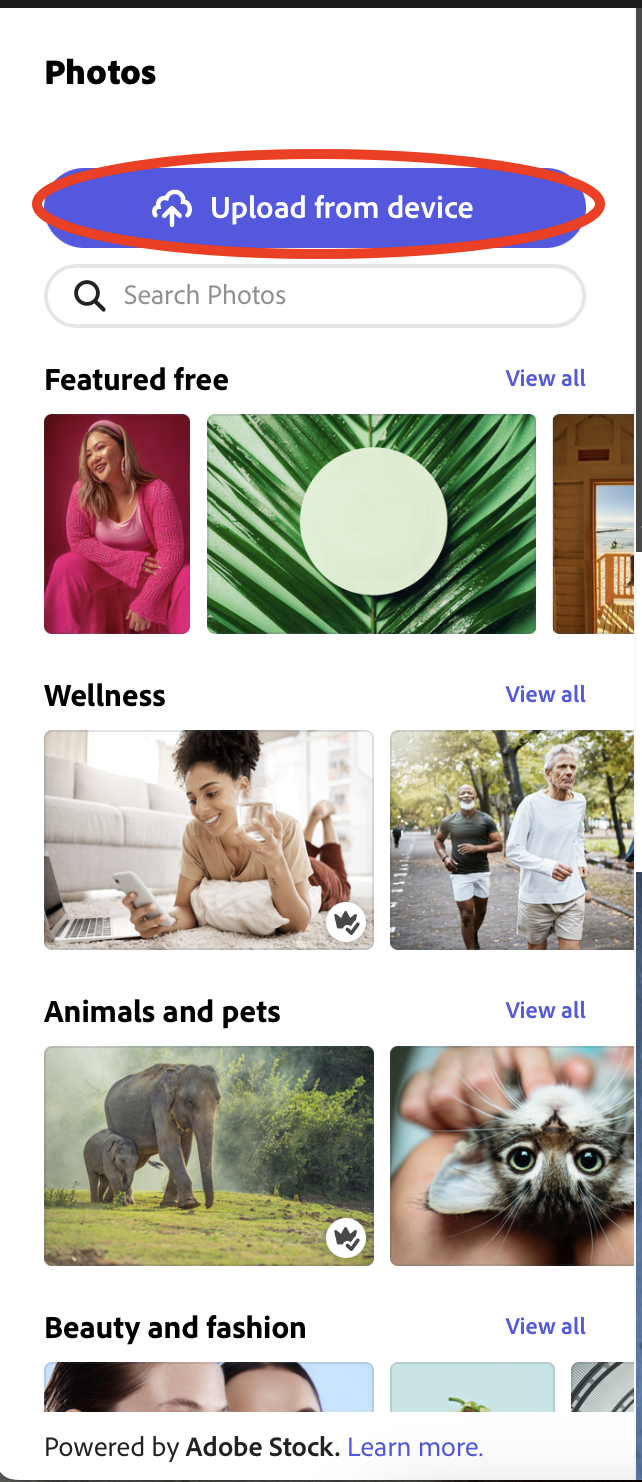
- Select the image you want to use from your file browser.
Add Adobe Stock Images
If you need to find images for your project, you can try searching within Express Pages.
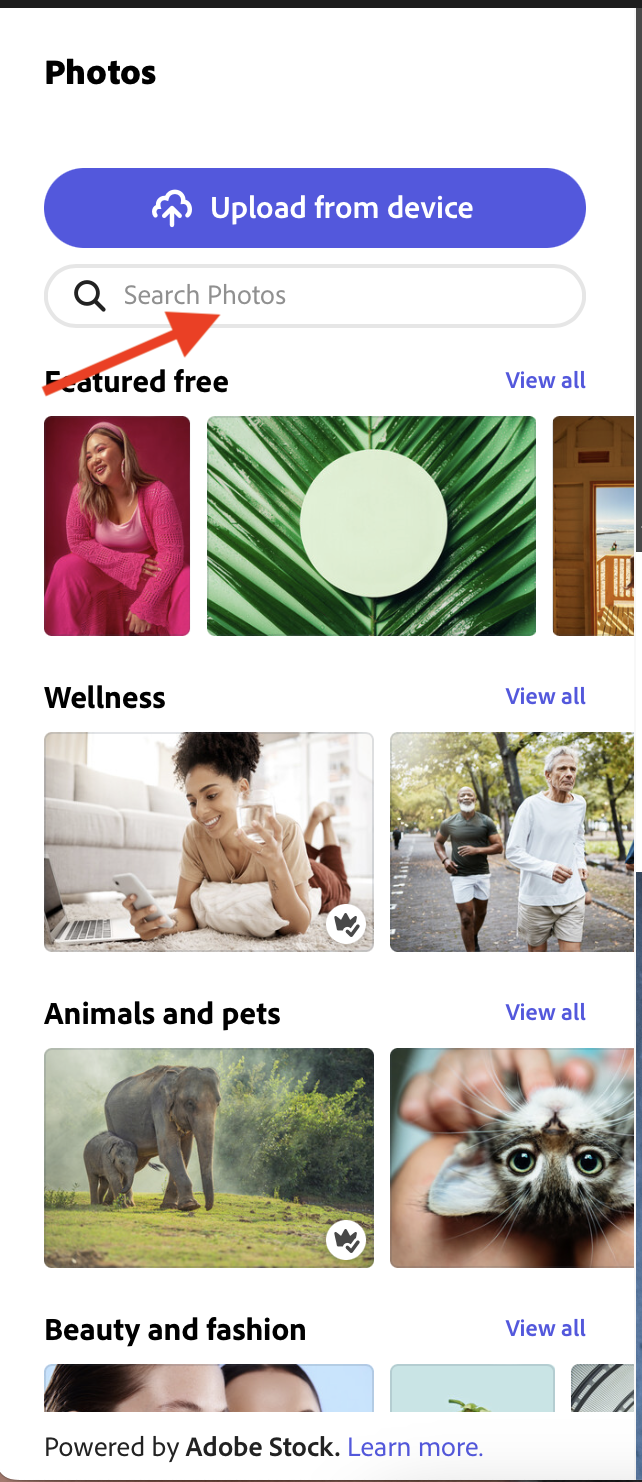
1. Type in what you are searching for and scroll through the search results until you find something that works best for your project.
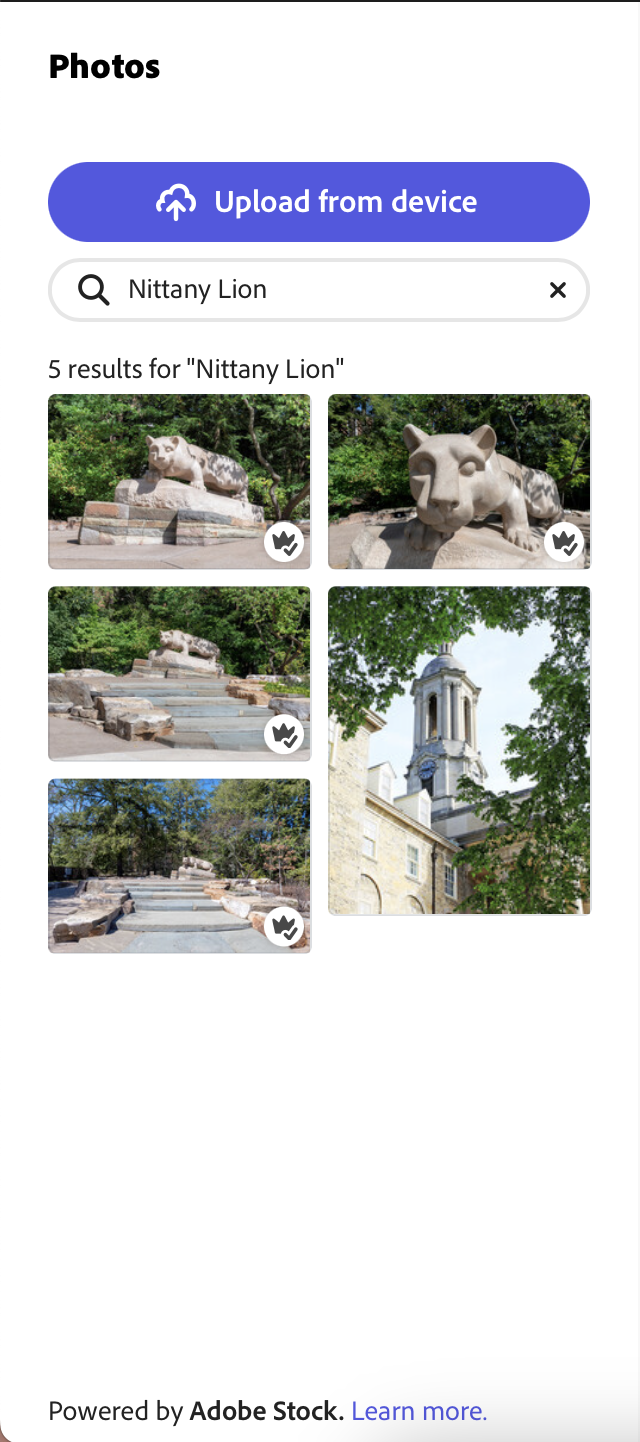
When using Adobe Stock additional steps are required to remove the watermark on Adobe Stock photos. Please review the Using Adobe Stock tutorial for details on this process.
Once applied, it will also give you adjustment options for how you would like it to appear. You can select back and forth to find the option that works best for your content.
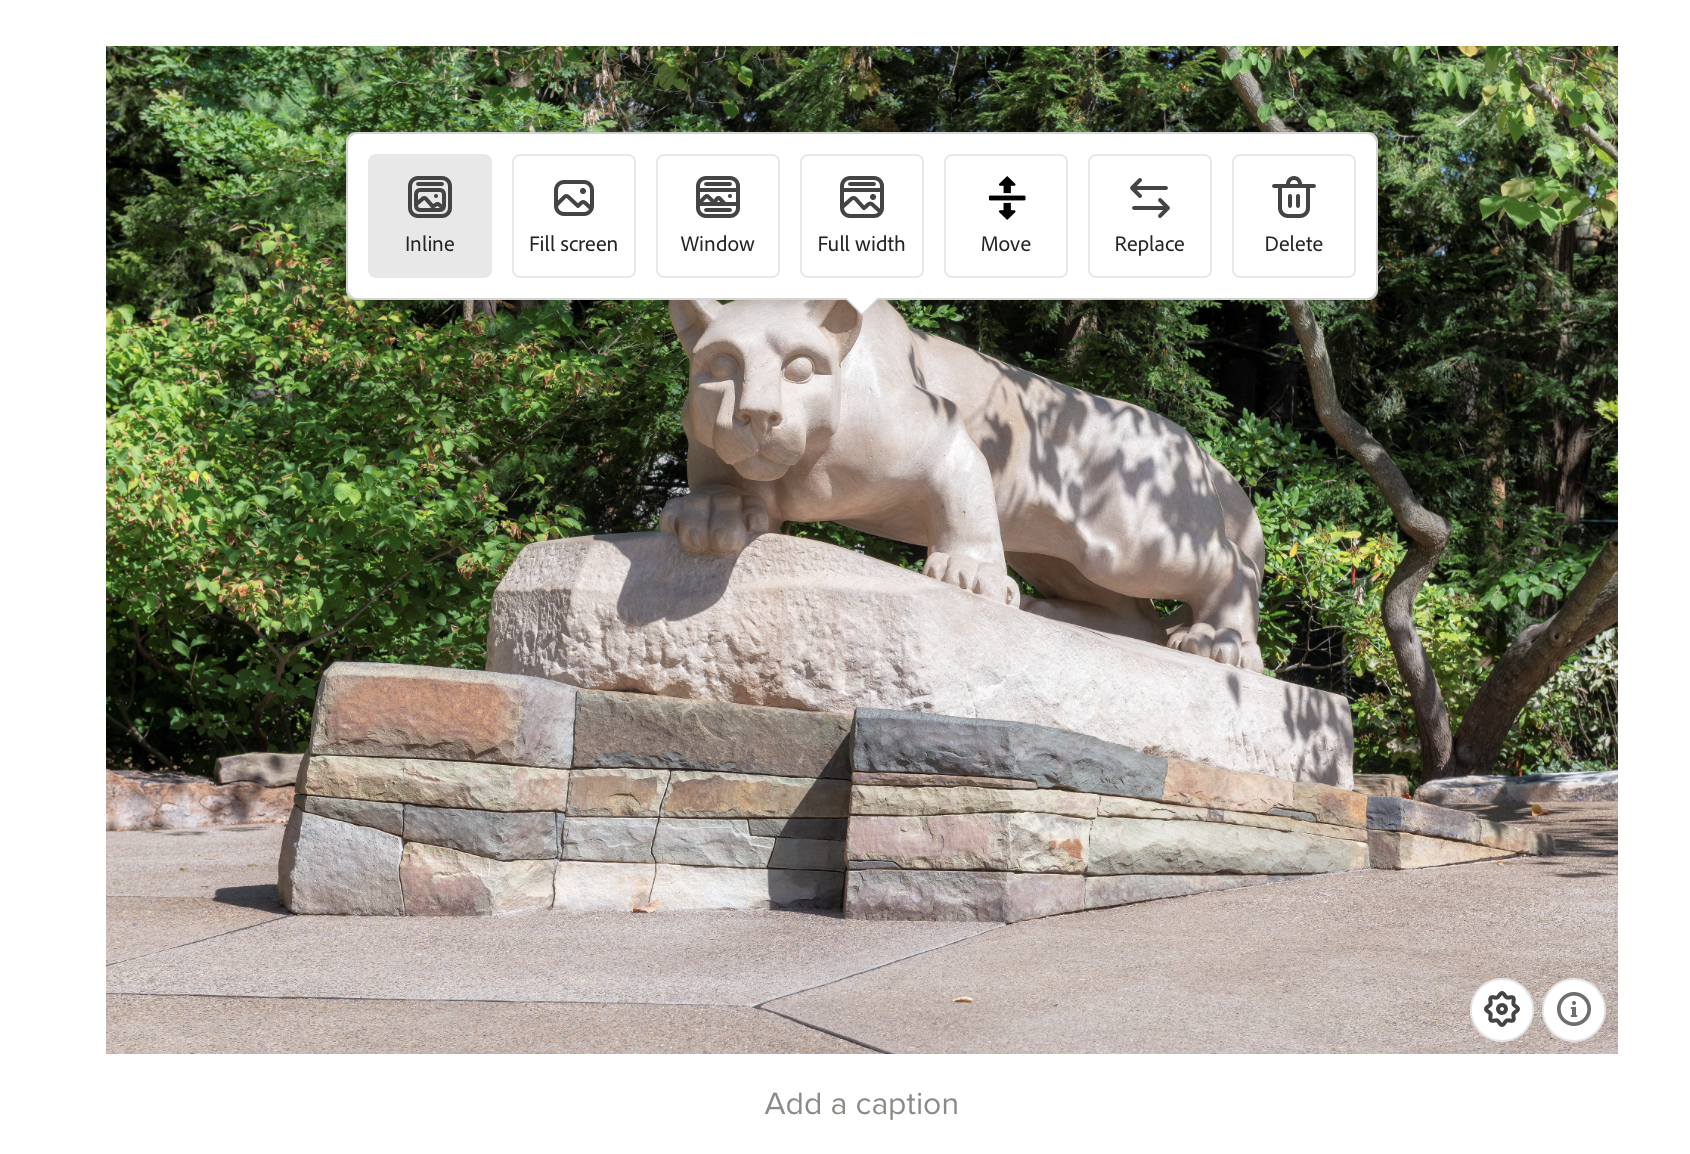
- Click on Add Caption and enter your desired caption text.
There is also a small “i” icon in the bottom right corner of the photo. Click here to learn more about the photo. This is the information for that specific picture, and is what Express will give credit to when your page is published.
Photo Grid
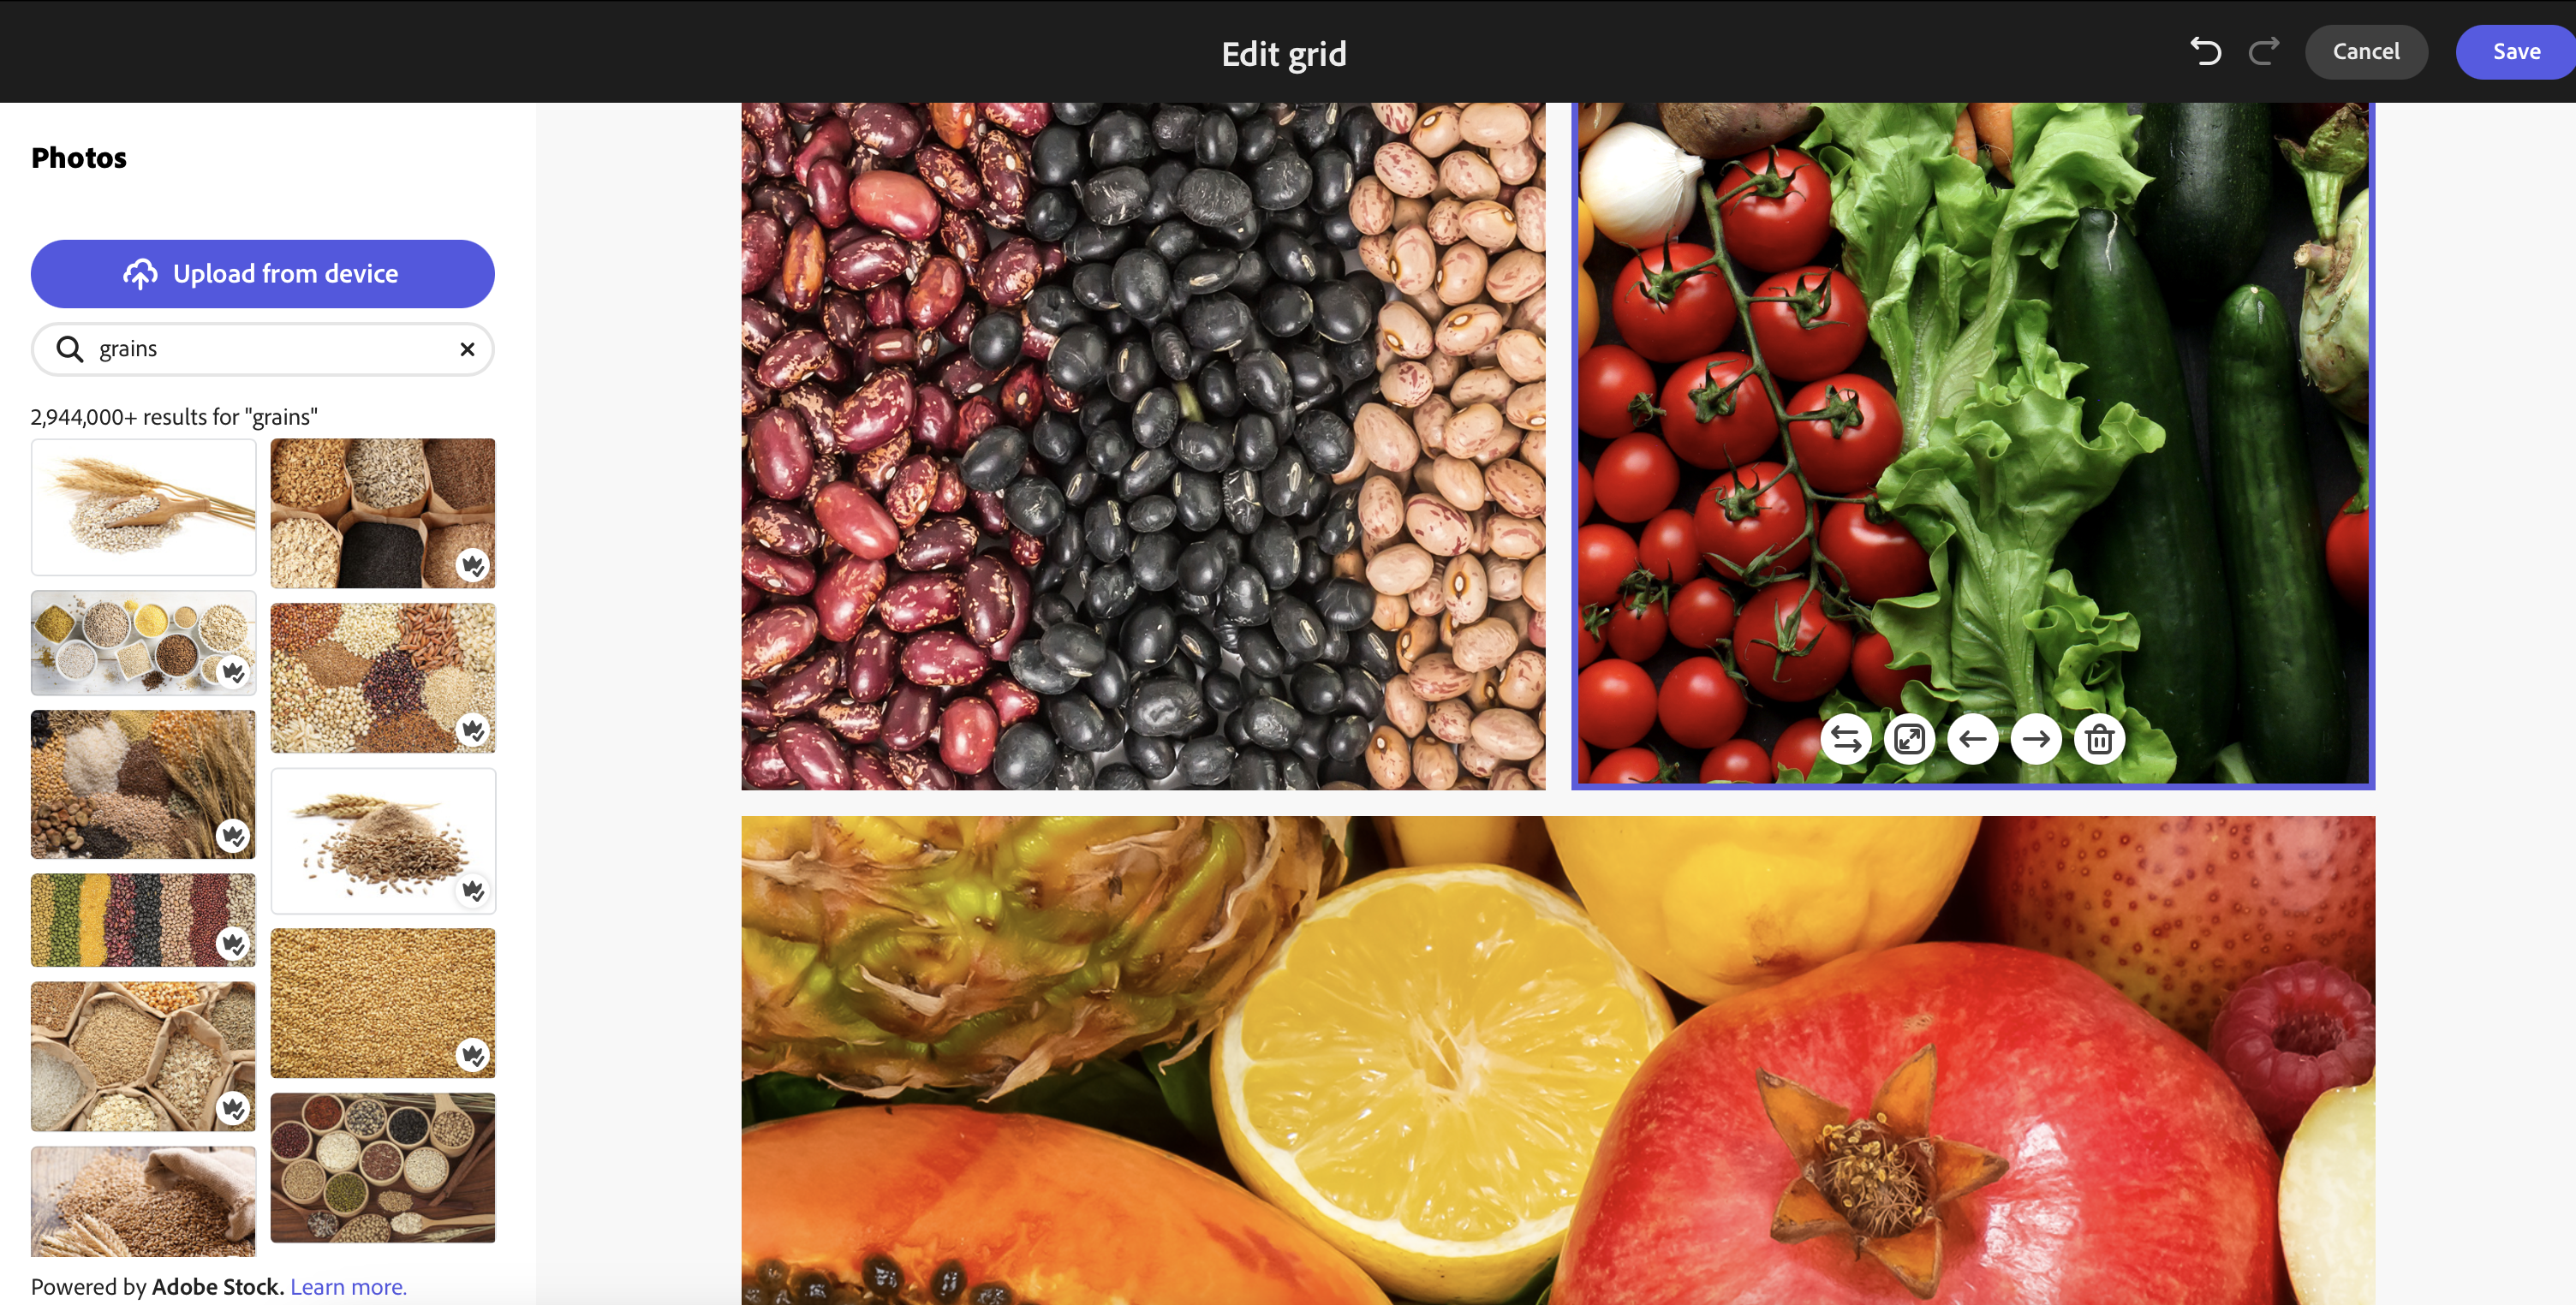
The photo grid option will work much the same way, except you can add multiple photos to create a collage. The same menu will appear on the right-hand side of the screen, and you can add multiple photos the same way you did above. Once added, the photo grid will look like this:
Text
Selecting the Text option when you are adding content will allow you to type whatever you’d like into your page. It will also give you plenty of options for the text, such as bold, italics, and justification.

Split Layout
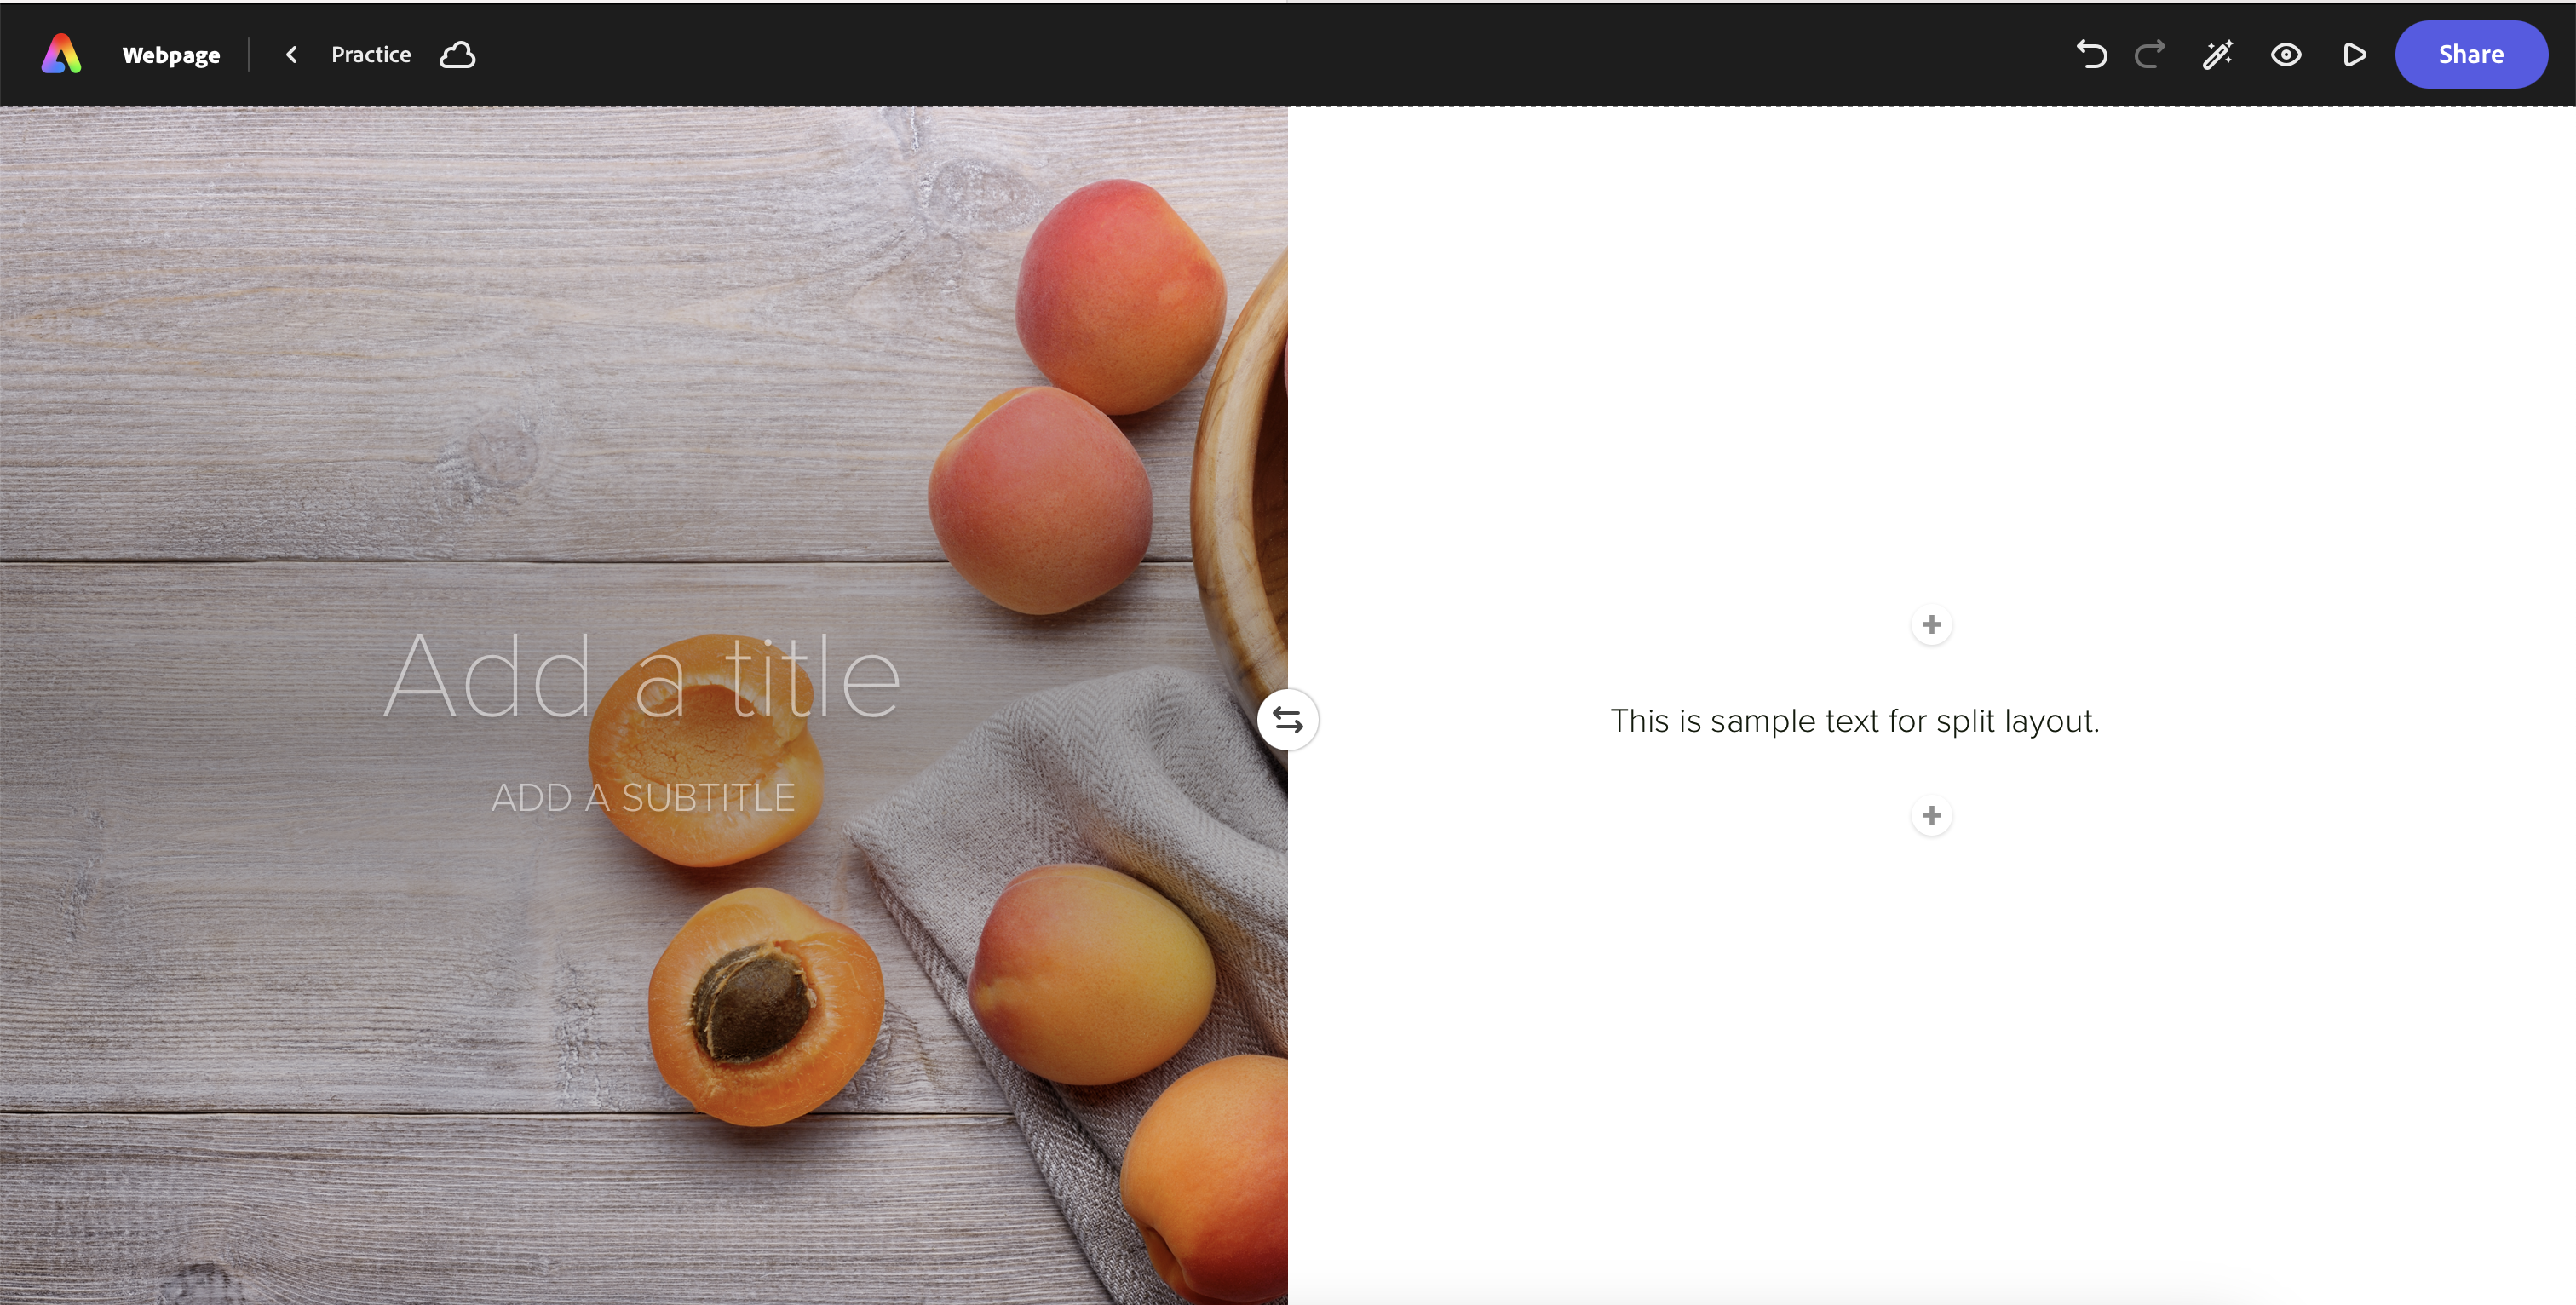
The split layout option will allow you to place two pieces of content side-by-side. This can be pictures, text, buttons, or even video.
- Select the split layout.
You will get a screen that looks like this:
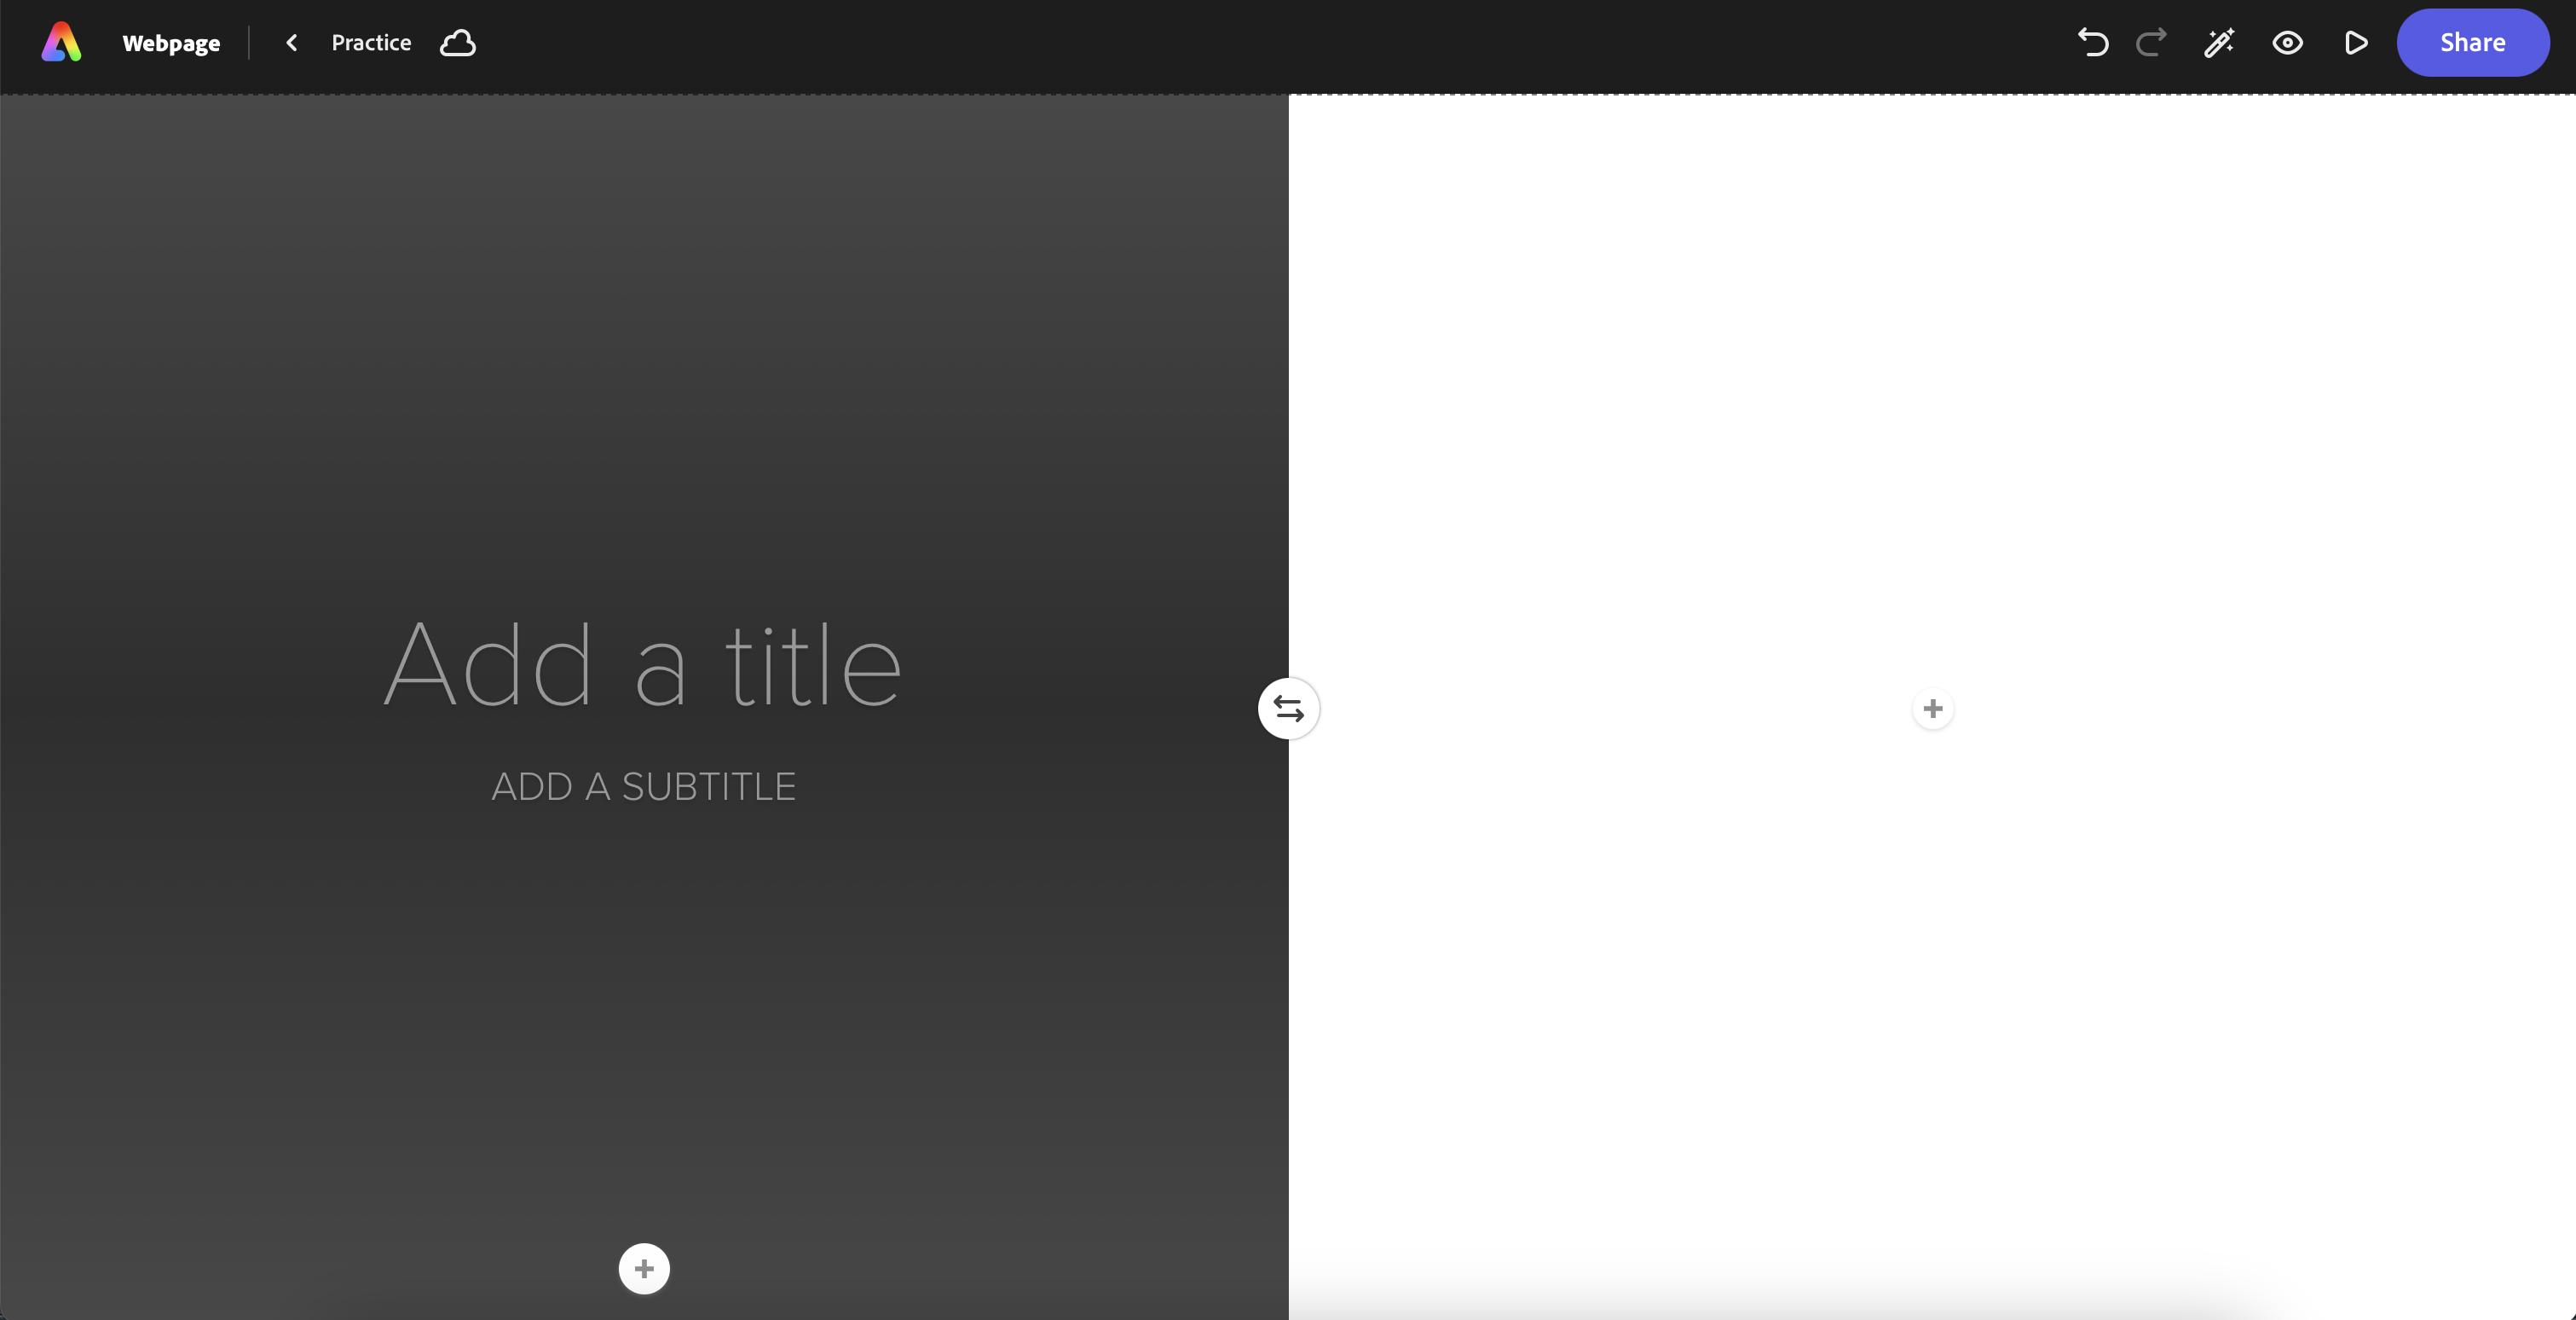
- Click on add your image to add an image to this layout.
You can always reverse which side the image falls on later if you’d like. Add an image using the same menu options as above.
- Click on the + icon on the opposite side to add in additional content.
This will give the options for photo, text, button, and video.
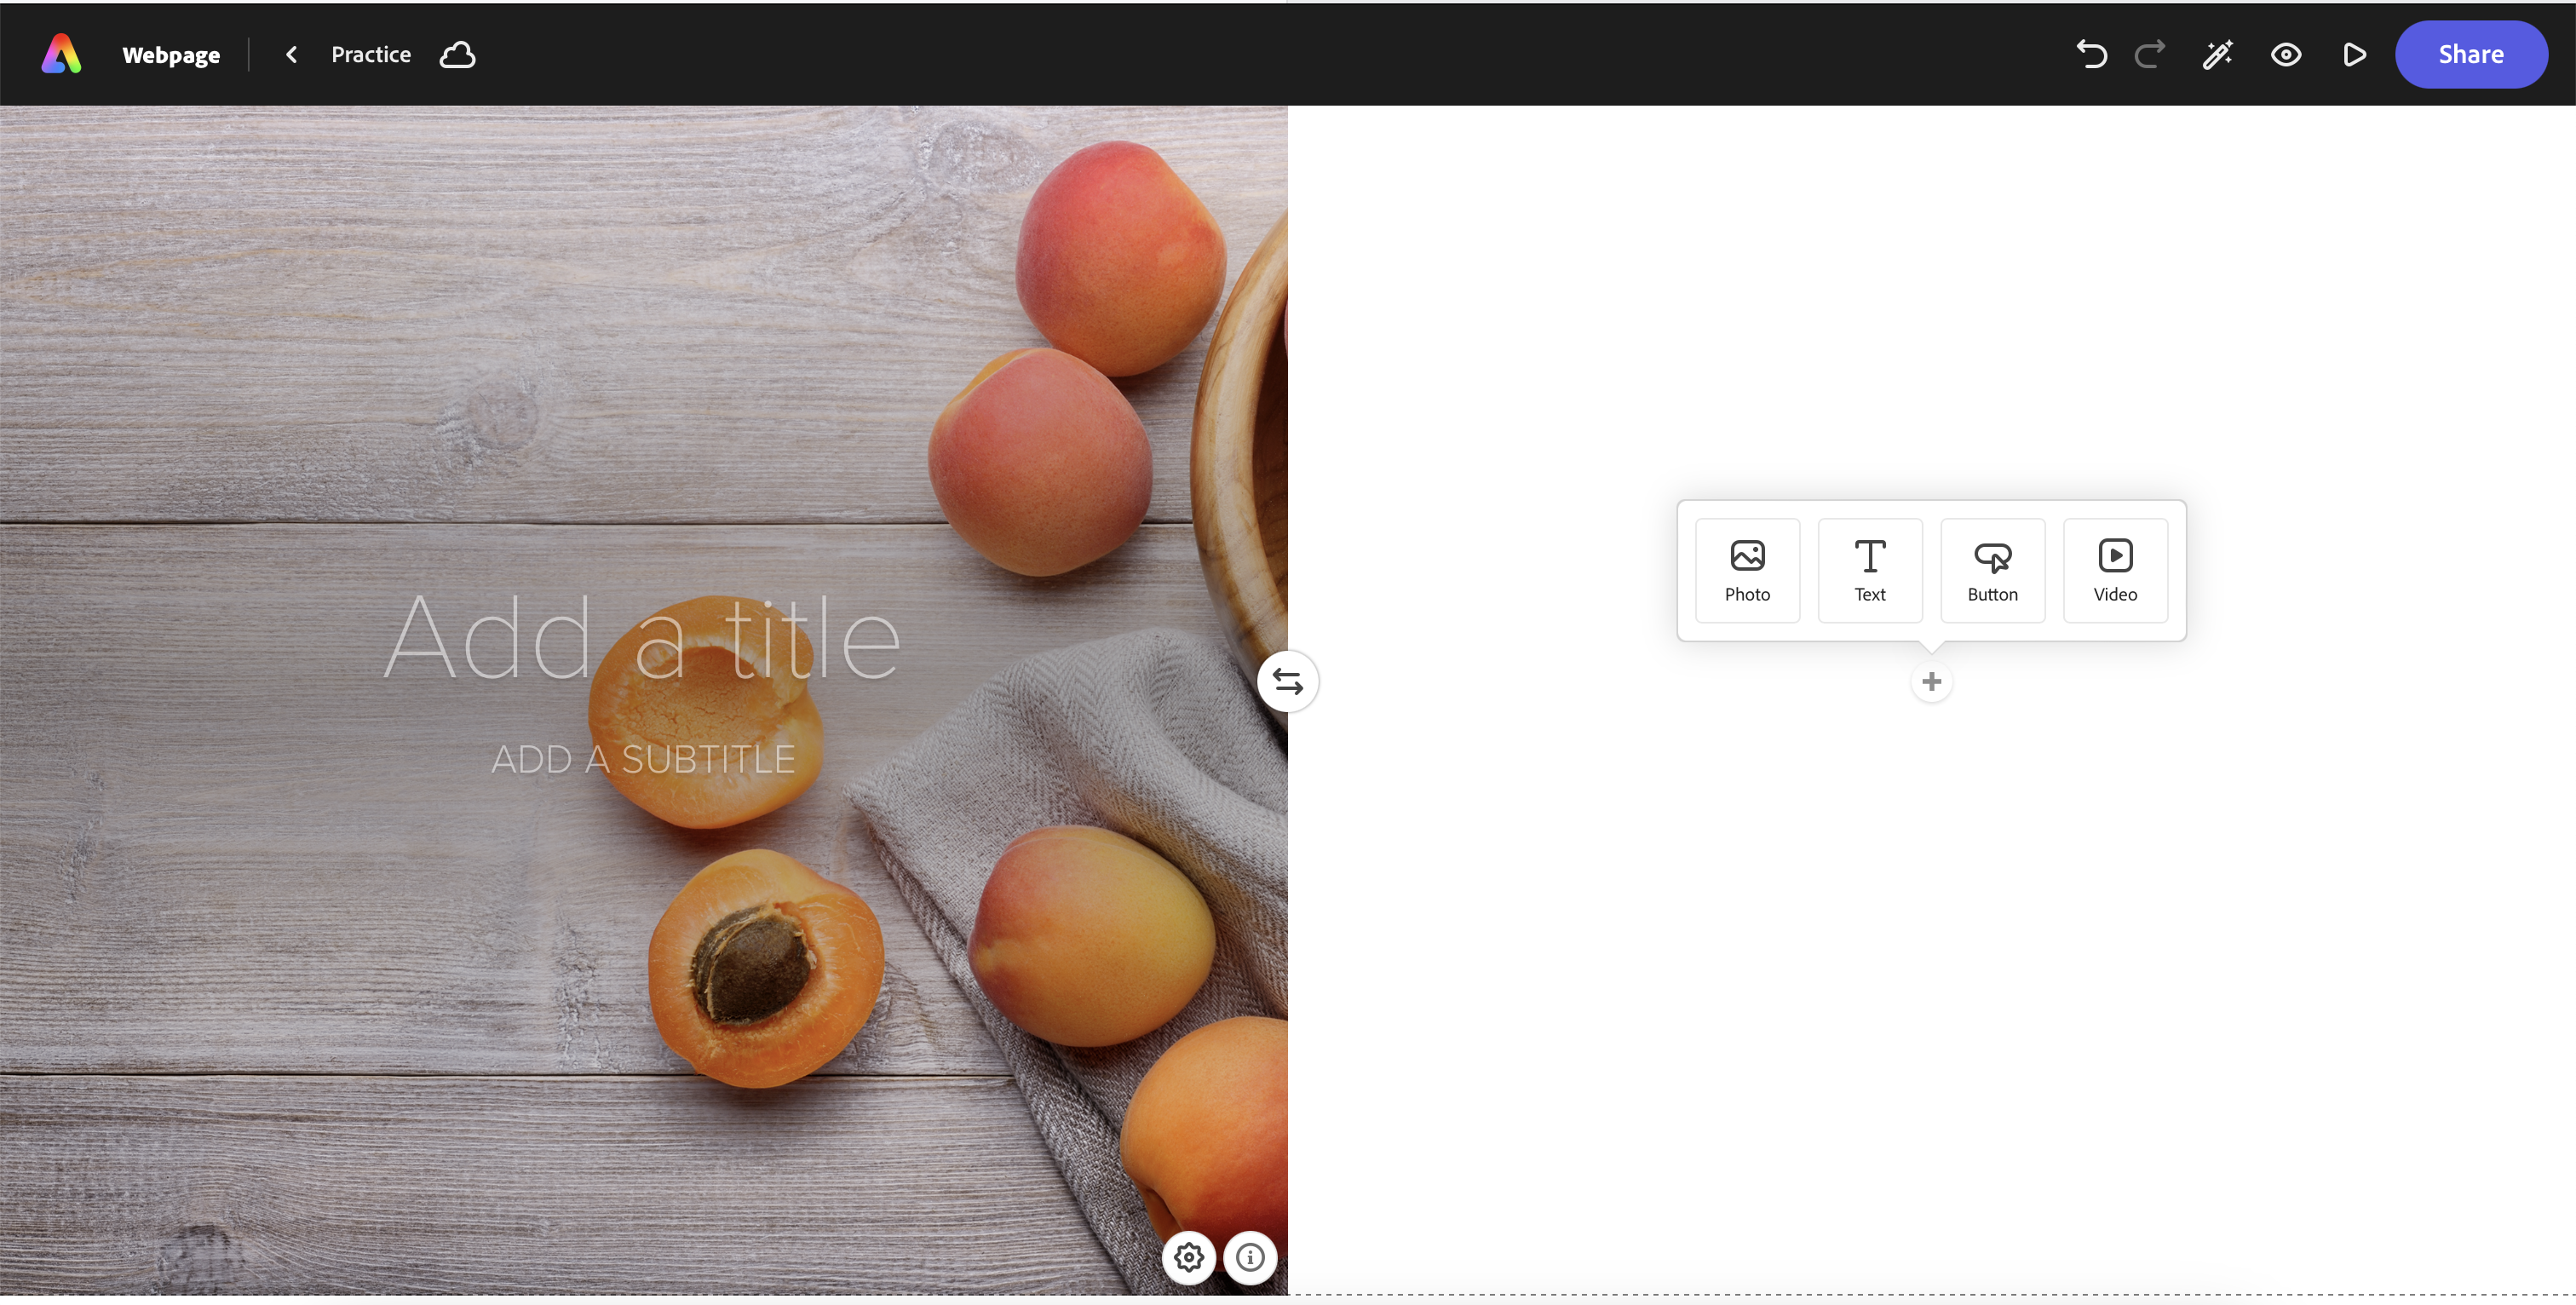
- You can keep adding pieces if you’d like by clicking on the additional “+” buttons.
But you should have your split layout on your page now!
