This tutorial will show you how to use the Glideshow feature of Express in order to create a blog post.
- Scroll down in your page and click on the last + icon that you see to add more content.
- Select the Glideshow option from this menu.
A Glideshow is essentially a way to create a large background image, and add text, video, and photos over top of it.

When you add a Glideshow, the first thing that it has you do is select a photo to use as a background. This is done using the same method that you saw before when changing your title’s background.
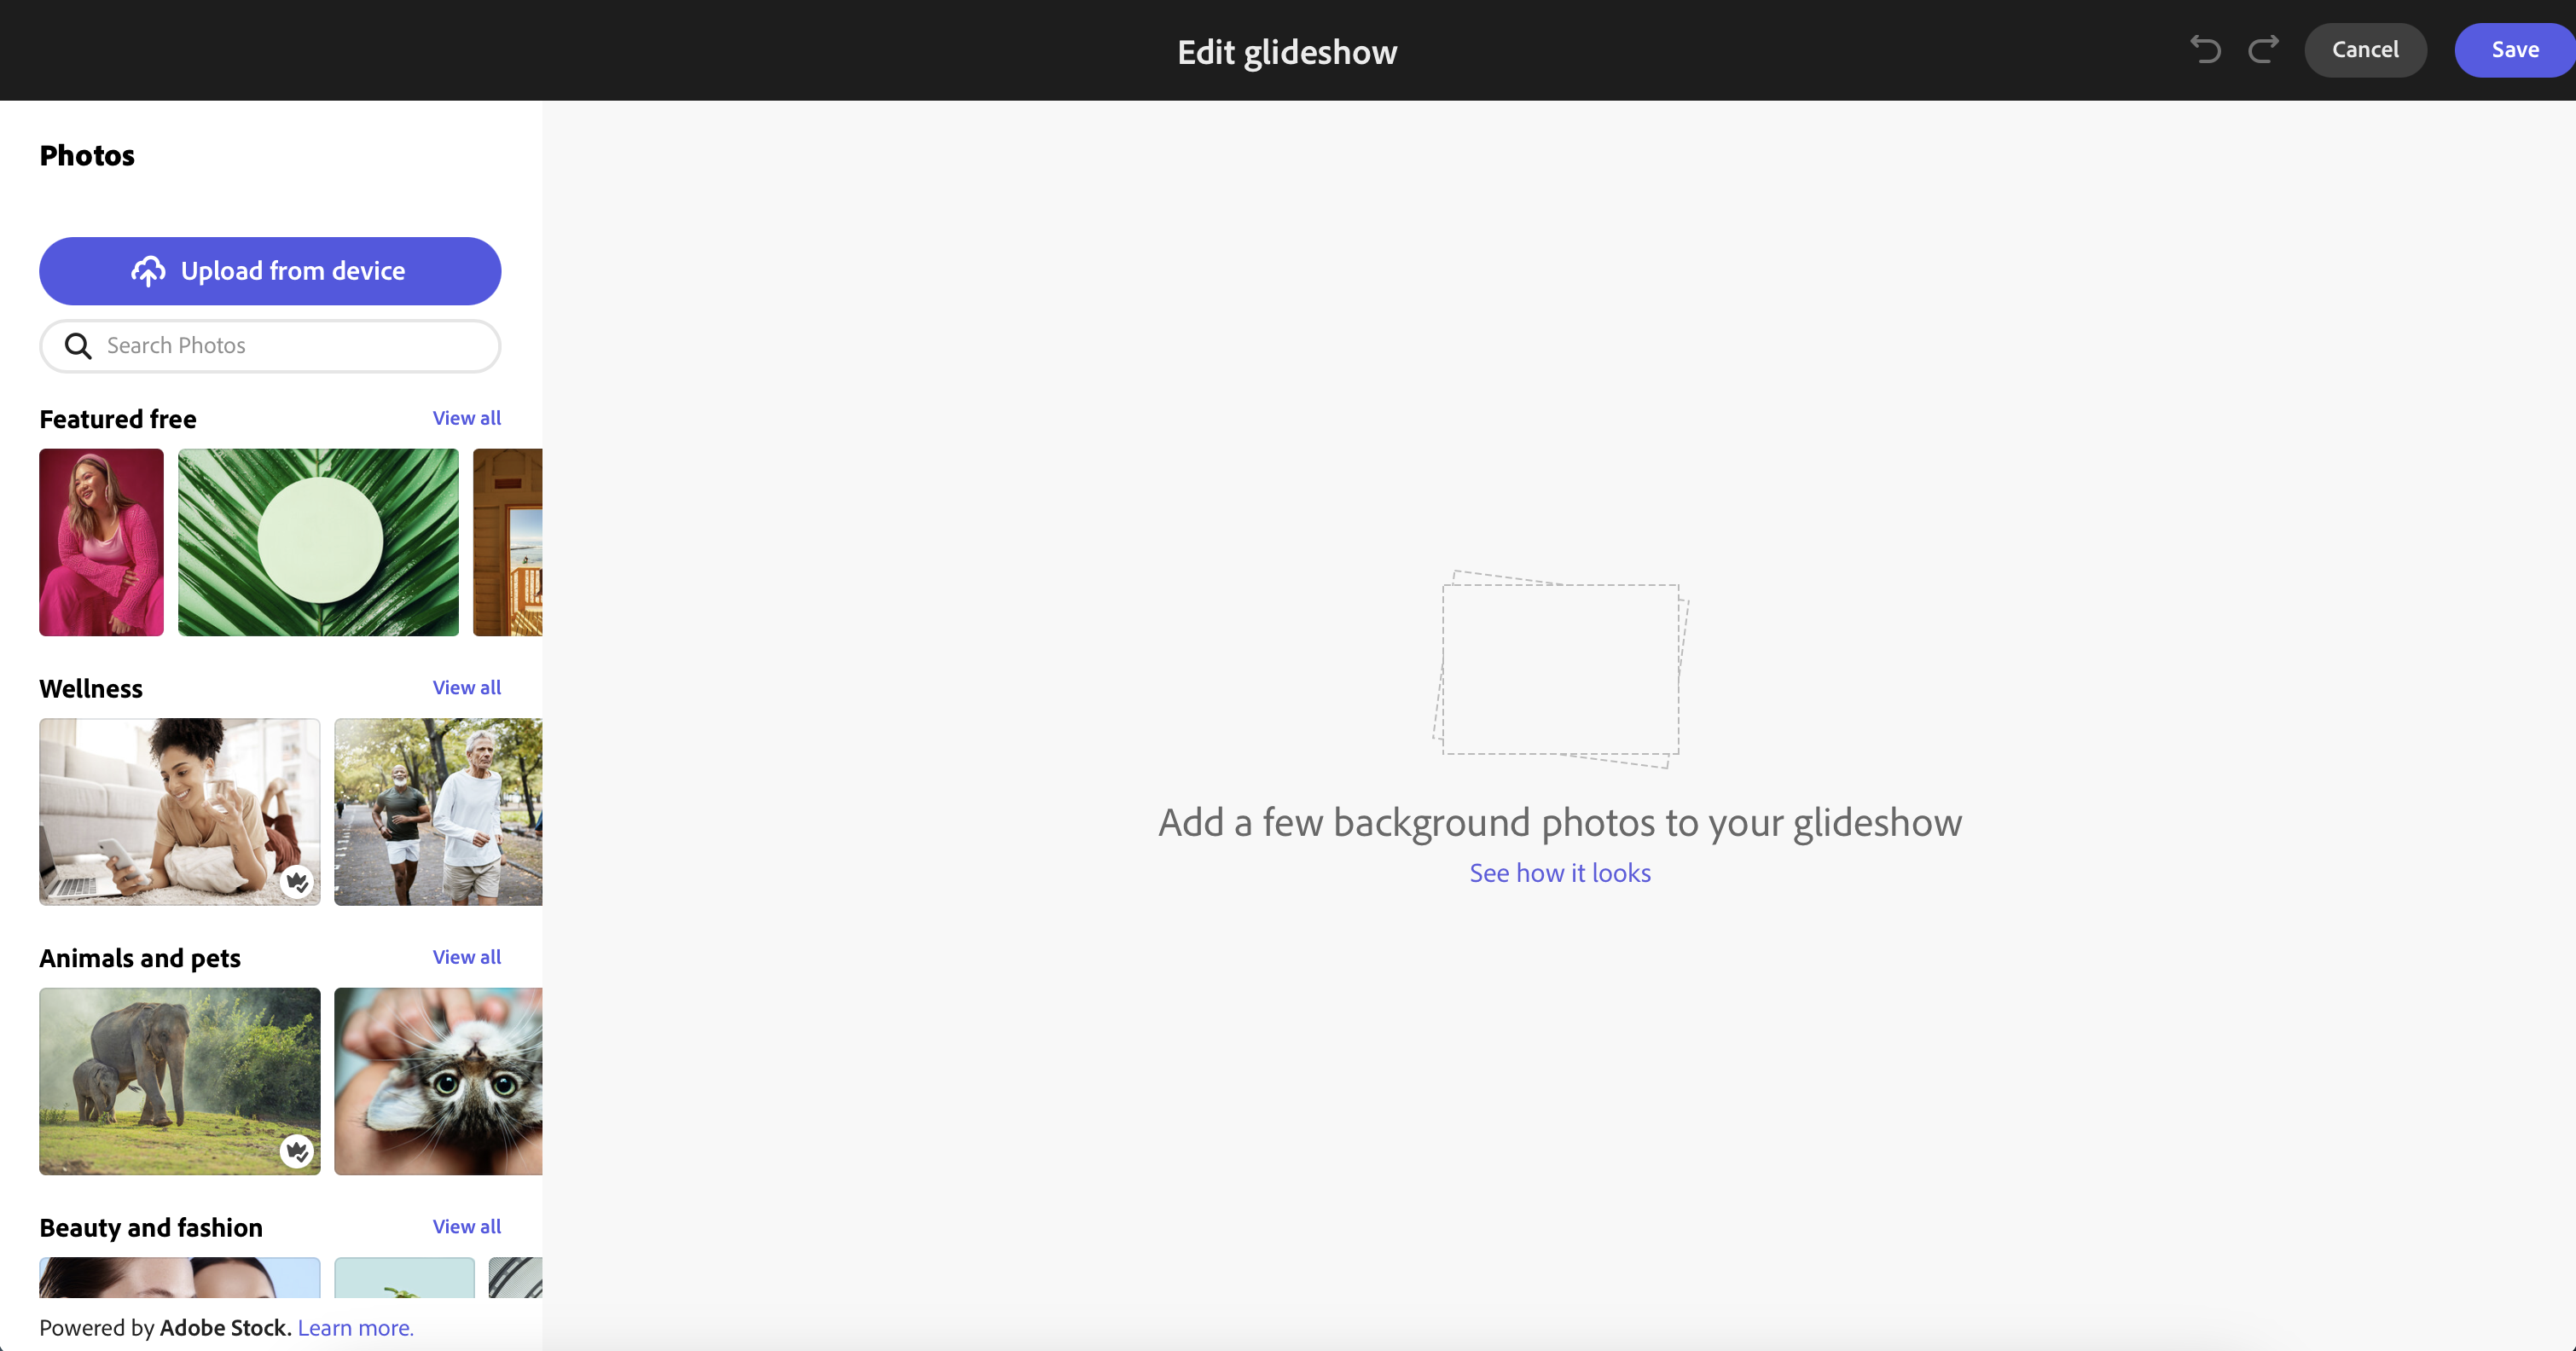
- On the right-hand side, either click on Upload from device to upload your own picture, or Search Photos to search for one.
- Once you’ve uploaded a photo or found one in the search, select your photo to add it into your Glideshow.
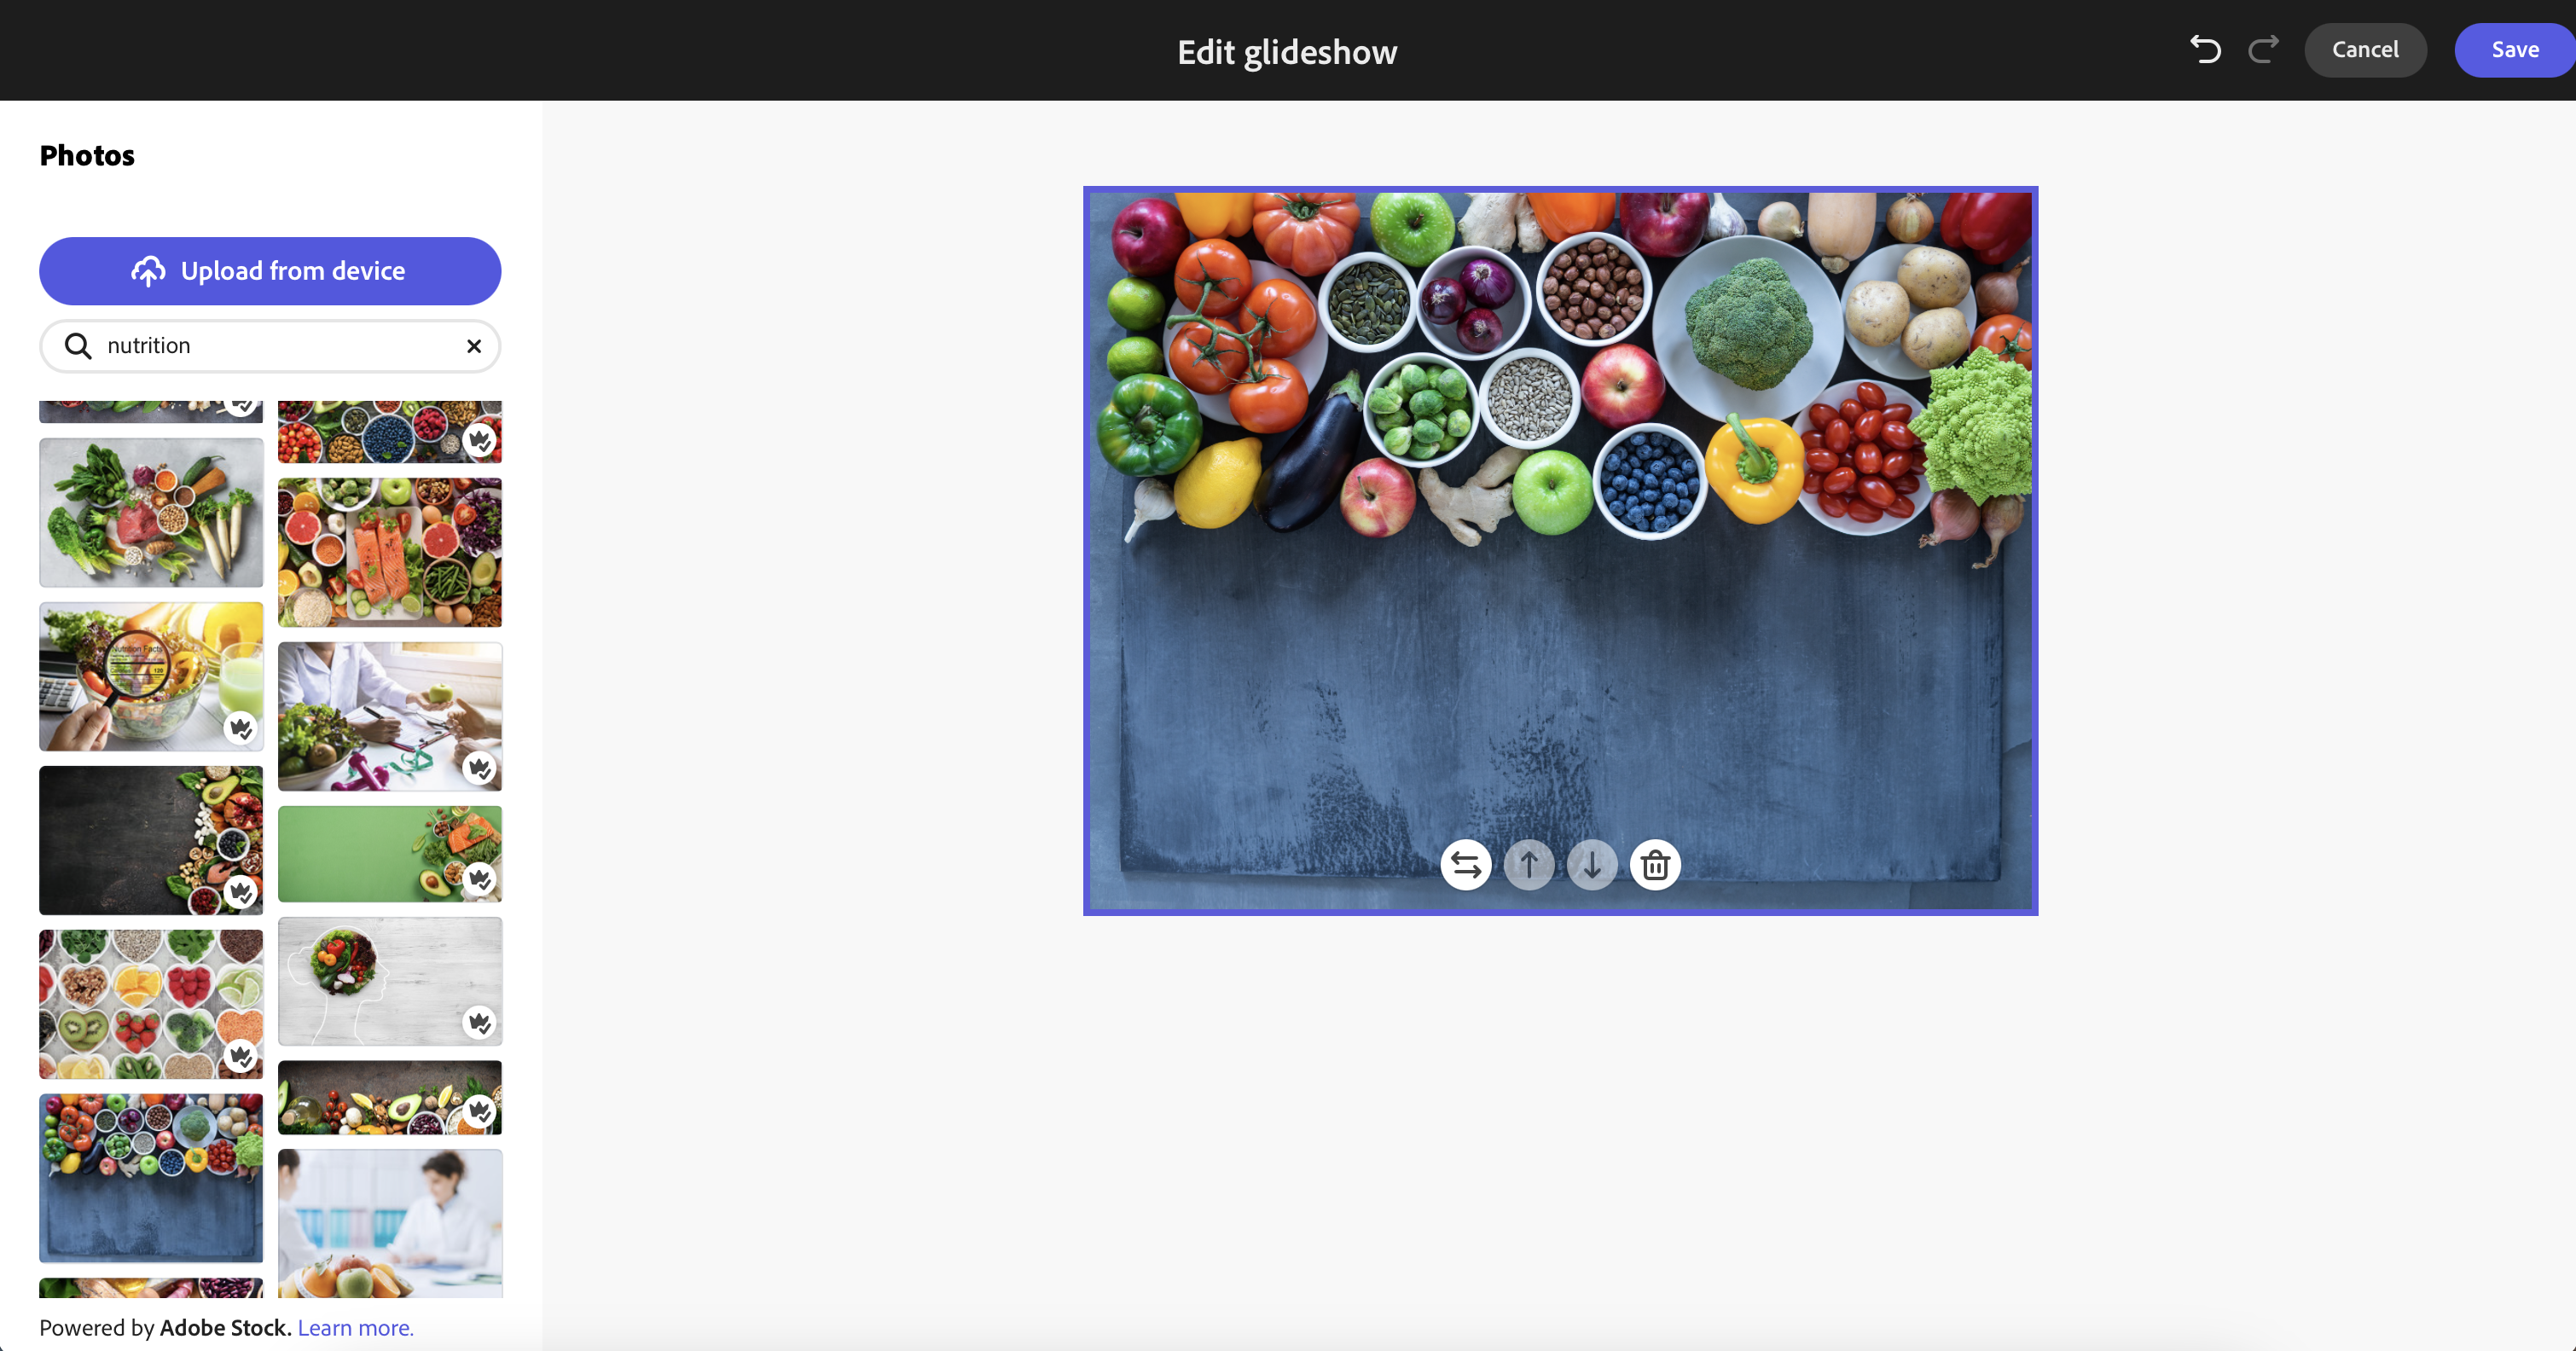
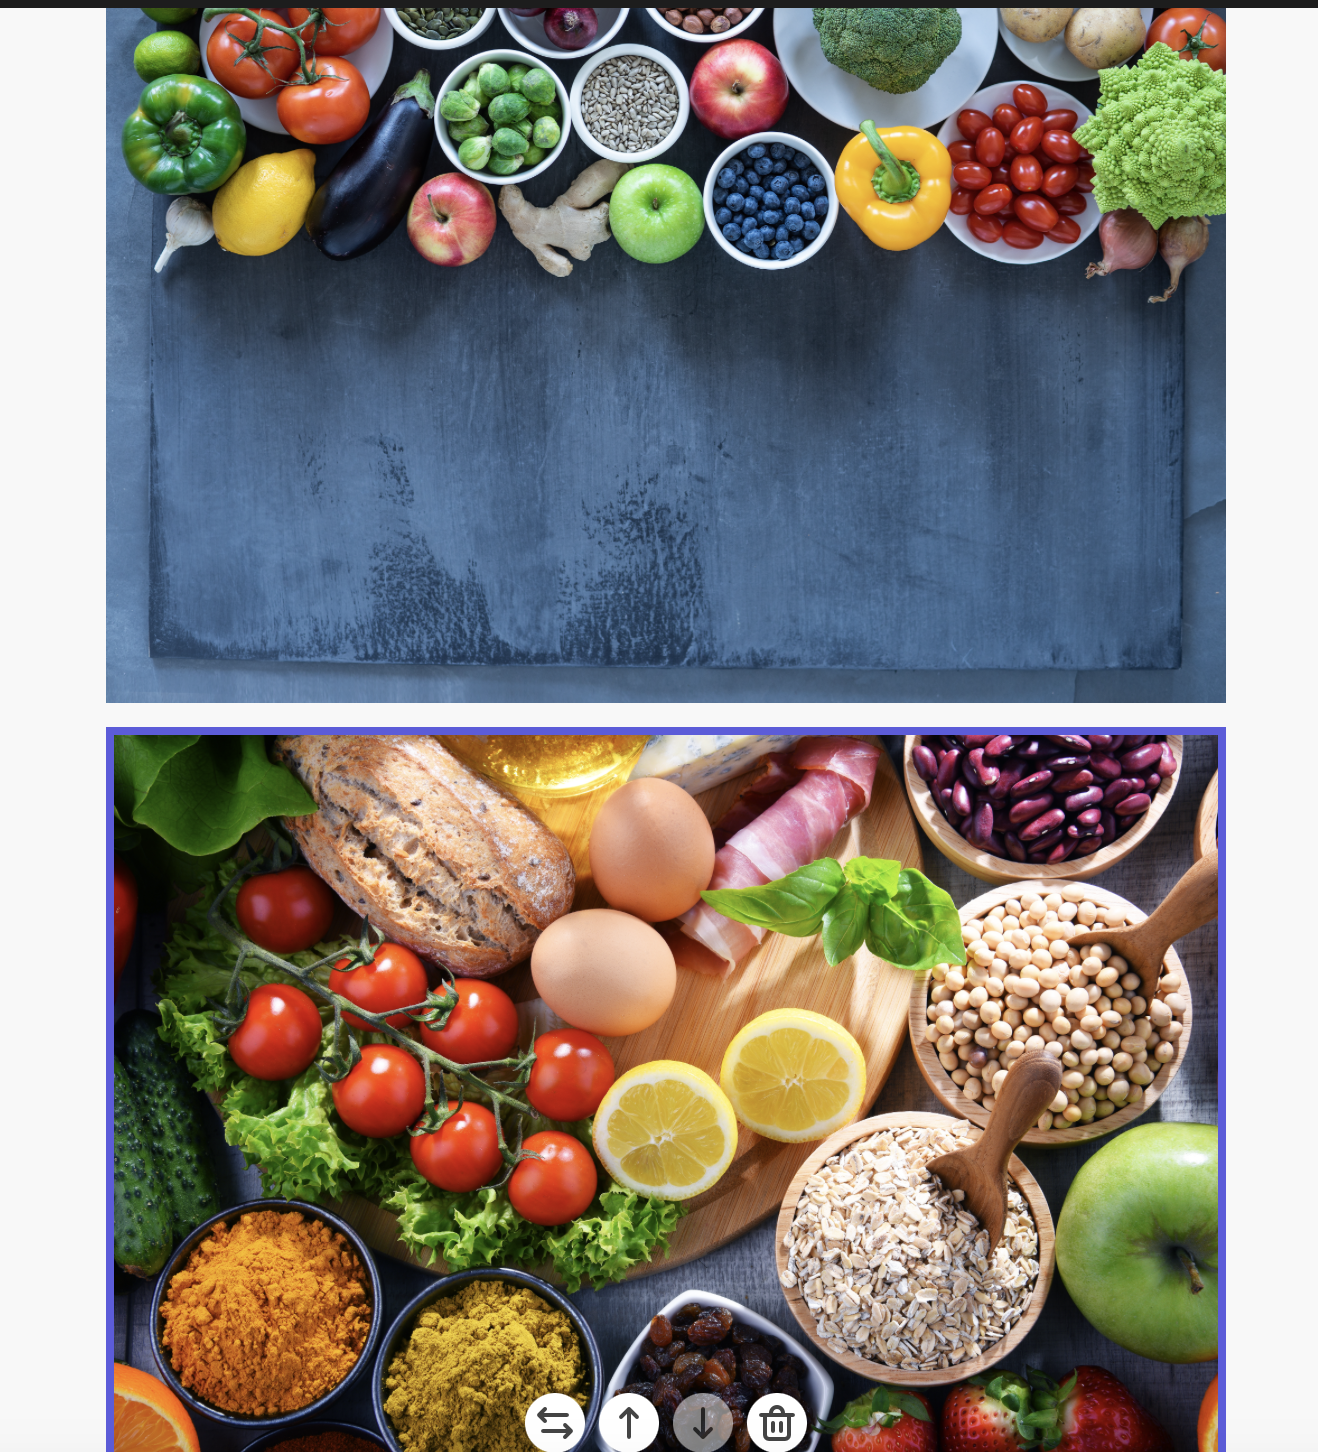
You may wish to add multiple photos to transition between within your post. If that’s the case, then you can select multiple photos, and they will all be added into your Glideshow.
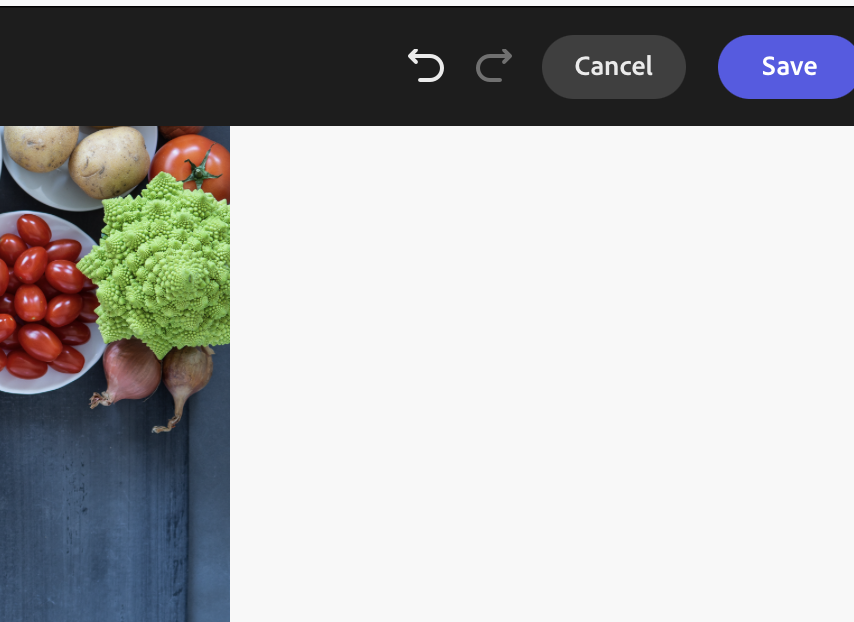
- When you’ve added the photo that you’d like as your background, click on Save in the top right corner of the screen.
You can always edit these later.
Now that your Glideshow is created, you now have the start of your post. The photo you chose will be the background of your post, and it will now present you with a box in which to add your text and post content.
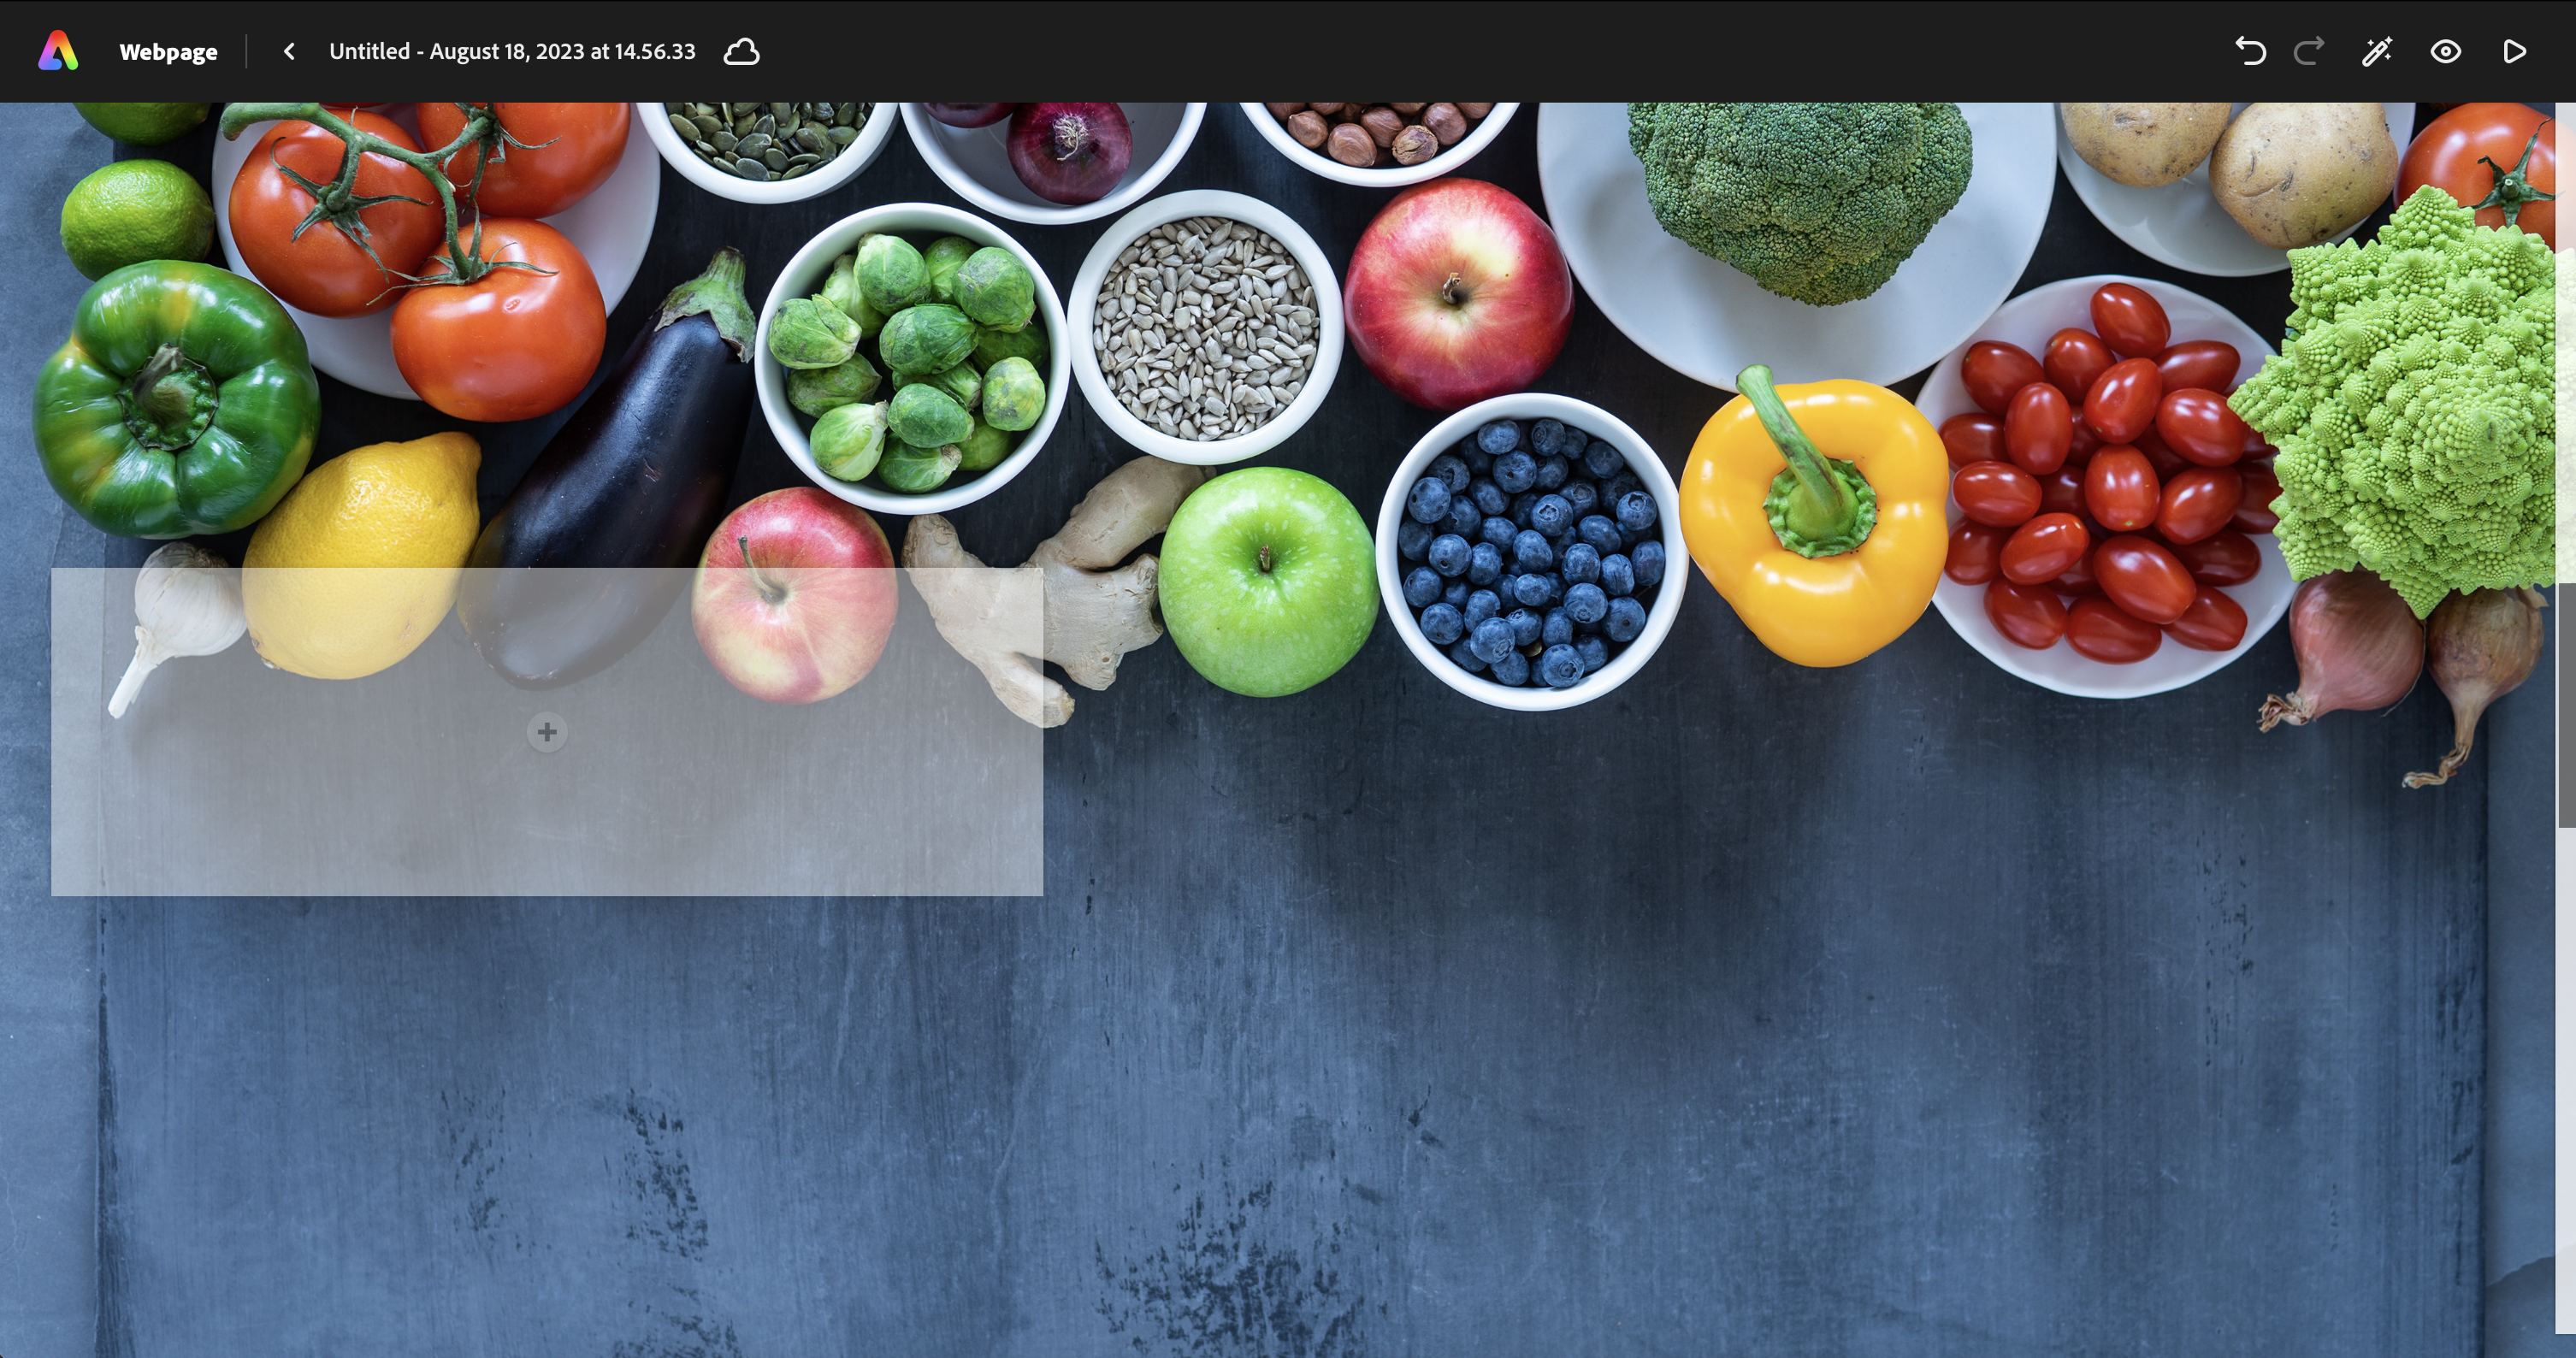
You’ll notice that the box on top of your picture also has a + icon that you’ve seen before.
- Click on the + to begin adding your content.
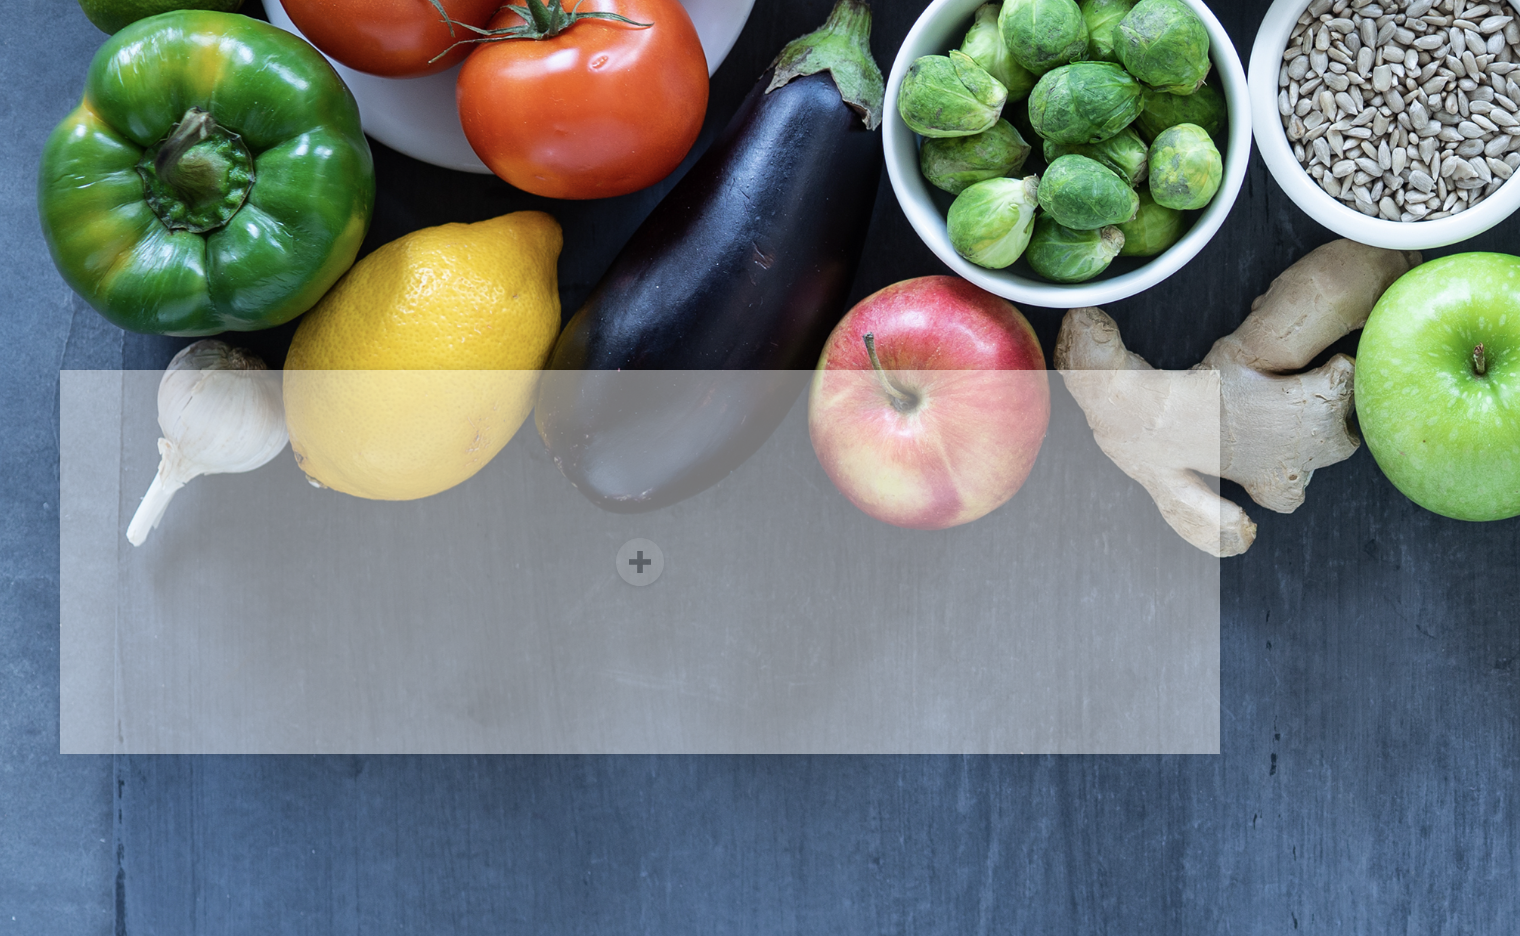
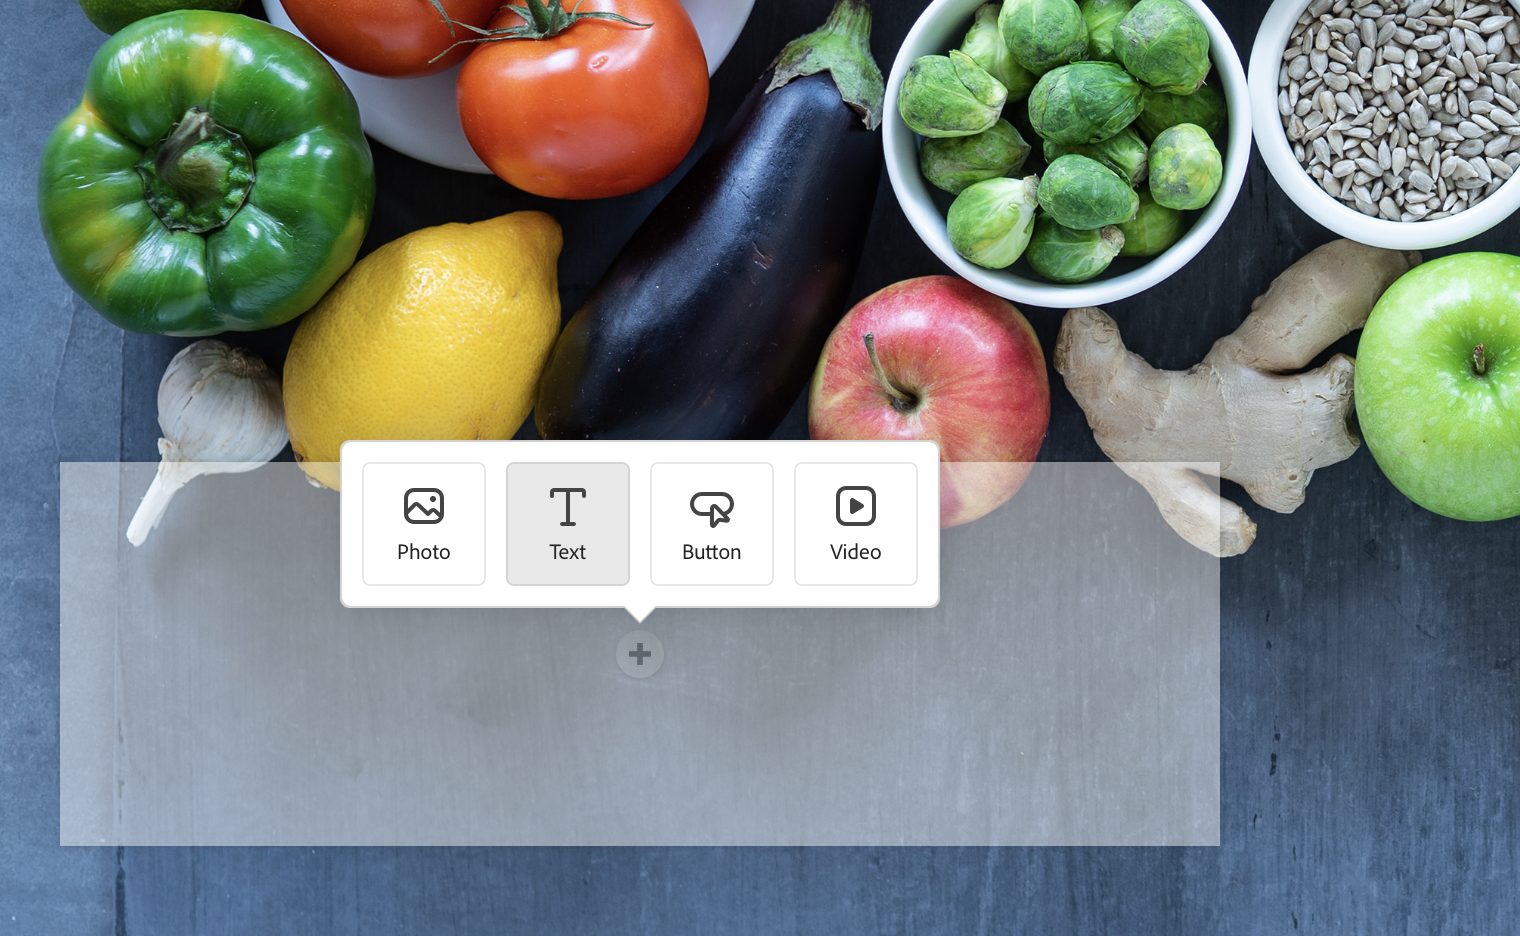
The first thing you will want to add is a title for your post.
- To add a title, click on the Text option.
Just like before, Express will now let you type in your text.
- Type a title for your post.
NOTE: Your title should be attention-grabbing, and unique to your post.
- Highlight your title, and click on H1 to turn your title into a Header.
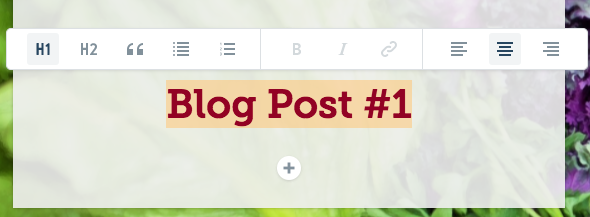
You may also want to center your text. Do this by using the Center Justify button toward the right of that menu.
Now that you have a title, you are ready to start adding the body text of your post, as well as any pictures or videos you have.
- Click on the next + icon, underneath your title text.
- Click on Text again, to add more text.

- Write your post. Or, if you’ve already written your post in another program like Microsoft Word, you can copy and paste your text directly into here.
You can adjust the style and justification as you see fit.

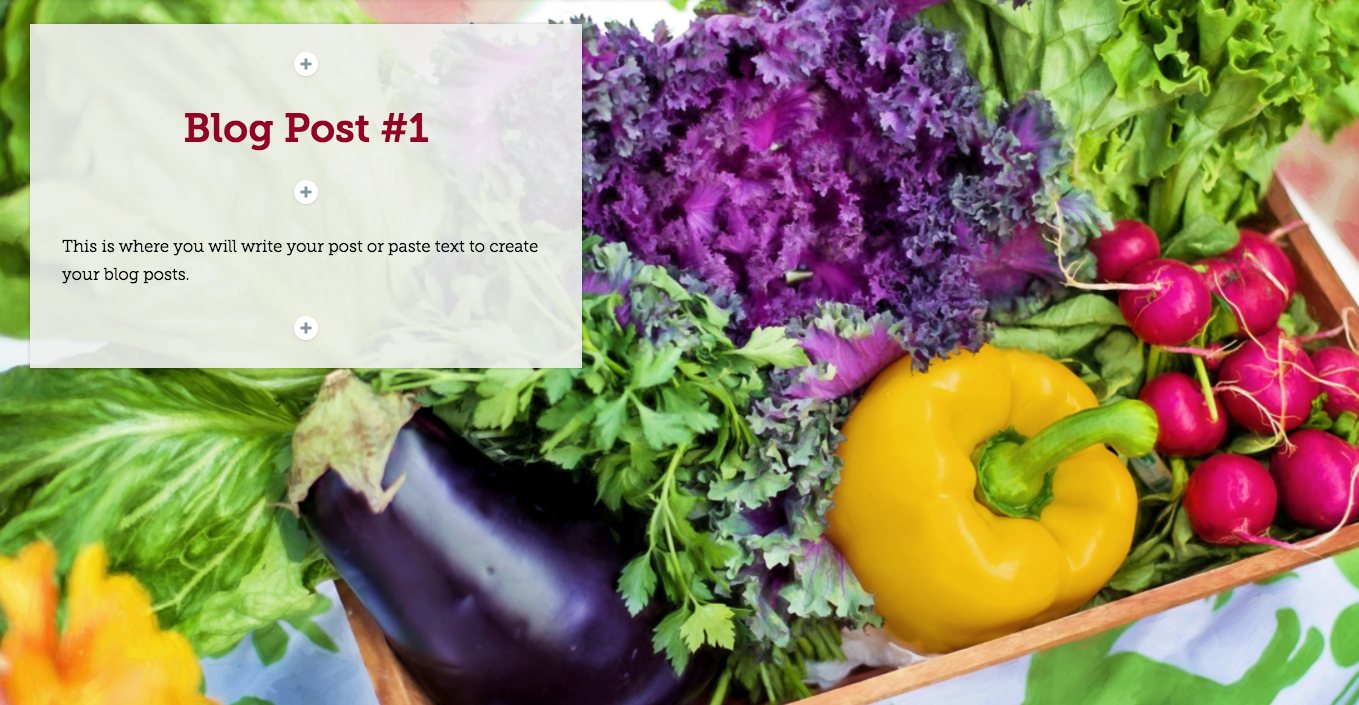
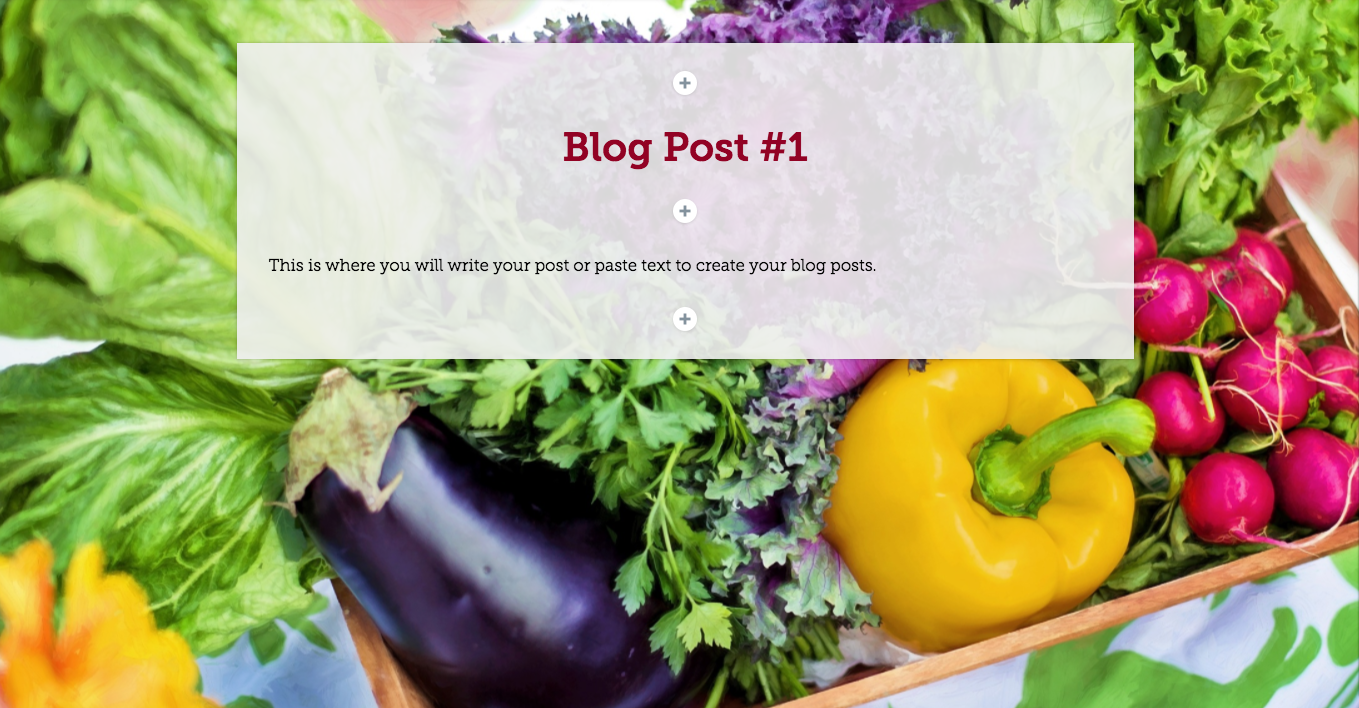
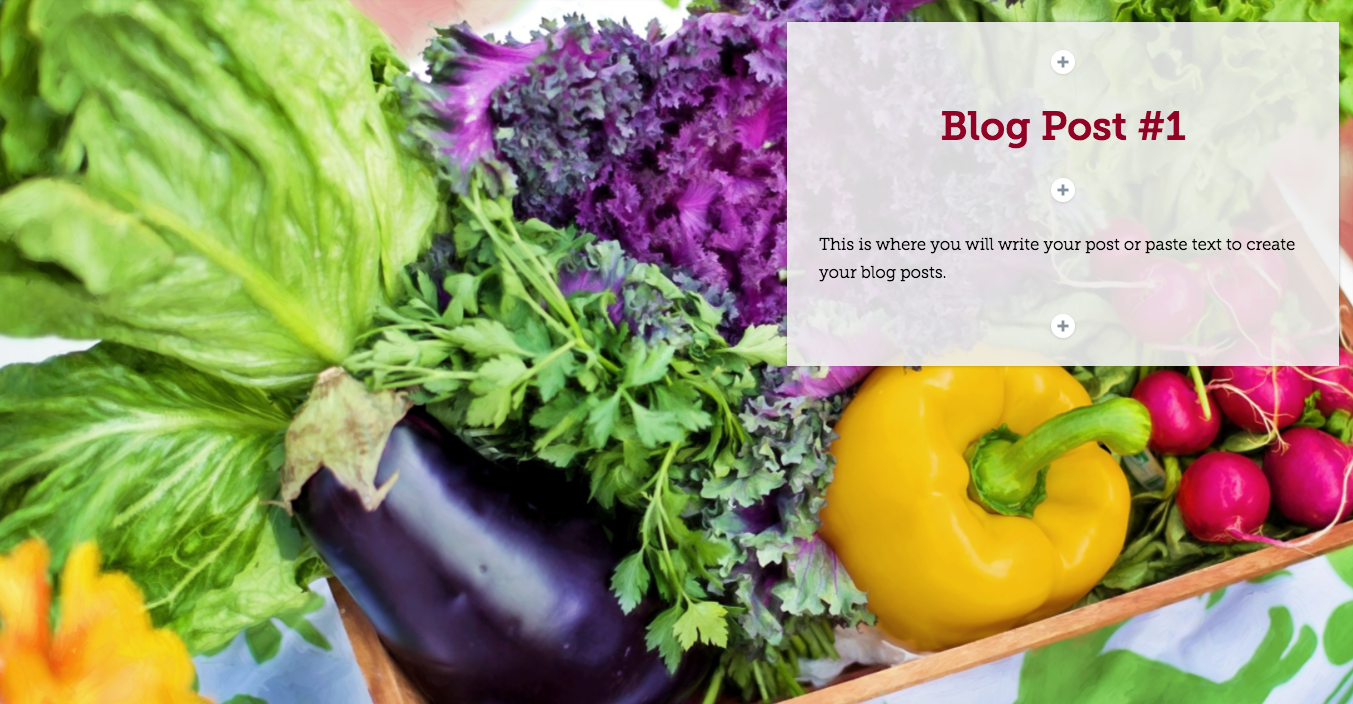
- Adjust where you want your text to appear over your photo background by clicking and dragging the box around, and place it on the left, center, or right of your Glideshow.
- If you ever want to preview what your post and your entire page looks like, if you move up to the top of your screen and click on Preview, it will show you how your page will appear to everyone else.

- To exit the preview mode, click on the grey X in the top right corner of the page.

You’ve created your first post! If you want to add other media into your posts, please see the tutorials for adding photos and adding videos.
