
This tutorial walks through how to use a photo as a background for an InDesign poster.
Placing a Photo for Your Background
Once your poster document is started, you may want to start by using a photo for your background.

- Select the Rectangle tool from the tool panel. (shaded rectangle).

- Click-and-drag to create a shape approximately the size of your poster.
The shape can be a little bit bigger than the poster, but not smaller.

Any excess will be cropped when you export your poster.
- Add your photo to the frame you created and resize it if needed by following the steps found in the Adding Images to an InDesign Project tutorial.
Adjusting Your Photo
Once your photo is added, you will want to change the opacity of the photo so that it doesn’t interfere with the legibility of your poster’s text.

- Go to the Effects panel.
If you don’t see the Effects panel, click Window in the menu bar and then select Effects in the menu.

Opacity is in the upper right corner of the effects corner.

- Set your desired Opacity level.
There is no correct setting, you can start with 30% and then increase or decrease as necessary.

You will want to make sure that the contrast in the photo doesn’t interfere with any text or other elements in your poster.

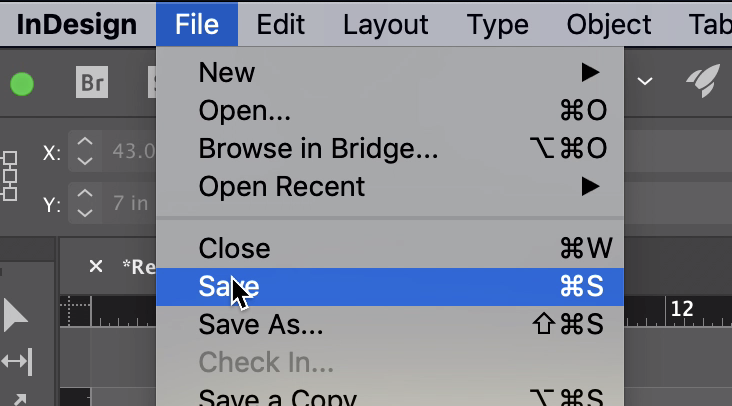
- Save your work by selecting Save in the File menu (ctrl/cmd + s on the keyboard).
