This tutorial shows how to add images and graphics to an InDesign poster.
Creating Frames for Your Graphics
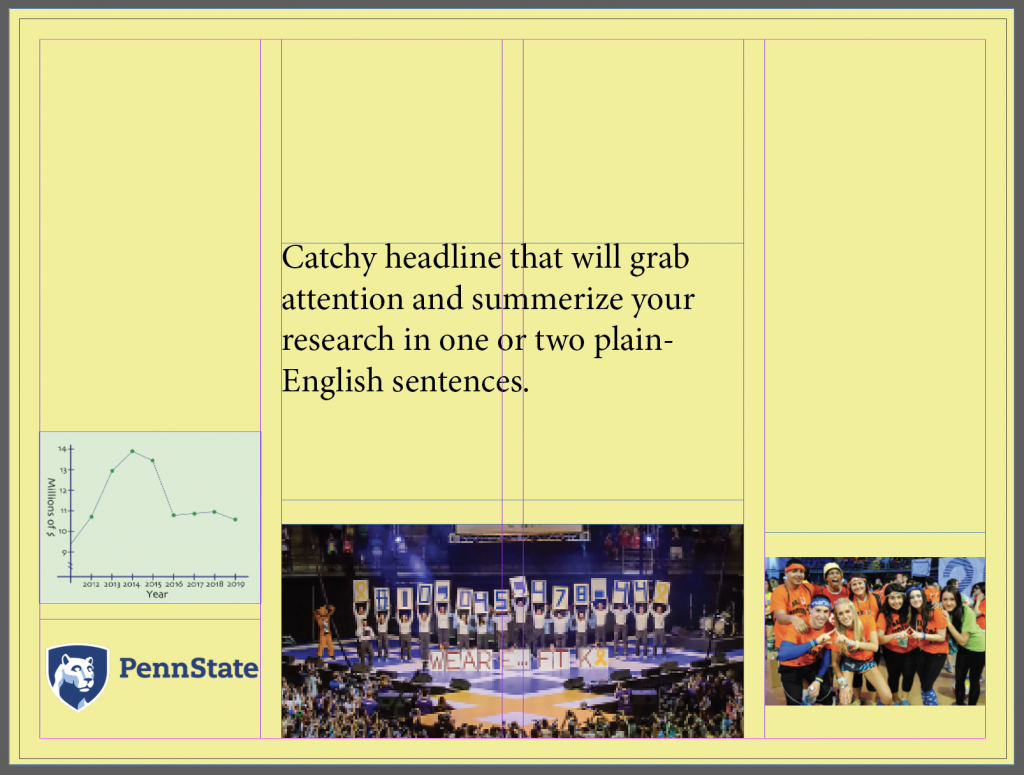
To place an Image in your poster, you will first want to create an approximate layout of what you want your poster to look like by making a frame for each graphic.
Graphics can be added to an InDesign poster without using frames, but using frames will keep you from having to do unwieldy resizing of large images.
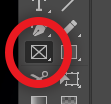
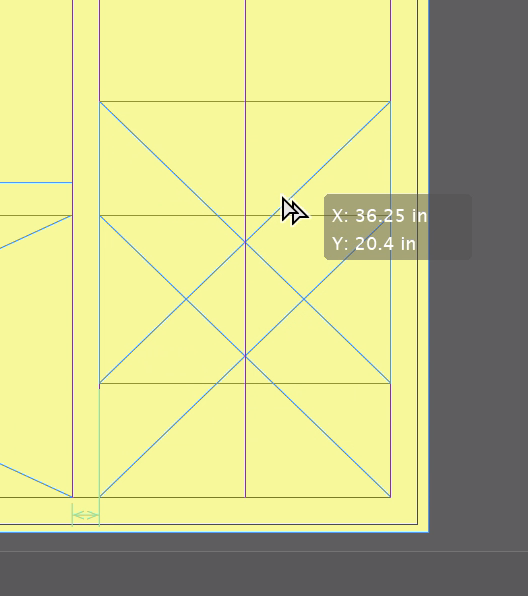
- Select the Frame Tool in the tools panel (rectangle with an X through it).
- Click-and-drag out the approximate frame shape that you want using the pink and purple guides in your project.
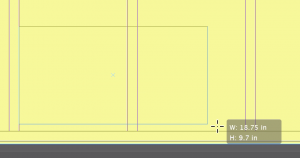
It can be adjusted later as needed.
- Continue drawing all the frames you expect to need for your poster.
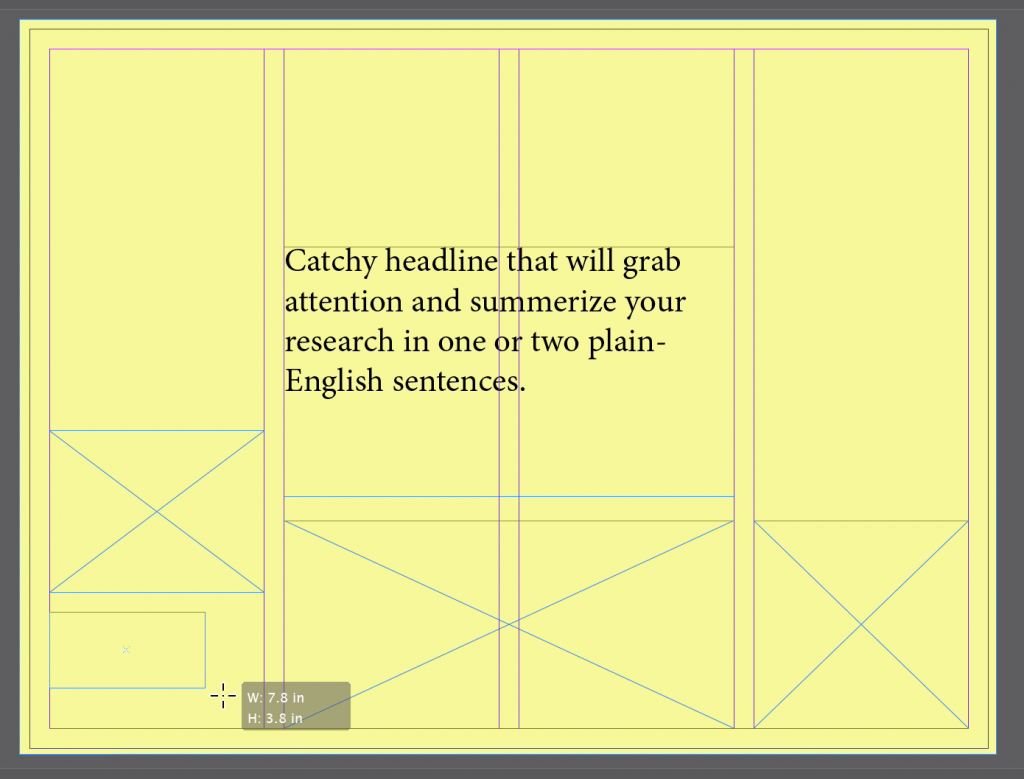
If you want to duplicate a frame, hold down the “Option” key on your keyboard and click-and-drag the frame where you want it.
Each frame can then be adjusted separately.
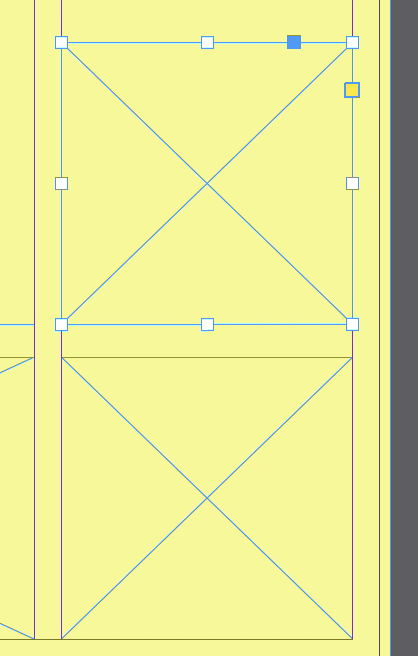
The same can be done with text and shapes.
Adding Your Graphics to Your Creative Cloud Library
When you add an image to your poster, the image does not embed automatically. InDesign instead references the original image on your computer with a thumbnail version.
To make sure you don’t lose the original images, add them to your Creative Cloud (CC) Library.
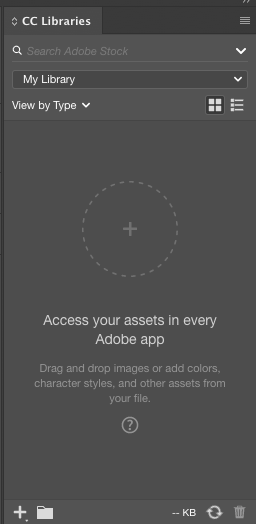
NOTE: If you do not see the CC Libraries window, refer to the Starting an InDesign Project tutorial for interface set up instructions.
- With InDesign still open, navigate to the folder where your graphics are stored using either Finder (Mac) or File Explorer (Windows).
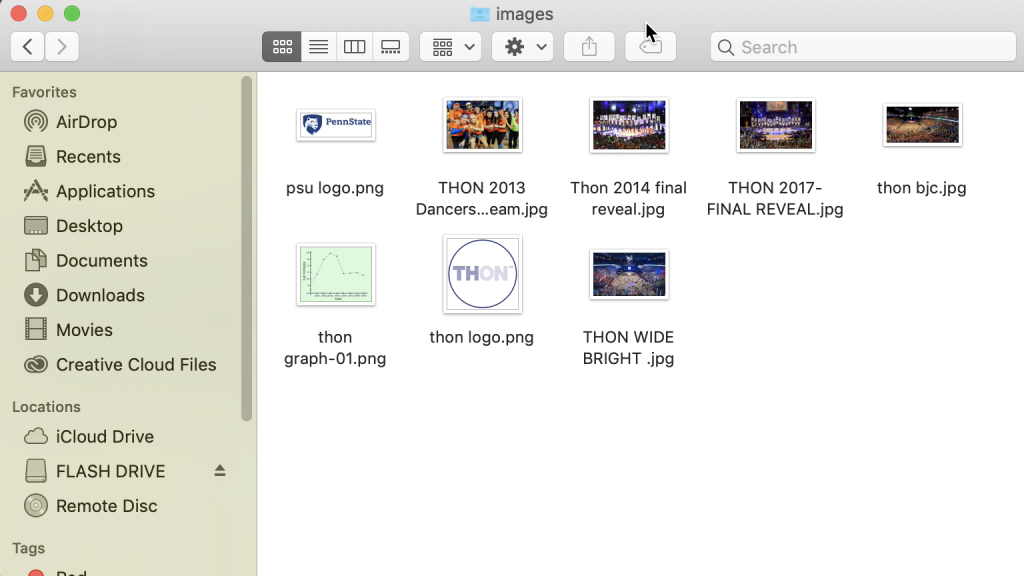
- Drag and drop your images onto the CC Libraries window in Design.
Tip: You can add images individually or use a shortcut (CTRL+A or Command+A) to select all of them.
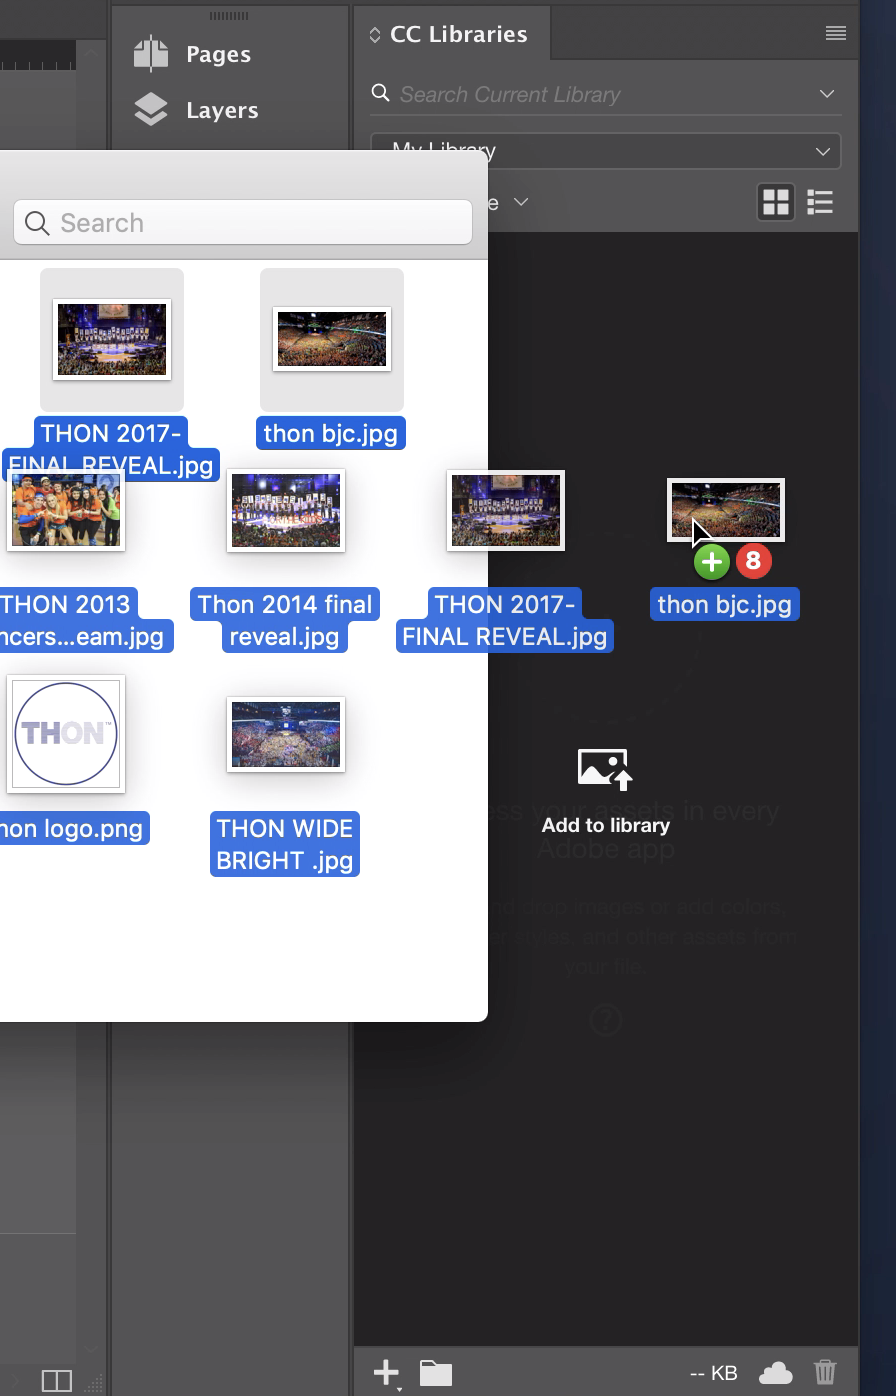
Your images will automatically upload to your My Library folder in your Creative Cloud account.
NOTE: Do not delete any graphics from the CC Libraries window or your Creative Cloud account until you have completed your poster and are 100% certain that you will not need them again.
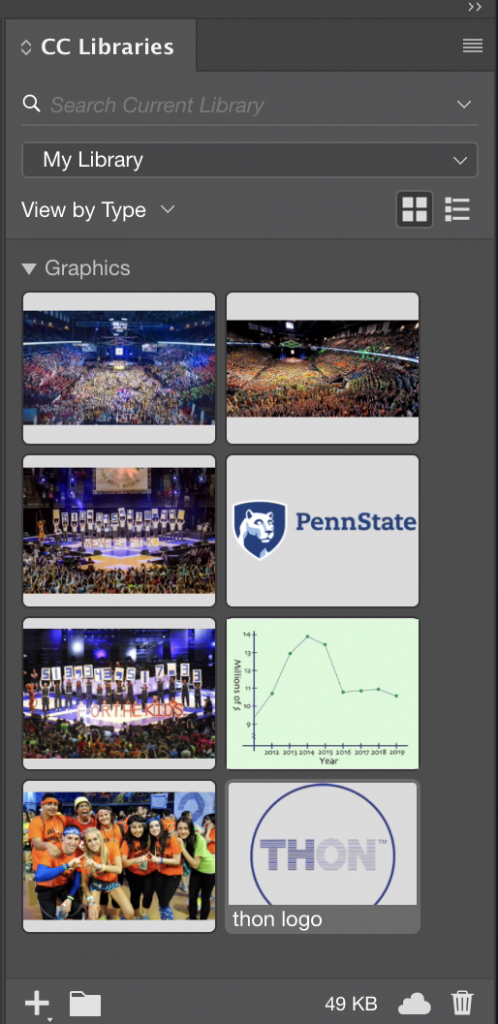
Placing an Image
- Click-and-drag the image you want to place from the CC library to your poster.
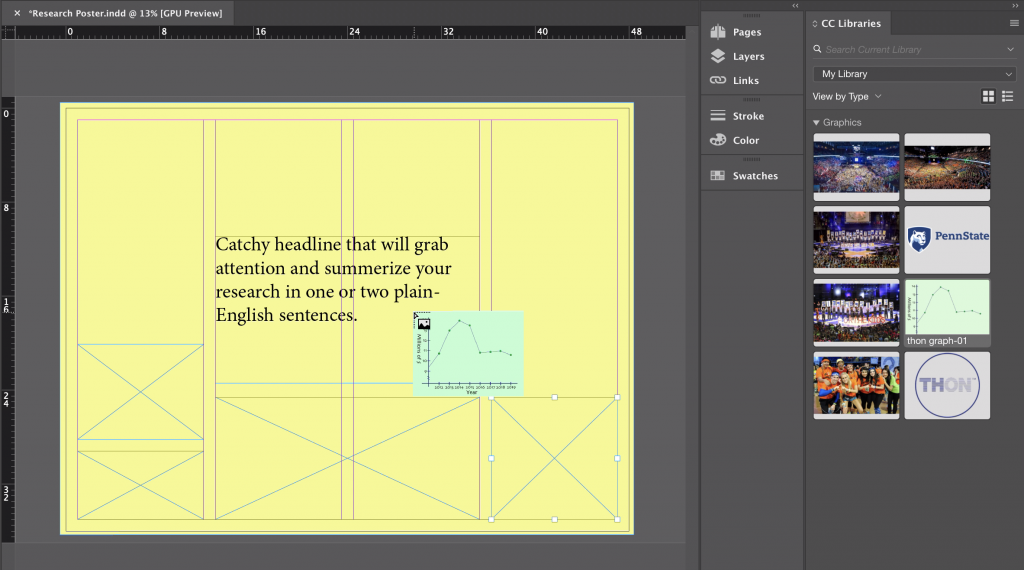
- Click the frame that you would like the image to be placed in.
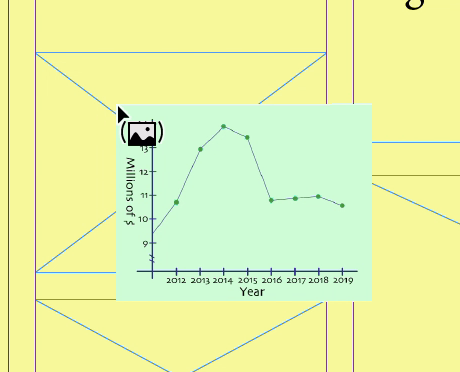
Fitting Your Image in Its Frame
If the image does not fit in the frame the way you would like, you will need to resize it.
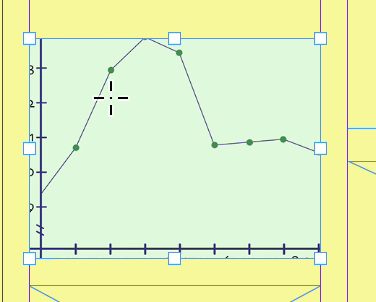
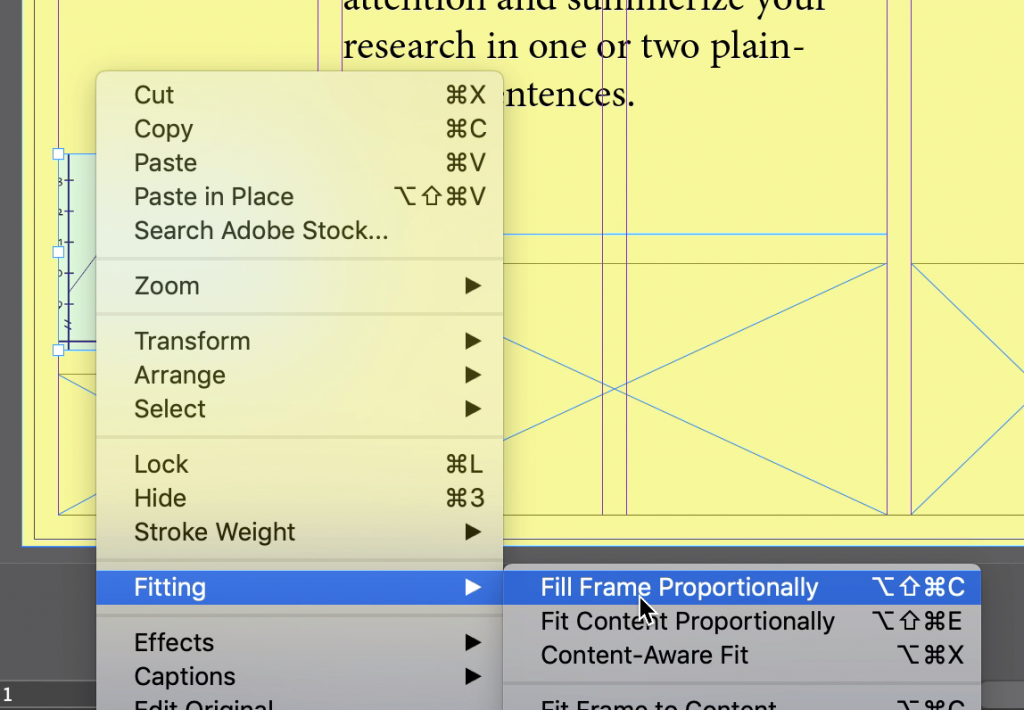
- Right-click the image you want to adjust and select Fill Frame Proportionally from the Fitting selections.
- Check that your image is now fitting in its frame correctly.
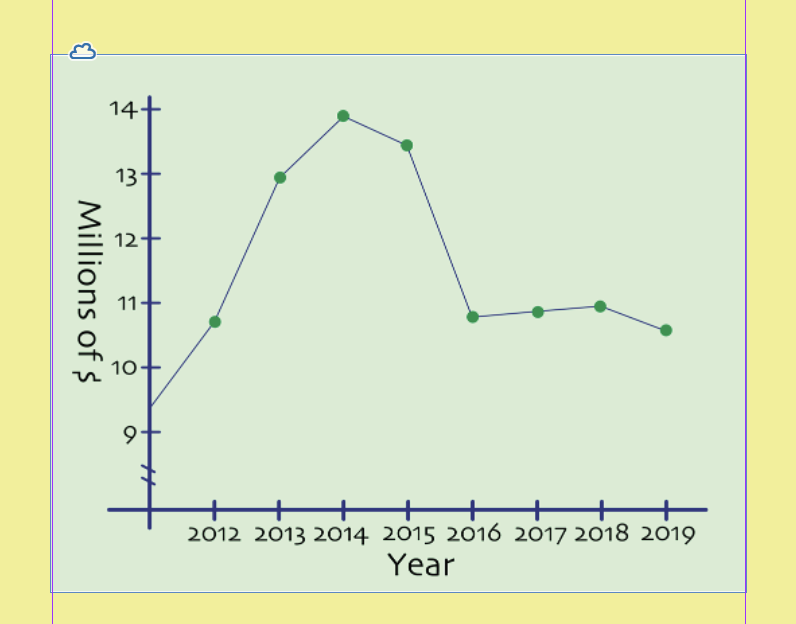
If the Fill Frame Proportionally cuts off some of your image that you want to be able to see, you will want to choose a different Fitting option.
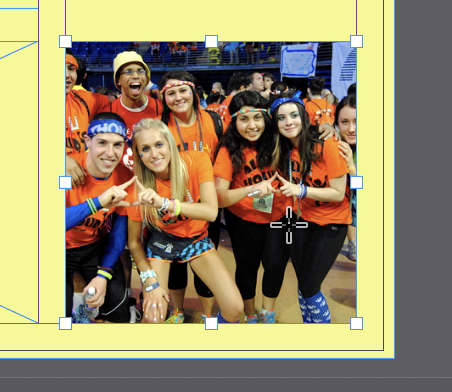
- Right-click the image again, this time selecting Fit Content Proportionally from the Fitting selections.
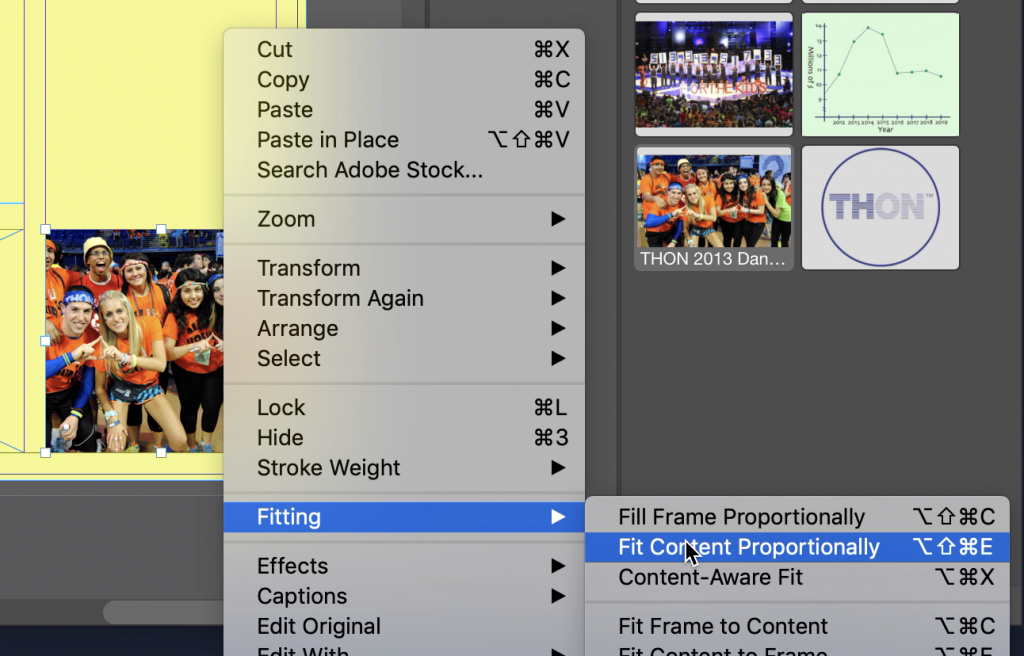
- Check that the image now fits better in the frame.
For additional image adjustments, see the next tutorial: Making Adjustments to Images in InDesign
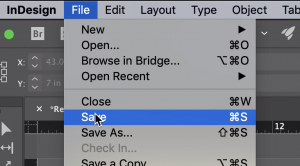
Save your work by selecting Save in the file menu (ctrl/cmd + s on the keyboard).
