This tutorial will show how to create a Stop-motion or Slowmation video in iMovie with still images.
Start a New Project and Adjust Settings
- Start a new project in iMovie.
- Import your images into iMovie. If you need help with creating a new project and importing files, please refer to the Introduction to Basic Editing in iMovie tutorial.
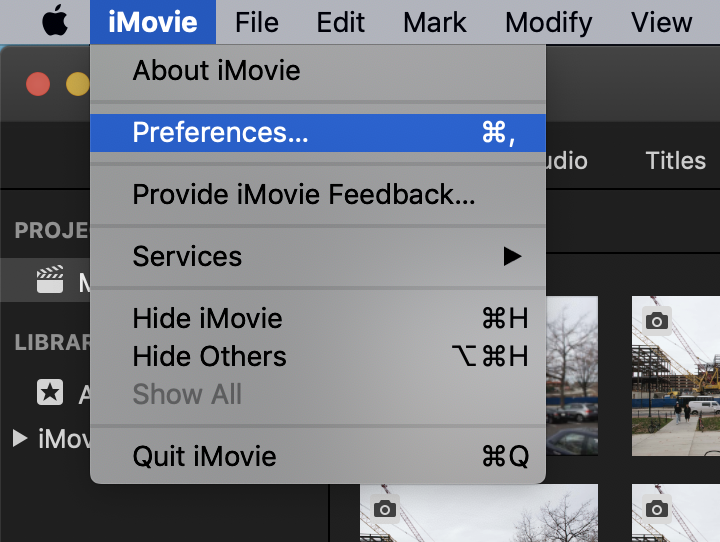
- Select the iMovie menu, then Preferences.
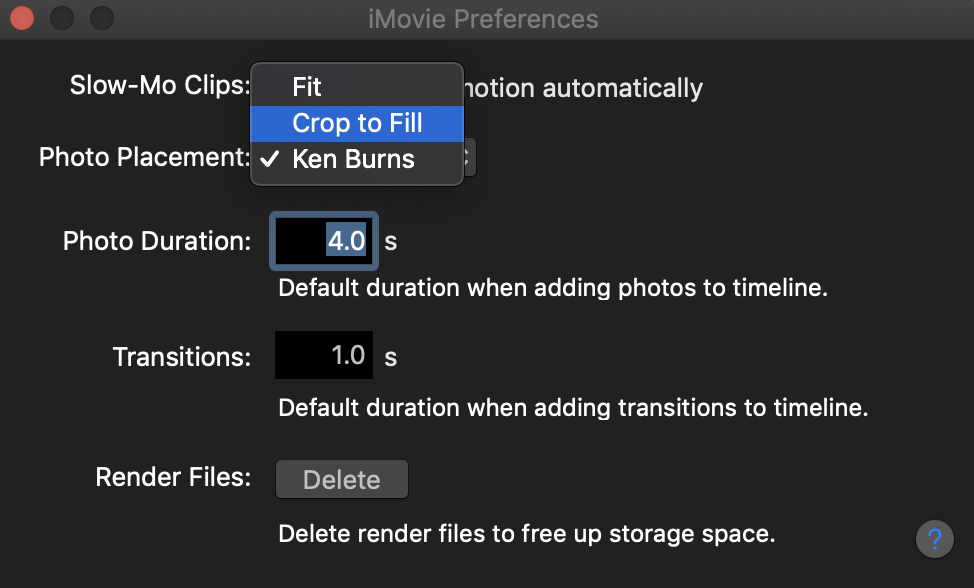
- Click the Photo Placement drop-down and select either Fit or Crop to Fill.
NOTE: Choosing Crop to Fill will eliminate black bars on the sides of the images, but will cut off the top and bottom of the images. Choosing Fit will ensure that the entire image will show in the video frame, but may result in black bars down the either side of the images. If you’re not sure which to pick, choose one, and the steps to switch to the other can be found at the end of this tutorial.
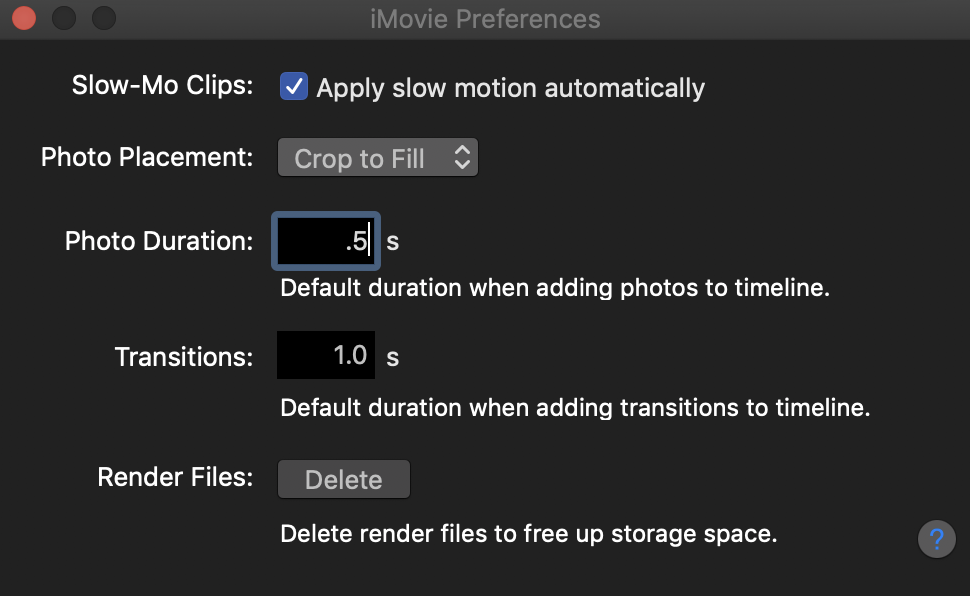
- Click into the Photo Duration which will default to 4.0 seconds. Type in .1 for Stop-motion or .5 for Slowmation.
- Click the red circle in the upper left corner of the window to close it.
Adding Images to the Timeline
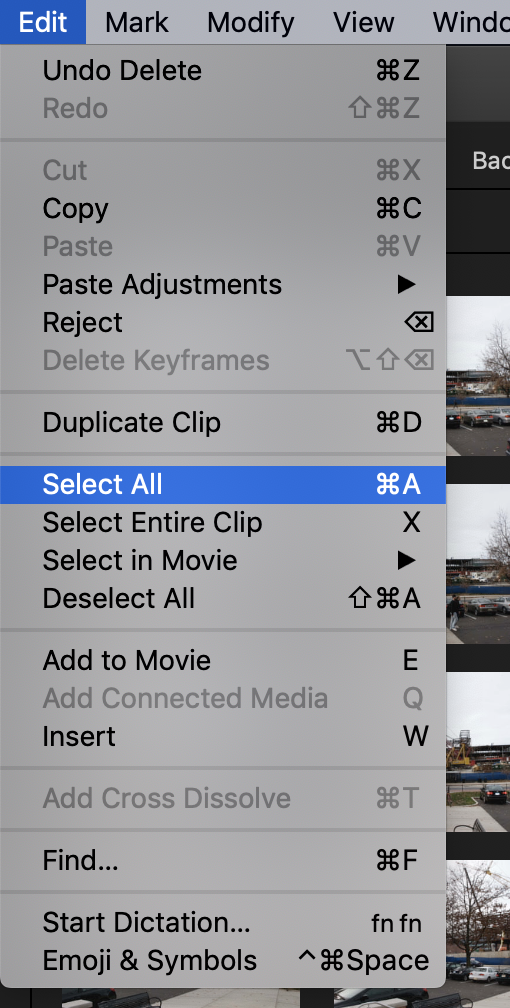
- Go to the Edit menu and choose Select All (or “command”+A on the keyboard).
- Click-and-drag any image thumbnail from the Media Browser and drop all your images in the timeline below.
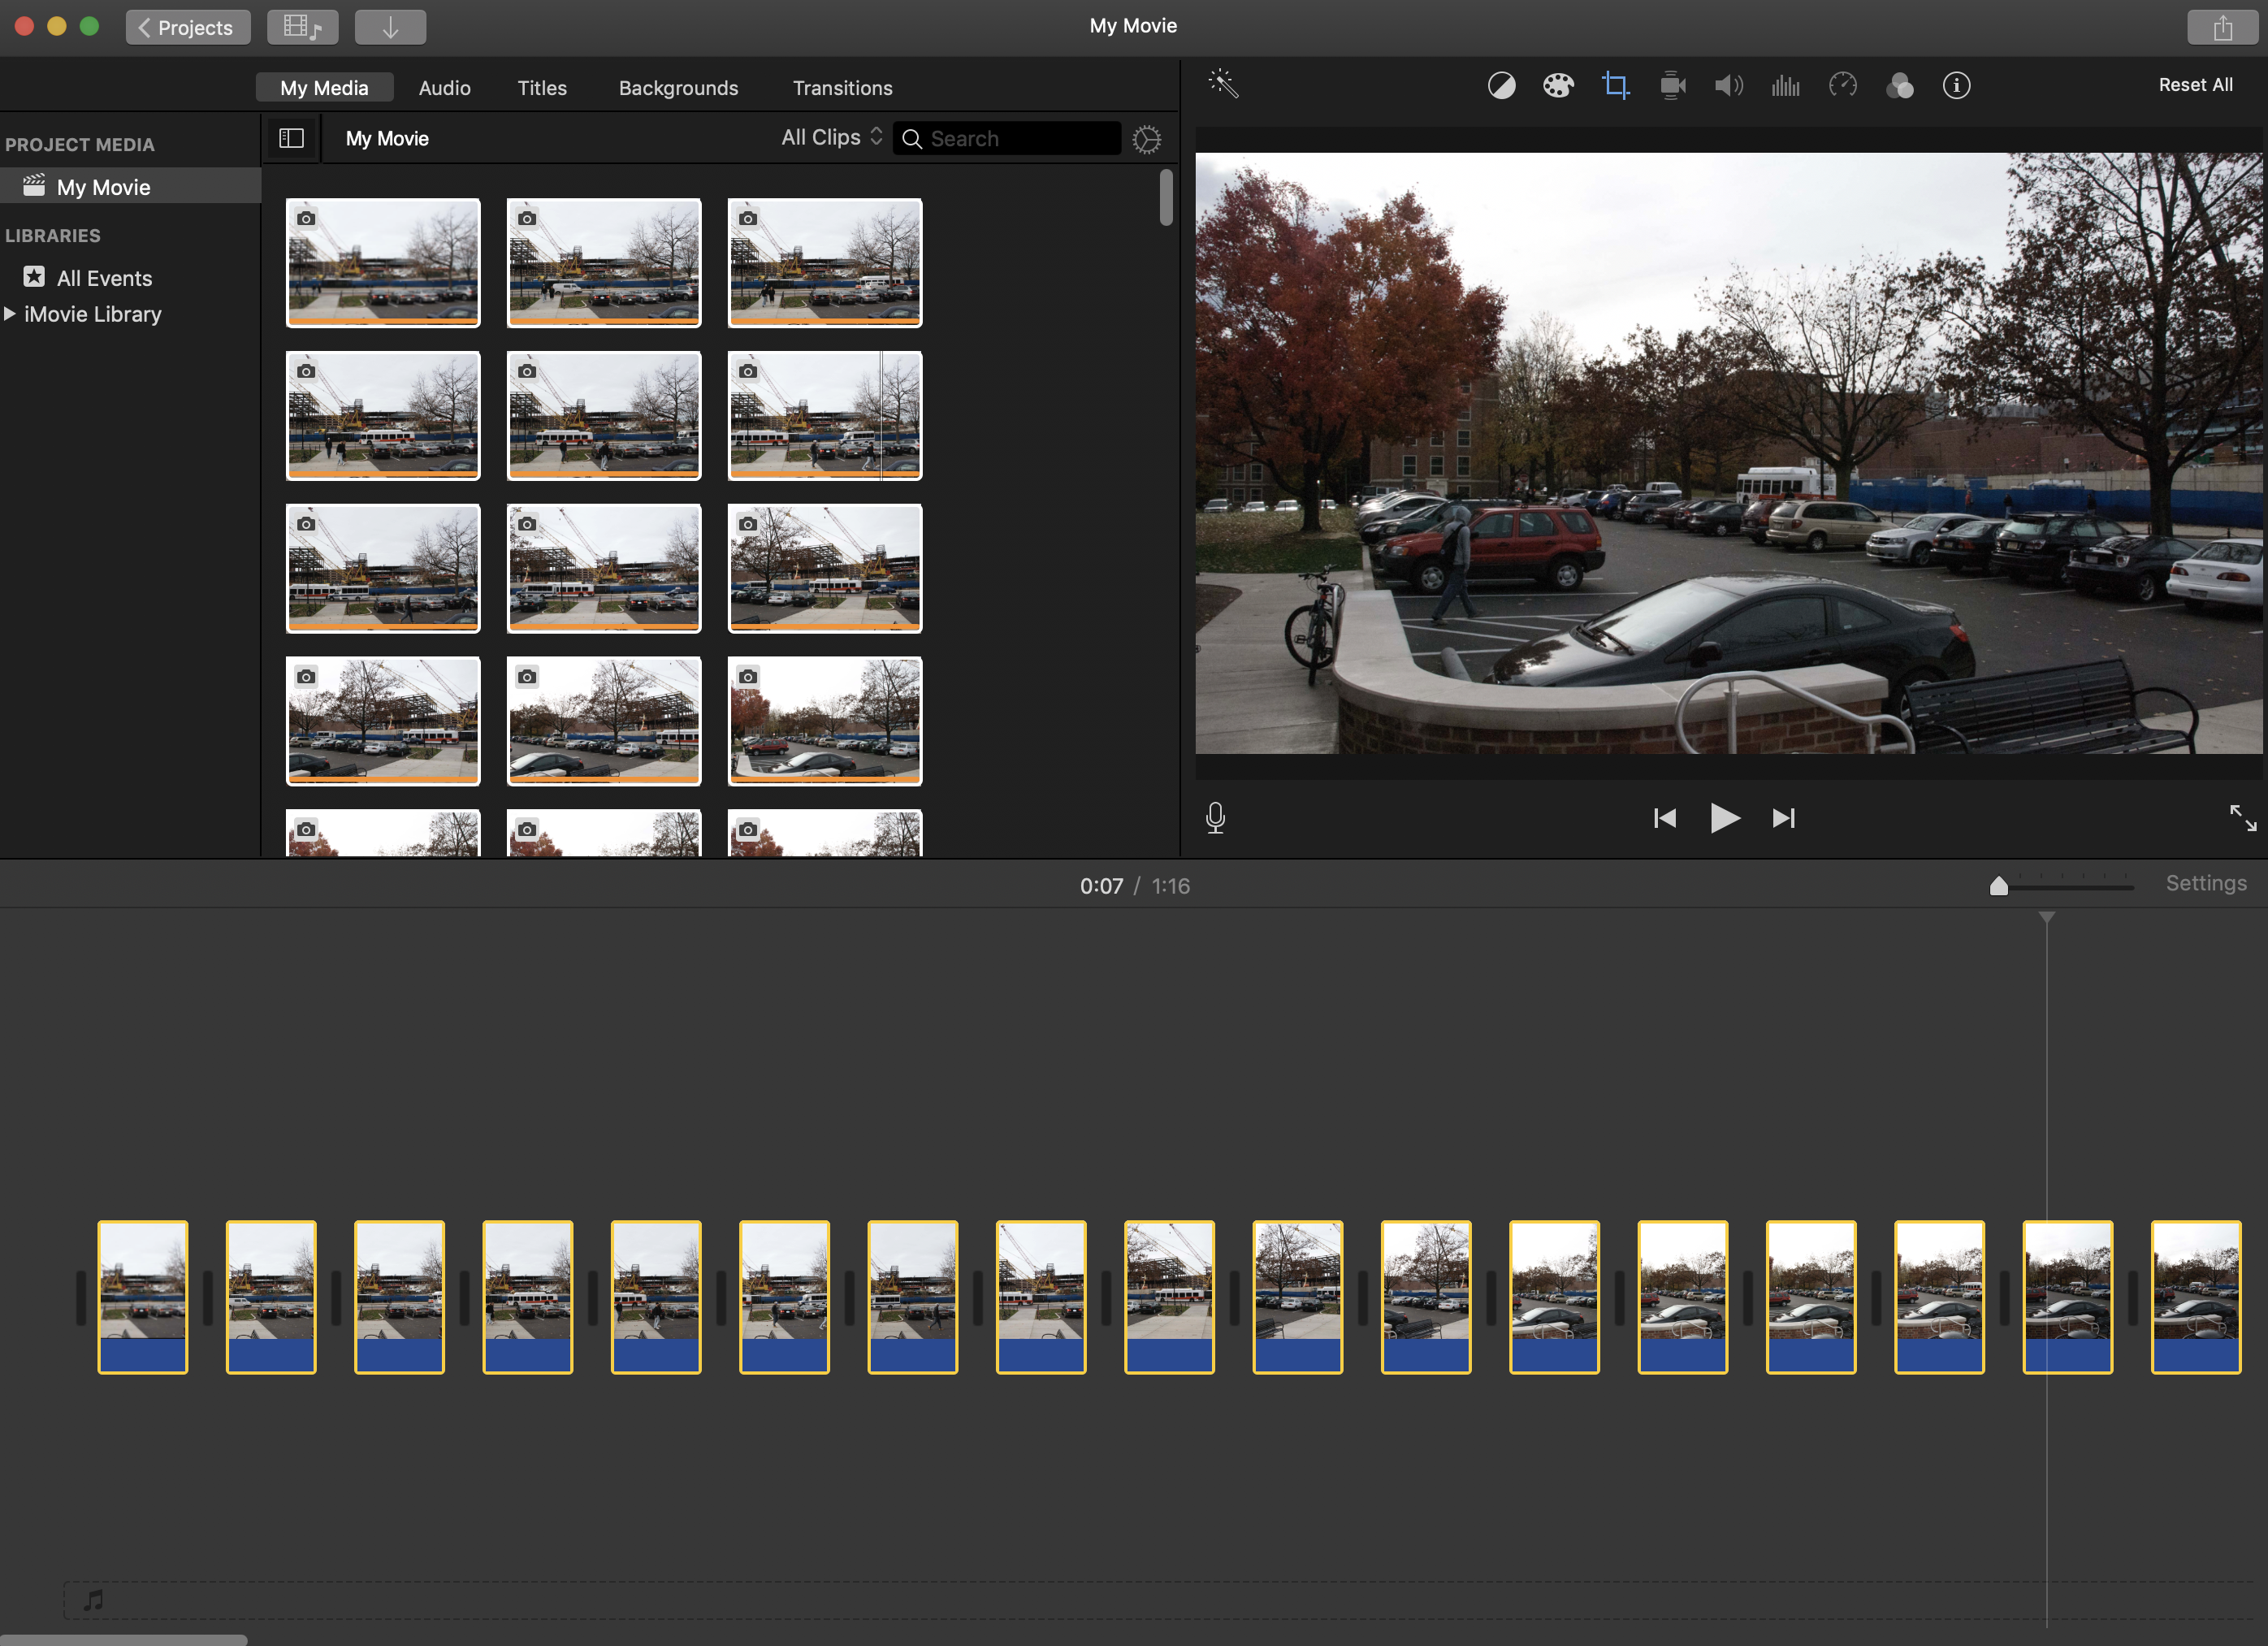
NOTE: See our additional tutorials for adding Text, Sound Effects, Music & Voiceovers.
Changing Frame Rate
- To make duration adjustments to only certain images, click and drag the cursor over the images you would like to adjust.
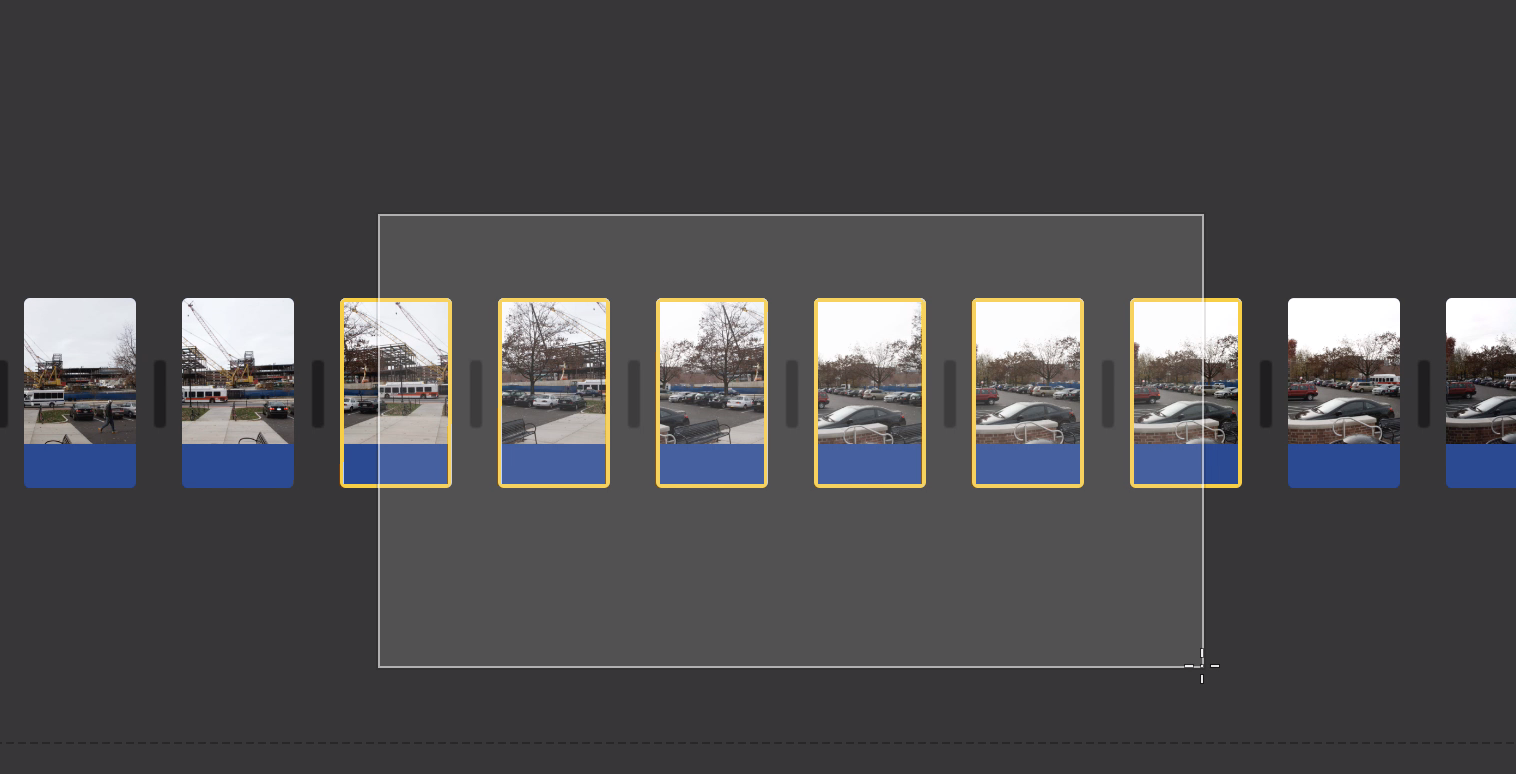
- Click the Information icon located above the viewer image that looks like a lowercase “i” in a circle.

- Click into the duration field located above the viewer window on the right.
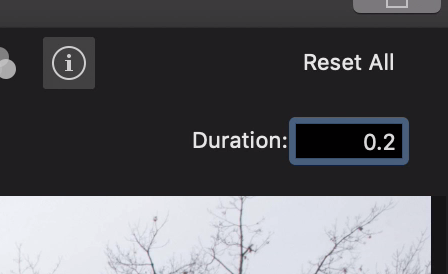
- Type in the new duration you want this selection of images to have and hit Enter on the keyboard.
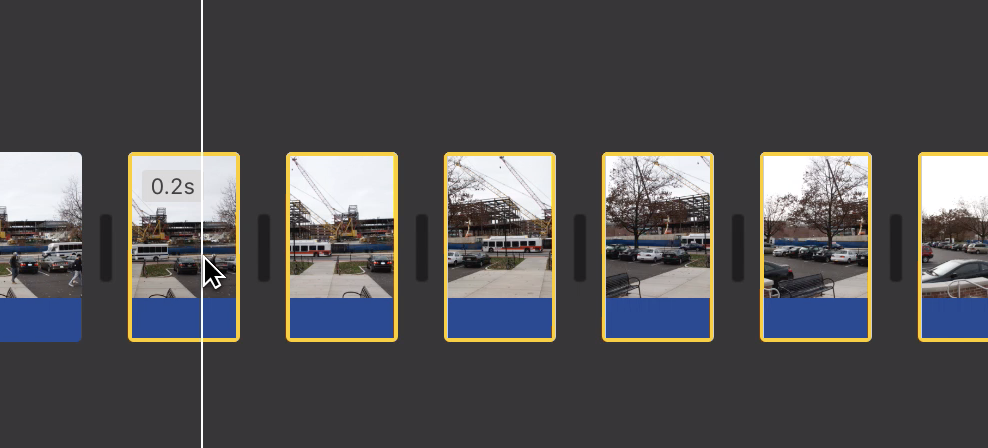
- To change the duration of all images in your project, follow the same steps, but use the Select All option from the Edit menu to select all the images in your project.
Changing the Photo Placement
If you decide that you don’t like the Photo Placement choice you selected in the Preferences when you started your project, you can change it for your project without starting over.
- Choose Select All from the Edit menu.
- Select the Crop icon above the viewer window which should be highlighted either in blue or orange.
- The placement, or Style, choices will be on the left above the viewer window and you can click on the option you want to switch to.
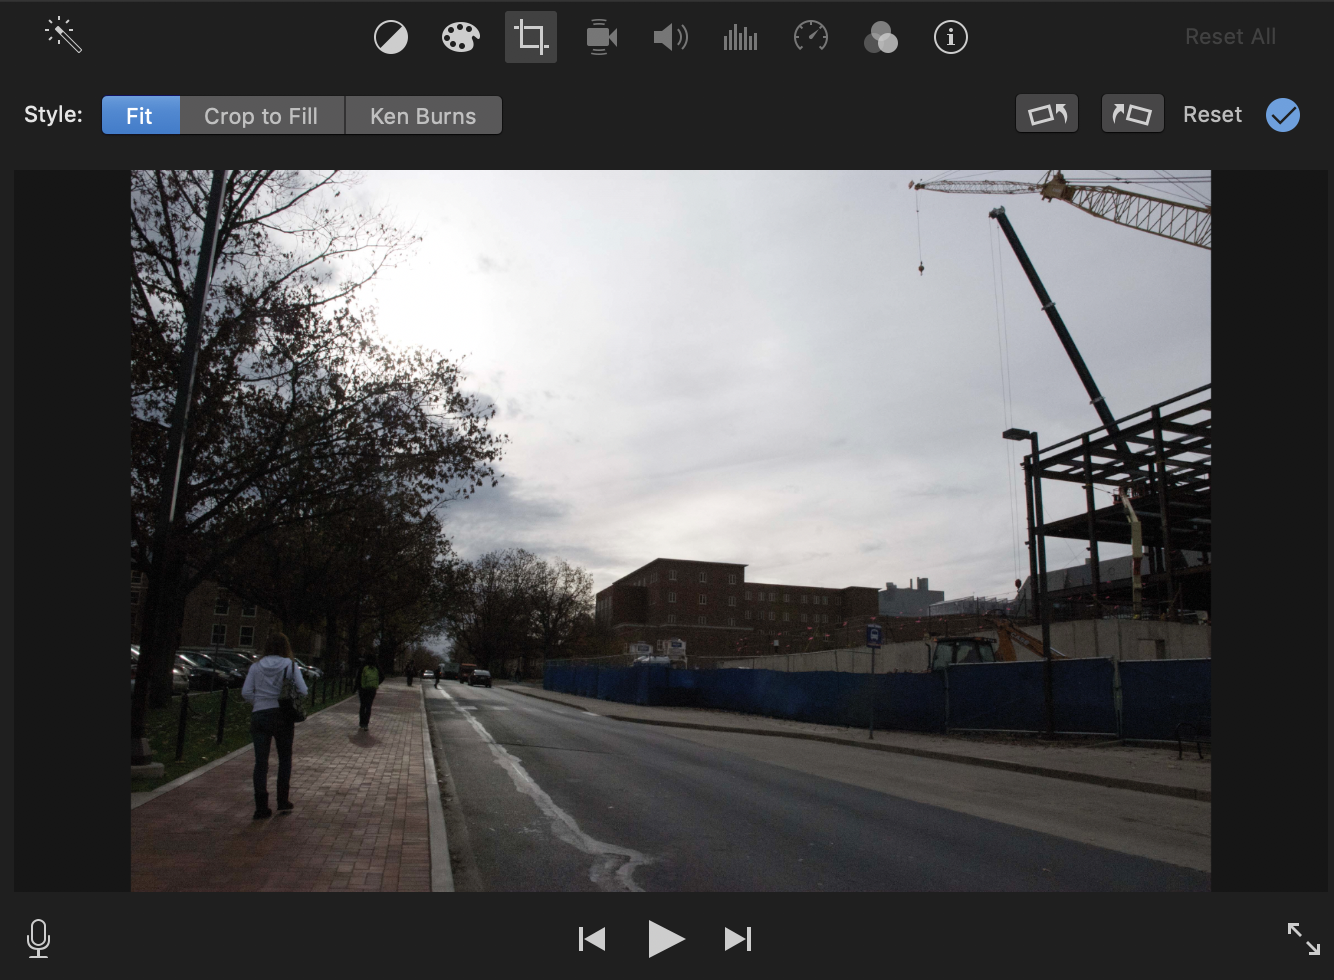
NOTE: Do not select Ken Burns which adds movement to each image individually.
Saving Your Project
Once your project is complete you can follow our tutorial for Exporting your project out of iMovie. If you need to complete your project at a later date, you can follow one of our Backing Up Your Project tutorials so you can return to it later.
