This page will take you through the setup process that you will need to go through to get started in Horizon Workrooms. The steps are meant to be followed in order and are broken up into several sections. As much as possible, we’ve provided screen shots for each step, however there are some instances where screen shots were not possible due to limitations on the headset.
Section 1 – Signing up for a Meta Account
- Go to this website: https://auth.meta.com/
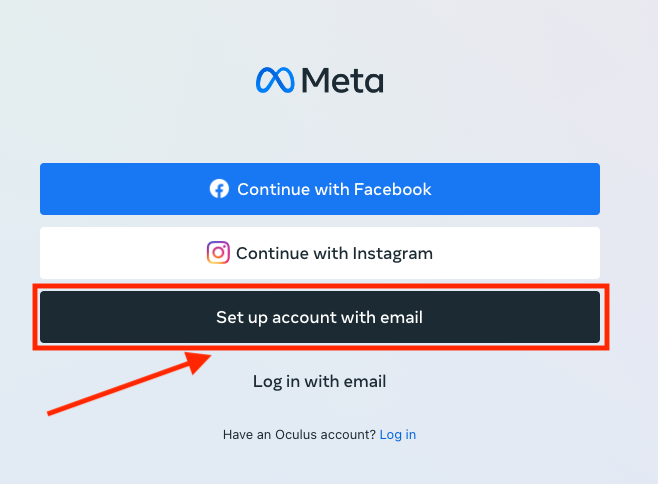
- Click “Set Up Account With Email”
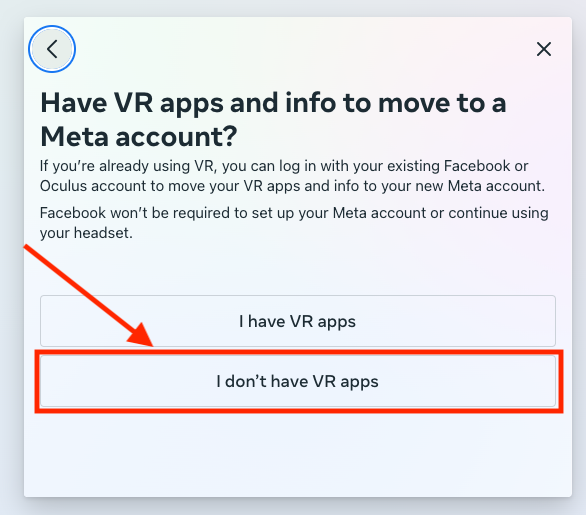
- On the next screen, click “I don’t have VR apps”
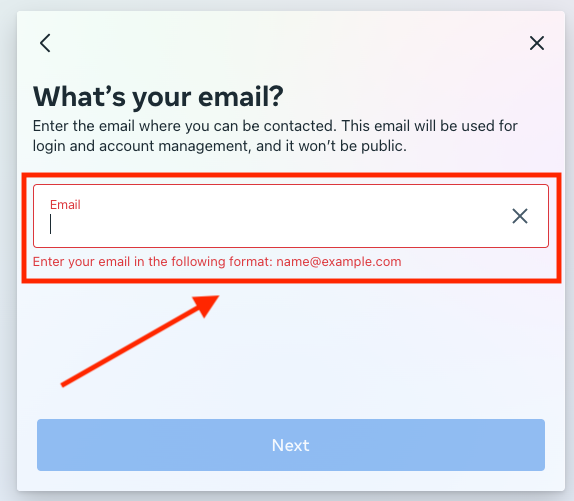
- Type in your email address into the spot available on the next screen and then click Next.
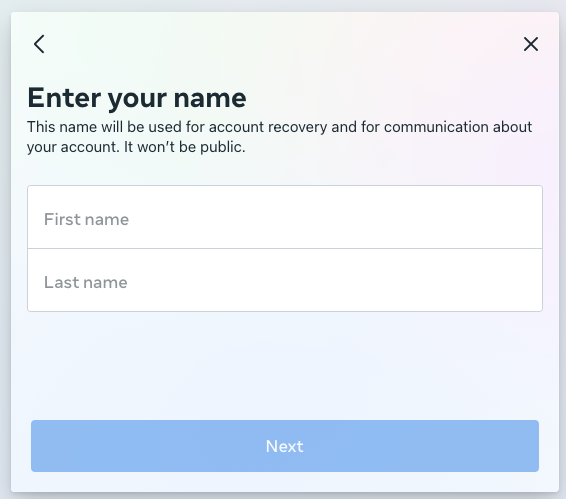
- On the next screen, enter your first and last name and then press Next.
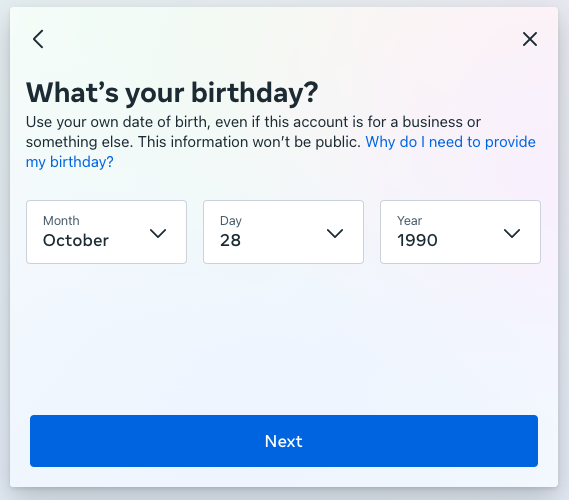
- On the next screen, enter your birthday and then press Next.
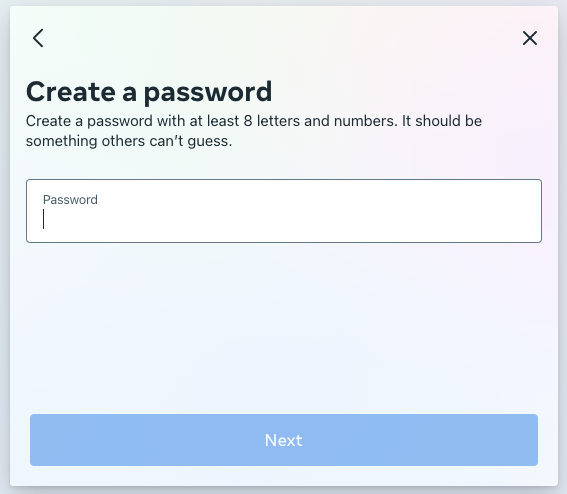
- On the next screen, create a password for your account and then click Next.
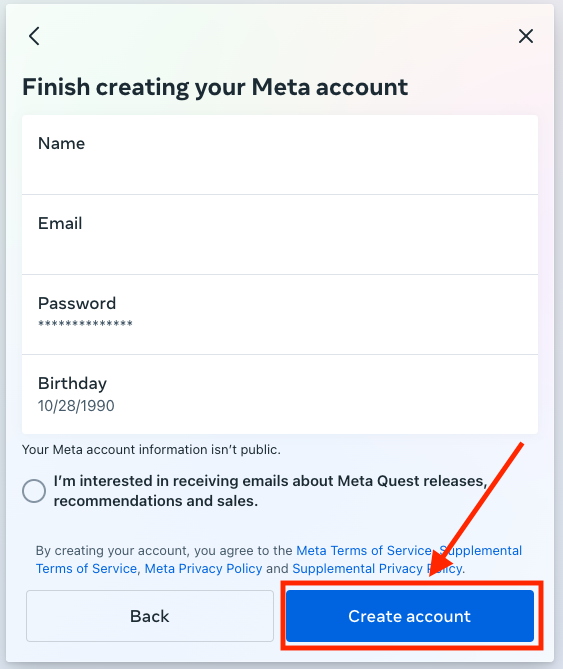
- On the next screen, review the information and click Create Account.
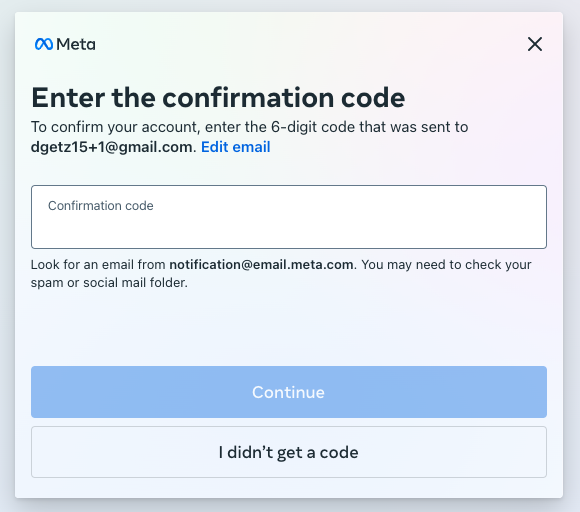
- Meta will email you a confirmation code. Go to your email and find the code and enter it on the next screen and click Continue.
- You will then be taken into your account. At this point you have successfully created your account.
Section 2 – Sign Up For Workrooms
- Go to this website: https://workrooms.workplace.com/signup
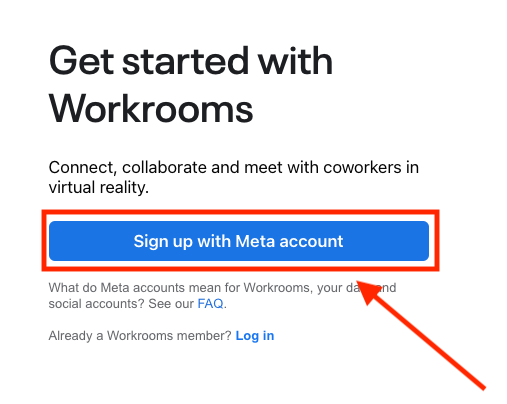
- Click on Sign up with Meta account.
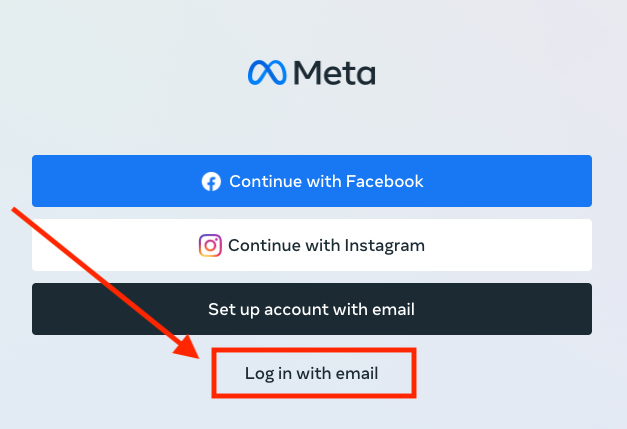
- On the next screen, click Log in with email.
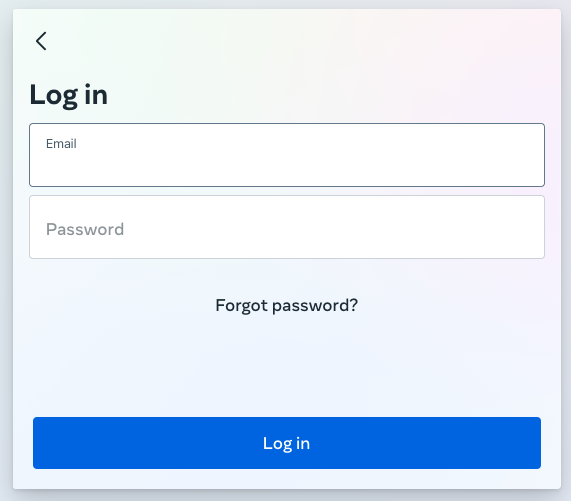
- Enter your email and password and click Log In.
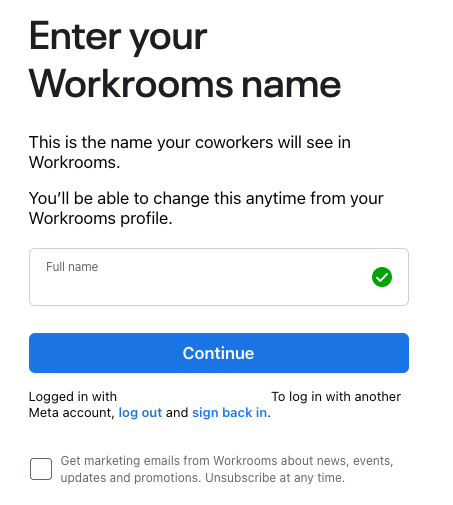
- Enter your name you would like to use on Workrooms and then press Continue.
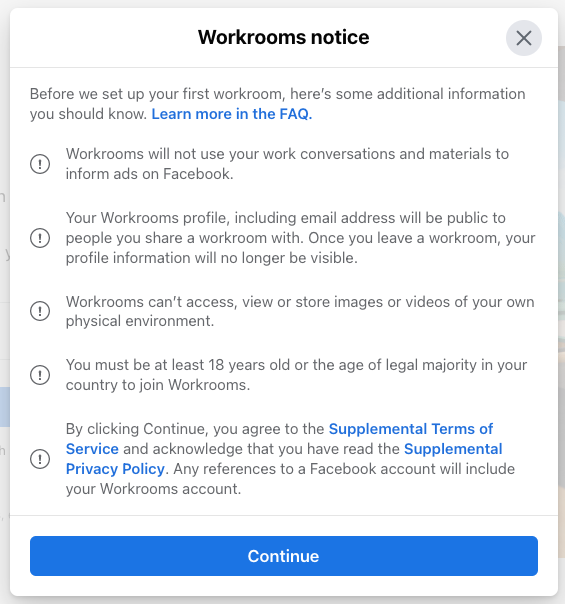
- A notice will appear in a pop-up window. Press Continue.
- Workrooms will take a few seconds to set up
- You will then be brought into your Workplace.
Section 3 – Setup Meta Quest Remote Desktop
Mac Setup
- Click on this link to download the application: https://www.oculus.com/download_app/?id=5240436612664633
- Once downloaded, double click the Meta Quest Remote Desktop.pkg to begin installing.
- Follow the instructions on the installer package to install the software.
- You will see a confirmation if this has been done correctly.
PC Setup
- Click on this link to download the application: https://www.oculus.com/download_app/?id=3824990300954777
- Once downloaded, open the Meta Quest Remote Desktop.exe to begin installing.
- Follow the instructions on the installer package to install the software.
- Click Finish when the installation is completed
After Software Is Installed
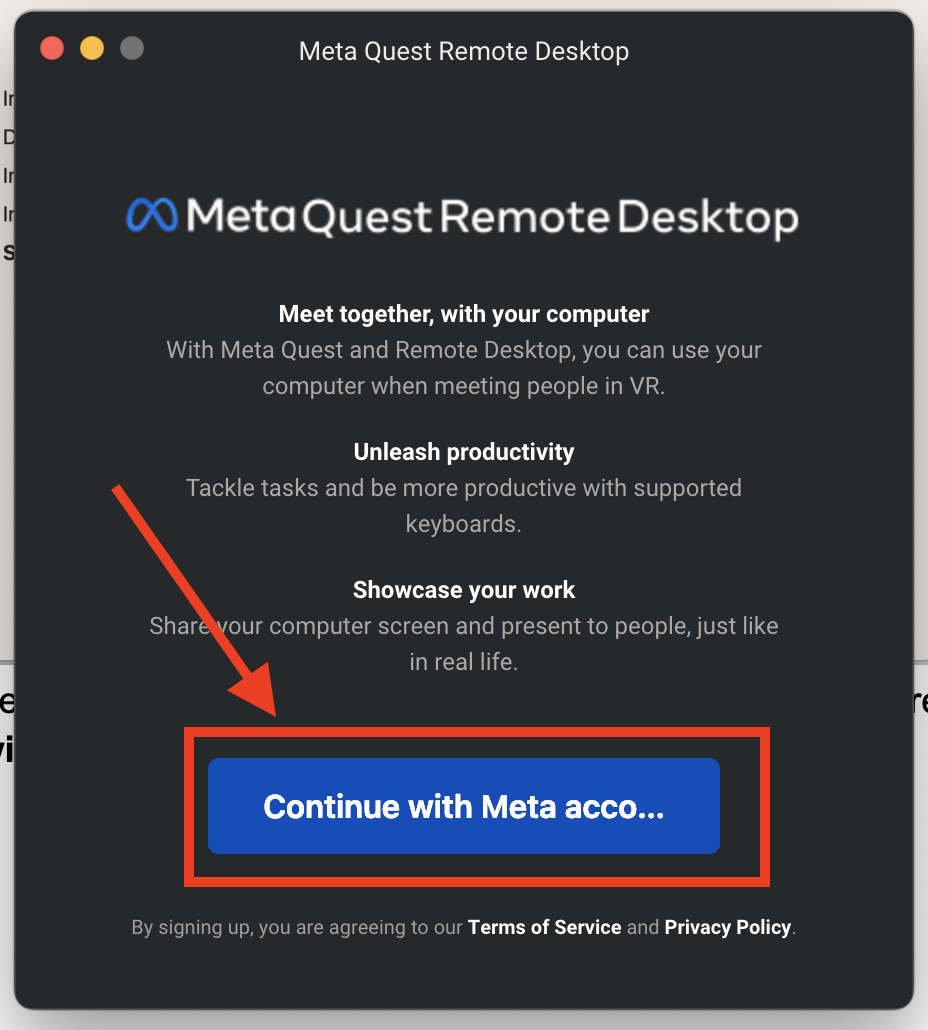
- Open the Meta Quest Remote Desktop Application. On the home screen, click Continue with Meta Account.
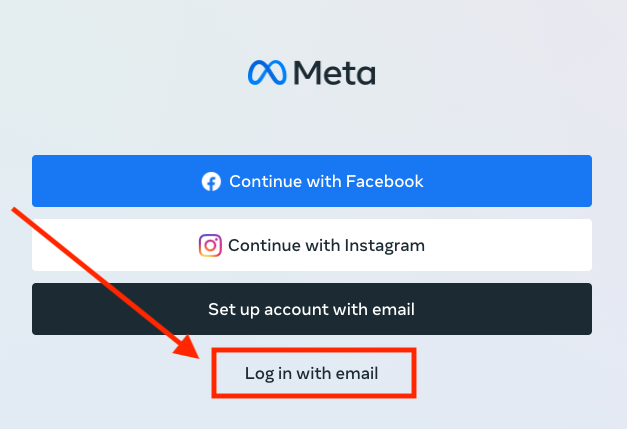
- A web browser will open up and you will need to log into your Meta account. To do this, click Log in with email.
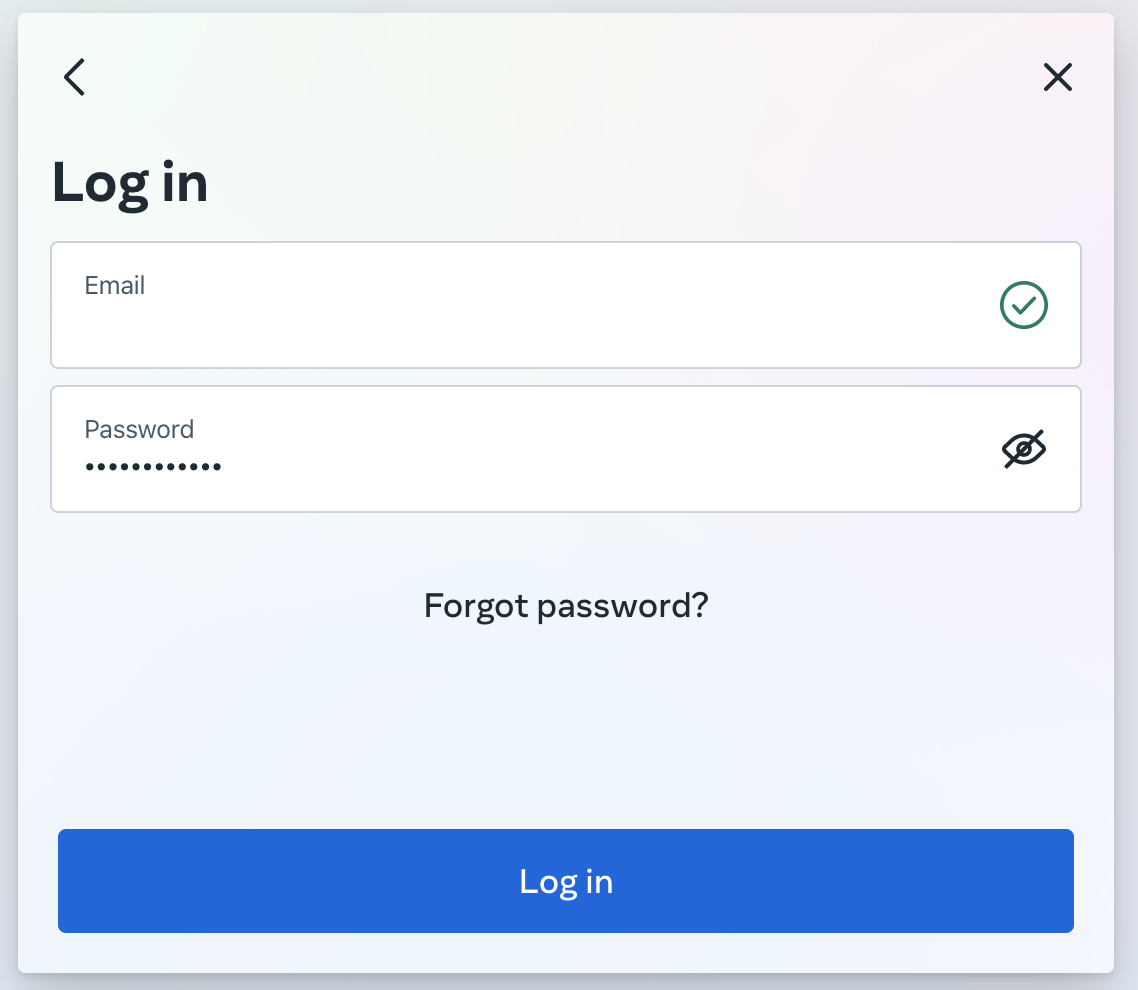
- Enter your email address and password on the next screen and click Log In.
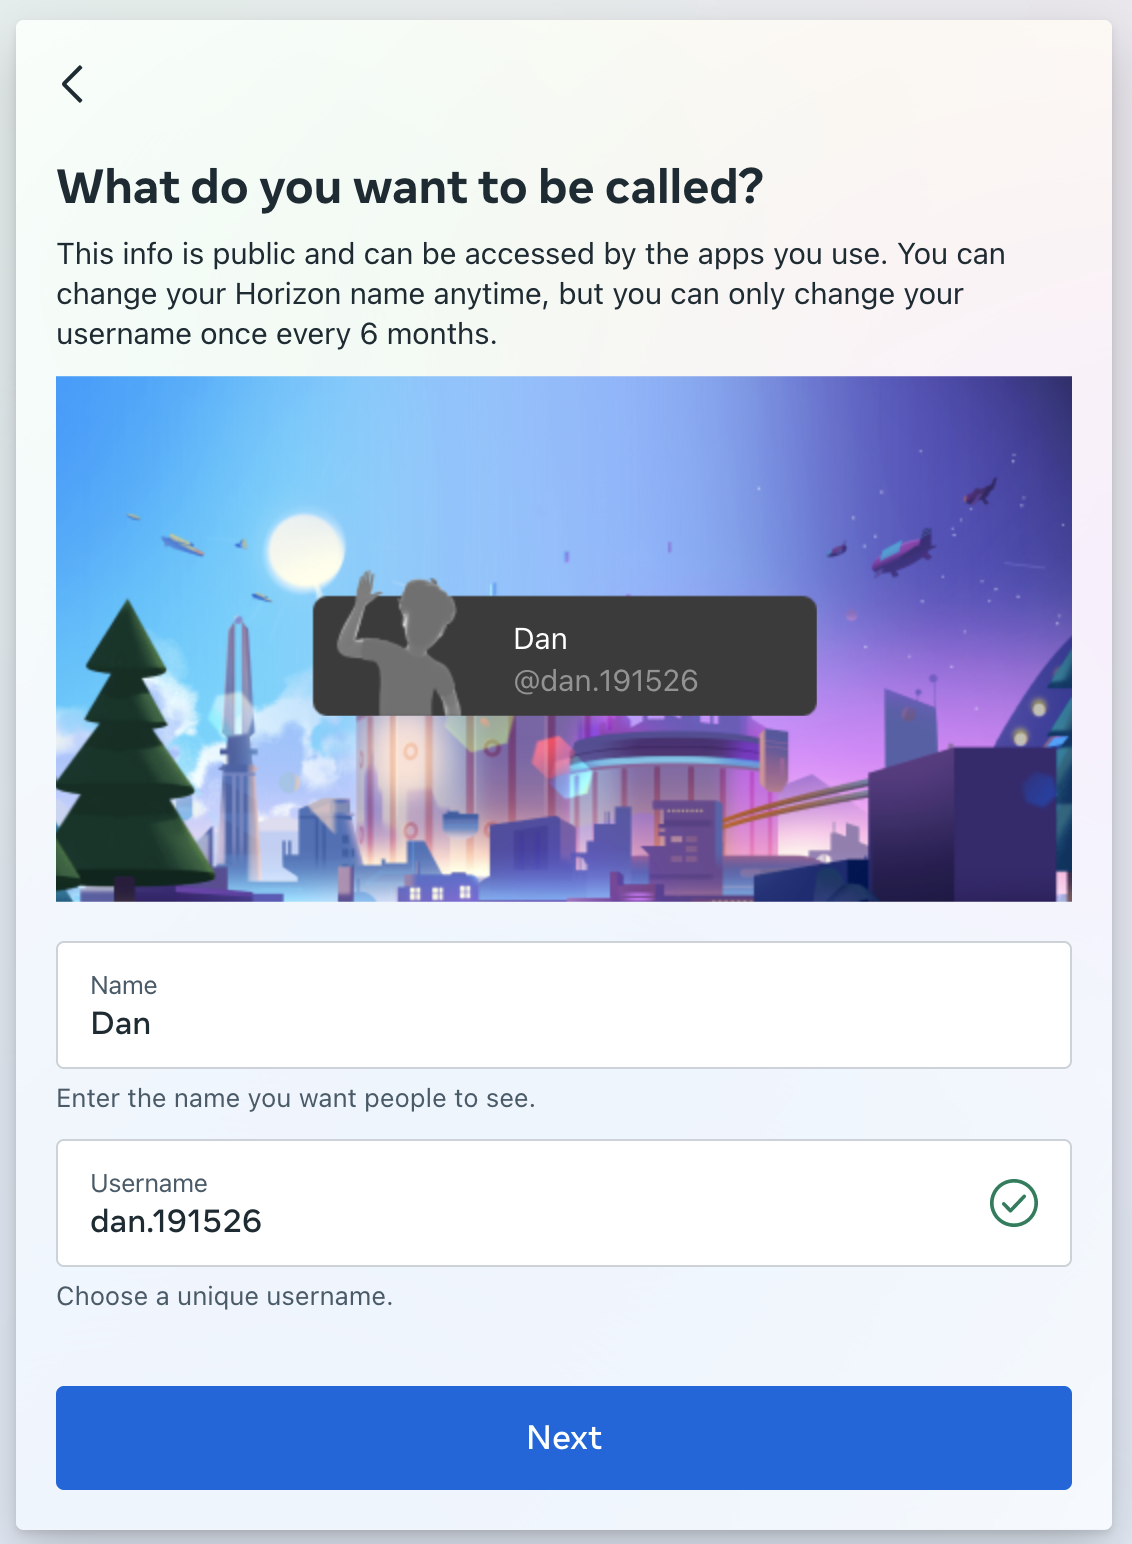
- If you have not set up an account before, on the next screen you will need to choose how you’ll appear on Horizon Workrooms. Click the Next button to get started.

- First, enter the name you want people to see as well as a unique username. Then click Next.
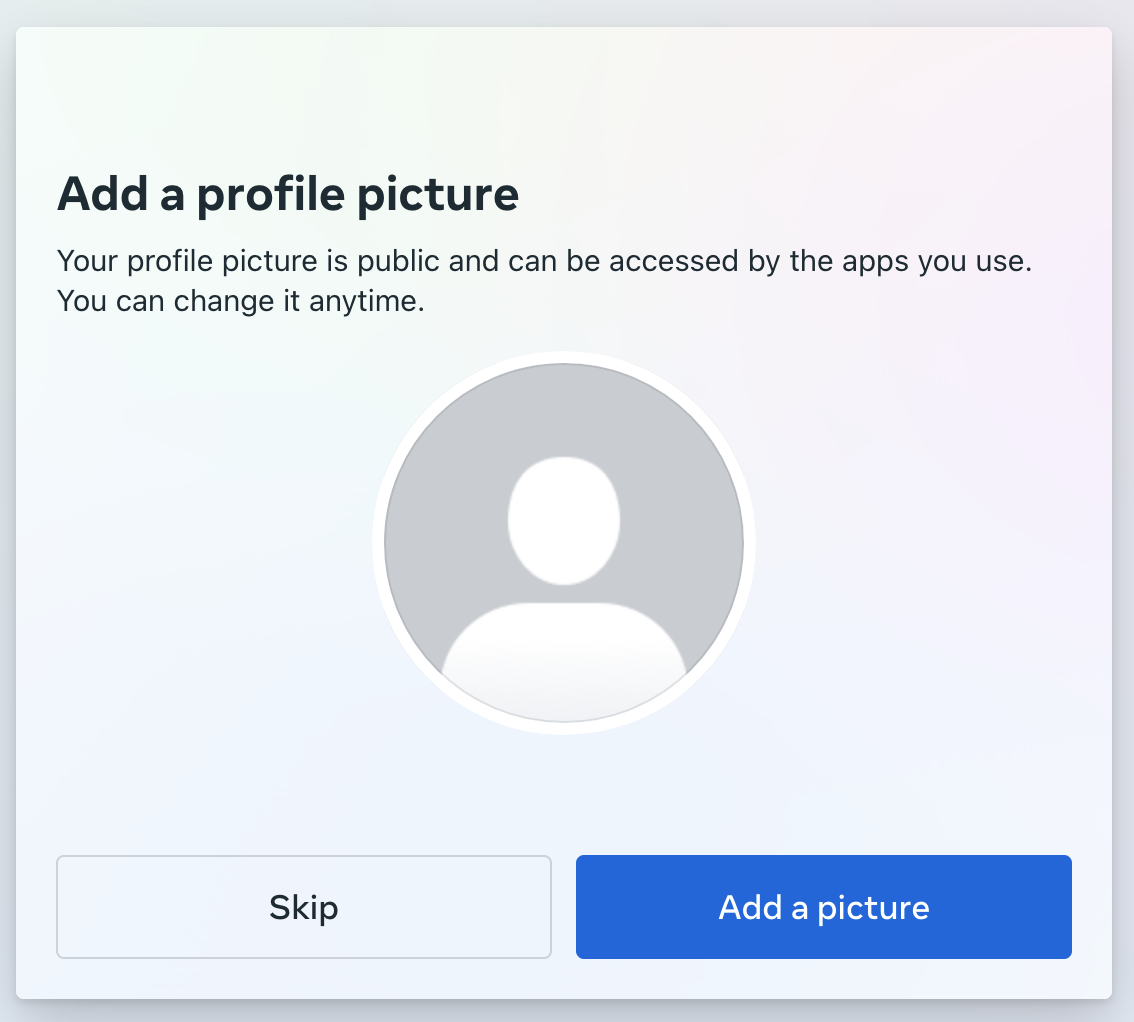
- Next you can add a profile picture if you’d like or press Skip if you would like to skip this step at this time. In this example we will skip this part.
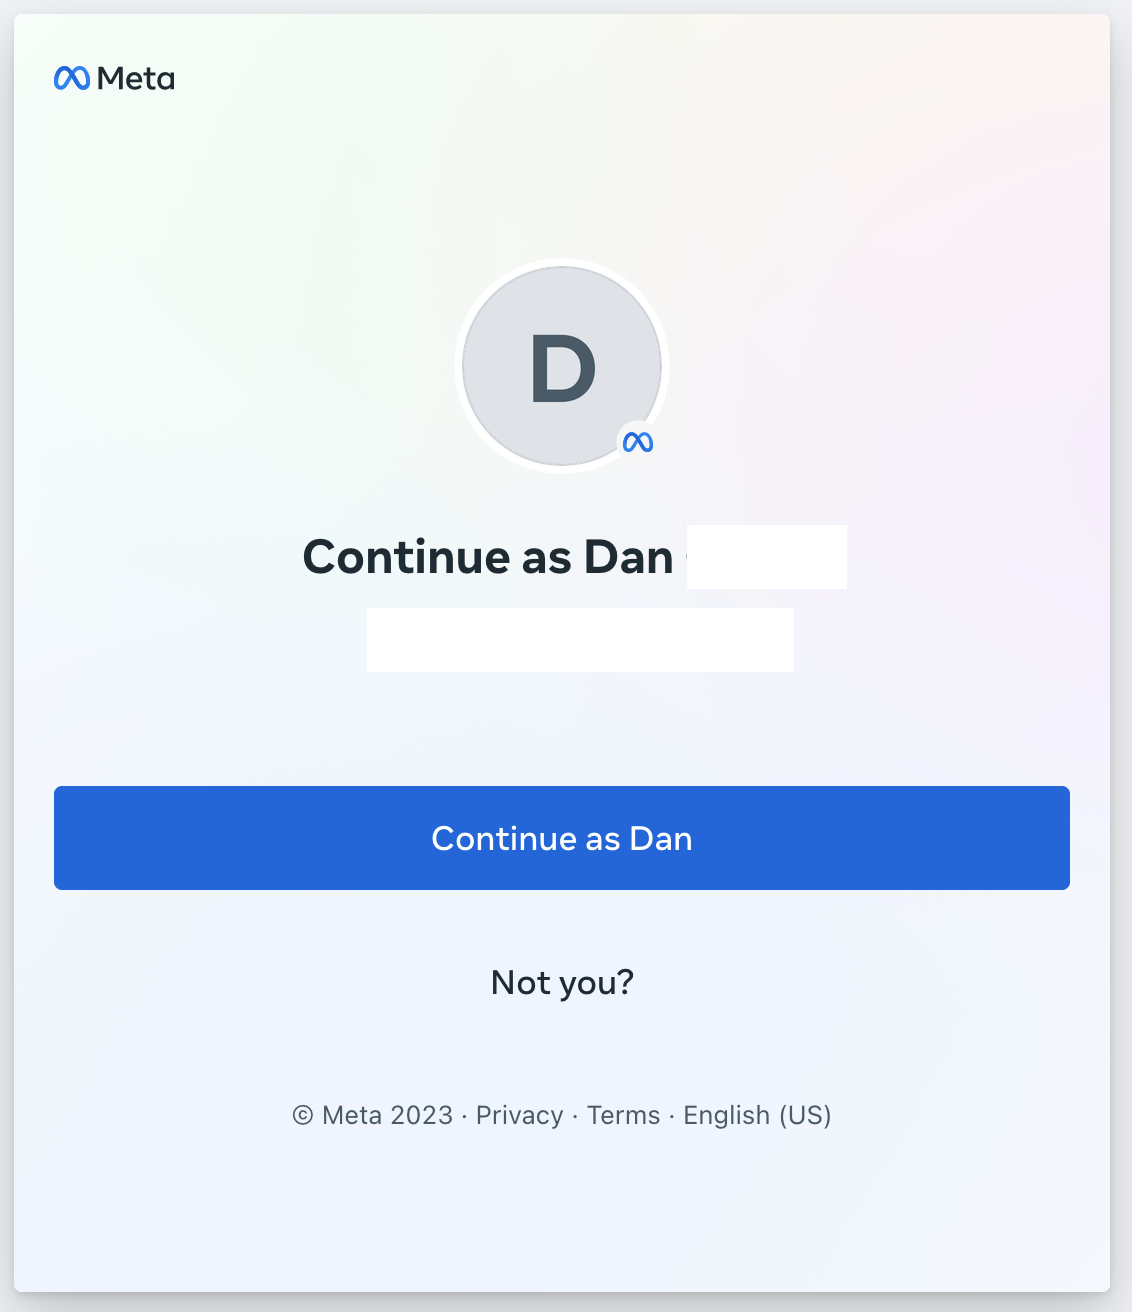
- On the next screen, make sure that the information is correct and press Continue.
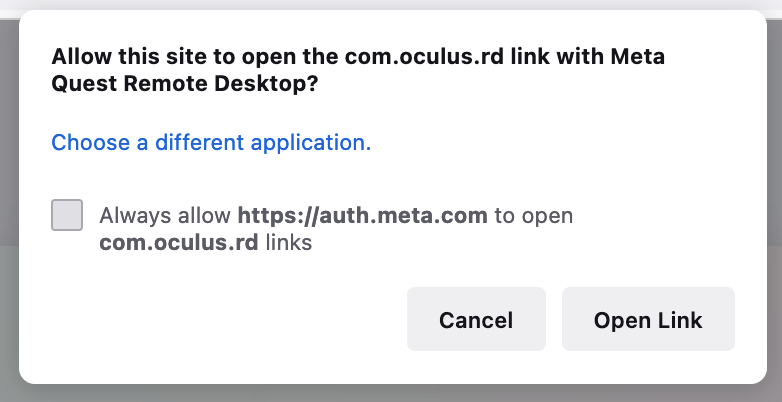
- You may get a notice asking you to to allow the site to open the application. Depending on your browser this may look different, but you will need to allow the browser to open the Meta Quest Remote Desktop application. In this example, the browser being used is Firefox and you would need to click Open Link.
- You should then be taken back to the Meta Quest Remote Desktop application. The application will finish logging you in.
Section 4 – Add Meta Account To The Headset
- Power on the headset by pressing the button on the right side of the headset until a white light turns on.
- Once the headset is turned on, proceed to set up your guardian boundary.
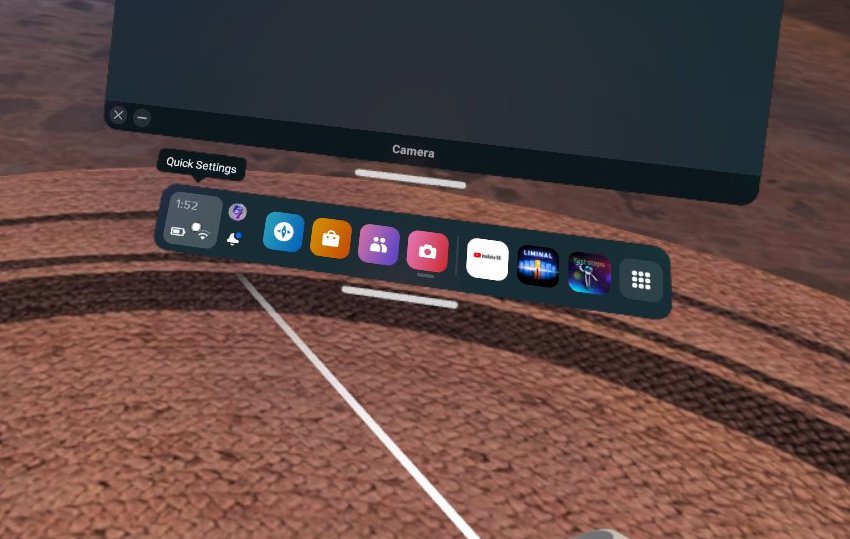
- When you are in the headset, you will need to first access the settings options. To do this, click the icon on the left side of the smaller rectangular menu that appears in front of you. It will have the time, batter, and wifi symbols on it.
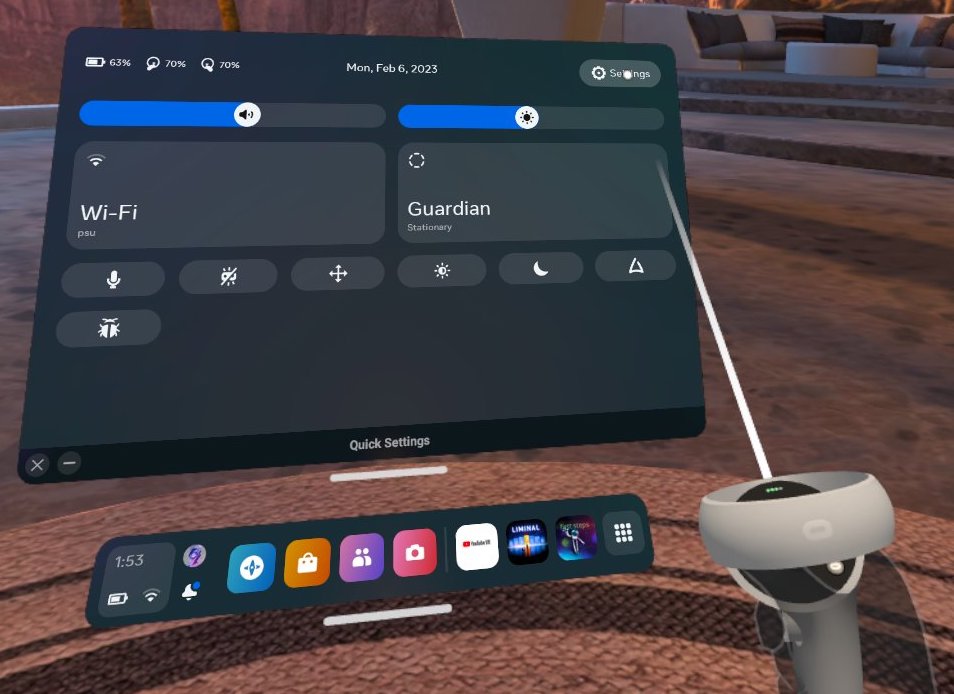
- On the next screen, click the settings button in the right hand corner of the window.
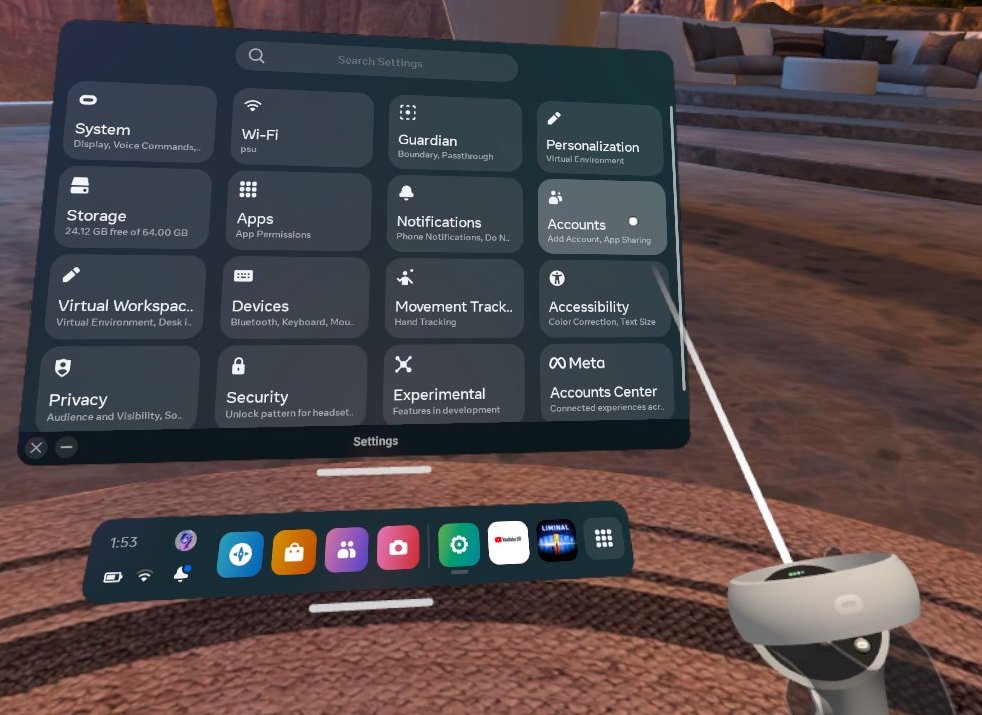
- Then click the Accounts icon.
- You will get a notice about Getting Started with Device and App Sharing. Press OK on this notice.
- Before adding a new account, make sure App Sharing is turned OFF before proceeding. The slider icon should be in the left position. This is important to make sure all of the headsets continue working properly.
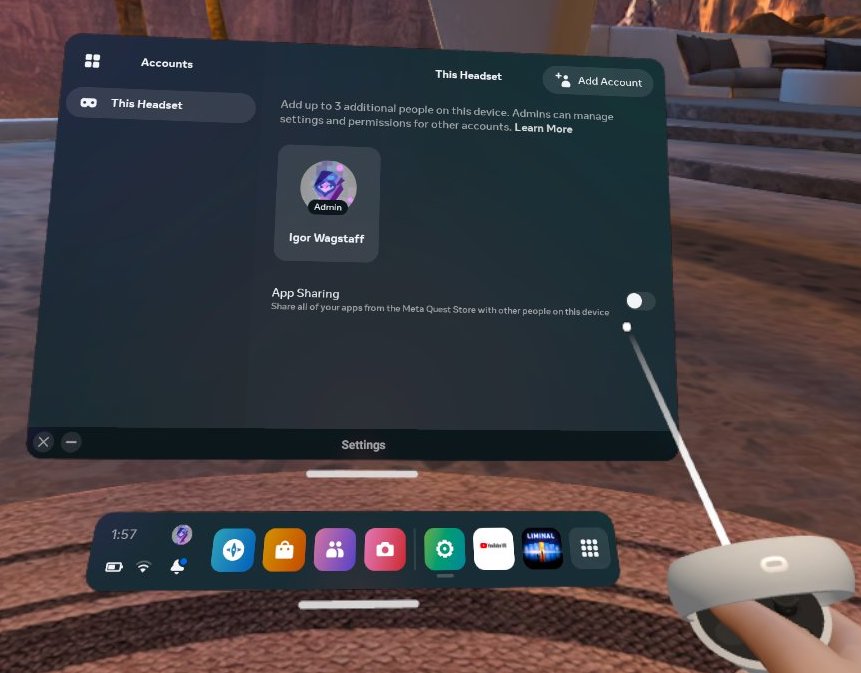
- Once you’ve made sure app sharing is turned off, click Add Account in the right hand corner.
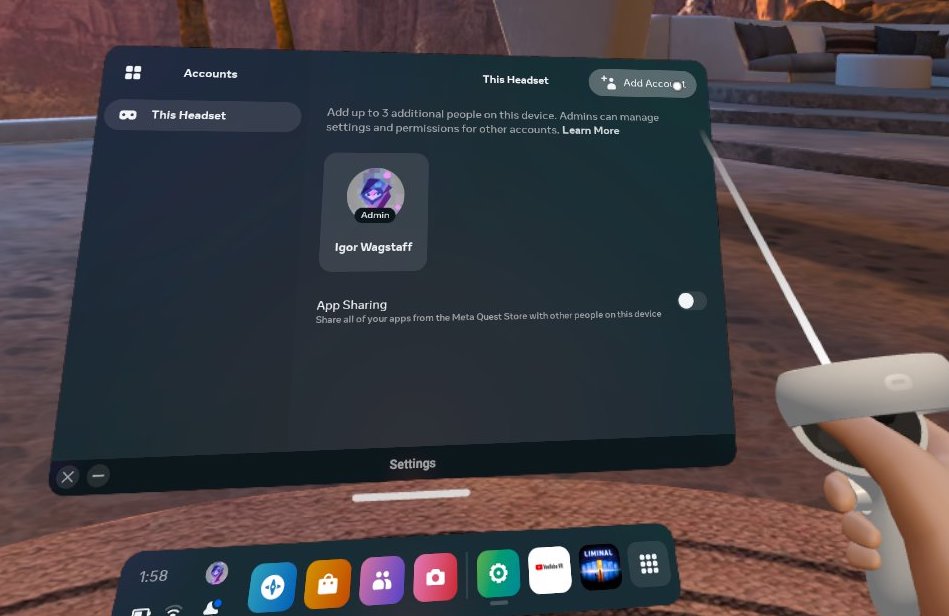
- You will get another notice asking about app sharing. Press Skip at this screen.
- Next you will be asked to put in an unlock pattern. For this process, DO NOT PUT AN UNLOCK PATTERN. Press Skip.
- On the next screen, press Continue.
- This will take you out of the main account and you will be taken to a screen with an 8 digit code made up of numbers and letters. Write down this code as you will need to use it in the next step.
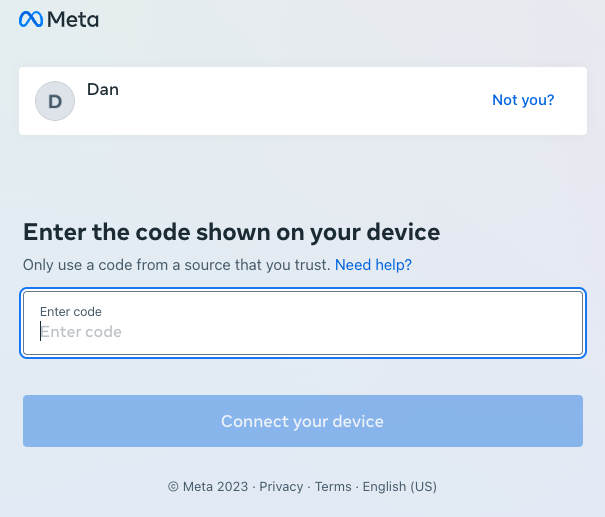
- Go to this website: https://www.meta.com/device
- Log in with your email address.
- On the next screen, enter the code from the headset into the space provided and press Connect Your Device.
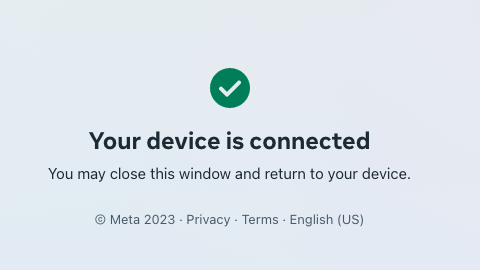
- You will get a notice that your headset has been connected.
- Now return to your headset.
- You will again be asked to set an unlock pattern for your account. Press Skip on this as well.
- Follow the prompts in the headset to finish the set up.
Section 5 – Install Horizon Workrooms on Quest 2 Headset
- In the headset, you will need to first access the Meta Quest Store. Do this by clicking the Shopping Bag Icon from the small rectangular menu. This is an orange and white Icon.
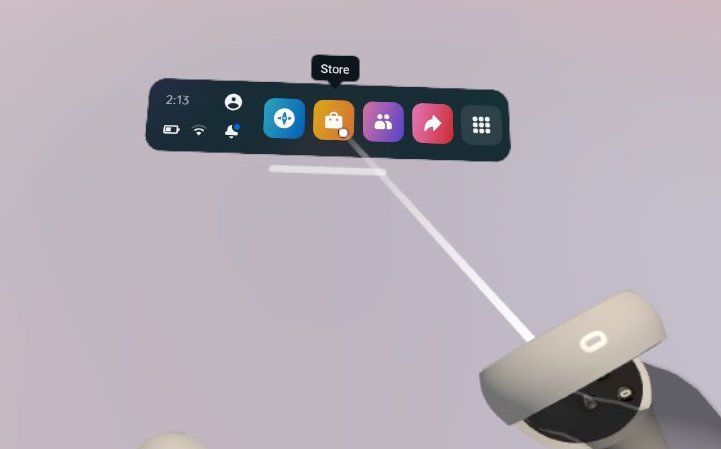
- The Store will then appear in front of you. Click into the search bar in the right corner of the store window.
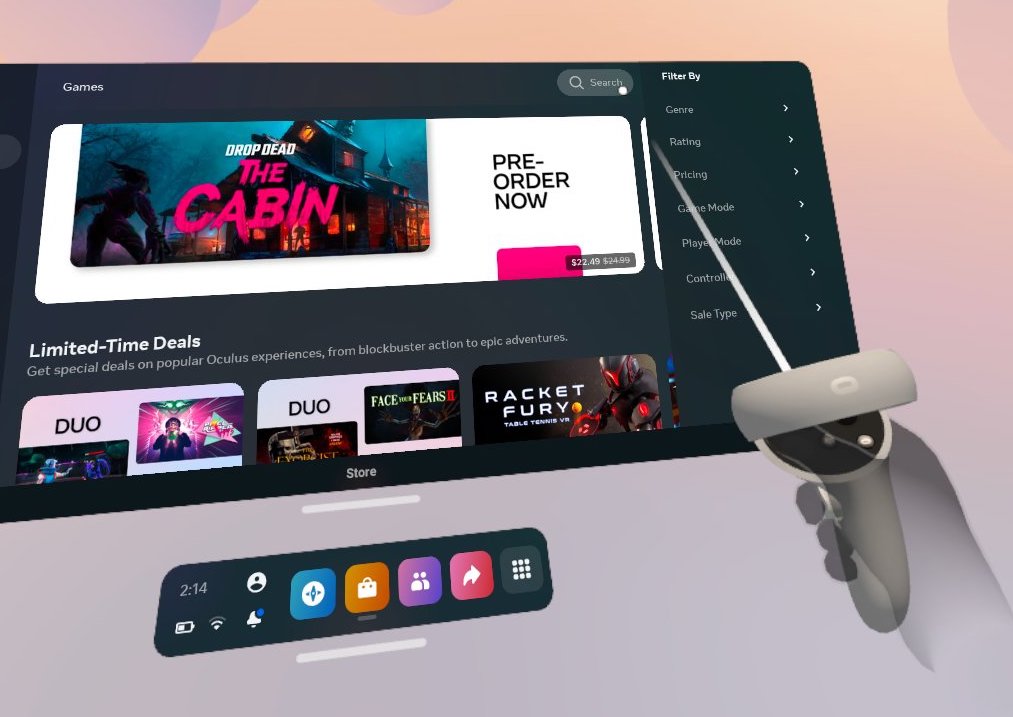
- In the search bar, type ‘Workroom’ and the application will appear as the first icon in the results.
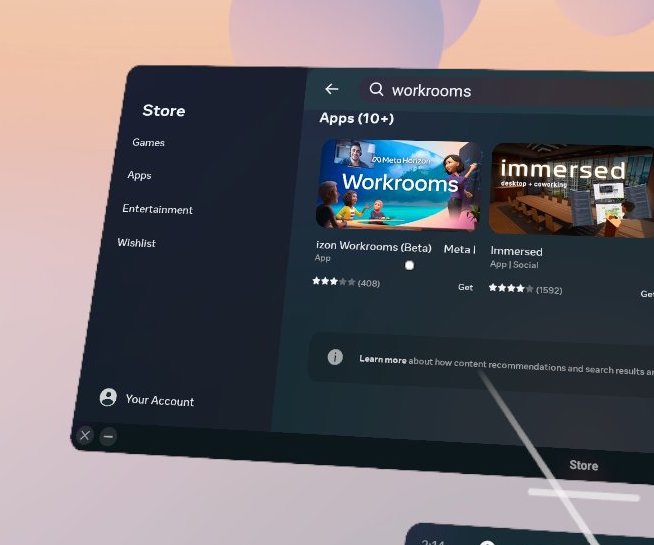
- Click on the application and on the next screen, click the blue Get button.
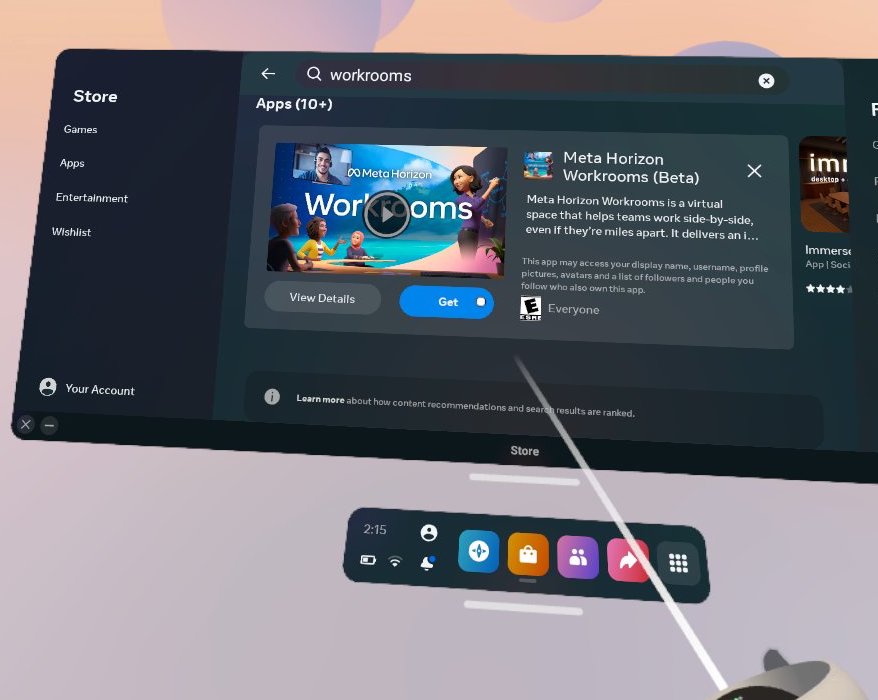
- The application will start to download.
Section 6 – Set Up Hand Tracking
- Horizon Workroom utilizes hand tracking features of the Quest 2. This will need to be set up before you open the Workrooms application.
- To set up hand tracking, first open the Quick Settings by pressing the icon on the far left of the small rectangular menu. This icon will have the time, battery, and wifi symbols on it.
- On the next screen, click the Settings icon in the top right corner of the window.
- In the next window, find the Movement Tracking setting and select it to open it
- Click the sliding bar next to Hand Tracking.
- A notice will appear. Click the blue Enable Hands button.
- At this point, you will need to put your controllers down and follow the prompts in the headset to continue. The headset will track your hands and explain how to navigate the interface with your hands.
Section 7 – Open Workrooms and Finish Setup
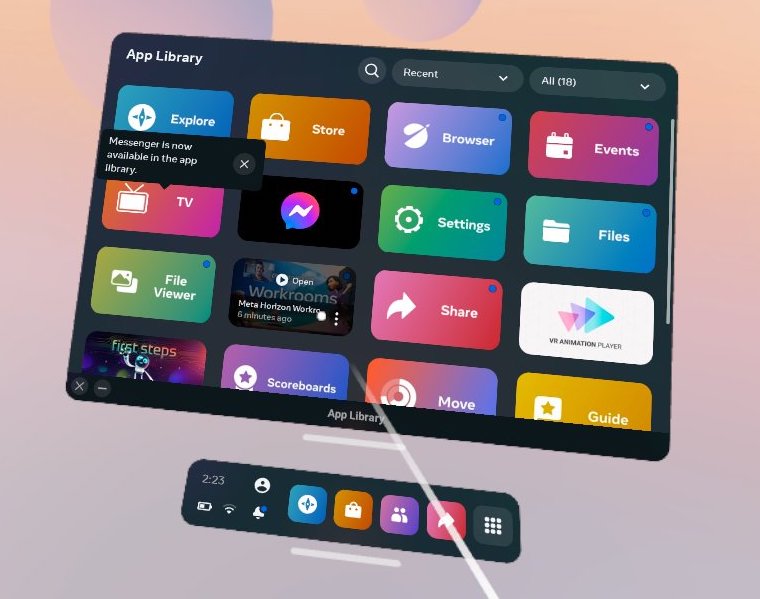
- In the headset, first you will need to open the application Library. To do this, click the icon that appears as 9 dots on the small rectangular menu. This is the App Library button.
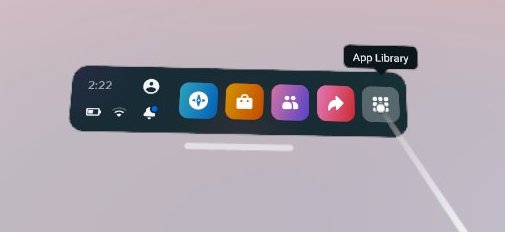
- This will bring up a screen that has all of the applications installed on the headset. Find Horizon Workrooms and select it to open the application.
- Before proceeding, you will need to set up a virtual desk that Workrooms will utilize. Press the blue Continue button to proceed when the notice appears.
- Follow the prompts inside the headset to create your virtual desk.
- Once you’ve confirmed your desk, a screen will appear asking you to put your controllers down and within reach. Do this and then using the hand tracking controls, click the blue I’m Ready button.
- Initially, a tour will come up if you have not opened that application before. You can skip this if you’d like.
- Once you’ve either skipped or watched the tutorial video, you will need to allow the headset to access certain permissions. The first will be Microphone and File Access. To set this up, on the Setup Checklist window, click the blue Continue button.
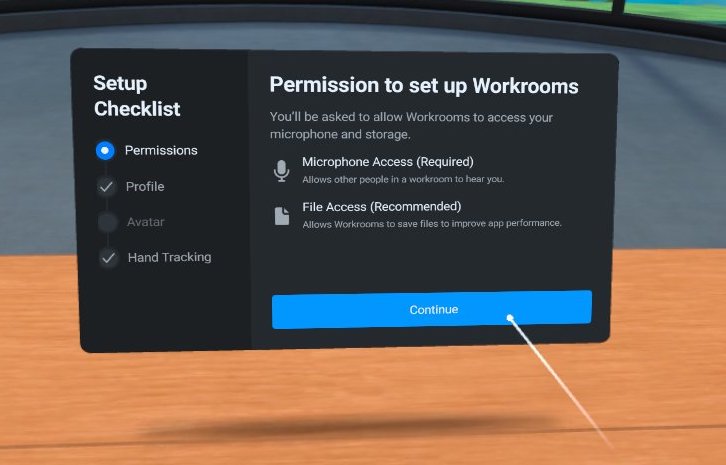
- A notice will appear in the headset asking you to allow workrooms to record audio. Click the blue Allow button.
- A second notice will appear asking you to allow permissions for the headset to access files. Click the blue Allow button on this as well.
- You will then go back into workrooms. Your profile was alread set up so the next step will be Creating your Avatar. Click the blue Create Avatar button to continue.
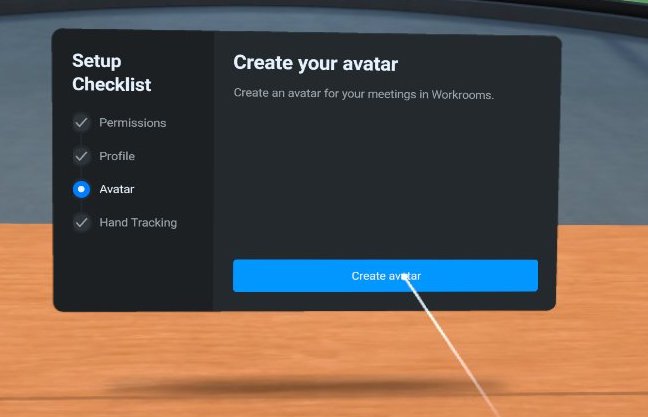
- You will then leave the Workrooms application and be taken into the avatar creation process. To get started, click the blue Create Avatar button.
- Follow the prompts in the headset to create an avatar. You can always change your avatar later.
- Once you have made your avatar, click Save Changes on the avatar creation screen and you will be brought back into Horizon Workrooms.
- When you are back in Workrooms, your avatar will appear on the Setup Checklist screen. If everything looks good, click the blue Continue button.
- Finally, click continue on the Workrooms notice that appears and you will be finished with the setup process.
