This tutorial will guide you through creating a new 360º imagery (photo or video)-based tour in ThingLink.
- When signed in at ThingLink.com, click the Create button in the upper right corner of the dashboard.

- Choose 360º image or virtual tour under What type of interactive content do you want to create?

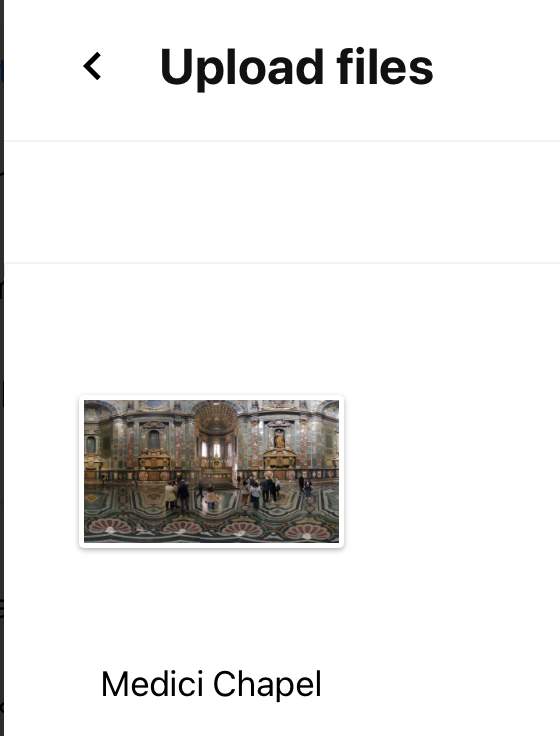
- Browse to the 360º imagery you’d like to use as your base layer and drop it on the Drag & drop assets here portion of the Upload screen.

- Click Continue.
