This tutorial will cover how to use one of several tag types in ThingLink, particularly the one that combines flat imagery and supporting text and/or button.
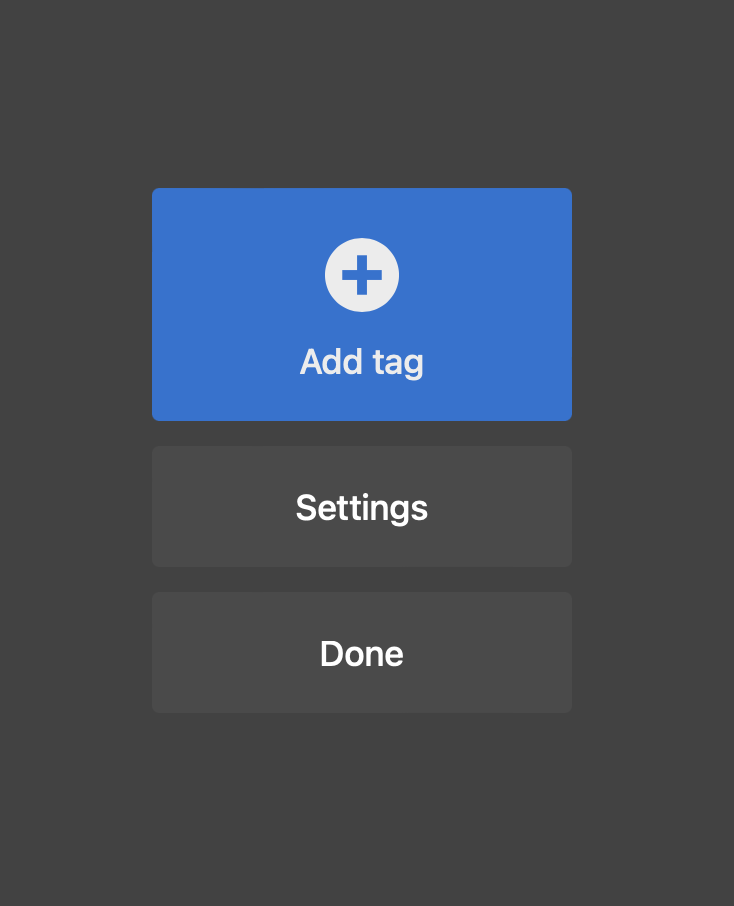
- Click the Add Tag button.
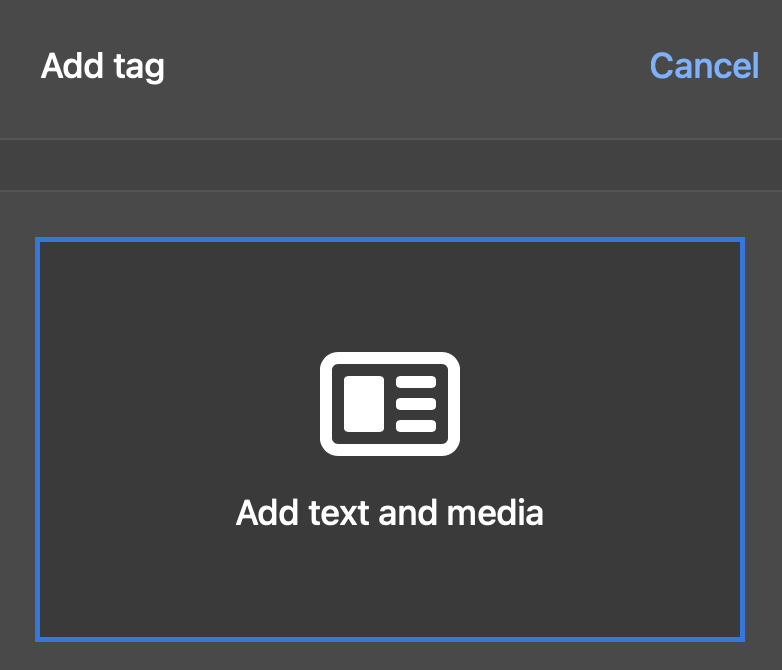
- Choose Add text and media.
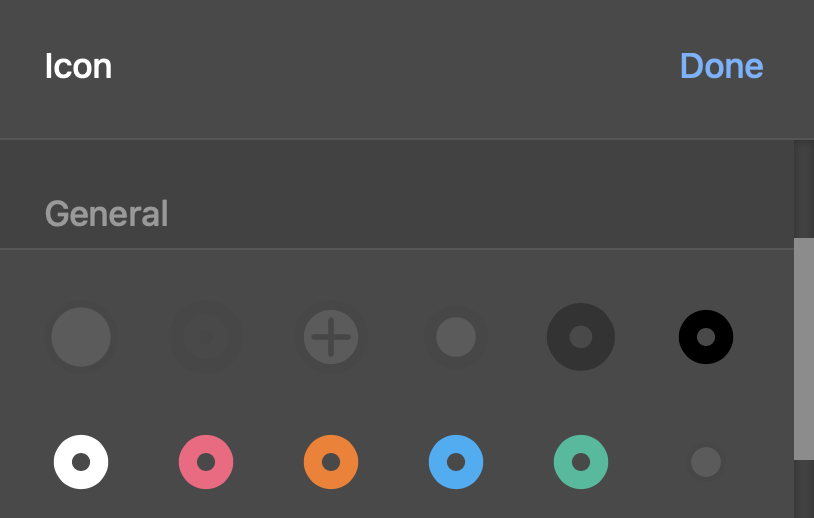
- Choose an Icon and select its color. These can be changed at any time.
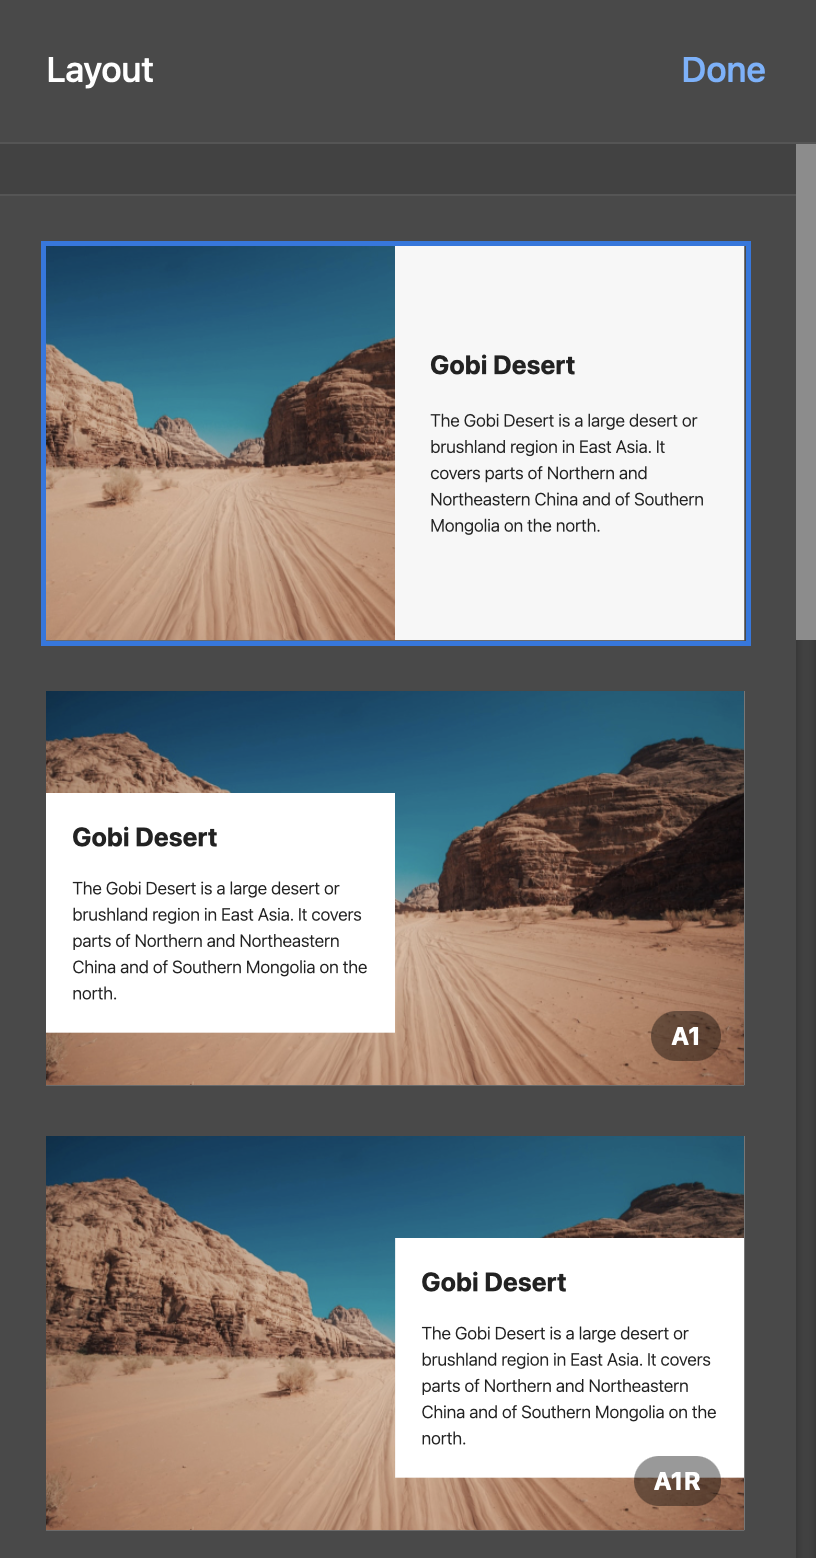
- Select from a predefinied Layout. These can be changed at any time.
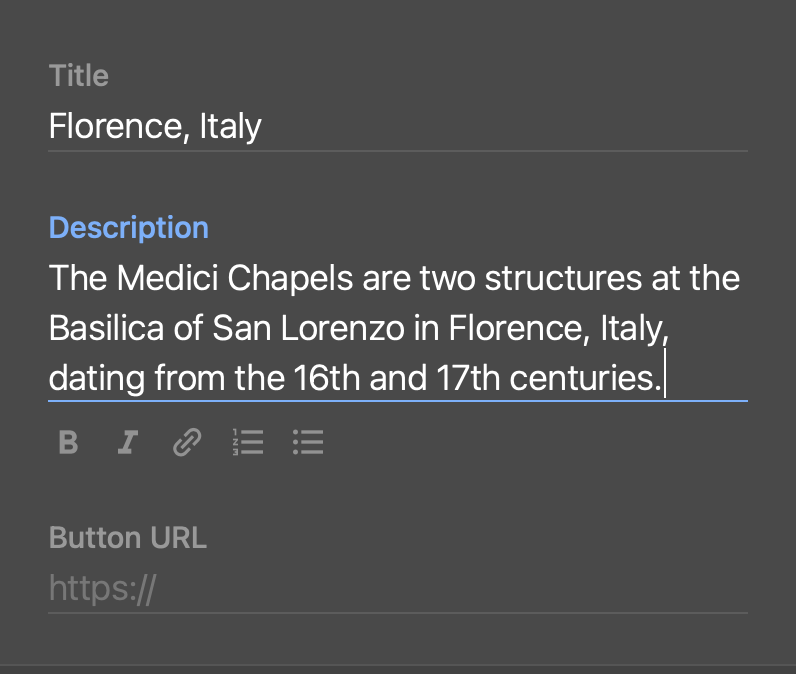
- Enter Title, Description and Button URL (if desired).
- Add an image by clicking either the Upload or Search button.
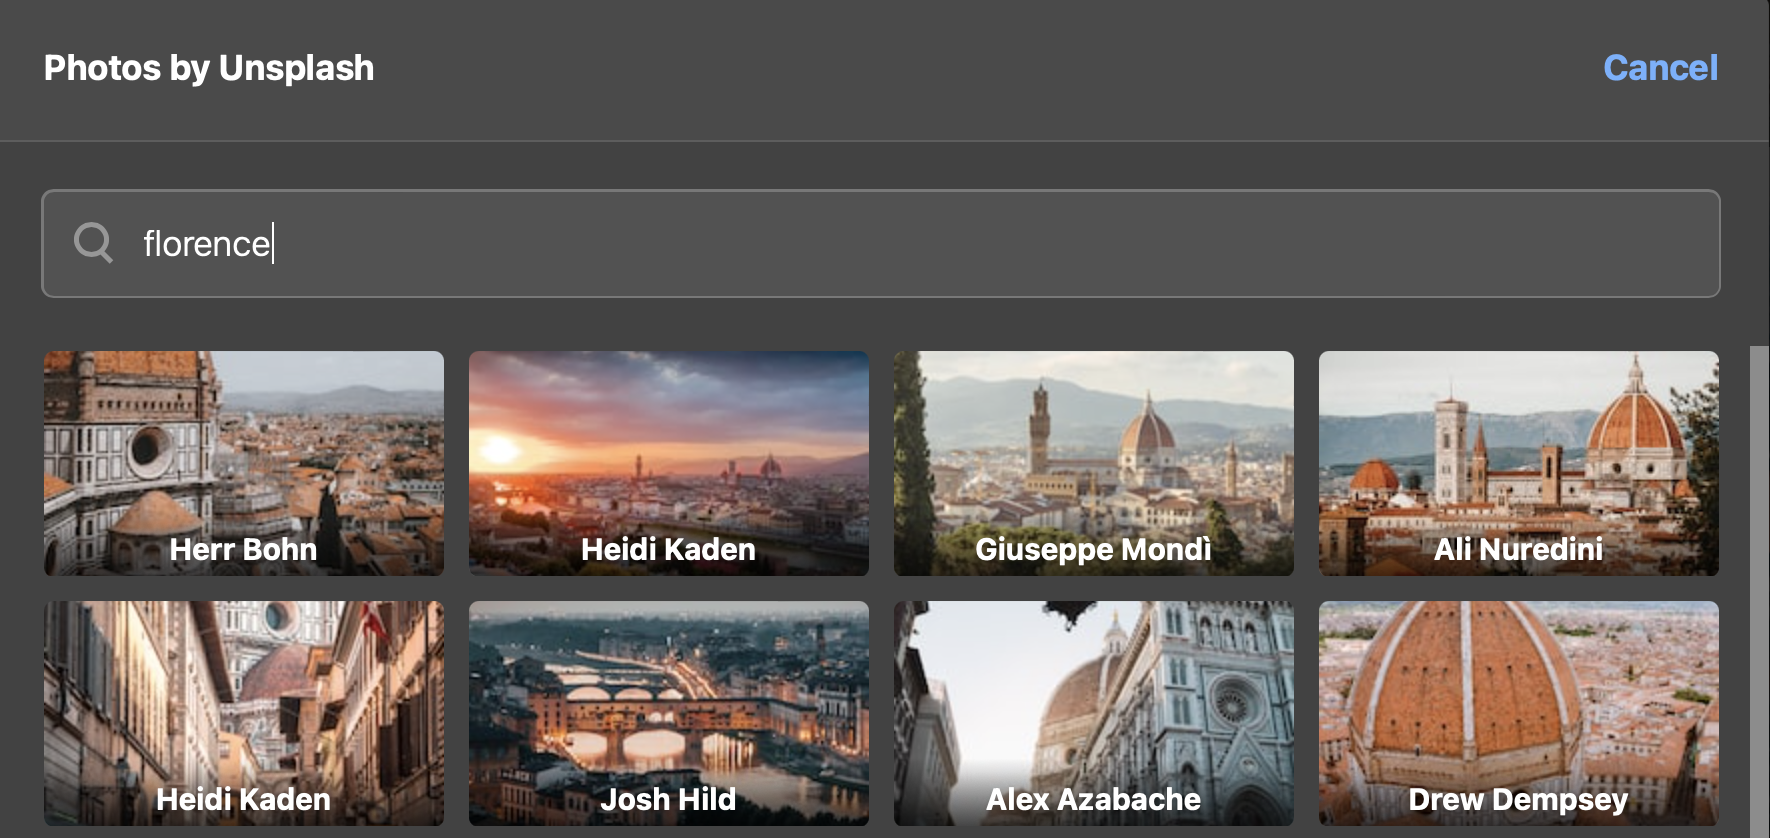
- If you choose Search, you can enter keywords to search the Unsplash media library.
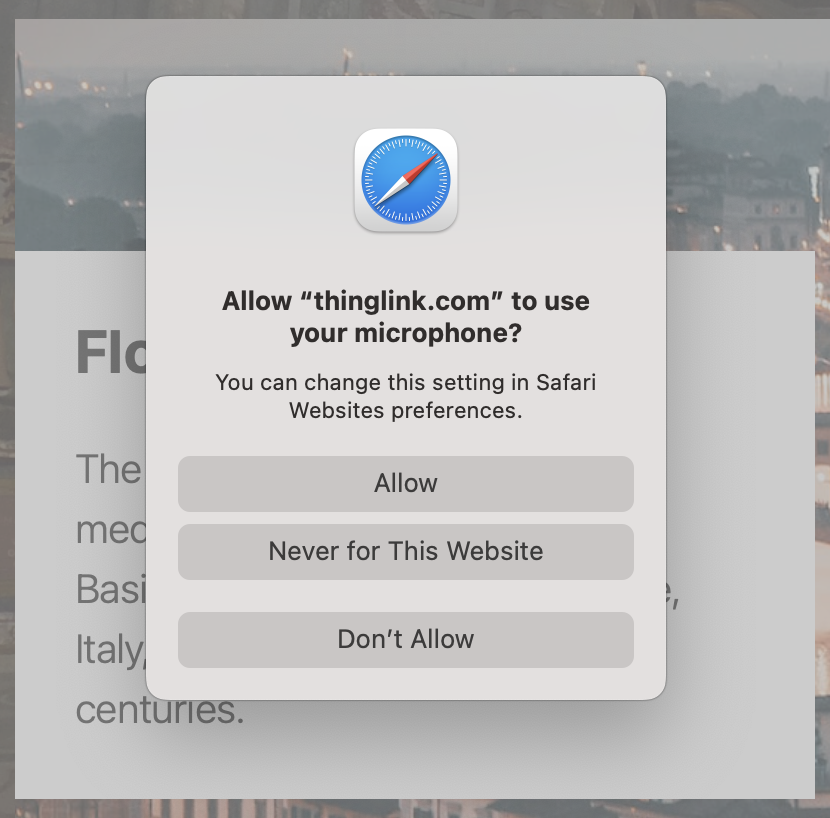
- Click the Microphone icon if you would like to Upload audio.

- Allow your browser access to use the microphone for ThingLink recording.
- Click Done when finished.

- Position your tag’s icon where you would like the viewer to interact with this hotspot in the scene.
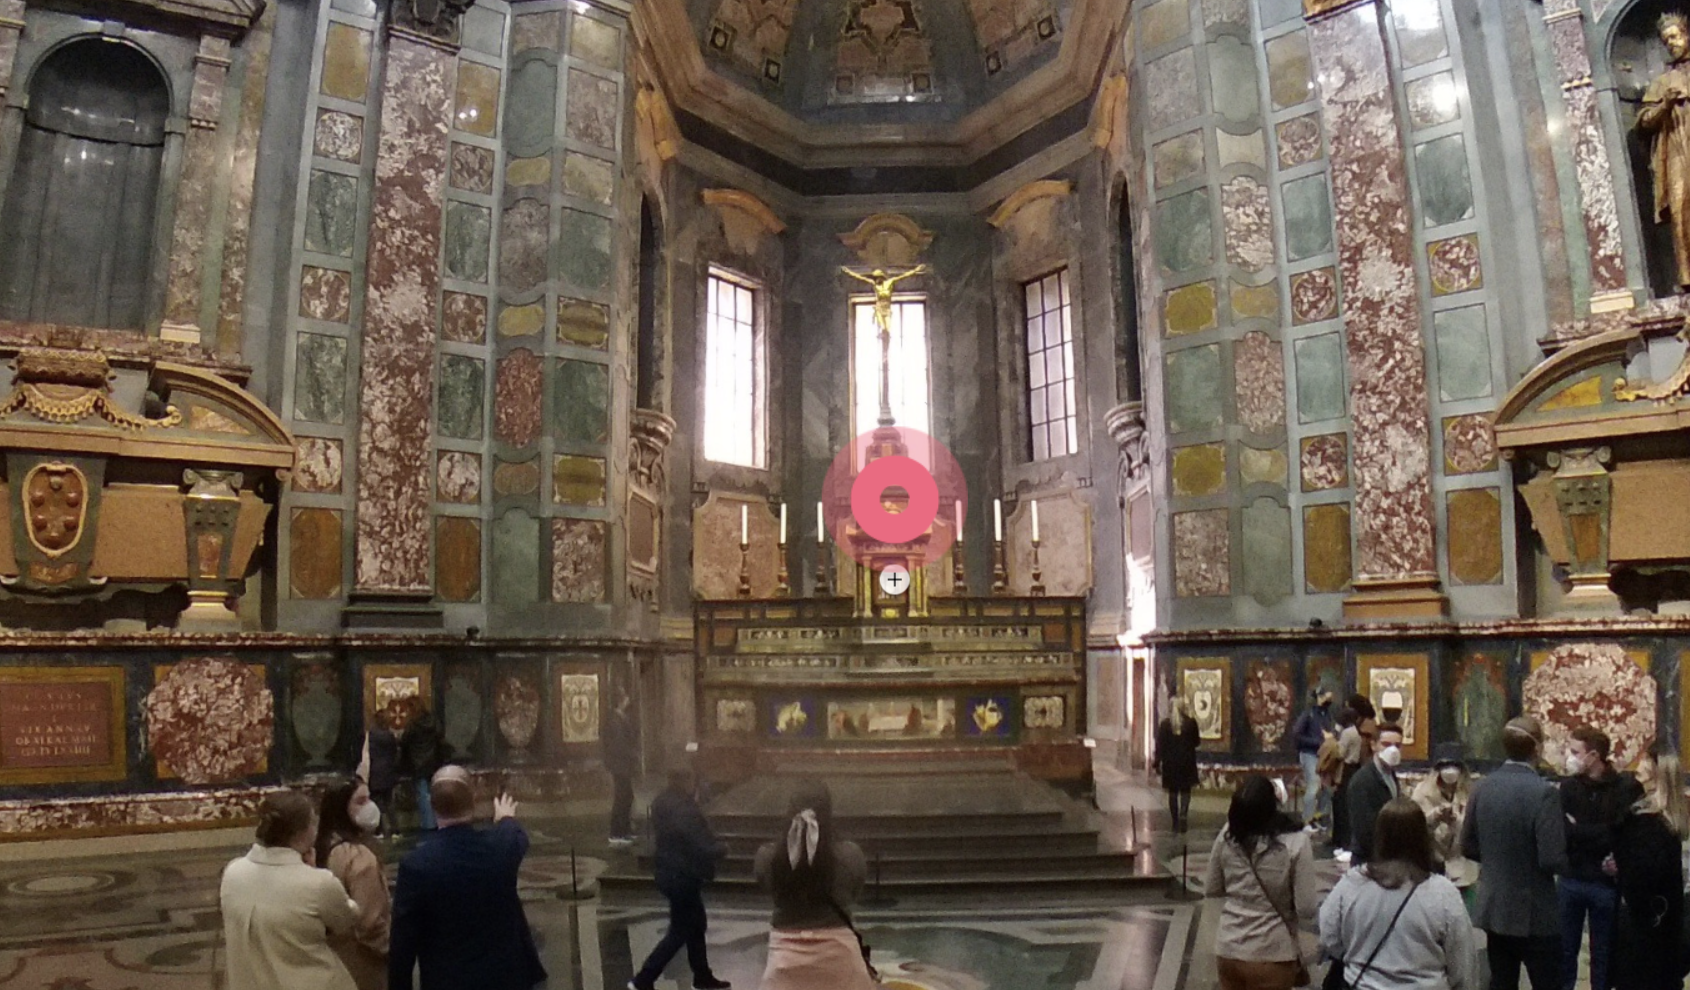
- Click on your tag’s icon to open, preview and make changes.
