This tutorial will show you how to draw lines and adjust their appearance
Creating a Line
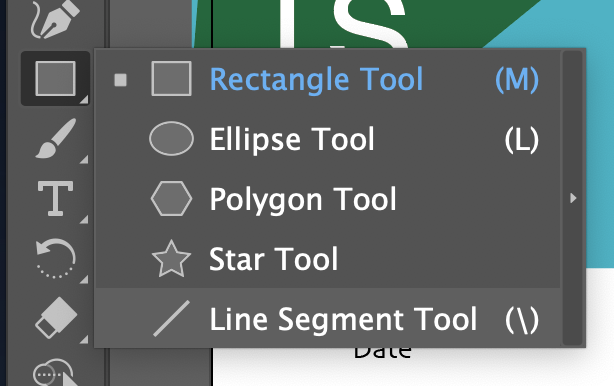
- Long-click the Rectangle tool in the tool panel.
This will bring up other shape options, including the Line tool.
- Click Line Segment Tool to select it.
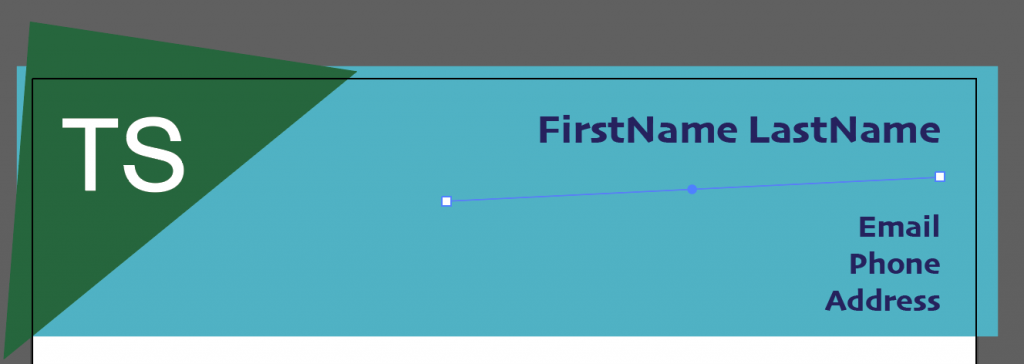
- Click-and-drag to draw a line.
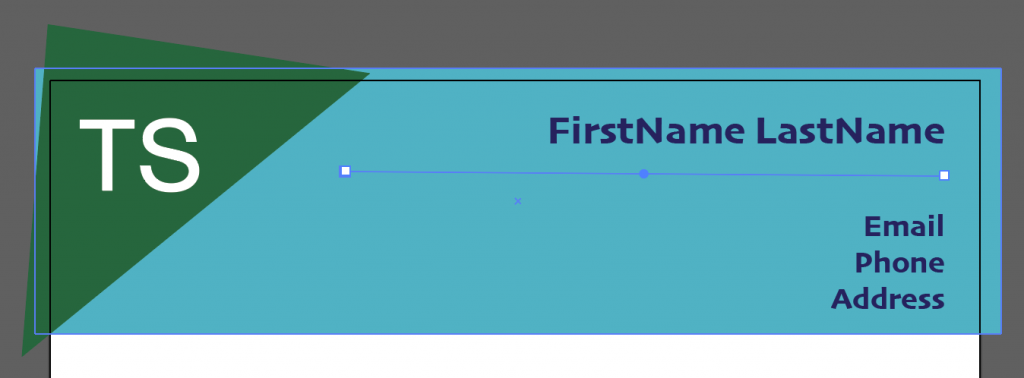
Tip: Holding the Shift key on the keyboard while dragging will snap the line to 0º 45º or 90º depending on which you are trying to draw.
Adding Color to Your Line
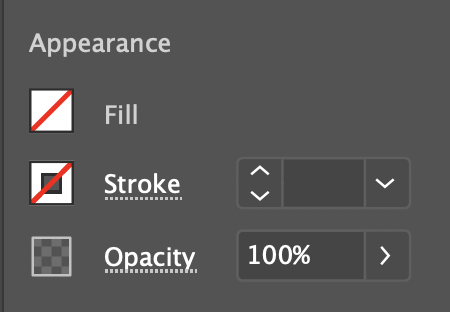
You will find the appearance settings for your shape in the Properties panel. If you don’t see the Properties panel, you can access it from Window in the menu bar.
The default appearance for lines is no color.
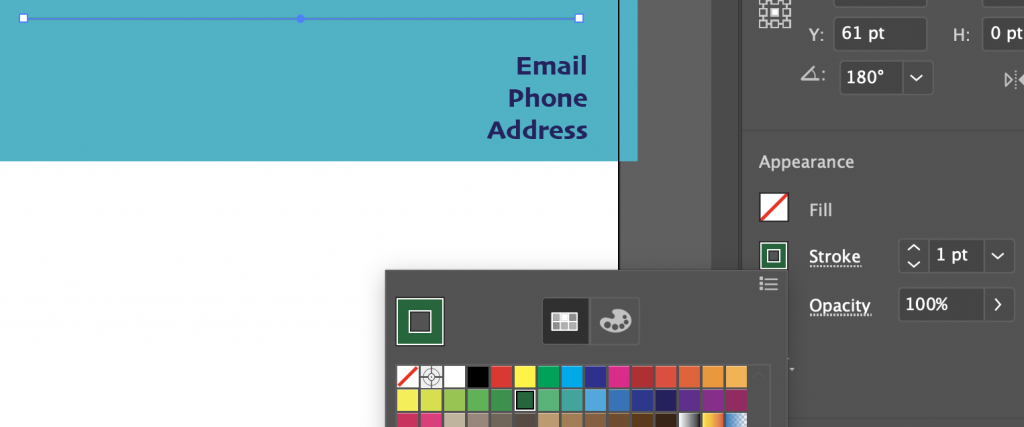
- Click the Stroke color swatch.
The swatches panel will open.
- Select the color you want.
Your line will have a 1pt thickness with the color you selected.
Changing the Thickness of Lines
To make the stroke thicker or thinner, click the dropdown for the stroke in the appearances panel.
You can also use the up and down arrows to adjust it.
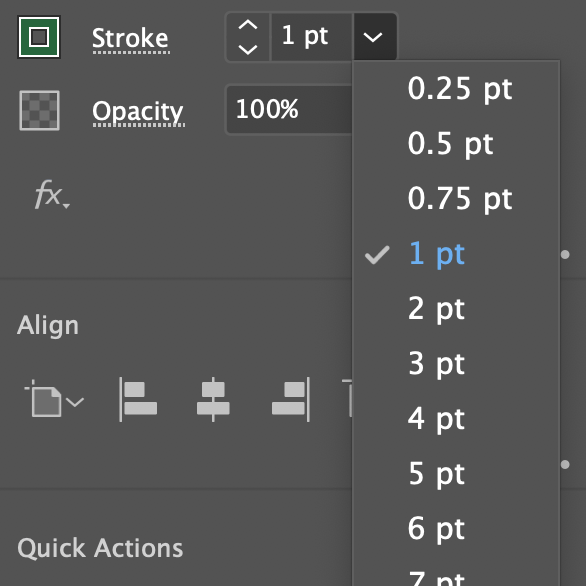
You will see the new thickness of your line.

Additional Line Settings
There are additional settings and adjustments you can make to lines that are not seeing in the Properties Panel. You can access them by clicking on the word Stroke in the Appearances Panel

To make the ends of your line rounded, you can change the end cap.
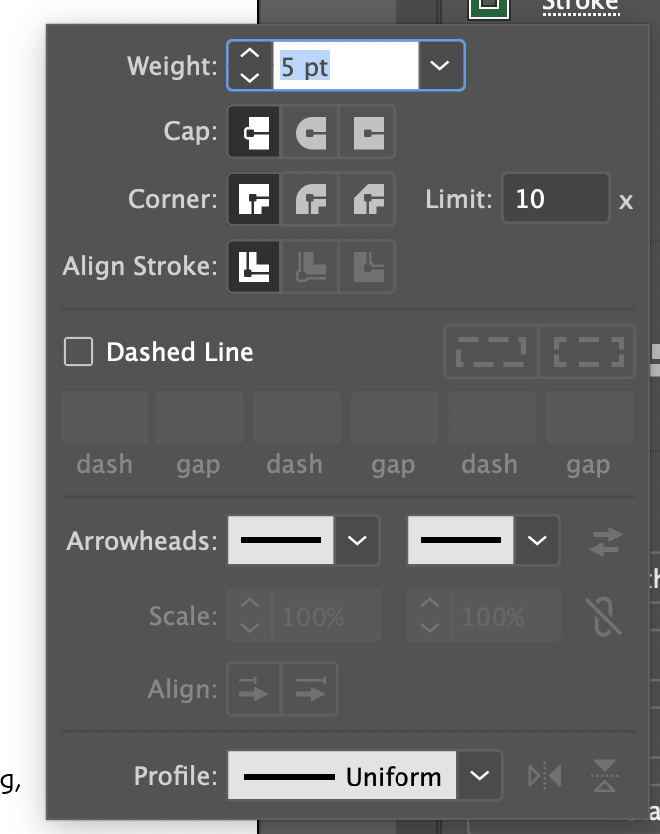
The middle cap button is the rounded setting.
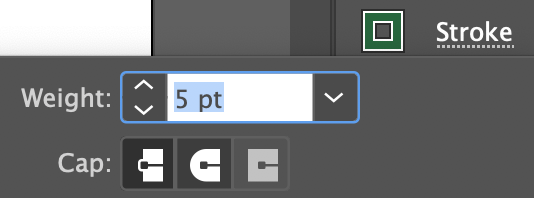
Click on it to apply rounded end caps to your line.

Save Your Progress
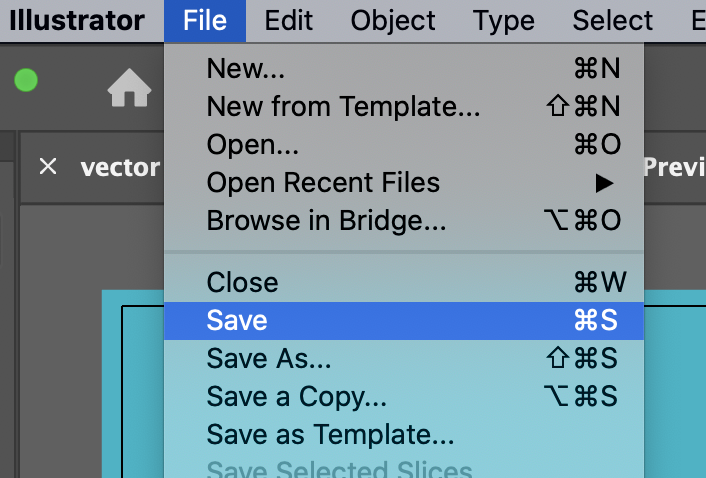
Save your progress by selecting Save in the File menu.
