This tutorial will show you how to save your project as a PDF or export it as an image file.
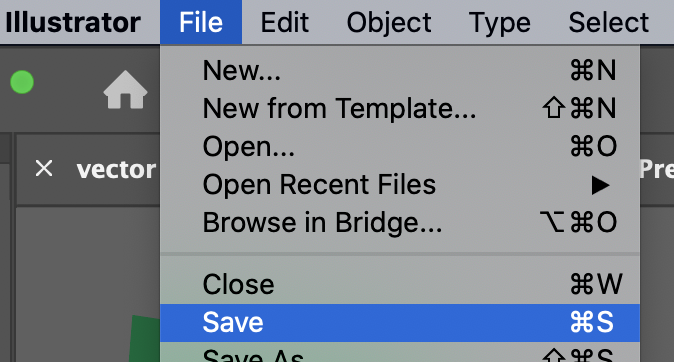
When your project is ready for output, you will want to save it one more time.
Saving as a PDF
If your project was designed to be printed, you will want to export it as a PDF.
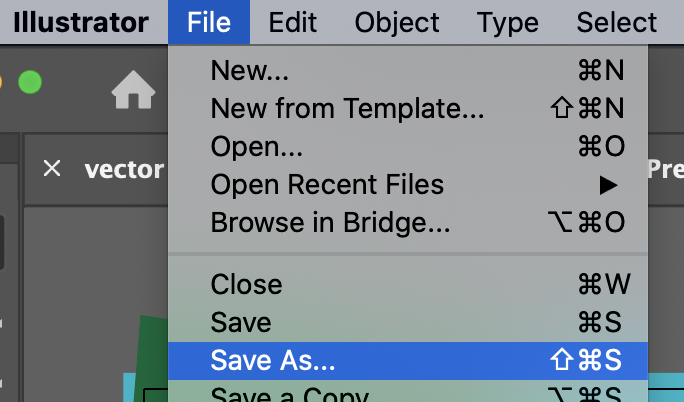
- Select Save As from the File menu.
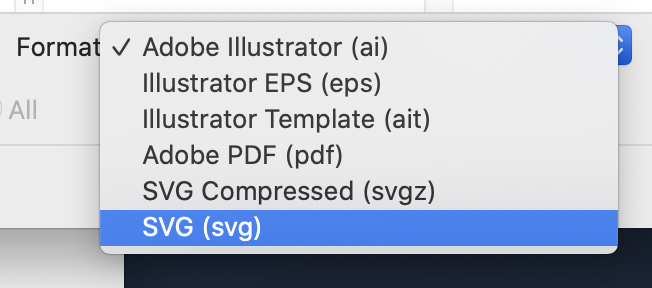
- Click the Format dropdown and select Adobe PDF from the options.
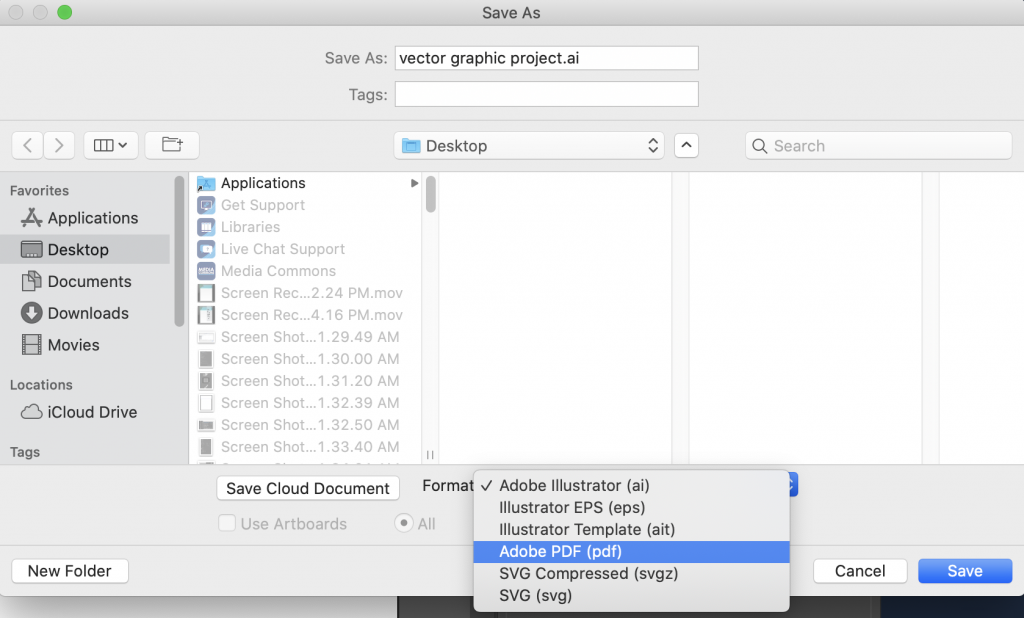
- Click the blue Save button in the lower right corner of the window.

The PDF settings window will open.
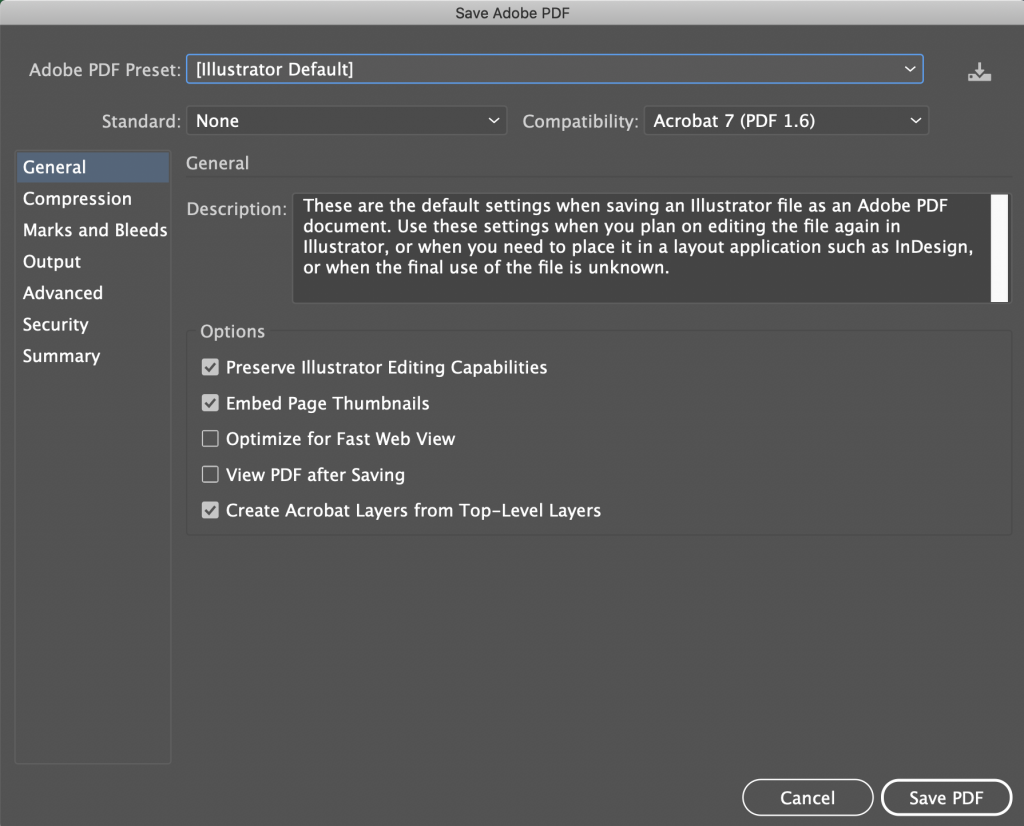
It’s a good idea to leave Preserve Illustrator editing capabilities selected, because you will be able to open your PDF file in Illustrator and not lose any editing abilities.
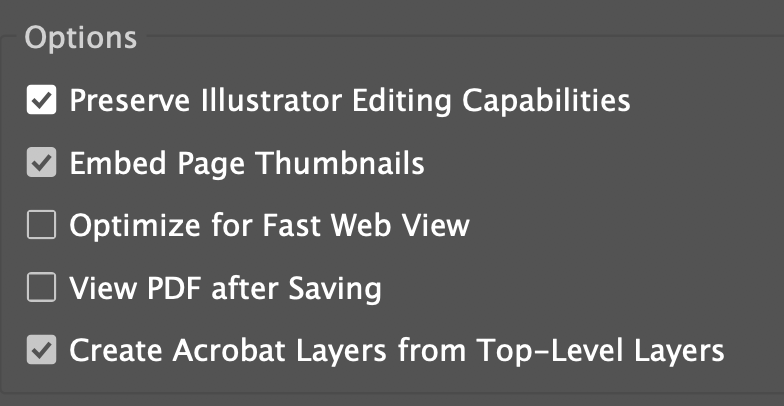
Generally, all the default settings are what you will want.
- Click the Save PDF button to finish saving.
Exporting a Web Graphic
If your design was meant to be published or uploaded to a website, you will need to export your design as an image file.
- Select Export from the File menu.
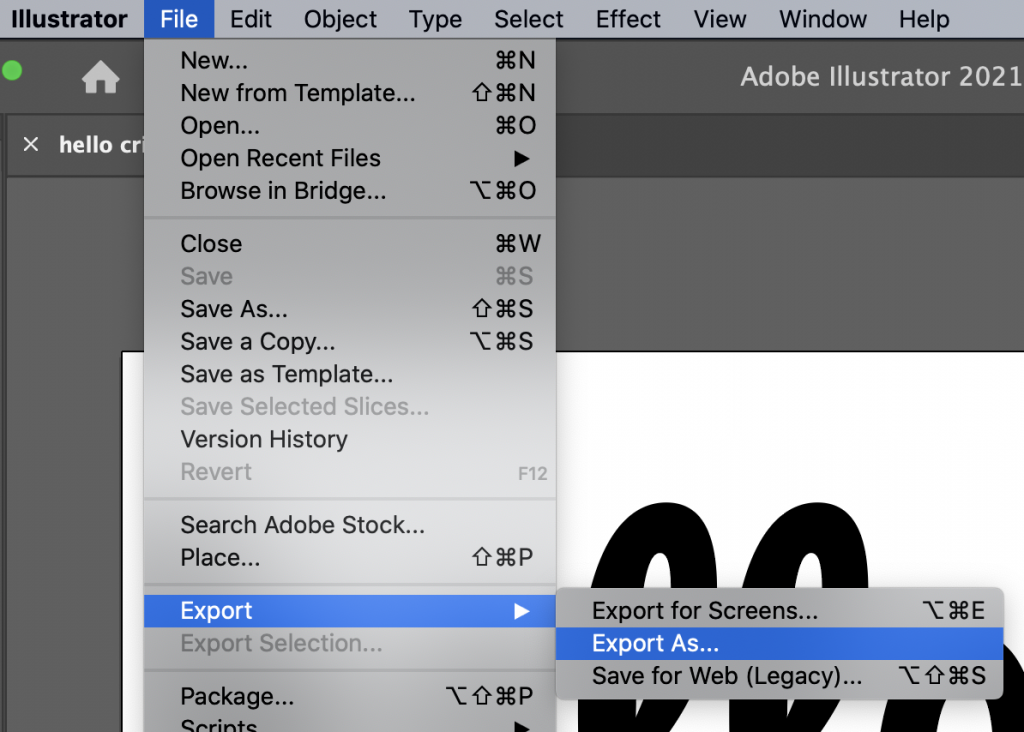
The Export window will open.
The default format will be PNG, which is generally what you want.
- If you want a different file type, such as JPEG, click the Format dropdown and select the one you need.
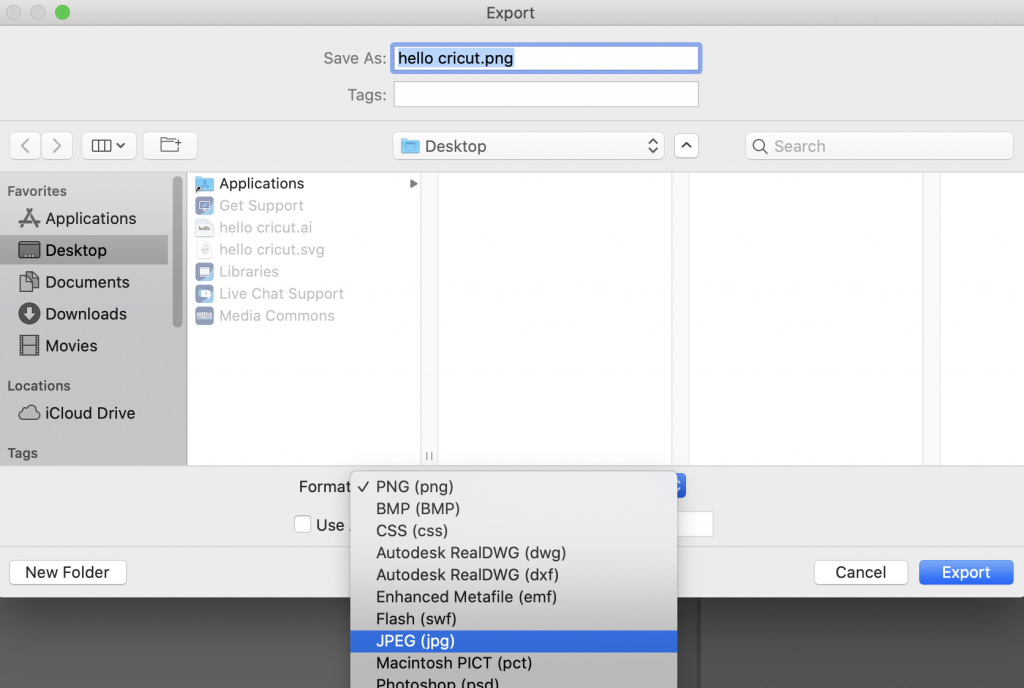
- Click the blue Export button.

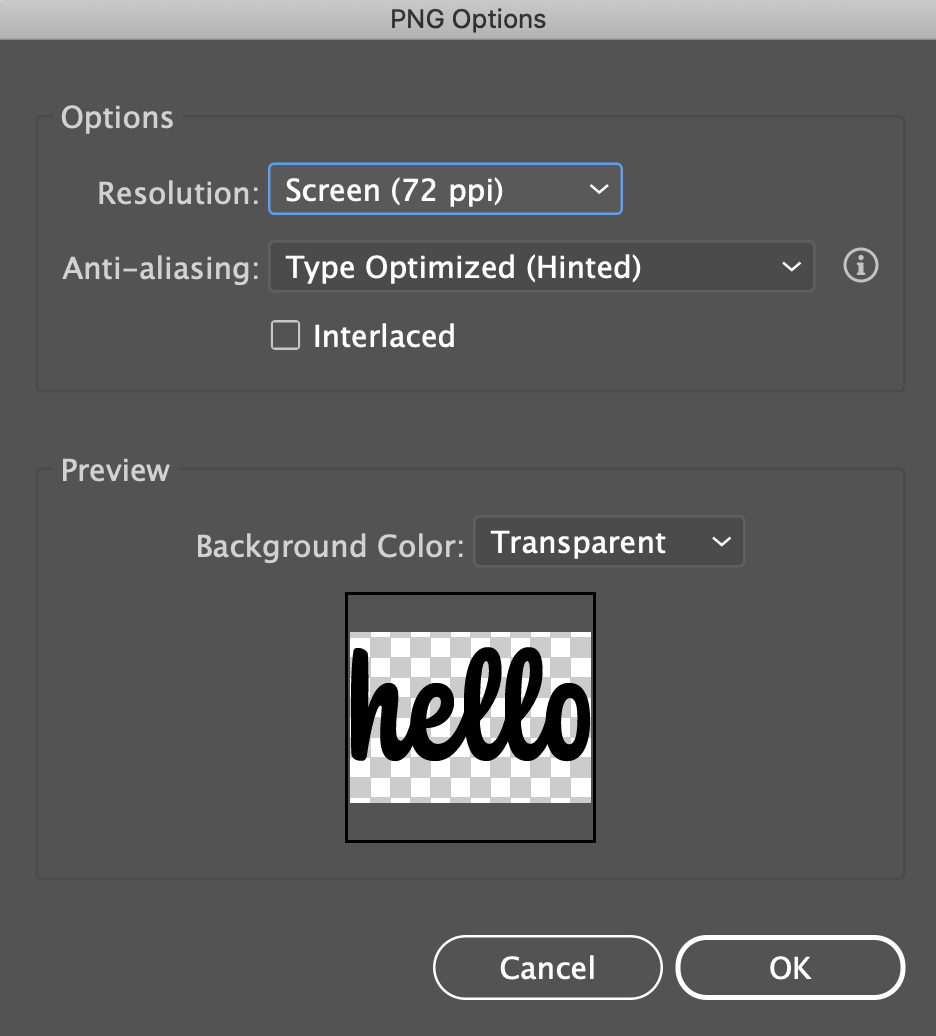
A window for settings specific to the format you selected will open. Usually, the default settings will be what you want.
- Make any changes and then click the OK button.
Exporting a Shape File
Uses for a shape file include 3D printing and die-cutting.
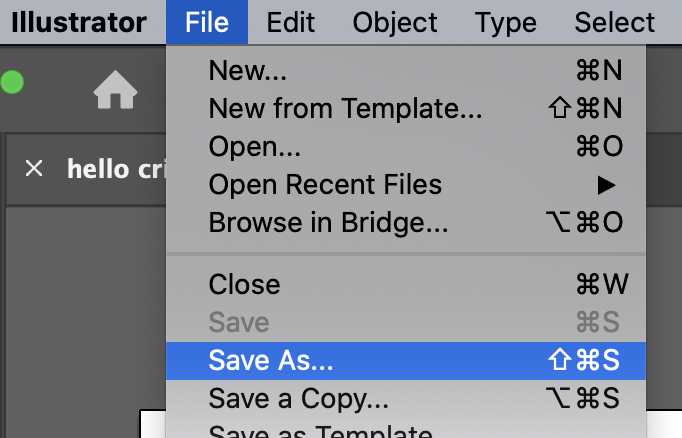
- Select Save As from the File menu.
The Save-as window will open.
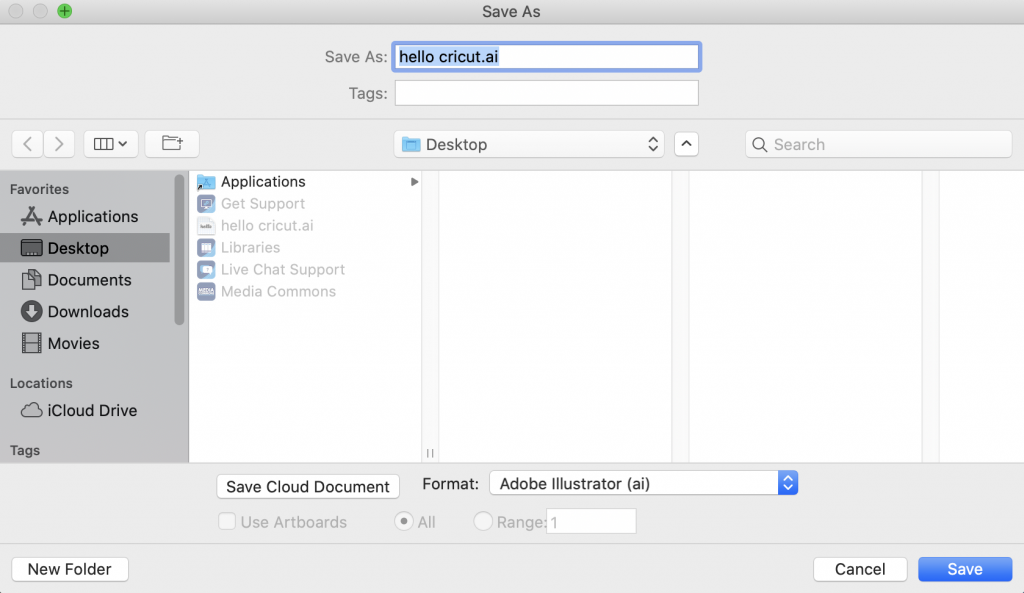
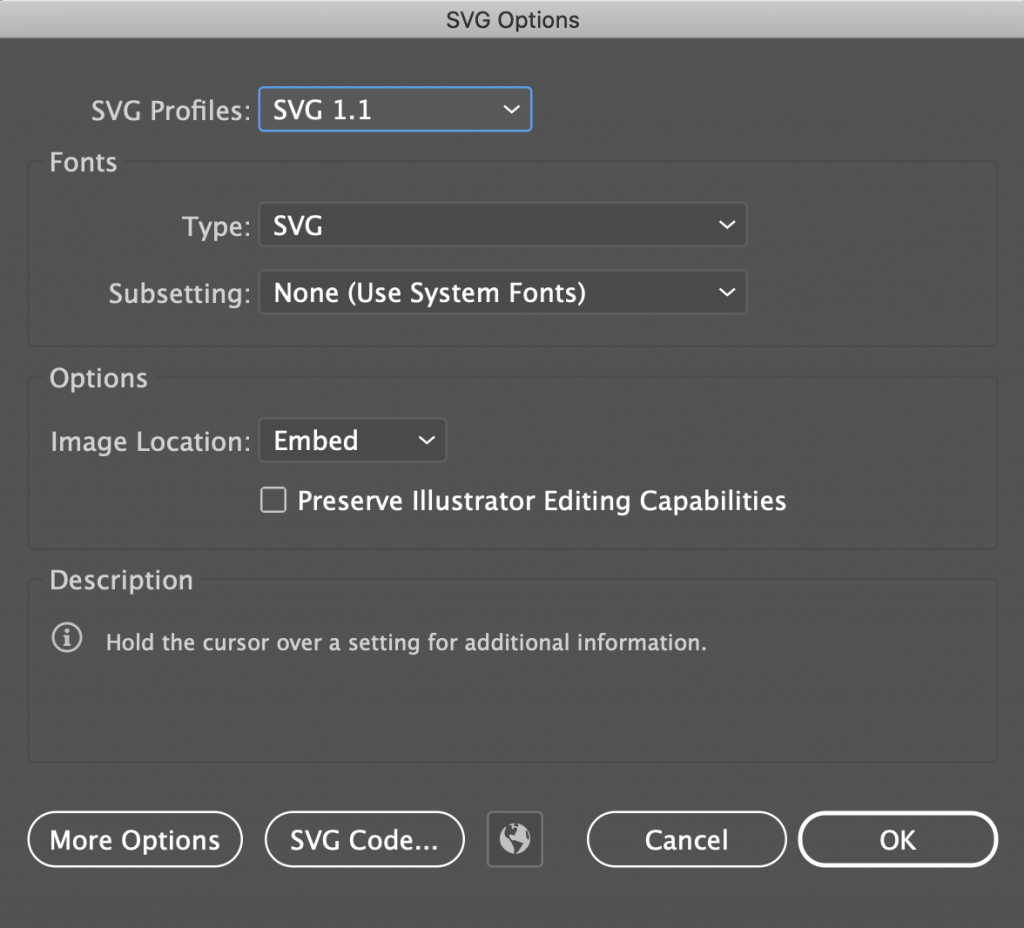
- Select SVG from the Format dropdown.
- Click the OK button to finish saving.
