This tutorial will show you how to add video clips to your Adobe Express project.
Upload Option
- Make sure the video you would like to bring into the Express Video editor is saved to the desktop of your computer.
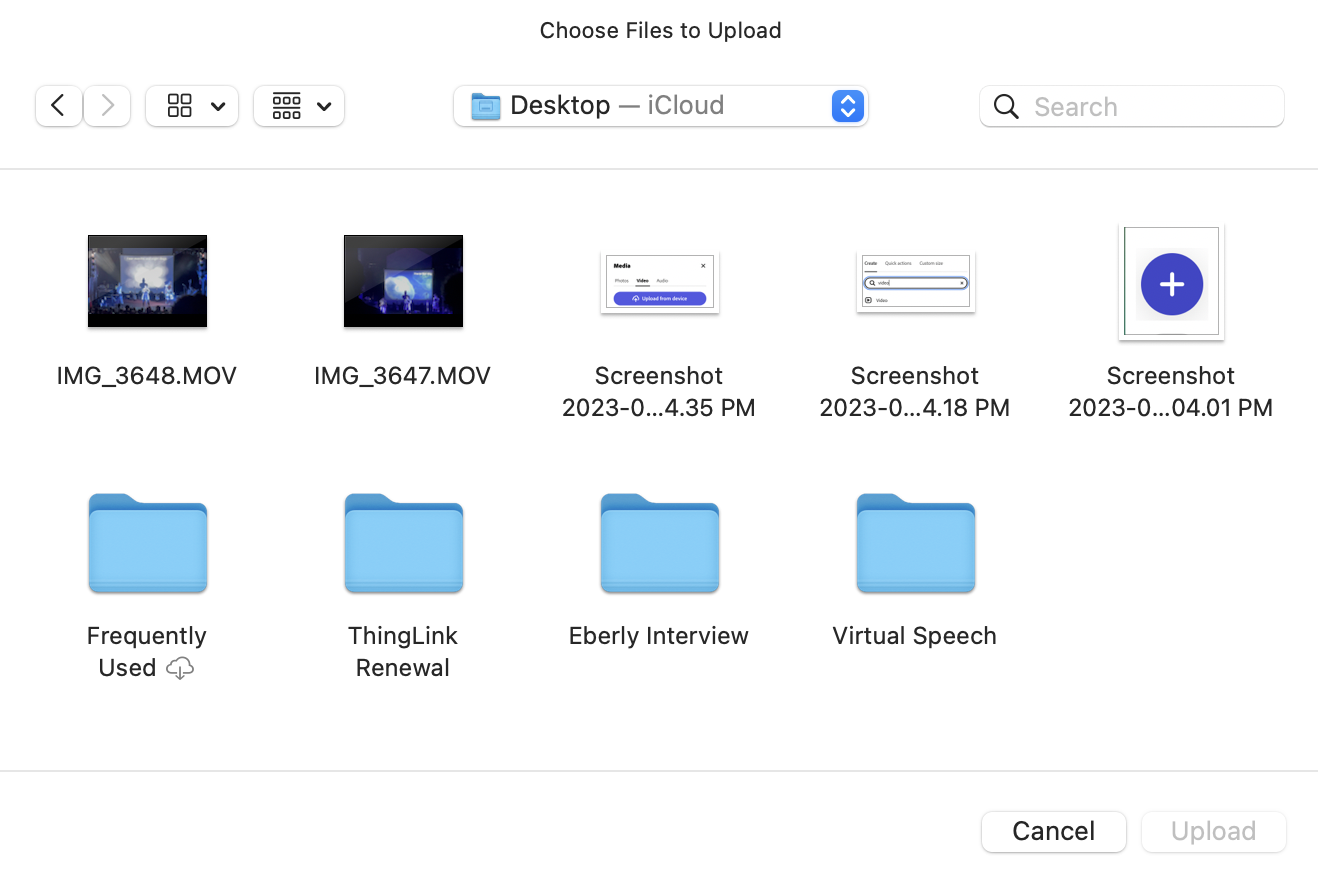
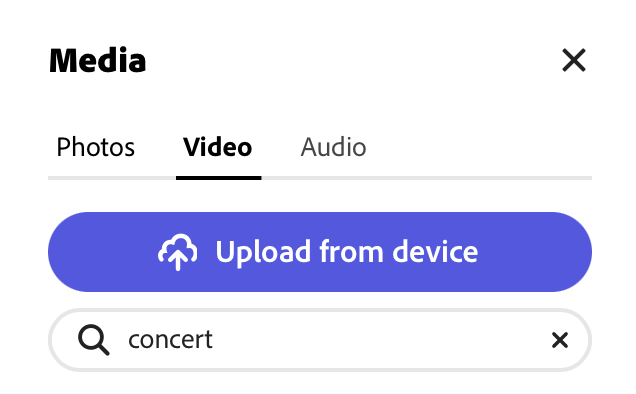
- Once you have your video saved to the desktop, click on the Video tab then the Upload from device button.

After you click on the video button you will be prompted to pick the video file from your computer that you would like to import into Express Video.
- Select the video you would like to import and click Upload.

Search Option
You can also use the built-in Adobe Stock search to find video clips for your project.
- Enter keywords in the Search Video field.

- Browse your search results to identify the clip(s) that works for your project.

Note: Images with the crown icon are premium assets and will need to be licensed through Adobe Stock in order to publish your project. Get more information about this process or use only images without this crown icon to ensure you are using free assets.
Trimming/Splitting Clips
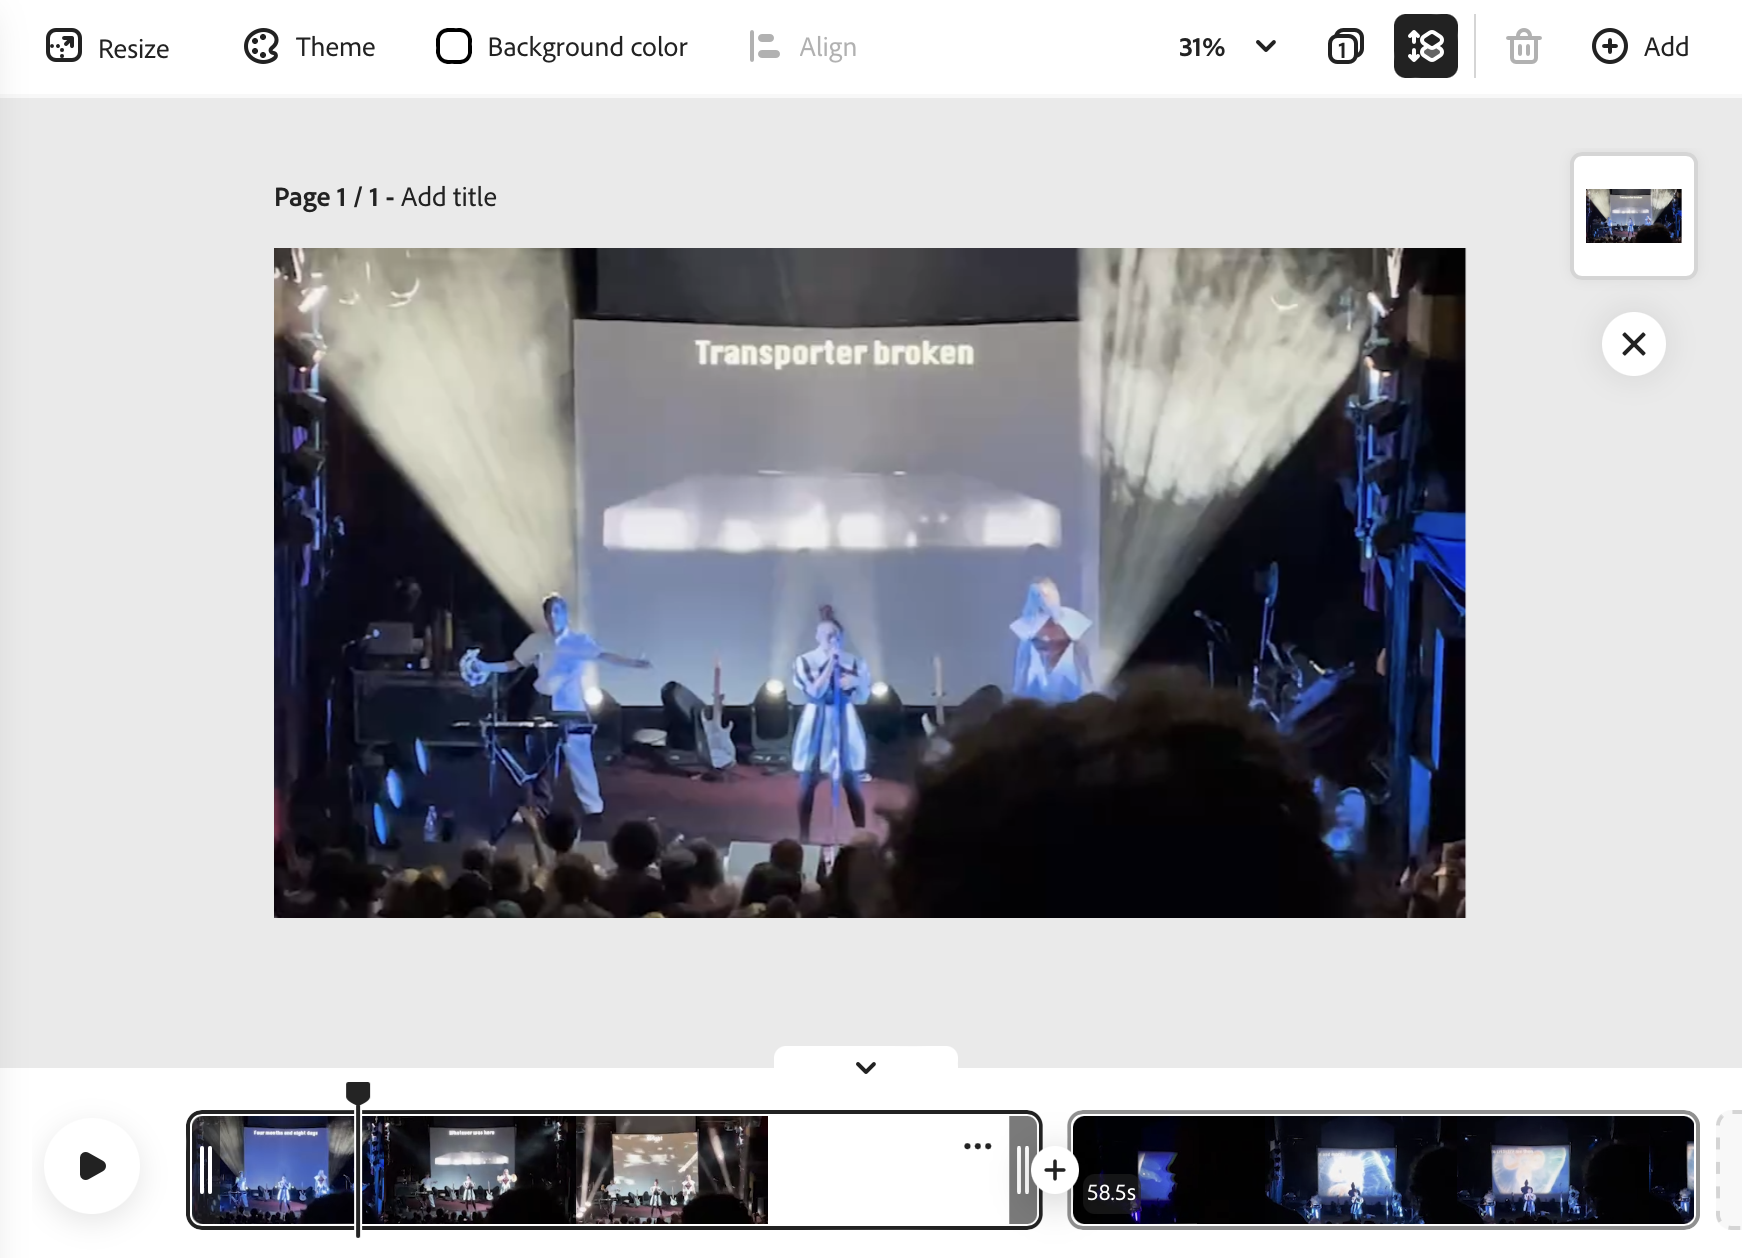
- Your video clip(s) will now appear in the main editing interface for your Express Video project.

- To trim your video clip, click and drag the slider || tool from the left or right side (a double arrow ↔ cursor will appear) to select just the portion you want.
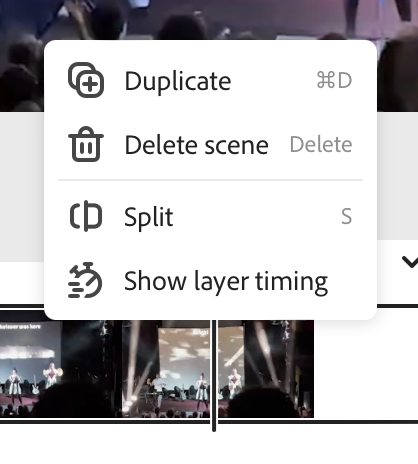
- To split a clip, position the playhead ⤓ where you would like to divide your video and right click. Choose Split from the menu that appears.

- You can now move or delete the split portion(s) individually.
- If you change your mind, you can use the Undo ↩ arrow located in the top right portion of the editing interface.

