The Adobe Creative Cloud is a great tool for collaborating on media projects. No matter what type of project you are working on however, the first thing we recommend that you do is set up a shared folder between you and your group members. This will make it easier to share media files and sync projects to your computer. This tutorial will show you how to set up a shared folder.
For Penn State Users, make sure that you’ve signed up for your Creative Cloud account at adobe.psu.edu
Before You Start
This method will require having the Adobe Creative Cloud Desktop application installed on your computer. You can find the download link for this on the Creative Cloud website. By installing this application, it should automatically put a Creative Cloud documents folder on your computer. To set up the folder, we will be using the browser application, but by installing the desktop application, the folder you create will sync to your computer.
Creating The Folder
- Go to creativecloud.adobe.com and click the Sign In button in the right hand corner of the site.
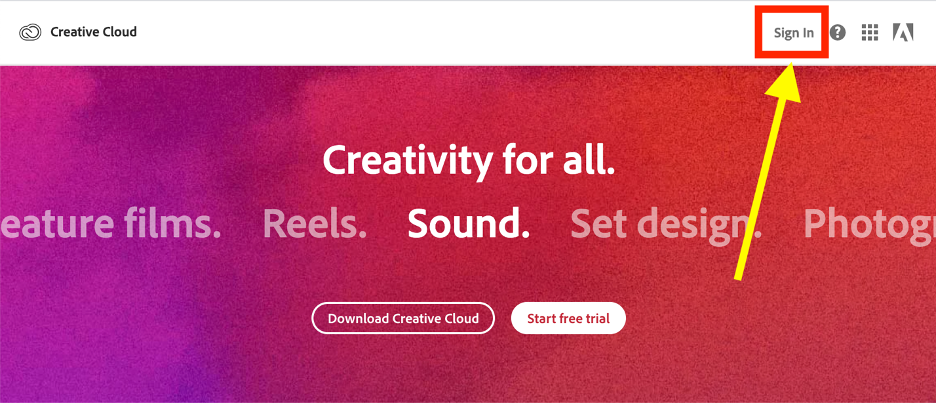
- Enter your Penn State email address into the login screen. This will take you to the Penn State log in screen.
If you have a personal Adobe account associated with your PSU ID, you may see a screen where you have to choose between your personal account or a company or school account.
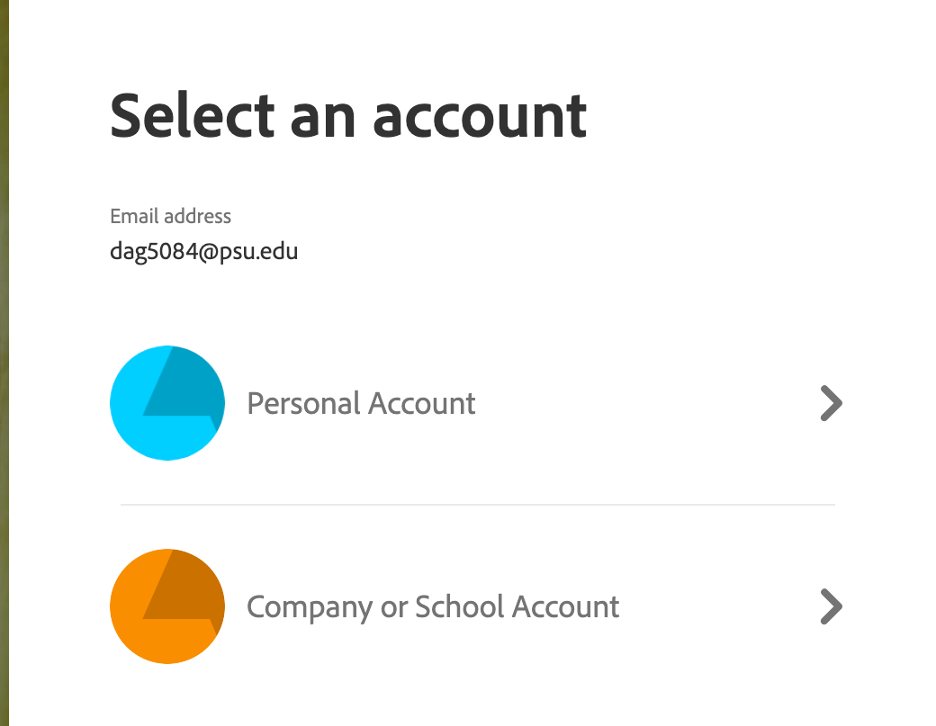
Be sure to select Company or School Account on this screen.
Once you log in you will be taken to your creative cloud profile home screen.
- To get to your documents, click the Your Work tab at the top of the screen on the left hand side.
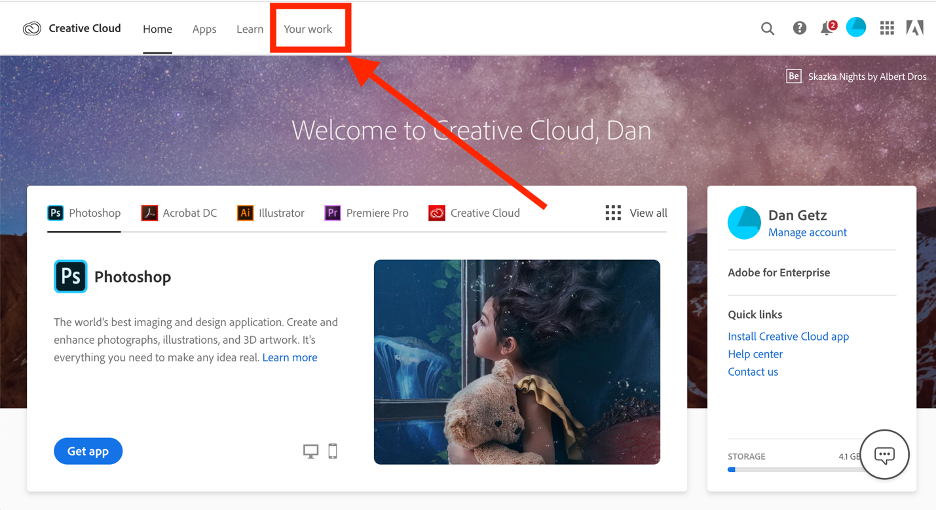
This will take you to the main page of your creative cloud storage.
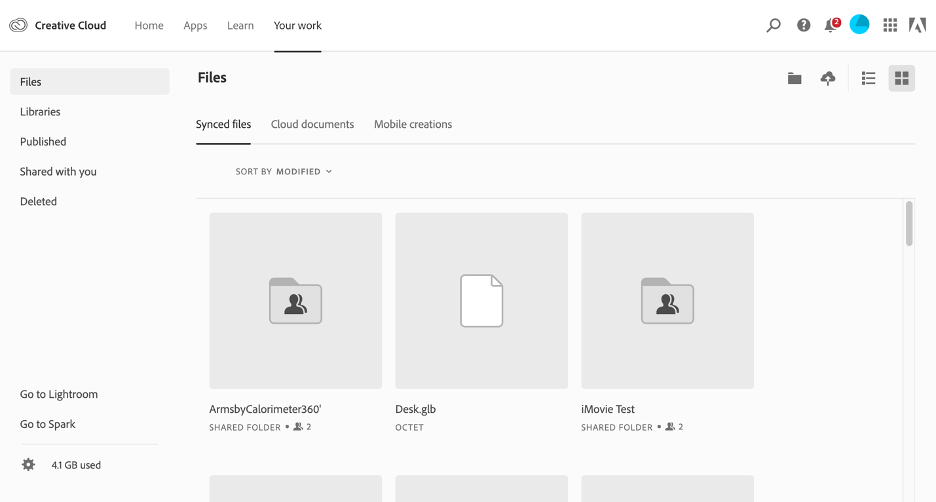
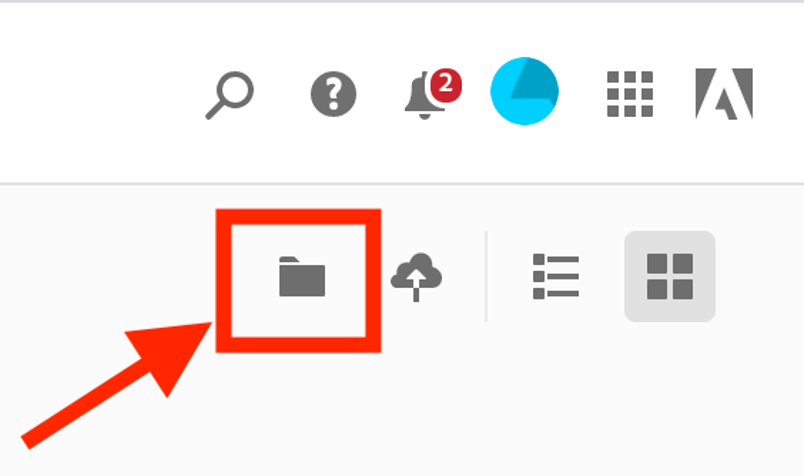
- To create a new folder, click the folder icon in the right hand corner of the screen.
This will be on the second row of icons in this corner.
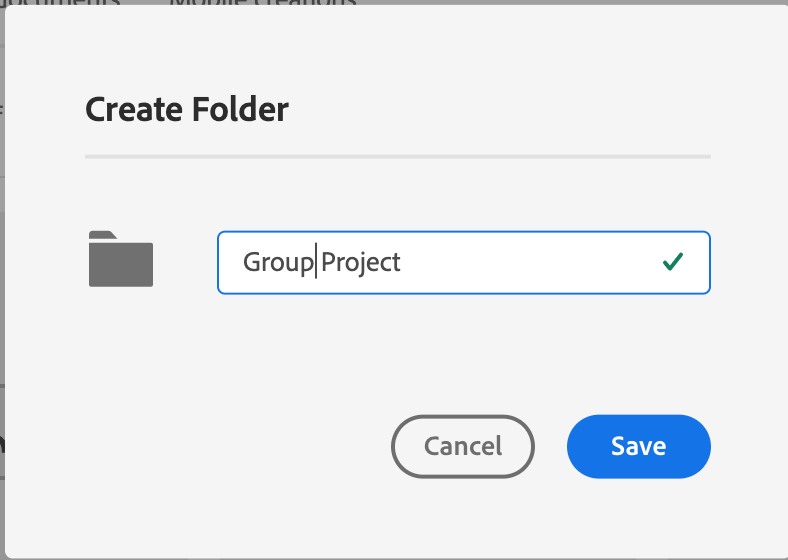
A menu will pop up where you can name your folder.
- Enter a name and press Save.
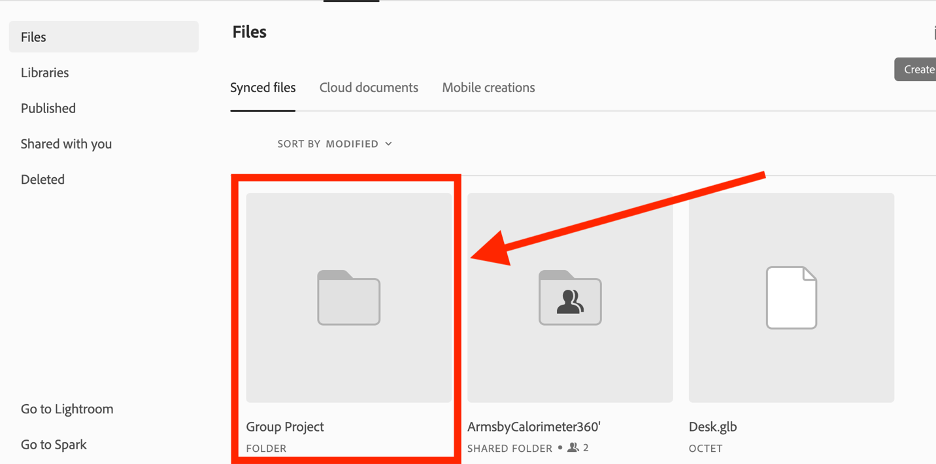
You should see your folder appear on the home screen.
Now you will need to add your group members to the folder.
- Click the folder on home screen to enter it.
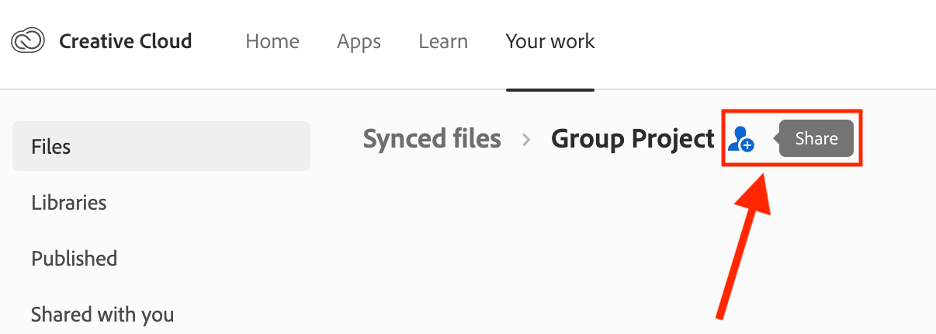
Once in the folder, you will see the name of the folder at the top of the screen.
- Click the Share icon next to the name of the folder to share it with your group members.
A small window will appear asking you to choose between Invite or Get link.
- Select Invite.
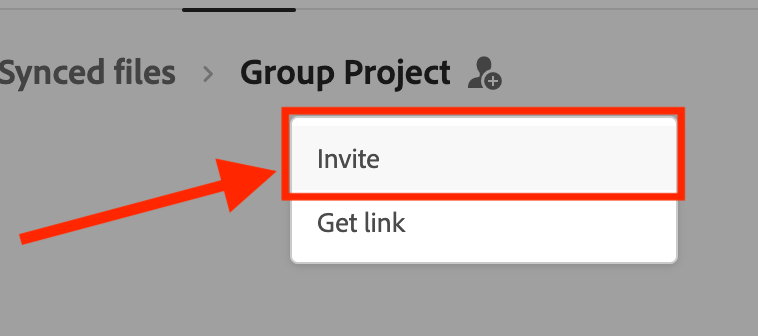
A new window will pop up that will let you add your group members.
- Enter the group members name or their email address and their name should appear.
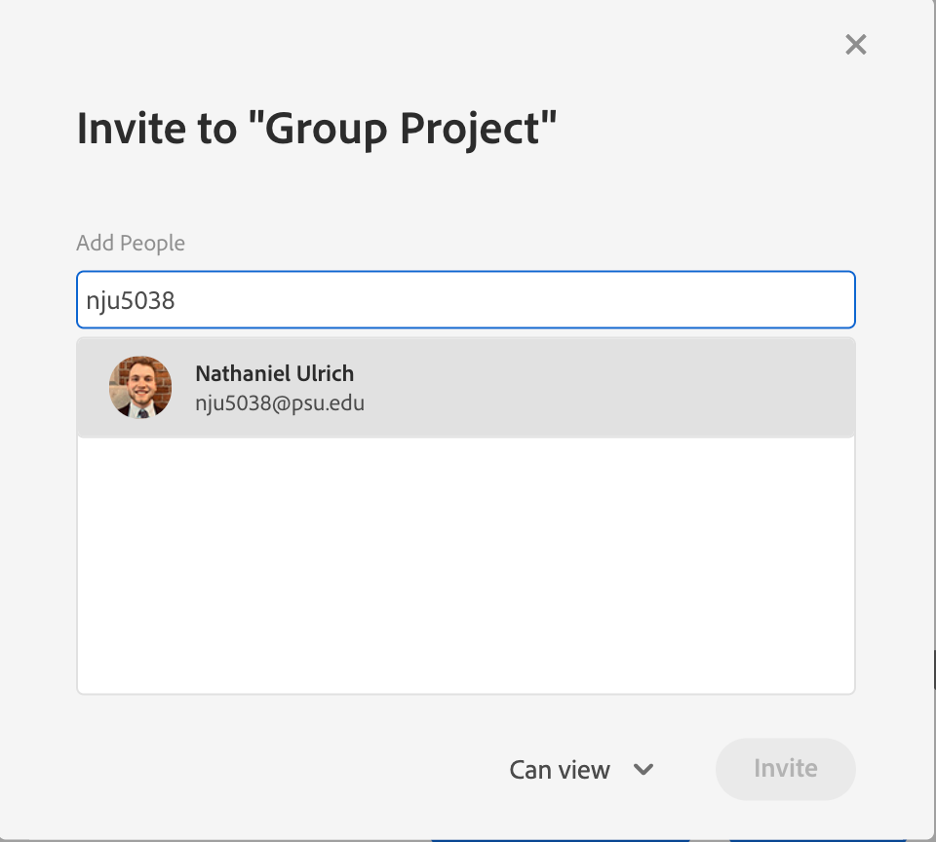
- Click their name to add them to the folder.
NOTE: Before you click invite, make sure you change the permissions of the people you are adding to the folder. This will appear right next to the invite button at the bottom of the window. Change the settings from Can View to Can Edit and Share.
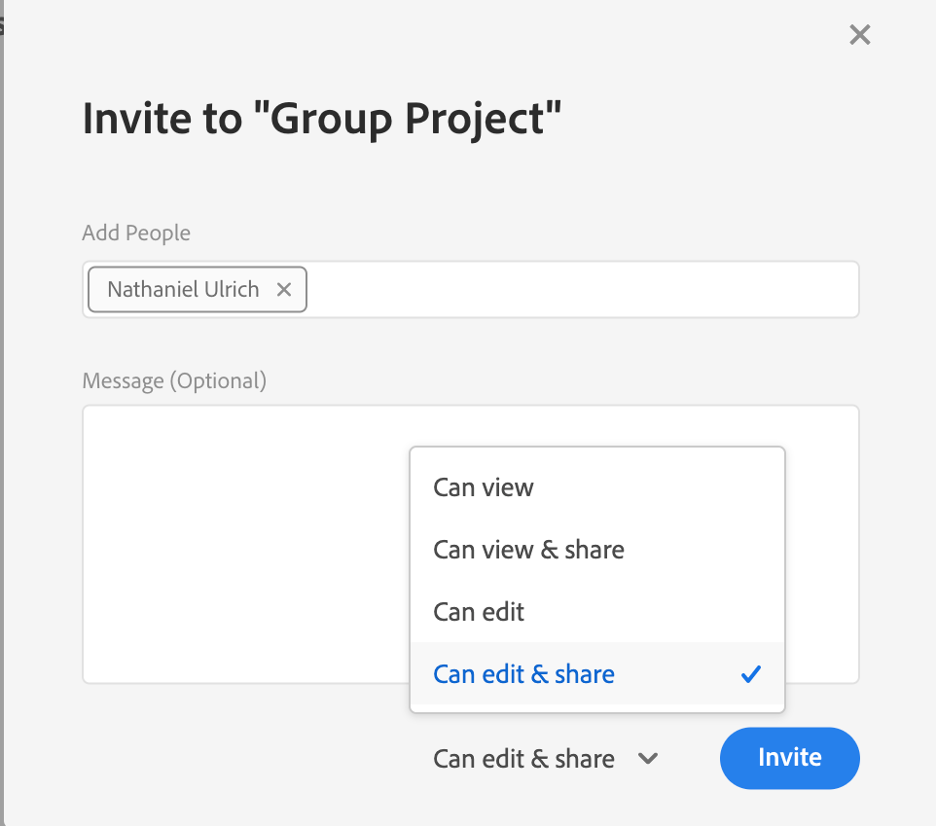
- Once you’ve changed the permissions, click the blue Invite button to add them to the folder.
You will get a notice that an invite has been sent to your group members. This invite will be pending until your group members accept the invitation.
