
This tutorial shows how to add content to a page using Adobe Portfolio.
For every page in Portfolio, you are able to add a variety of kinds of content using Modules, such as images, text, photo grids, and buttons.

Add Text
- Click the Text (T) module icon.

- Type in what you’d like it to say or you can copy and paste from a document.

- You will lose any formatting from a document you copy from but you will be able to apply most formatting by highlighting parts or all of your text.

NOTE: You may need to change the font to be able to apply certain formatting options. In the example above, the default text can not be bolded or italicized.

To add additional modules of content to your page, hover your cursor over an existing module. You can then add something above, below, or to the side of an existing module.
Add an Image
- Hover the cursor over the upper dotted line of the text module until you see a blue line and blue + (plus) button.

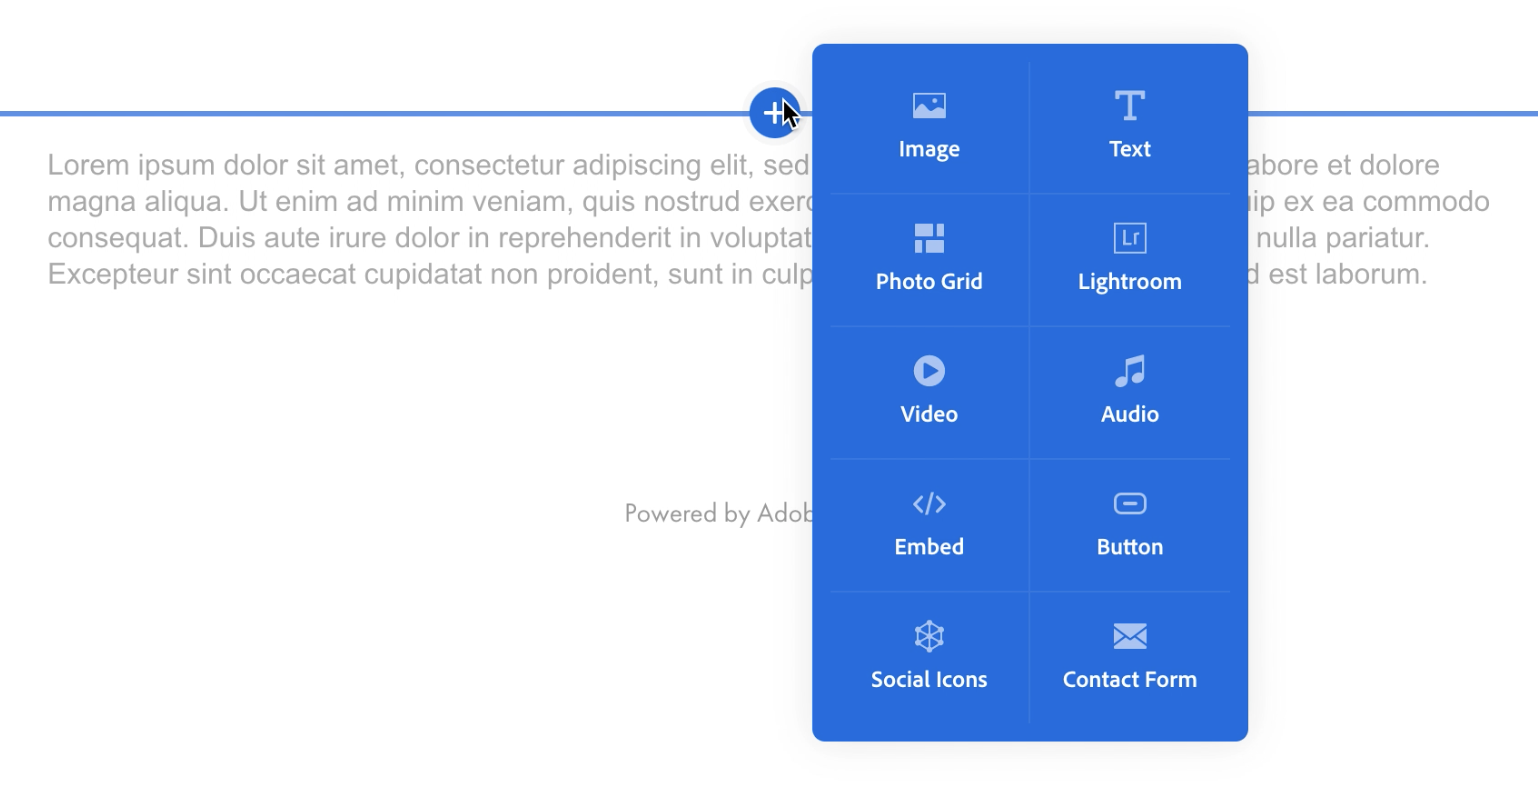
- Click the + (plus) button and the module options will pop up.
- Choose Image.


Make sure to allow images to finish uploading before navigating away from the page.
Add Other Content
To add something to the side of our text, hover over the text and then click one of the + (plus) buttons that appear on either side of the text module.

For this example, we picked Photo Grid. A pane will be created for the grid and to add images to it, click the Upload Files button.

You will be able to navigate to the images you want to add. Select the images you want in your grid and click “Open.” The images will each upload to your eportfolio.
Adjust and Arrange Modules
To adjust the width of the two side-by-side modules, hover over either module and you will see a vertical line and a circular button with three vertical lines in it. Click and drag the button left or right to adjust the modules’ widths.

The vertical placement of objects in certain modules when they are side-by-side with another module can be adjusted. The adjustment buttons will be on the right side of the side-by-side modules and the placement will affect the module with content that is shorter in height than the other one.

You can rearrange your modules by clicking on the blue edit button on the left side of a module.

When choosing Reorder Page Content, you will be able to drag-and-drop the modules in a window that opens. Use the three-lines handles on the left side of each row to reorder a row.

Click the Save New Order button when done.

To separate two modules that are side by side, click the blue edit button and this time select either Move Above or Move Under.

The side-by-side modules will be separated.

Modules can not be put into side-by-side orientation once they are already created. You must use the “+” plus buttons on the side of a module to add a second module next to it.
Only two modules can be side-by-side.