
This tutorial will show how to create a stop-motion video in Premiere Pro with still images.
Import Photos
- Open the File menu and select Import.

- Choose the image files you want to import.
- Click Import at the bottom right corner of the pop-out window.
Your photos will import into the window in the bottom left corner of the screen into the project bin.

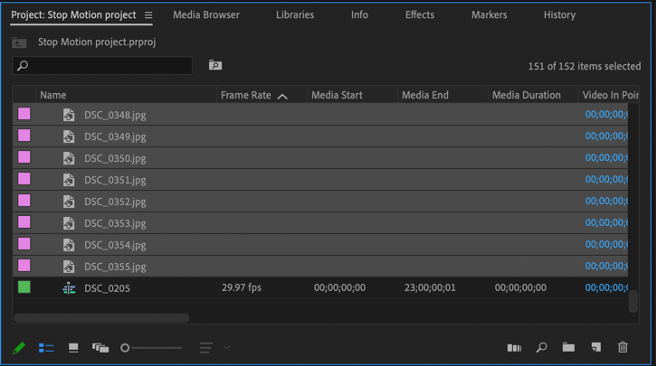
NOTE: Due to the amount of pictures, it may be beneficial to switch the view of the bin from thumbnail to list view. To do this click the icon in the bottom left hand corner of the screen next to the green marker. If you let you mouse hover over this icon it will say List View.


Create a New Sequence
Next you will want to create a new sequence based on the size of your pictures.
- Right-click on one of your pictures, and from the menu that pops out, select New Sequence From Clip.

This will create a timeline to the right of the project bin.
Before you add your pictures to the timeline, it is best to change the default time of the pictures. Currently, Premiere is set to import each photo for 4seconds and 29 frames. You will want to change the duration to just a few frames. A good starting point would be about 3 frames.
- Select all of the pictures. The easiest way to do this is to select the first picture, hold the shift key and select the last picture.

- Once they are all selected, right click the pictures, and choose Speed/Duration from the menu that pops out.

A window will appear in the middle of your screen.

- Click into the blue text where the Duration is.
- Change the value to 00:00:00:03.
- Press OK.

- Click and drag the photos from the project bin to the timeline.

- Press the play button in the viewer window in the right hand corner to play back your video and see the results.

Adjust Results
If you are unhappy with the result, you can always change the duration of each photo in the timeline.
To do this, select the photos you would like to change by clicking and dragging over them in the timeline. Once you have the pictures you’d like to change selected, right click them and select Speed/Duration again.

You can change the pictures duration as you did before, however you will want to make sure you select the checkbox at the bottom of the window that says Ripple Edit, Shifting Trailing Clips. If this option is not selected, when you change the duration of the clips, it will not change all of them. Make sure this option is selected.
