This tutorial shows how to set your document settings for your poster and set up your Workspace in InDesign when starting a new project.
InDesign is similar to Adobe Photoshop and Illustrator. It has similar tools, some of which work differently in InDesign than in the other programs. InDesign is for building layouts and is therefore the best program for creating a poster.
InDesign Tools
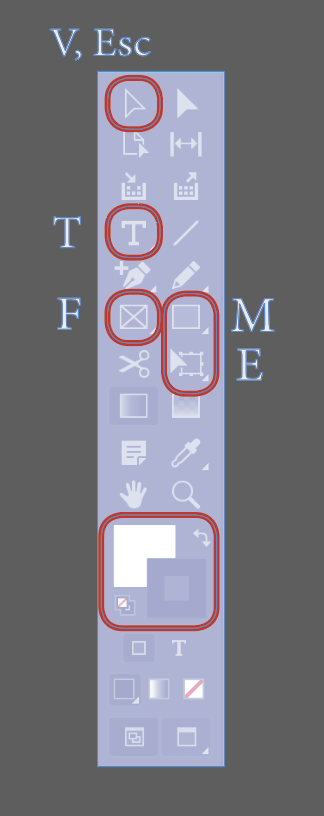
InDesign has a lot of tools that can be used for creating a layout. We will be creating a poster using just 5 of them. Download the InDesign Tools tutorial for instructions on using each tool and space to practice using them.
Starting a New InDesign Poster
- Launch InDesign and select the Create New button on the left side of the interface.

The New Document window will open. You will start by customizing your document setup on the right.
- Change the Units from Picas to Inches first.
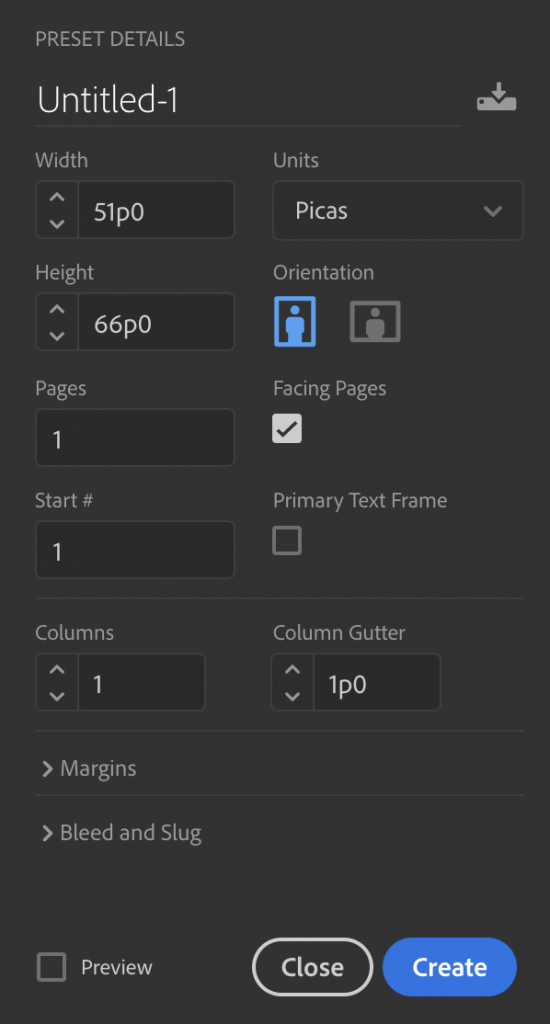
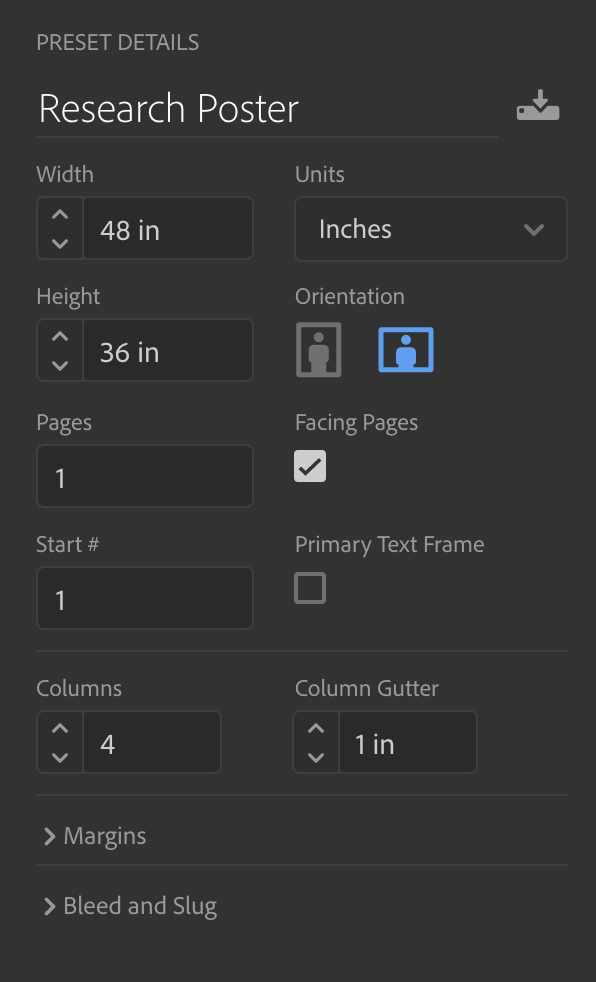
- Change the Title, Width, and Height, per your poster’s specifications.
A common size is 48×36 inches.
- Give your poster 4 Columns and a 1″ Column Gutter.
The Column Gutter is the space between the columns.
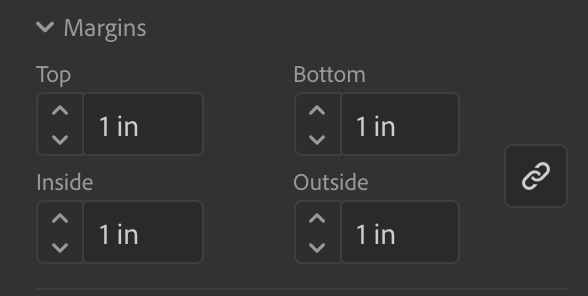
- Click Margins to expand the margins options if they are not already open.
- Give your poster 1″ margins which will create margin guides.
You should only have to type it into one of the boxes and it will be copied to the other three boxes.
- Click the Preview checkbox.

- Drag the New Document window to one side to see the guides for your margins and columns based on your settings.
- Make adjustments if you believe these settings won’t work for your poster.
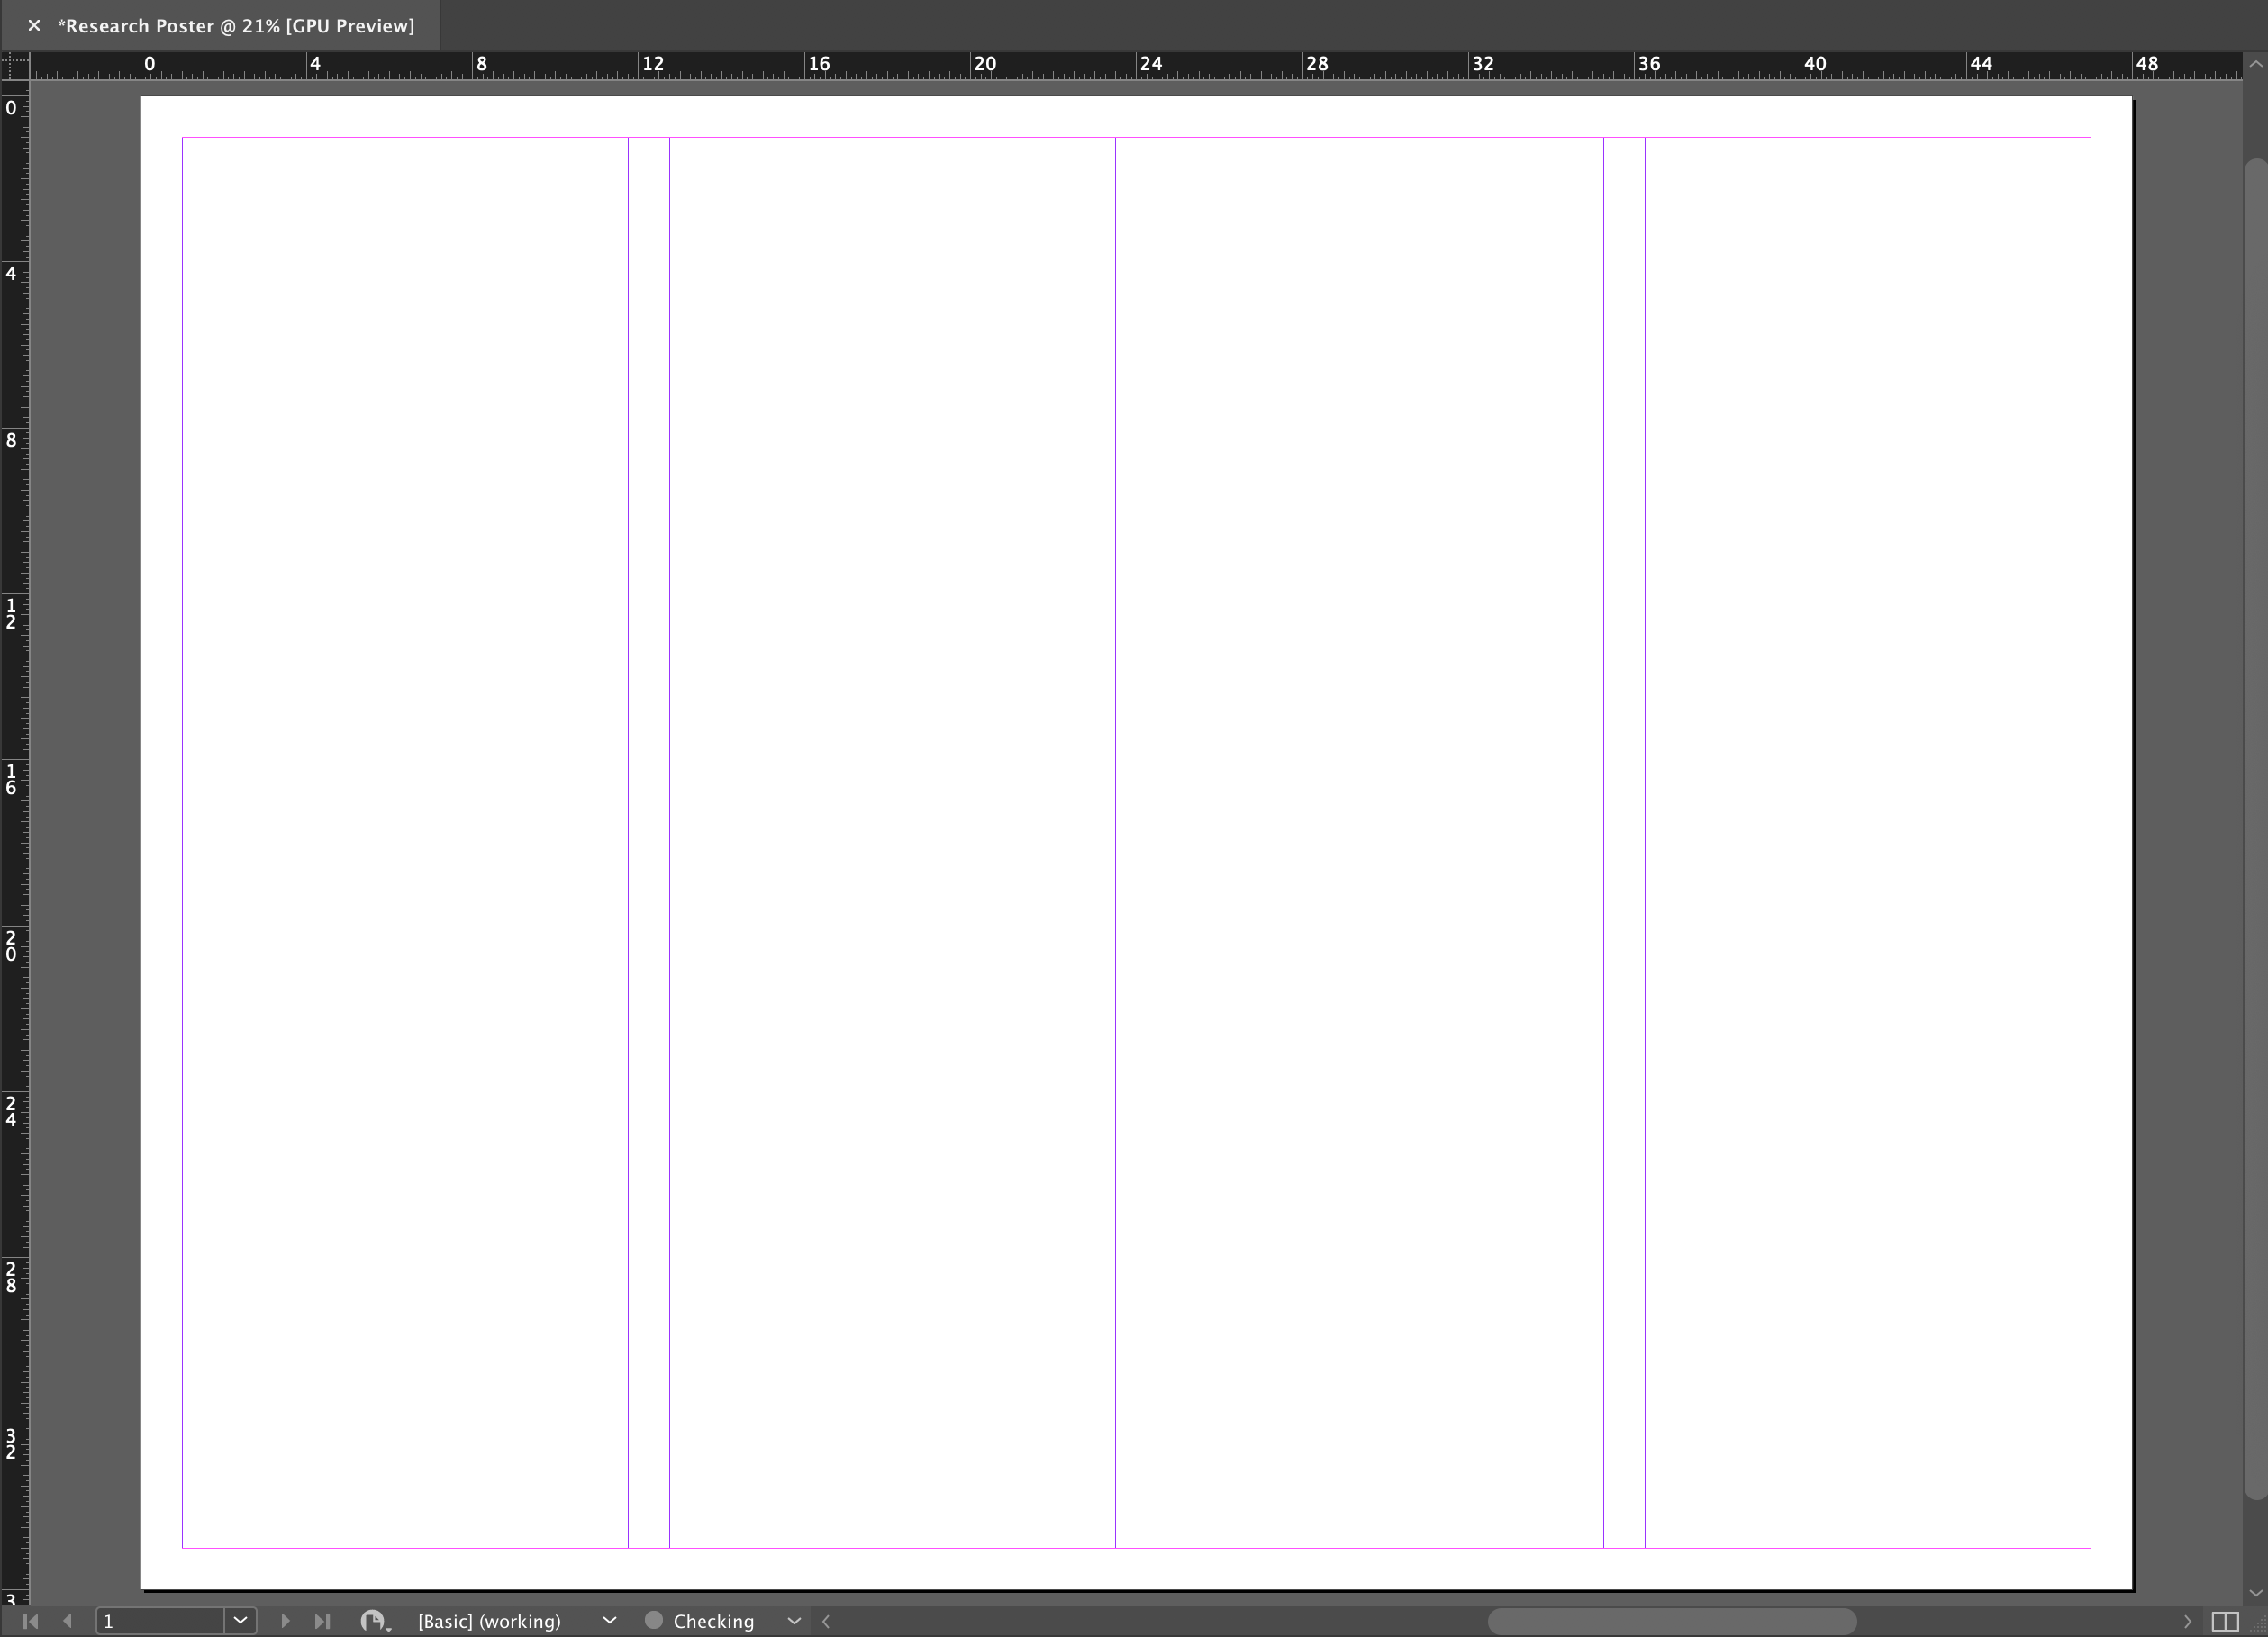
- When you’ve finished adjusting your settings, click the blue Create button in the lower right corner of the New Document window.

Customizing Your InDesign Workspace
NOTE: This step isn’t required for creating a poster, but is necessary for being able to locate the tools and buttons as described in subsequent tutorials.
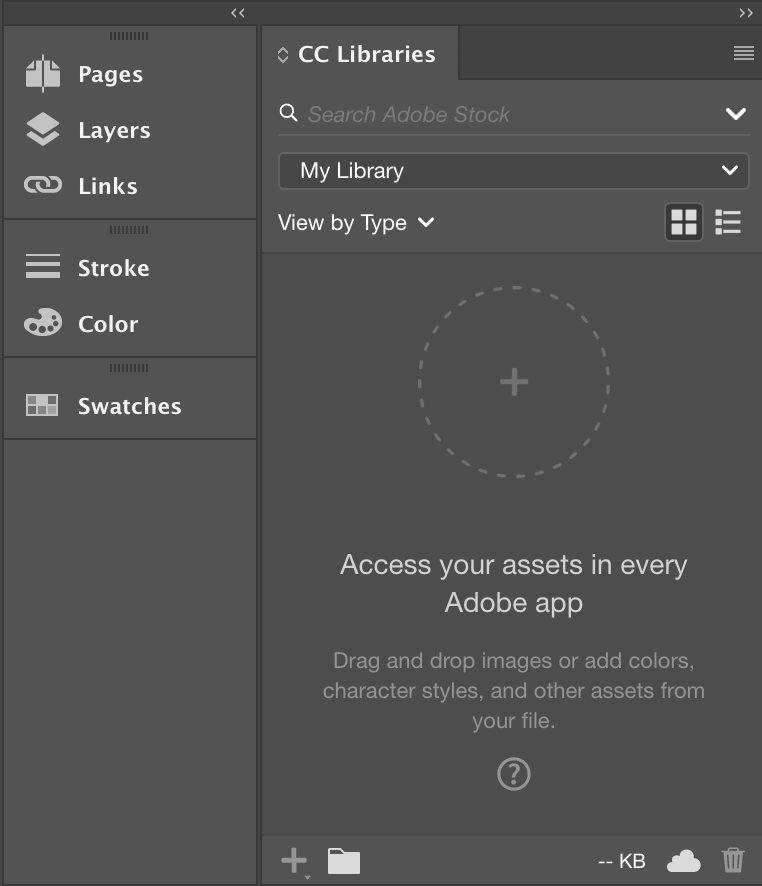
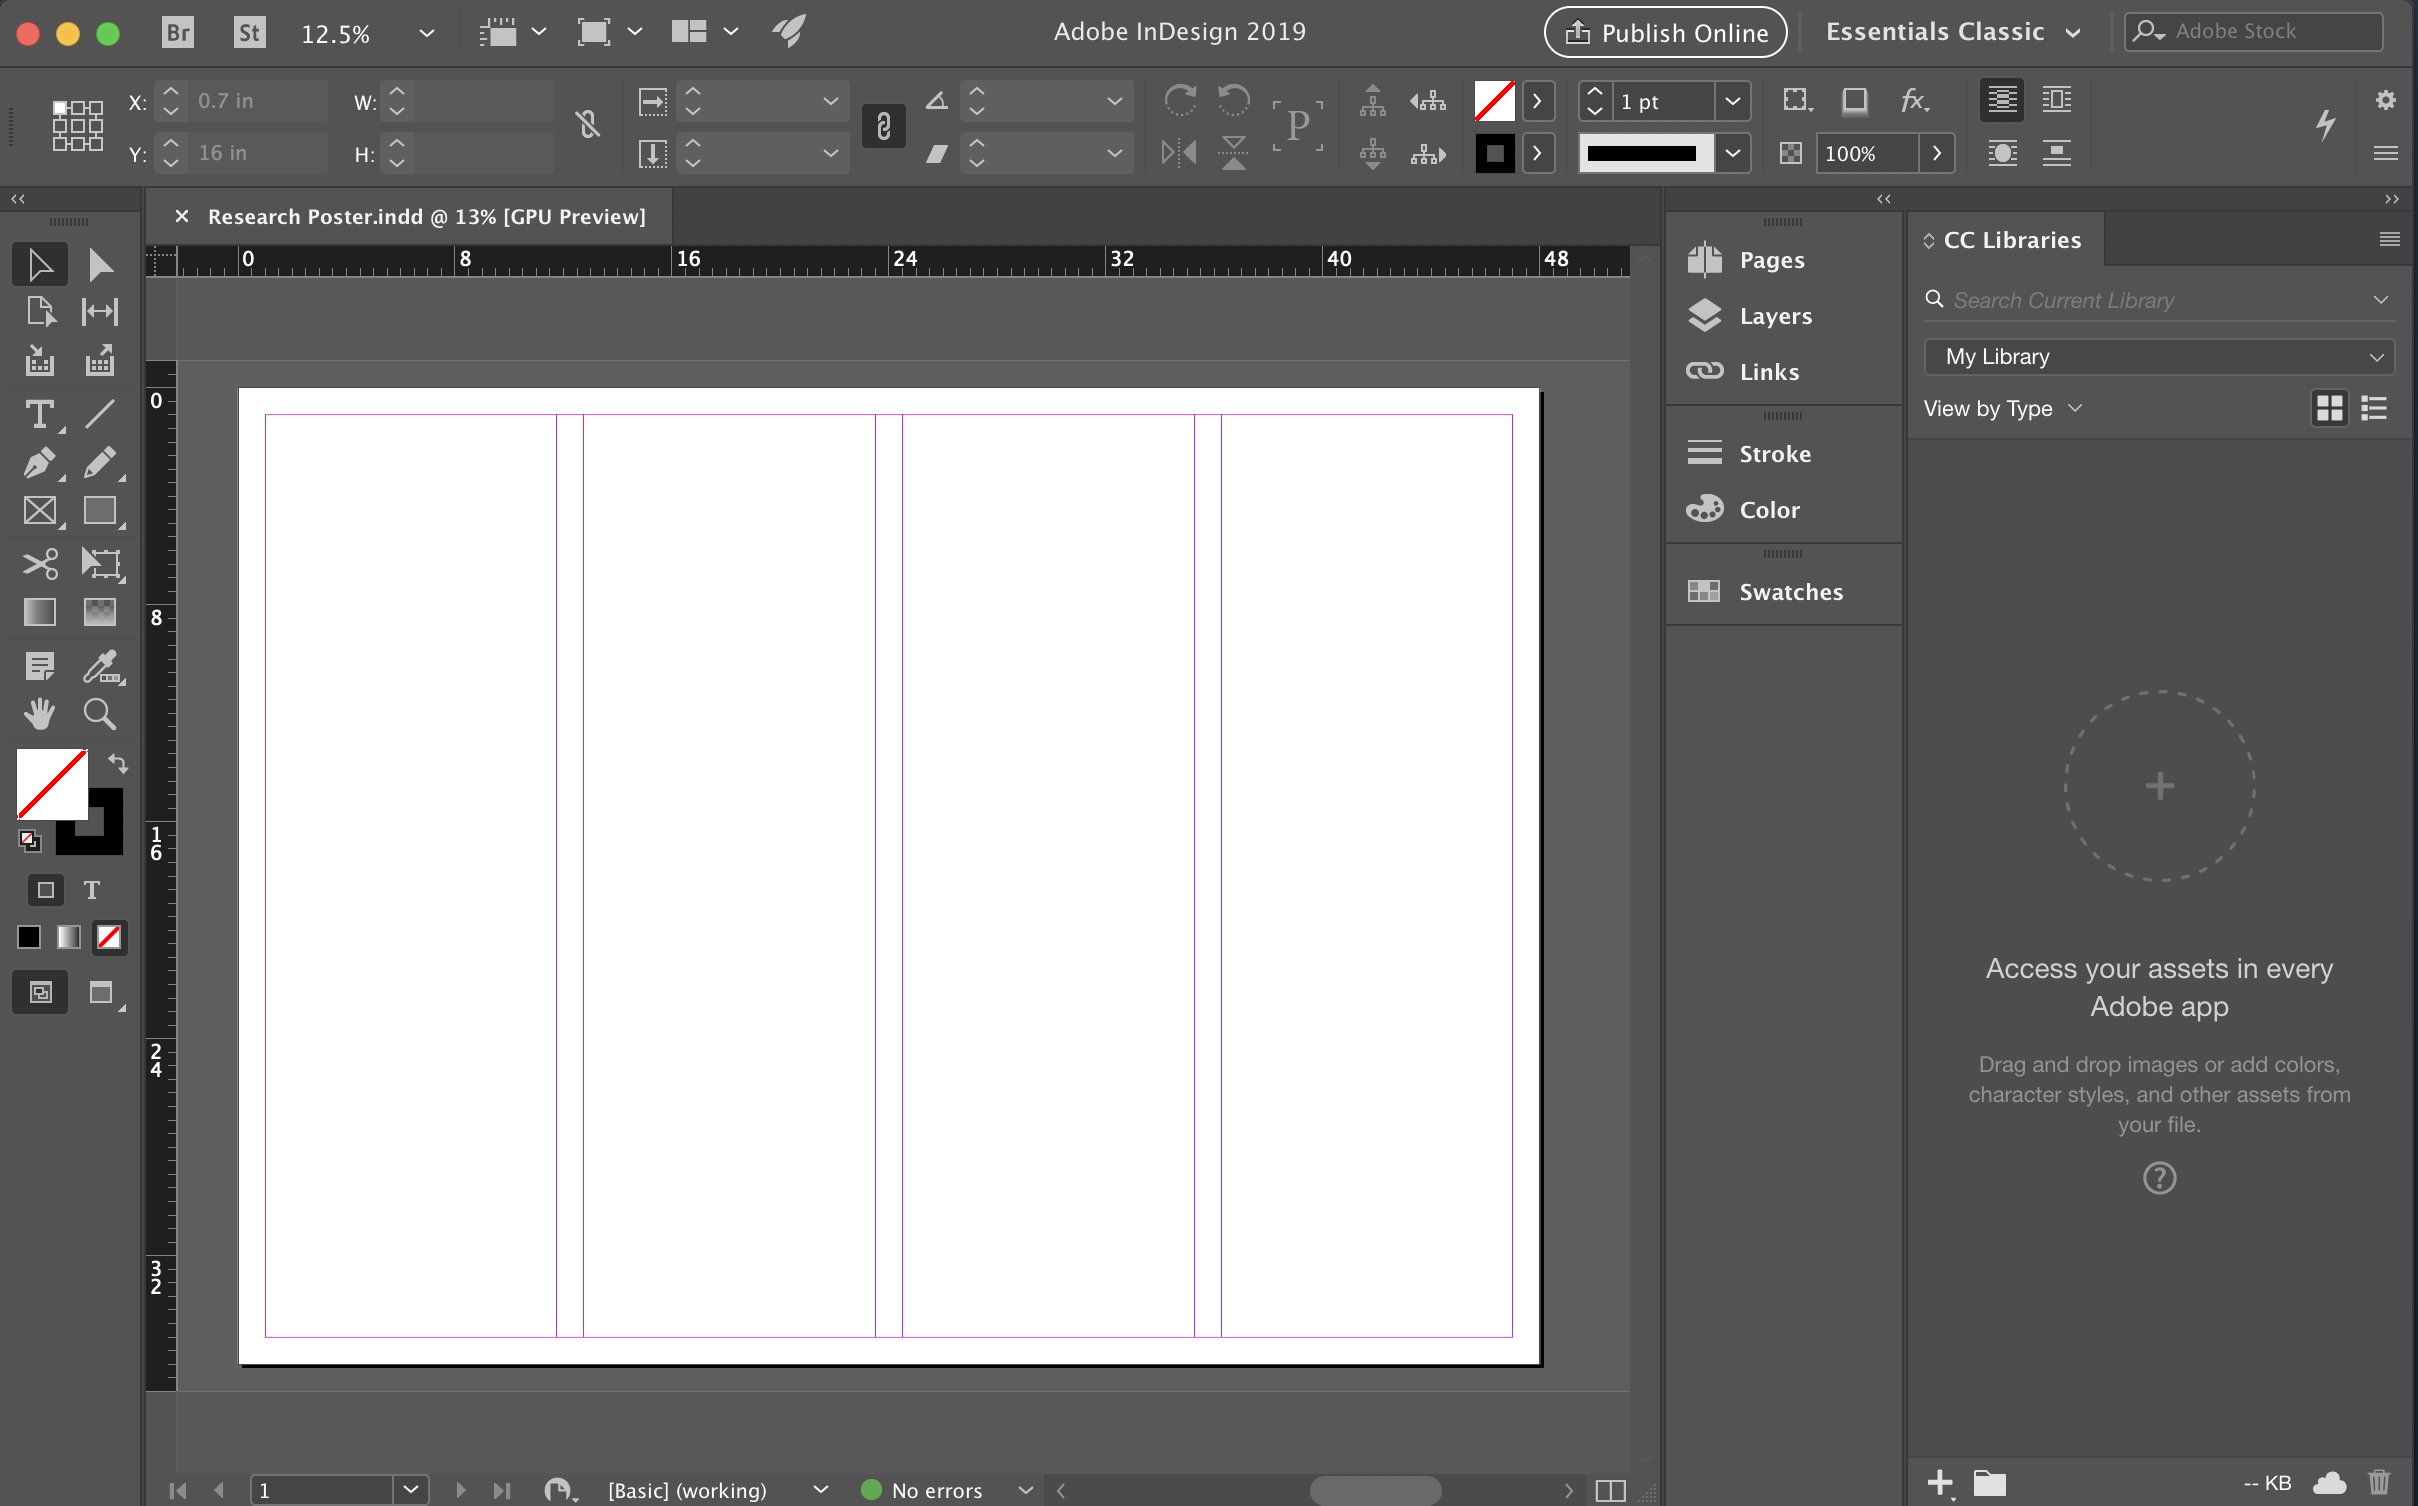
- Select the Essentials Classic workspace from the Workspace options in the Window menu.

The Essentials Classic workspace will bring up the Stroke and Swatches buttons and CC Libraries panel that we will be using in other tutorials.
The tools panel is located on the left edge of the InDesign interface.
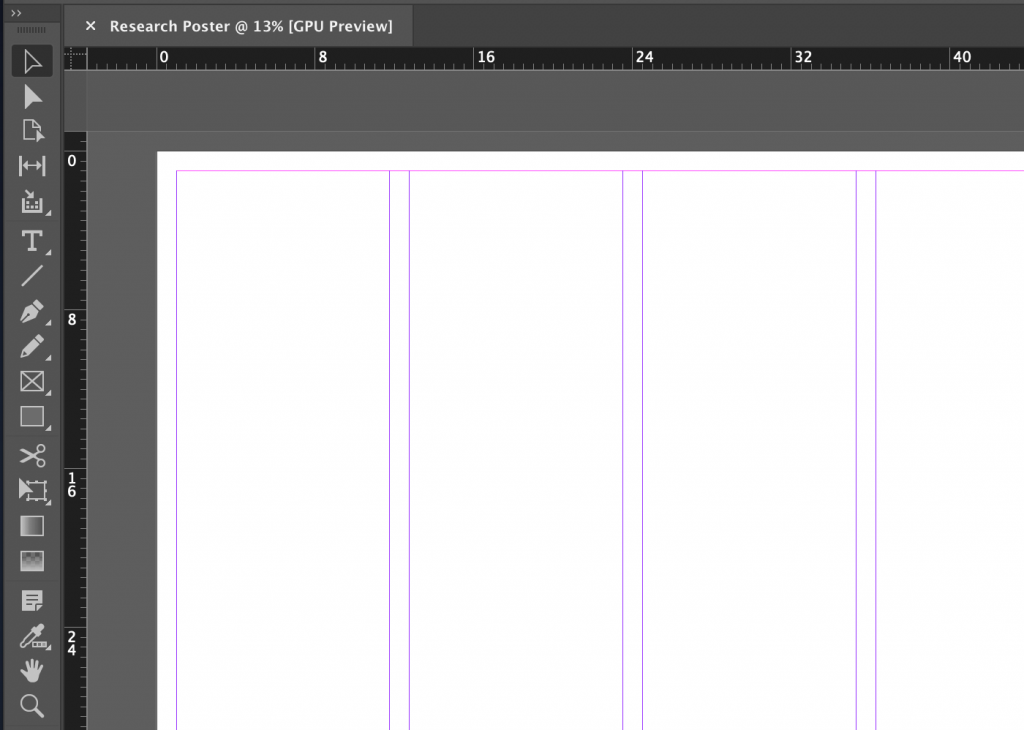
- If the tools panel is one column wide, click the double caret (>>) icon to collapse it into two columns.
Once you are familiar with the InDesign tools, you can switch it back to one-column wide if you prefer. The two column view was used in all tool selection images in our tutorials.

Your document and the InDesign interface are now ready for you to begin your poster.
Saving Your InDesign Poster
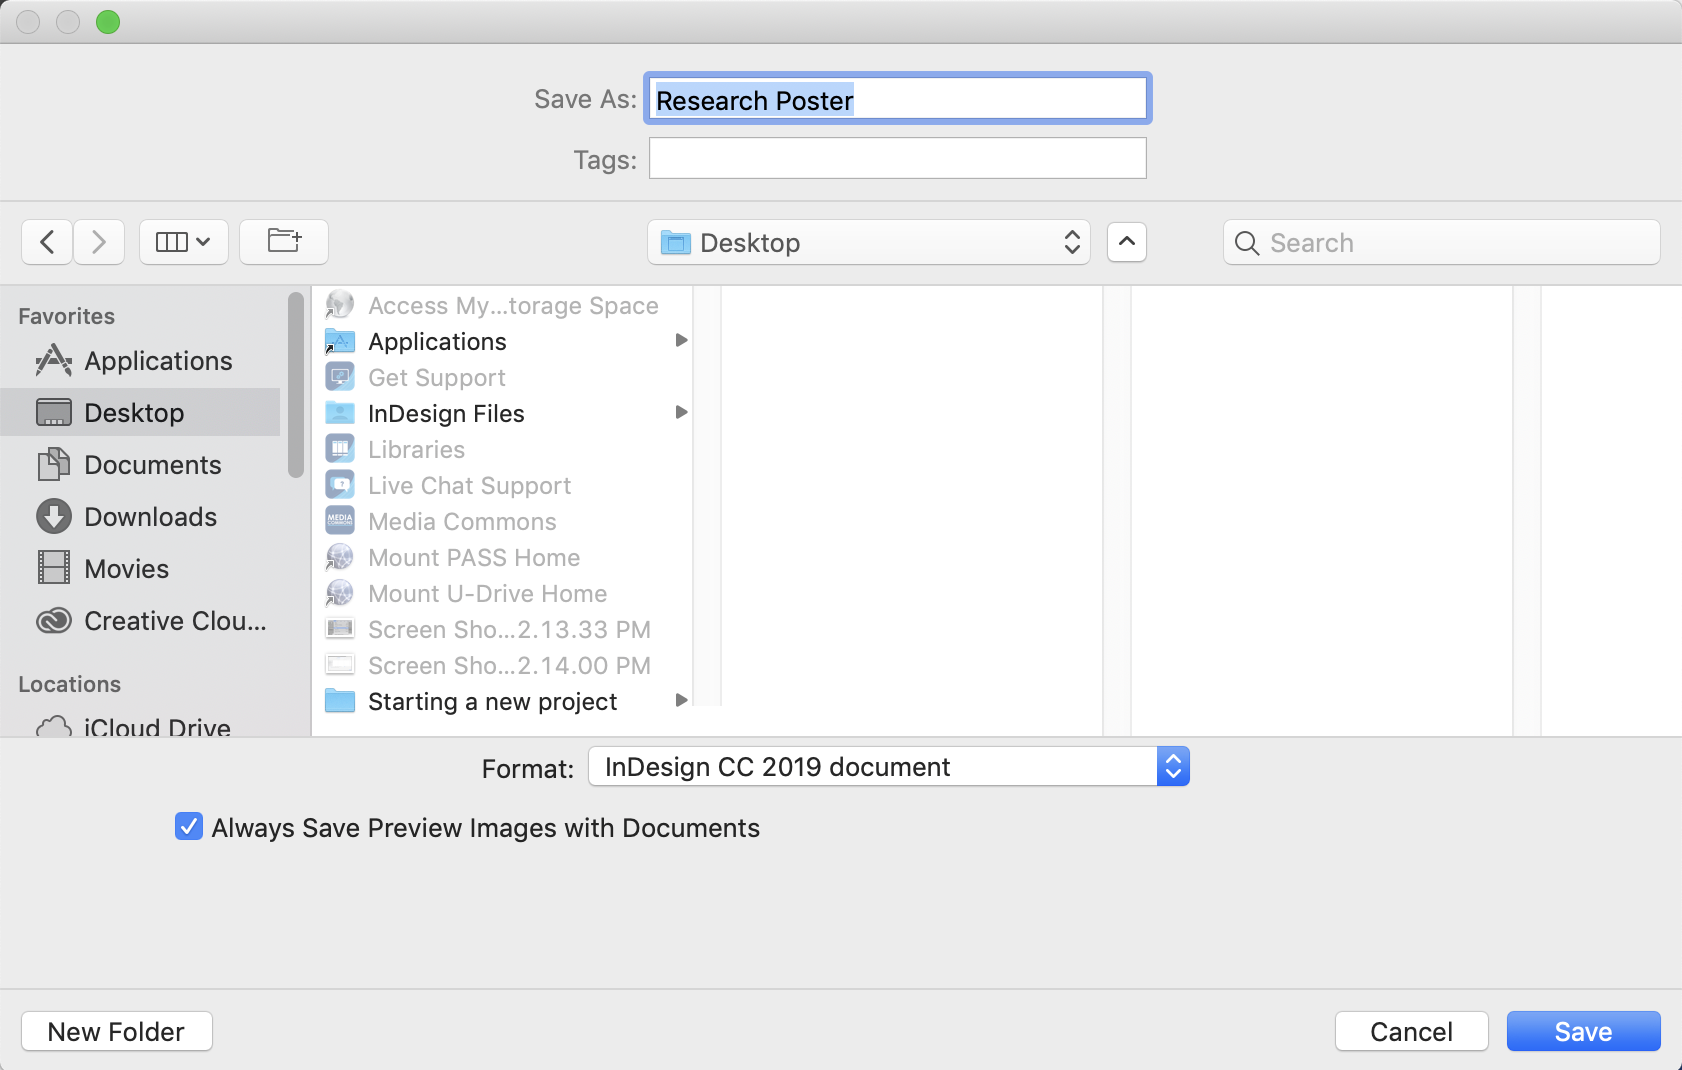
- Click Save in the File menu.
- Give your poster a new name if you didn’t give it one in the New Document window.
- Select Desktop on the left hand sidebar.
- Click the blue Save button in the lower right corner of the save window.
NOTES:
- Sending your InDesign poster to the desktop will make it easier to locate later. If you are using InDesign on your personal computer, you can navigate to wherever you’d like your poster to be stored.
- InDesign does not autosave, so you will want to save your poster periodically as you work on it.
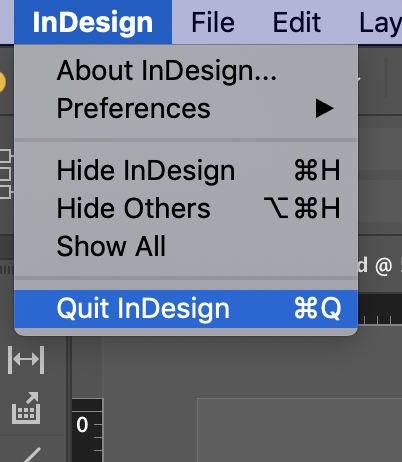
- Quit out of InDesign from the InDesign menu.
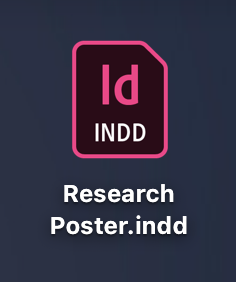
Your InDesign Poster will have the “Id” InDesign logo and have a “.indd” extension. This file type can only be opened on a computer that has InDesign installed on it.
If you need a file that can be opened on any computer, Export your poster as a PDF.
