This tutorial walks through how to add color backgrounds and shapes to an InDesign poster.
Add a Color Background
Once your poster is created, you may want to start by creating a colored shape for your background.
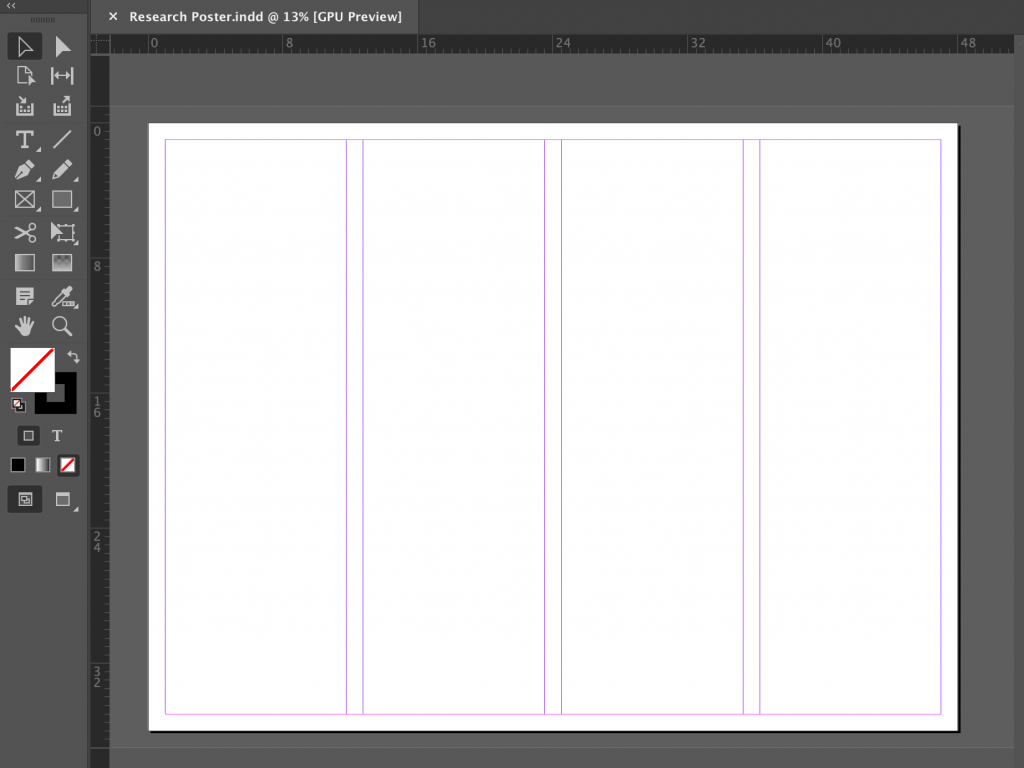
- Select the Rectangle tool from the tool panel.
The Rectangle tool’s icon is a shaded rectangle and is the sixth from the top on the left.

- Click-and drag to create a shape approximately the size of your poster.
You can make it bigger than your poster to make sure you cover the whole thing, and the excess will be cropped off when you export your poster.
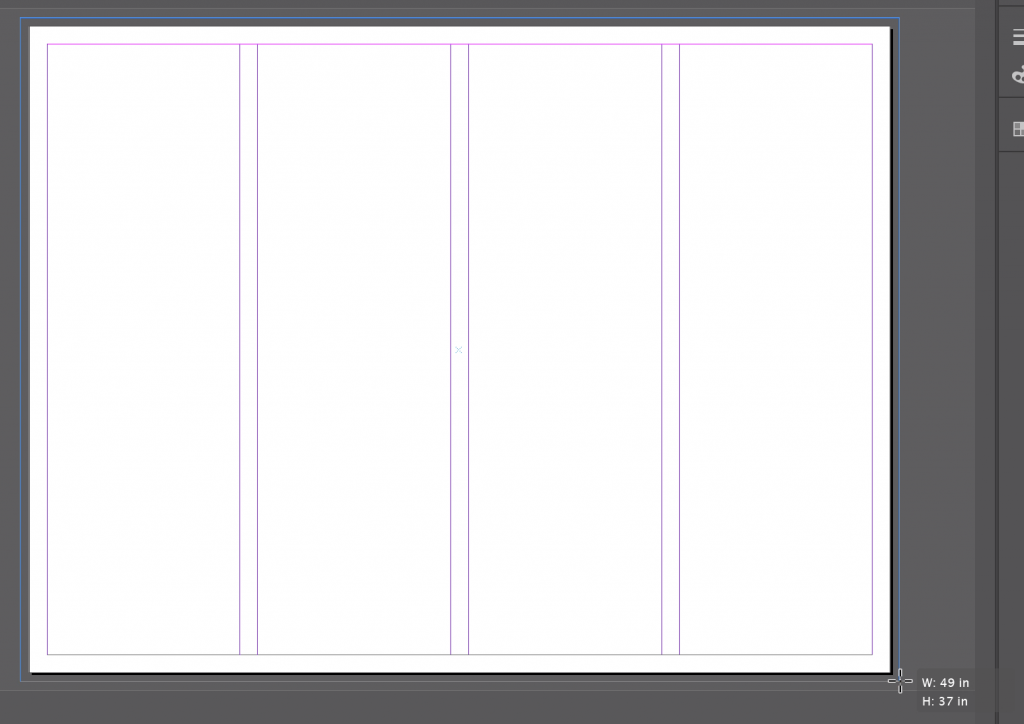
Your rectangle will default to not having any fill color.
- Select the Swatches panel from the buttons to the right of your poster layout to add color.
NOTE: If you do not see the button for swatches, refer to Starting a New InDesign Poster Project for set up instructions.
- Select the basic version of the color you want your background to be.
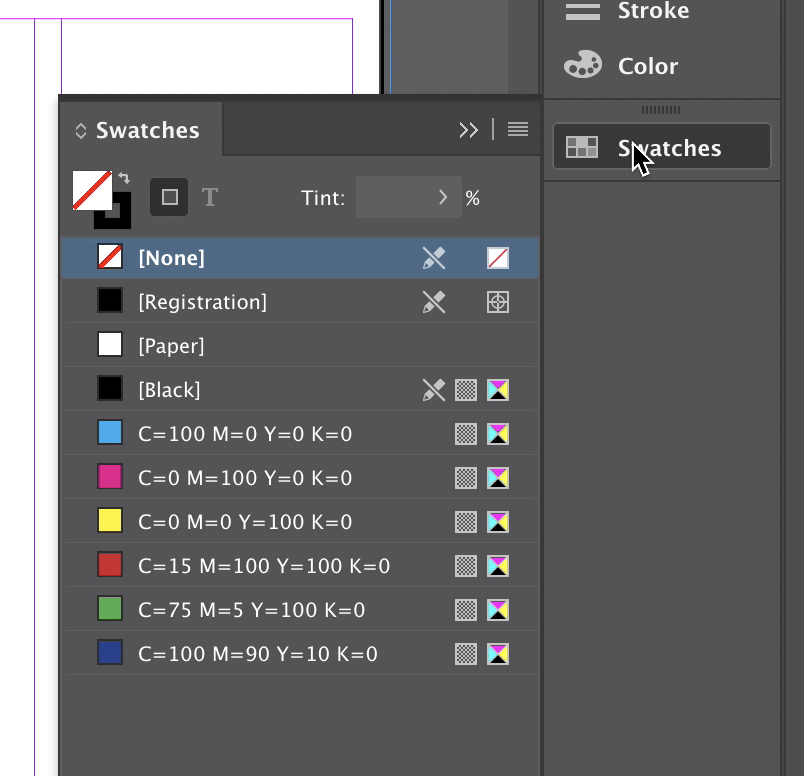
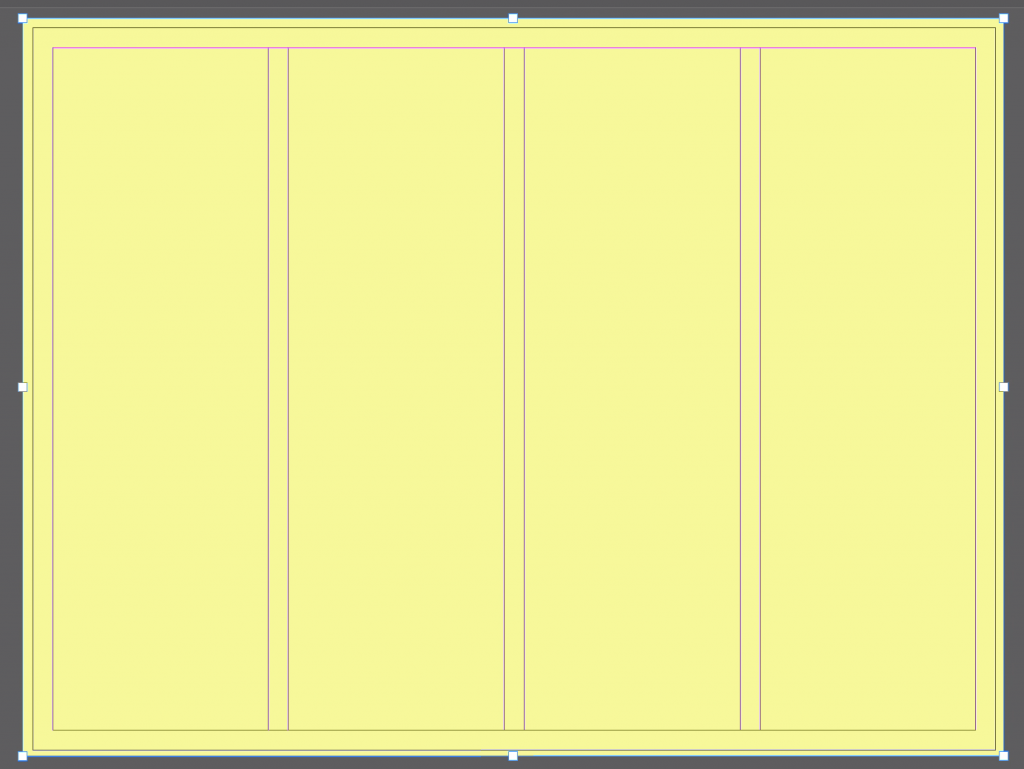
We chose yellow because the topic of our poster is THON.
- Double-click the fill selection indicator at the bottom of the tools panel to adjust the shade and tone.
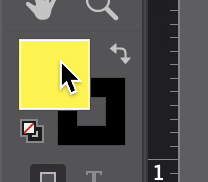
The Color Picker window will open.
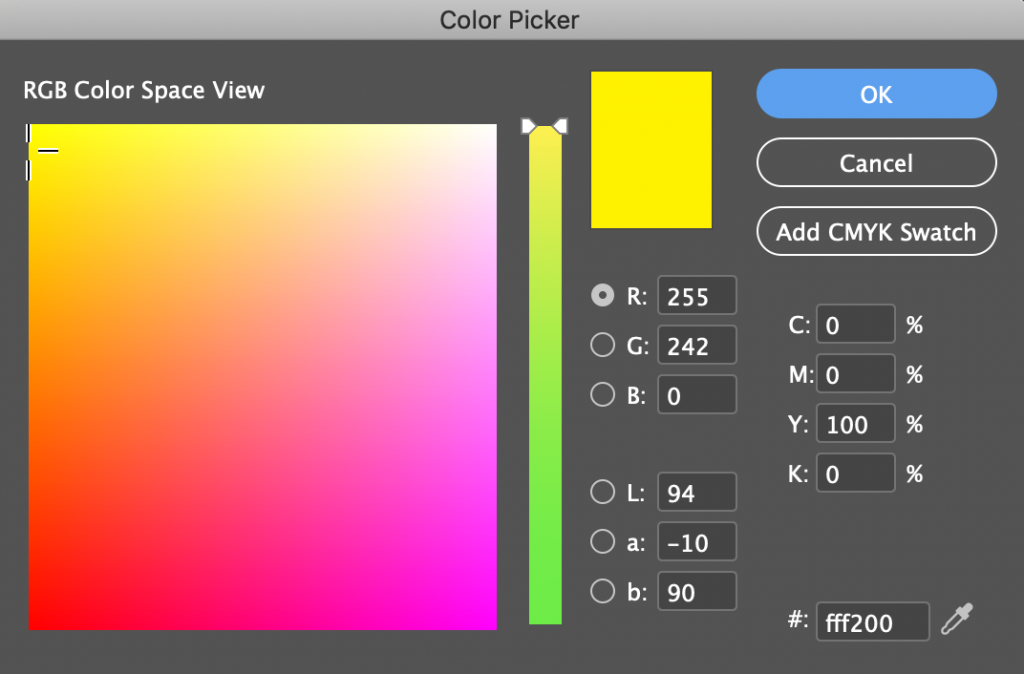
- For a more familiar color space selection, click the radio button next to the “L:” towards the bottom of the window.
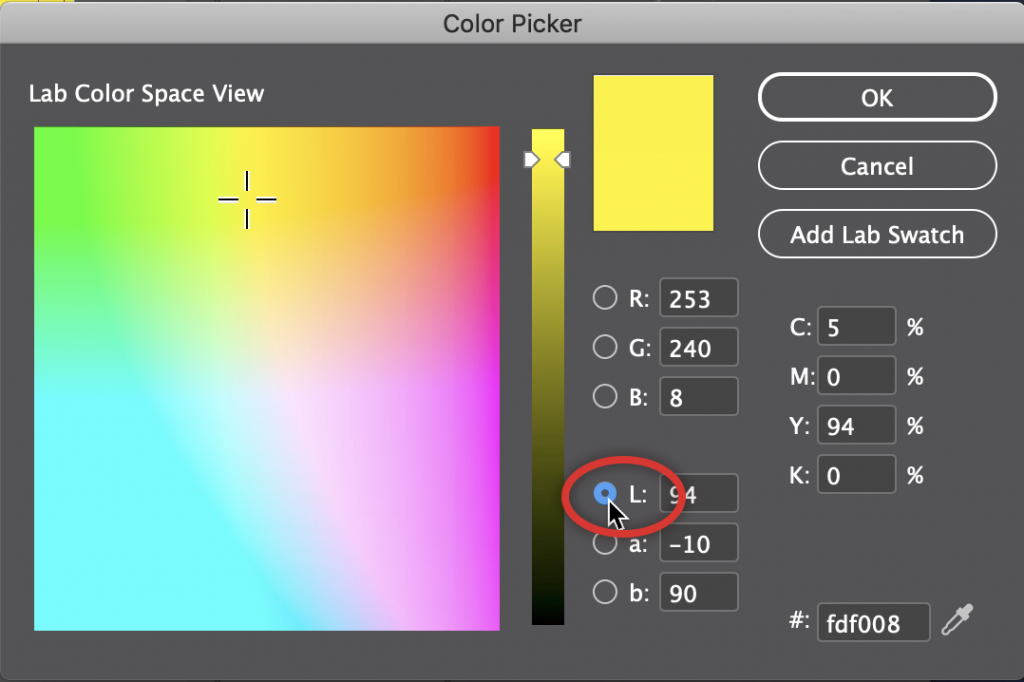
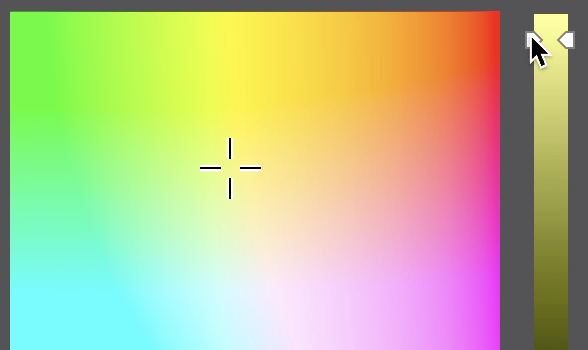
- Drag the slider and cross-hairs to get the color you want.
To make a light yellow, we dragged the slider up and dragged the cross-hairs towards the center of the Color Space.
- Hit the OK button in the Color Picker window to confirm the new color.
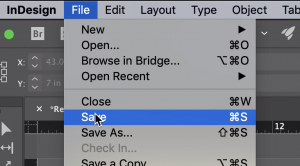
- Save your work by selecting Save in the file menu (ctrl/cmd + s on the keyboard).
Add Color Shapes
The same tool and process is used for creating additional color elements for your poster.
- Select the Rectangle tool if it’s not already selected.
- Click-and-drag to make the shape you want.
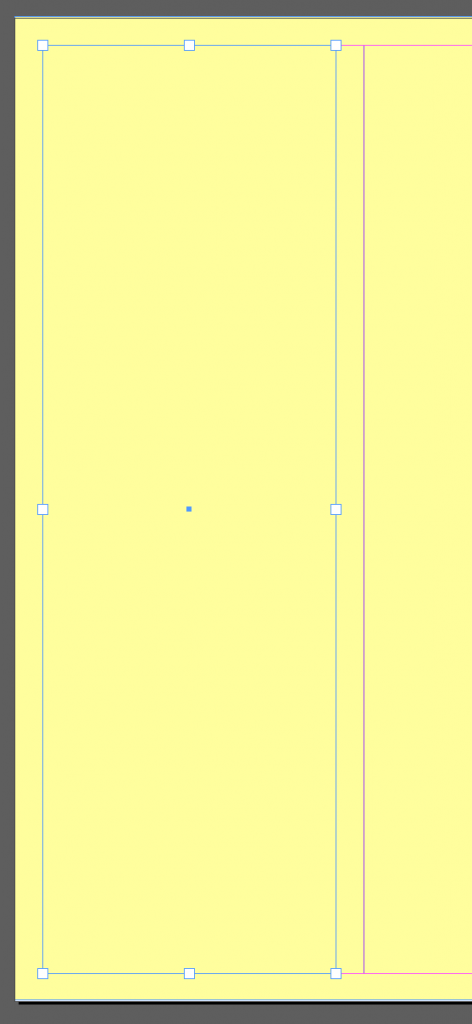
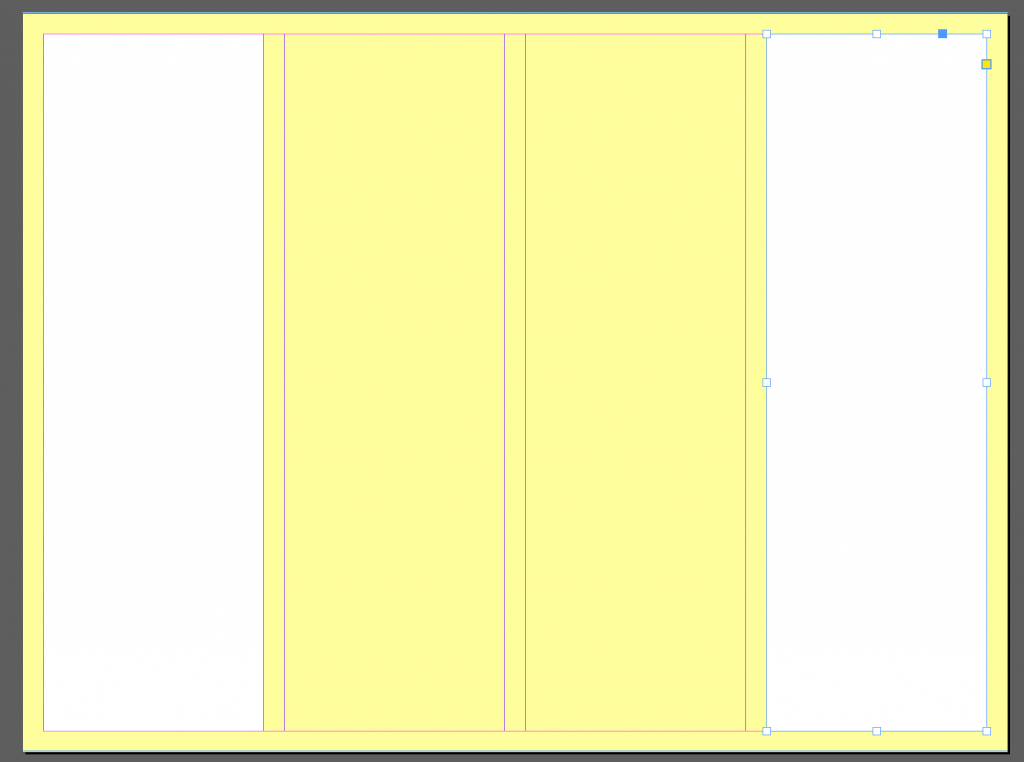
For our poster, we wanted to create a white background for where our text will go in the first column, and used the guides to determine the shape.
- Access the swatches from the buttons to the right of your poster and select the color you want.
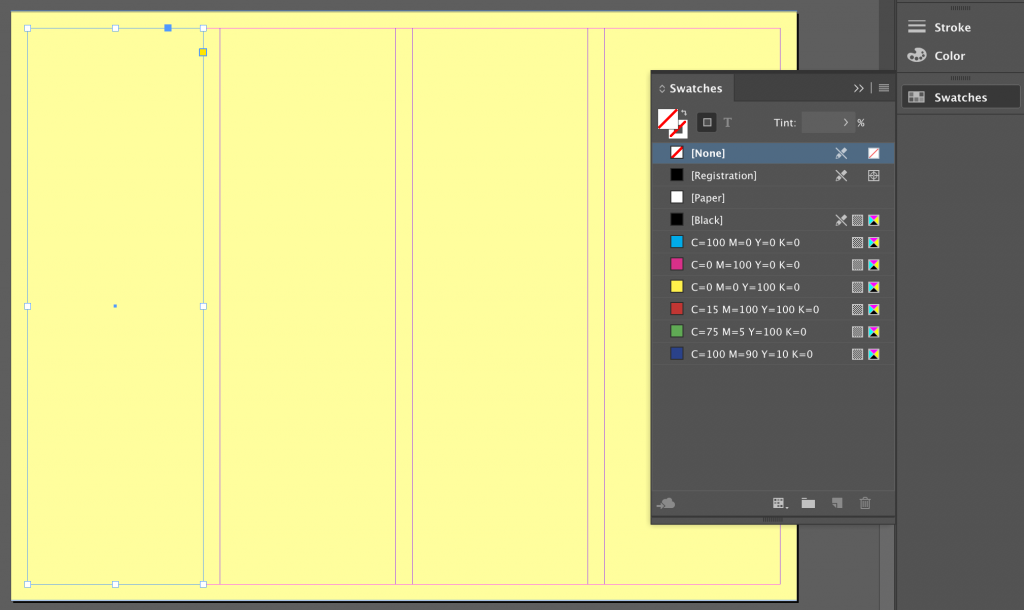
We selected Paper to get a white shape.
- To make a matching shape on the other side of your poster, hold down option/alt on your keyboard to get the Duplicate tool.
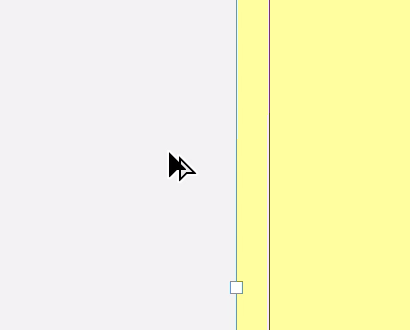
- Click-and drag a copy of your shape to the position you want on the poster.
- Save your work by selecting Save in the file menu (ctrl/cmd + s on the keyboard).

