This tutorial shows how to add and format text for your InDesign poster.
Create a Text Box
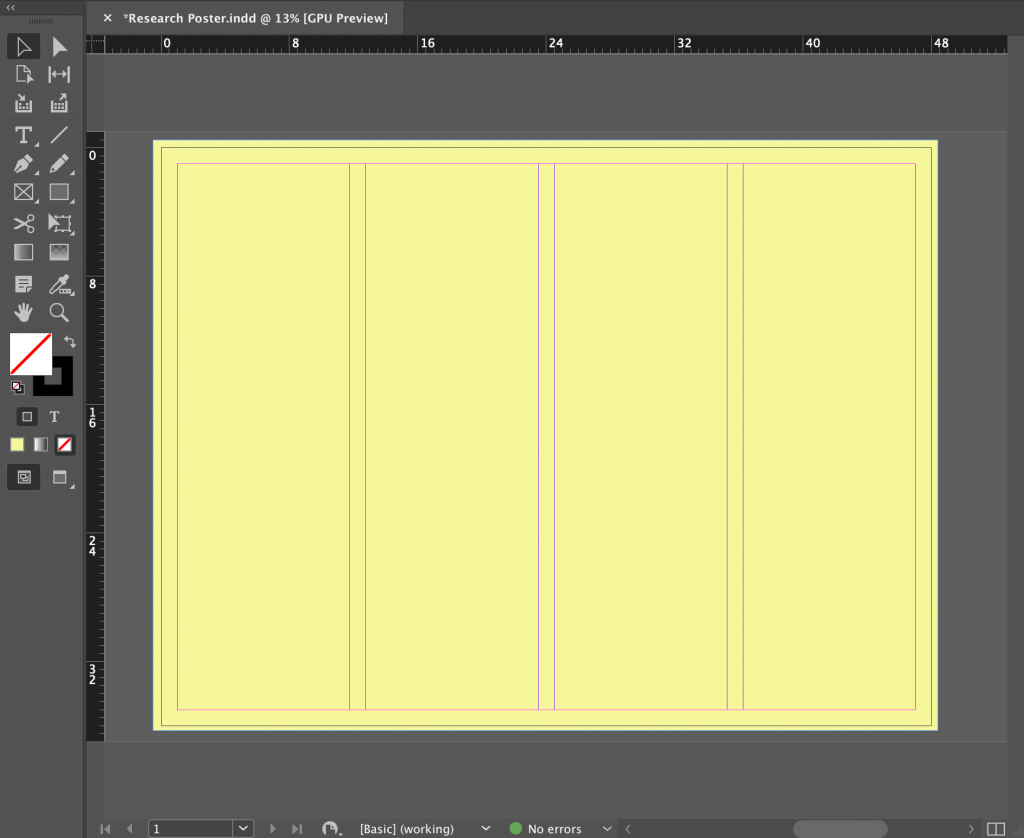
When adding text to your project, you will want to use the guides to center and align your text boxes.
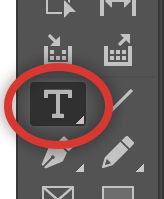
- Select the text tool from the tool panel.
The text tool icon is an Uppercase “T” and is located 4th from the top, on the left.
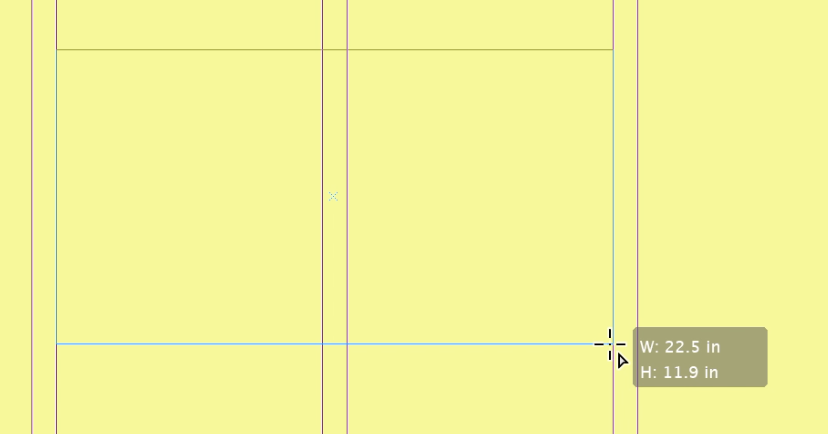
- Using the guides, click and drag a rectangle that will approximately fit your text.
The shape can be adjusted as needed.
Add Text
The font size for every text box will default to 12 which will be extremely small for the size of your poster. The font size field is located at the top of the interface, towards the left.
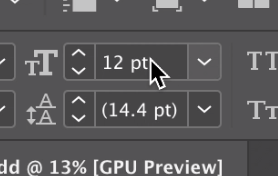
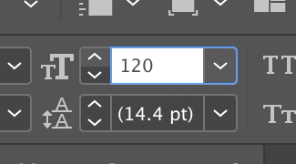
- For the title of your poster, type in a new size of at least 120 and hit return on the keyboard.
- Type or copy/paste your title into the text box.
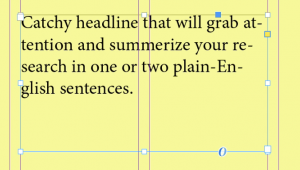
- If you want to make the text box shorter or longer, click-and-drag the white square handle in the middle of the bottom edge of the text box.
Remove Automatic Hyphens From Text
If you have text boxes with hyphens that you don’t want, you’ll need to turn of the automatic hyphenation.
- Select the text box that you want to de-hyphenate.
- Open the Paragraph window found under Type & Tables in the Window menu.
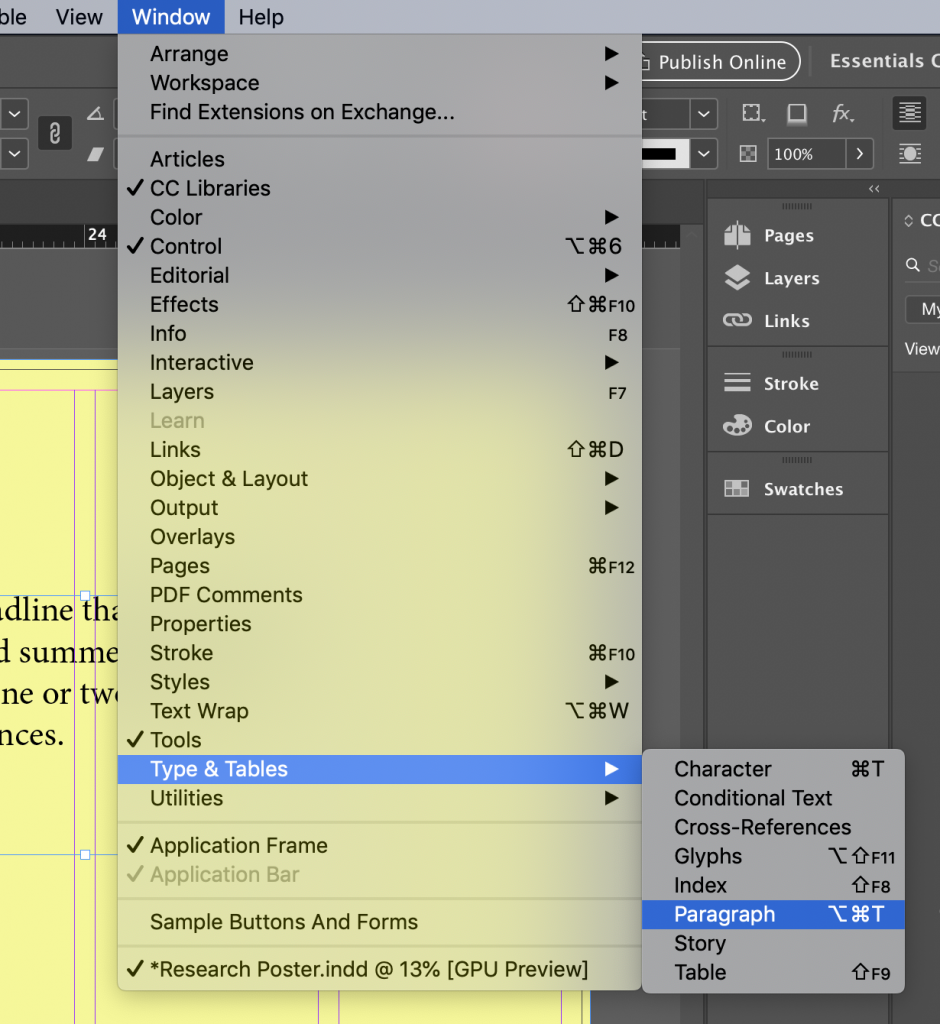
You will see the Hyphenate selection in the bottom left of the Paragraph window.
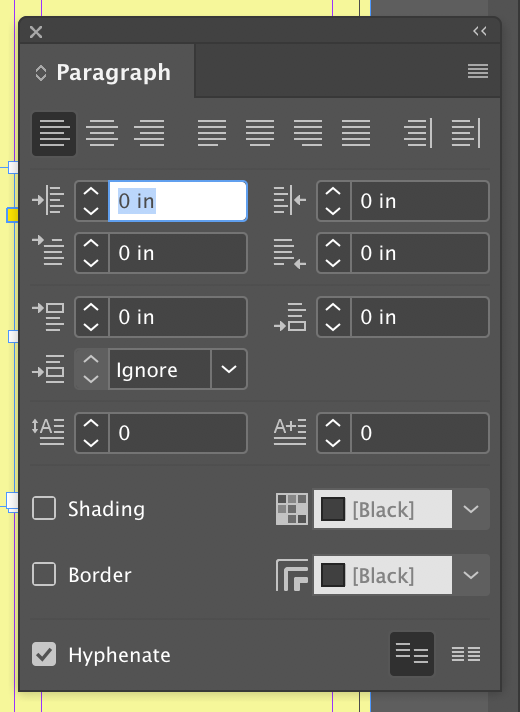
- Click the checkbox to de-select the Hyphenate option.
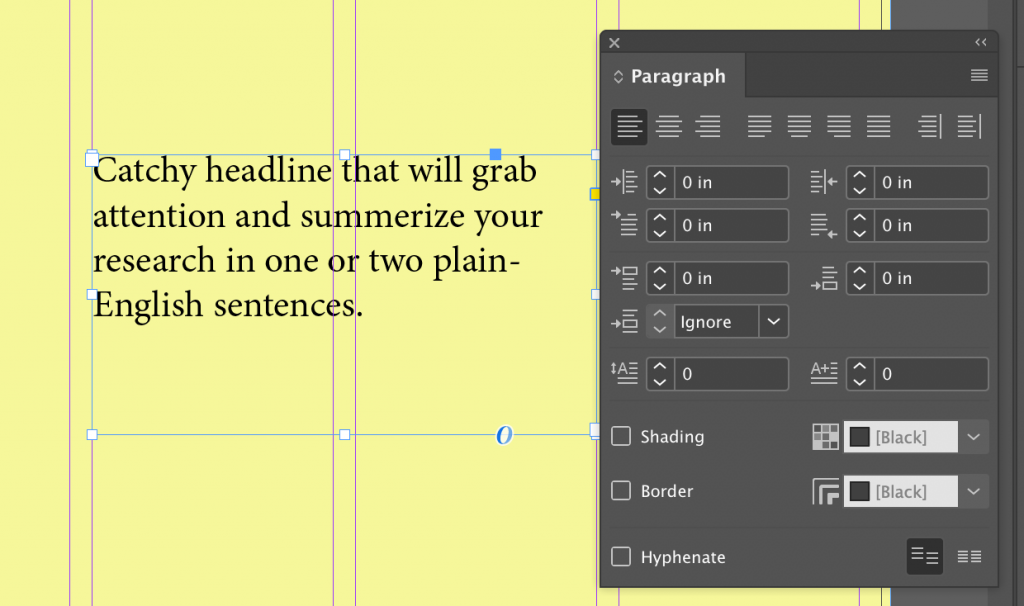
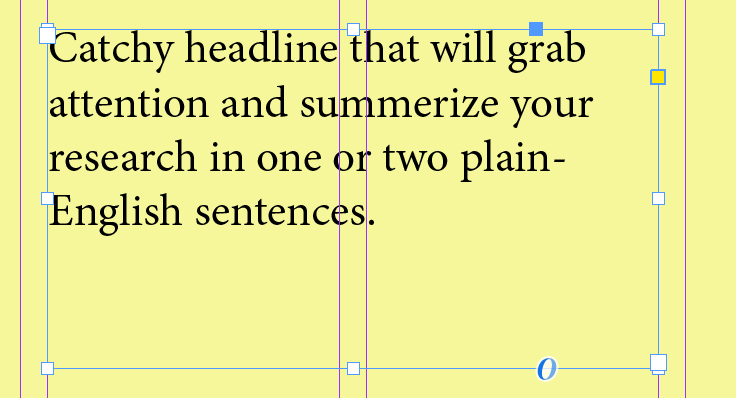
Automatic hyphens will be removed and typed-in hyphens will remain.
Changing The Text Font
- Select the text box you want to change the font for.
- Open the Character window found under Type & Tables in the Window menu.
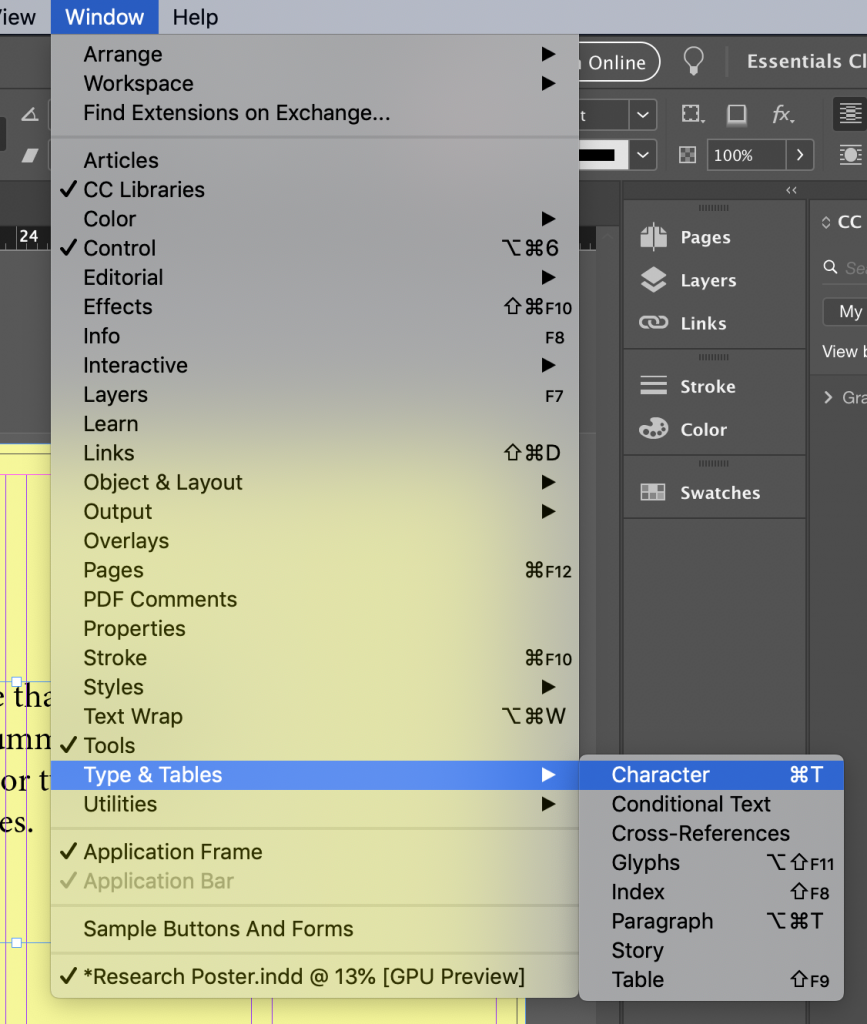
The default font for InDesign is Minion Pro.
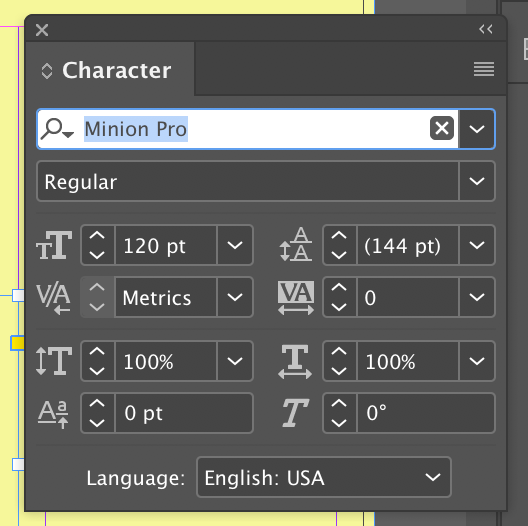
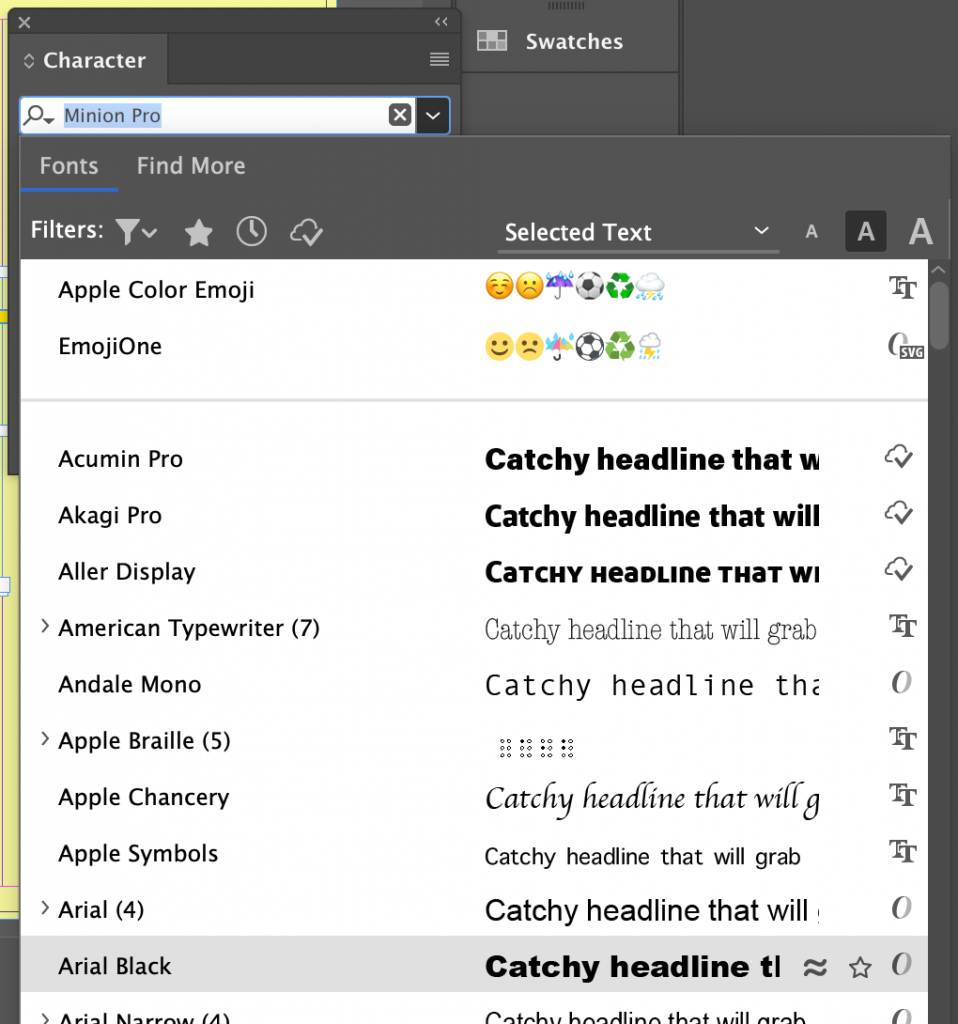
- Click the drop-down arrow to see the font selections.
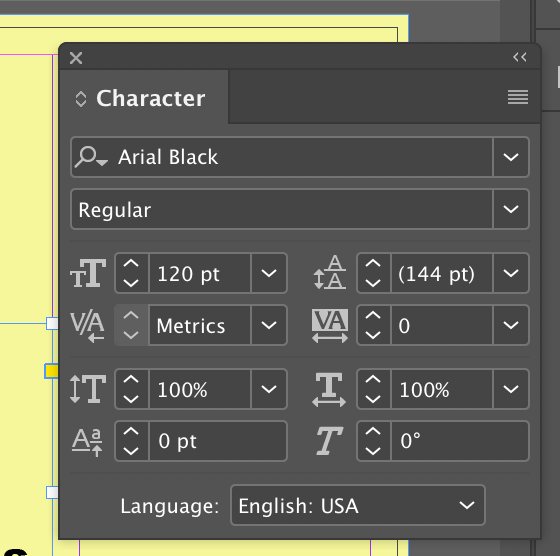
You’ll be able to scroll through the selections and see a preview of what your text will look like in each font. For the title, you’ll want to pick a sans-serif bold font like Arial Black.
- You can leave the Character window open if you expect to continue using it, or you can close it by clicking the X in the upper left corner of the window.
Change Sections of Font
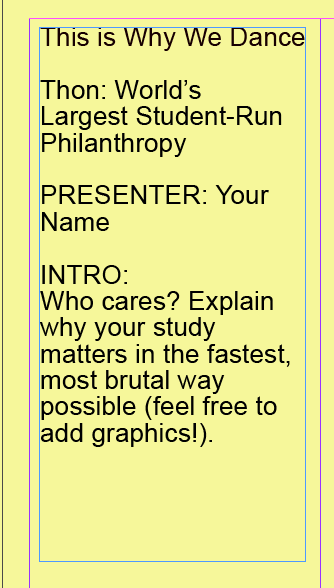
If you have a text box that you want different font sizes and variations for, you’re able to do this by highlighting sections of the text.
Font Size
- Highlight the portion of the text you want to change by clicking-and-dragging over it.
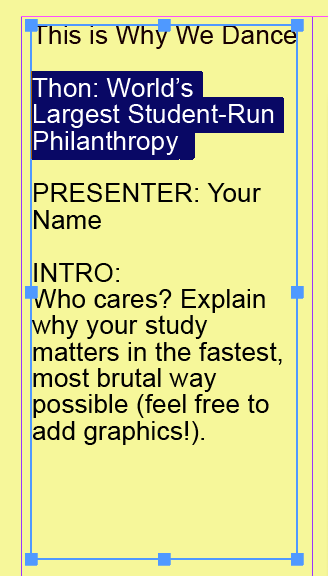
- Open the Character window found under Type & Tables in the Window menu.
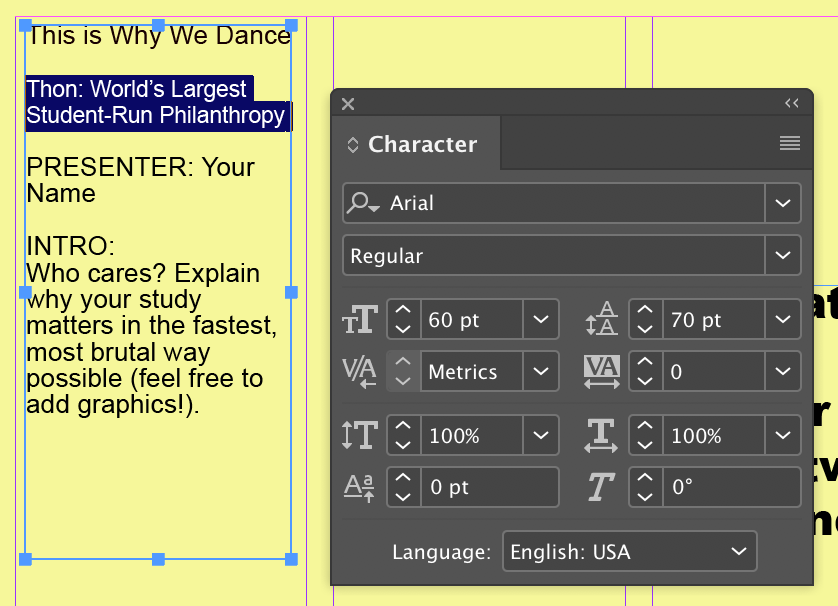
- Change the font size by clicking into the third field on the left.
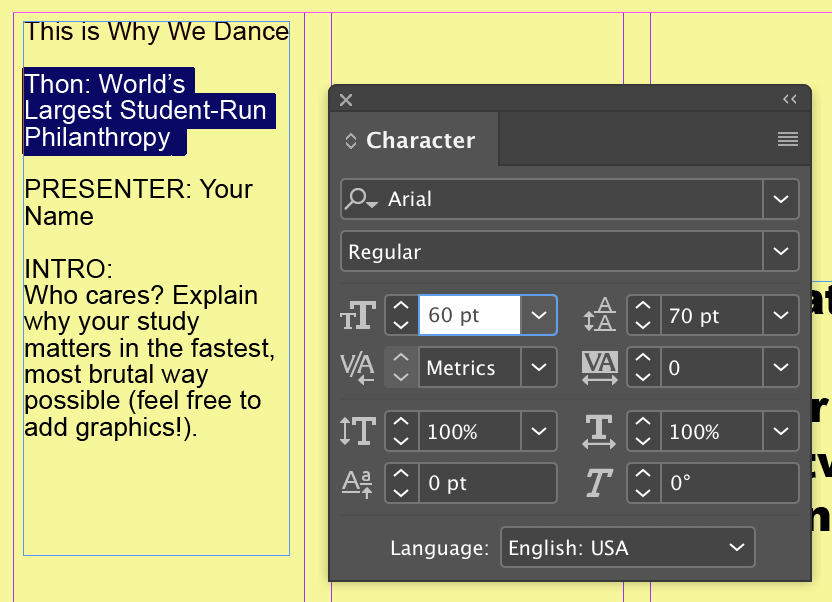
- Type in the size you want and hit Return on the keyboard.
Bold Text
- Make your text bold by again highlighting the text you want.
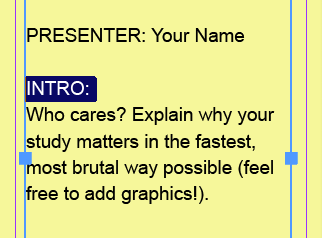
- Open the Character window.
- Click the second drop-down button which has Regular selected in our example.
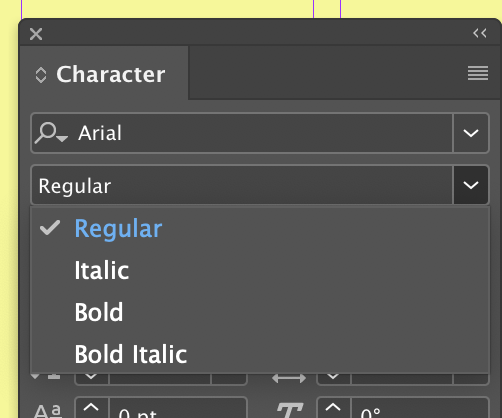
- Choose either Bold or Black depending on the available options.
If you don’t see one of these options, you will need to select a different font.
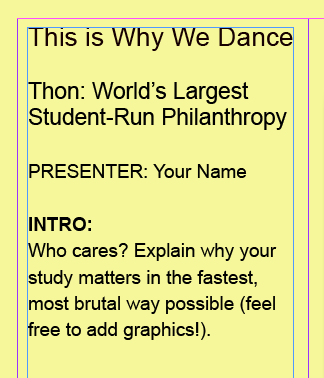
Another option for having different formatting for different sections of text is to create text boxes for each section.
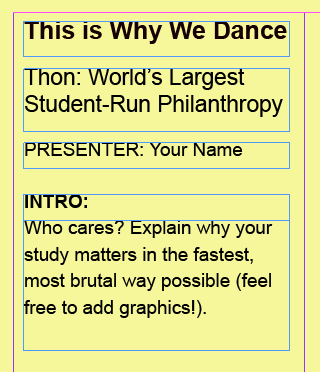
This is more work when adding your text to your poster, but you will be able to change the font by selecting a text box instead of highlighting a section of text.
Duplicating Text Boxes
If you decide to use different text boxes for each section of text, you can make one text box in the width that you want and then duplicate it so that all your boxes are aligned.
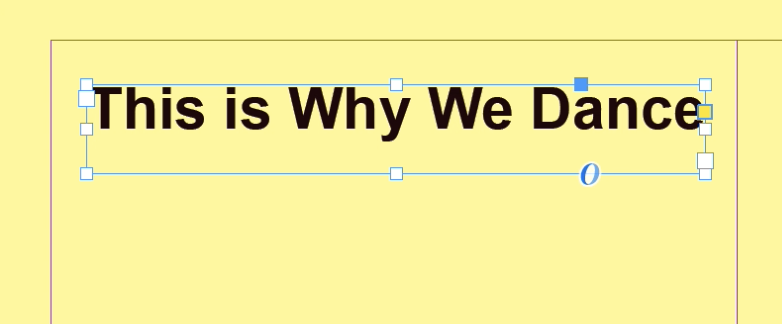
- Press the alt/option key on the keyboard and then click and drag the box you want to duplicate.
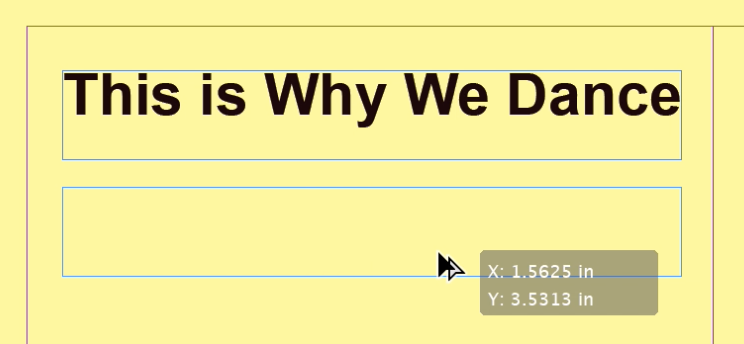
- While dragging, press and hold the shift key and the second box will stay in line with the first one.
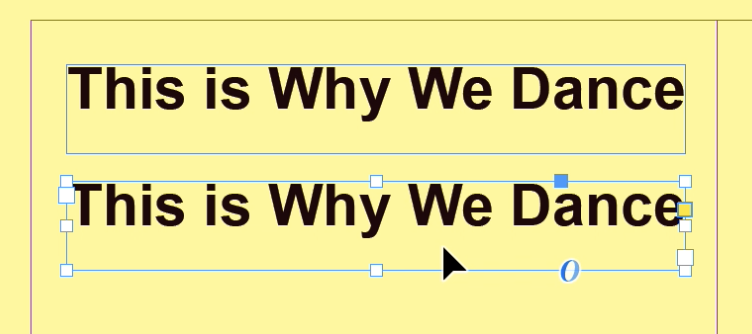
- You can continue to duplicate until you have the amount of boxes you need.
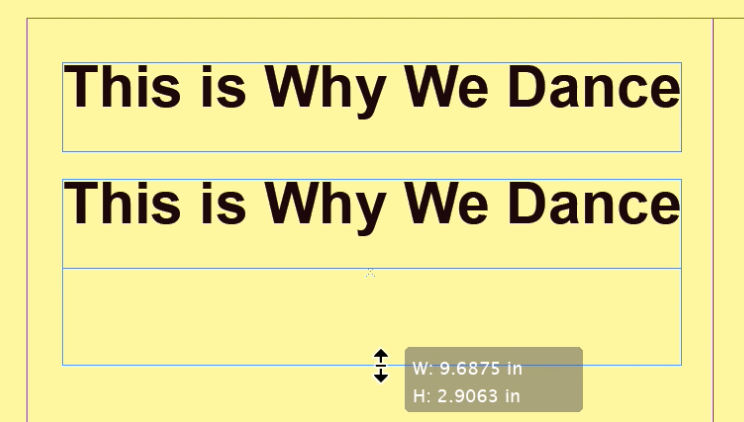
- Make a text box bigger to accommodate more text by clicking-and-dragging the white, square handle in the middle of the bottom edge of the box.
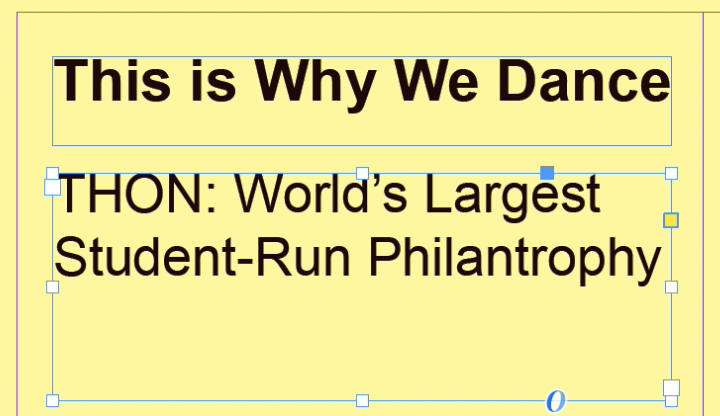
- Type or paste in the needed text and make any font changes you need.
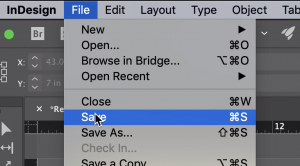
- Save your work by selecting Save in the file menu (ctrl/cmd + s on the keyboard).
