This tutorial walks though how to make different adjustments to images in your InDesign poster.
Moving an Image
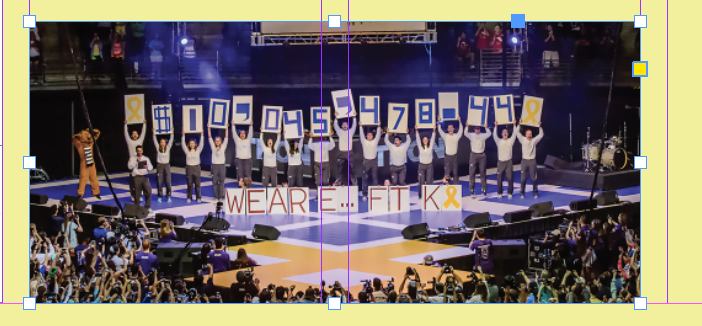
After placing your images in their frames, you may want to reposition it within the frame, such as the image in the lower right corner of our poster.

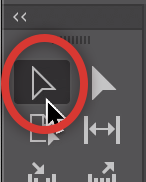
- Choose the Selection tool (black arrow located in the top left corner of the tools).
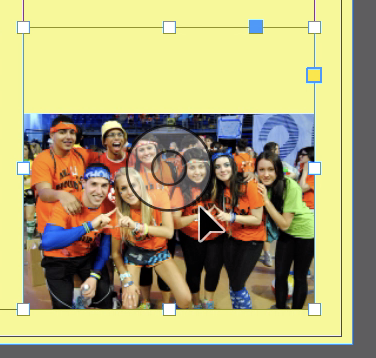
- Hover over the image you want to move and hold your cursor over the double circle Content Grabber.
Your cursor will change to a white “hand.”

- Click-and-drag the image within the frame to the position you want.
The frame can be resized so that your layout looks cleaner as you’re working on your poster, but you will not see the frame when you export your final poster.
- Hover over one of the white handles of the frame.

- Resize the frame by clicking and dragging the handle.
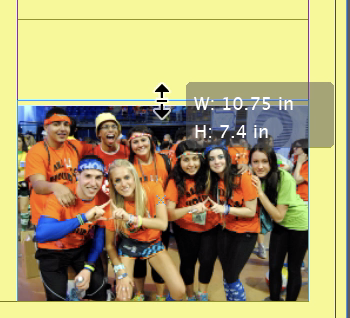
If you decide you want the image to be in a different location in your poster you would, again, use the Selection Tool to click-and-drag the image – this time clicking outside of the double-circle Content Grabber so that you’re seeing the black arrow.

- Click and drag the image where you want it in the poster.
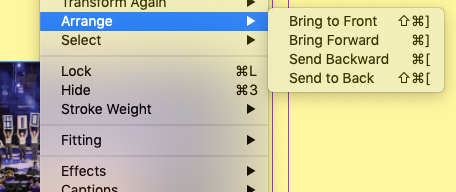
Tip: To reorder objects in your poster, right click on an object, hover over Arrange in the menu, and select from the options.
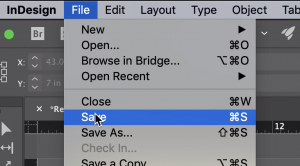
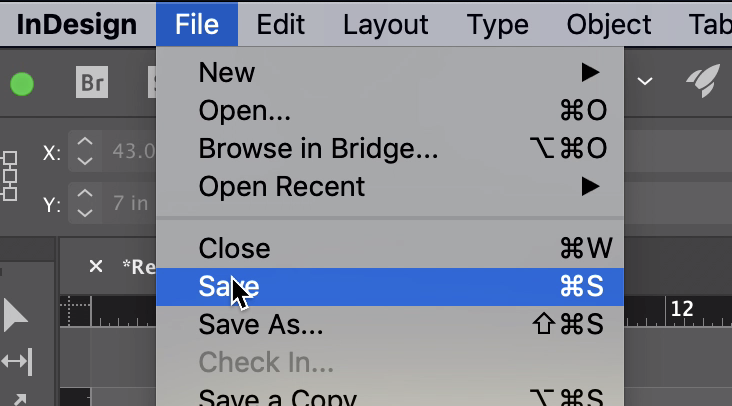
Save your work by selecting Save in the file menu (ctrl/cmd + s on the keyboard).
Resizing an Image
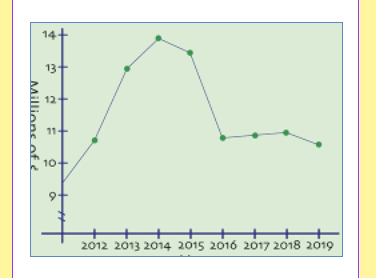
After adding additional elements to your poster you may want to resize one or more of your images such as the graph that is on the white bar.
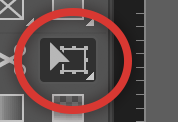
Select the Free Transform tool from the tools. The Free Transform tool’s icon is a white arrow on a white rectangle with handles, located about halfway down the tools on the right.
Hold down Shift on the keyboard and click-and-drag the corners of the image to resize it.
Save your work by selecting Save in the file menu (ctrl/cmd + s on the keyboard).
Rounding Edges
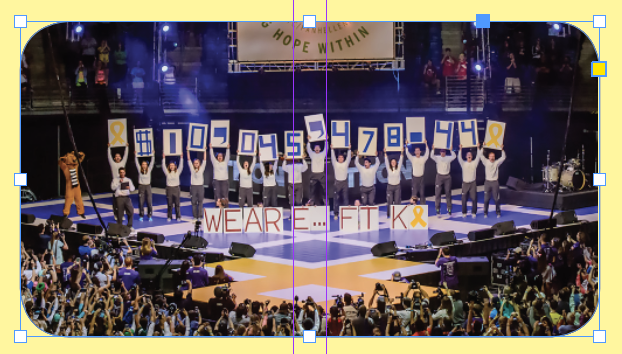
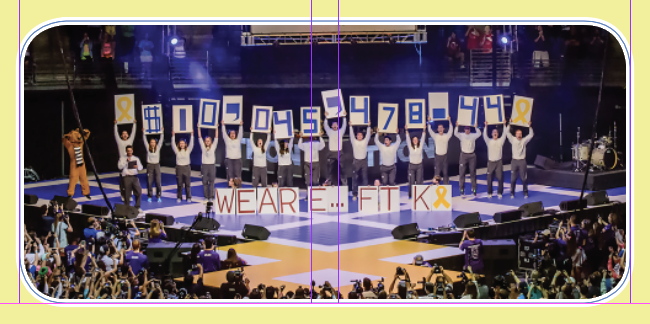
As a style choice, you may want to round the edges of and image or object. This can be done to images and text boxes.
Switch back to the Selection tool.
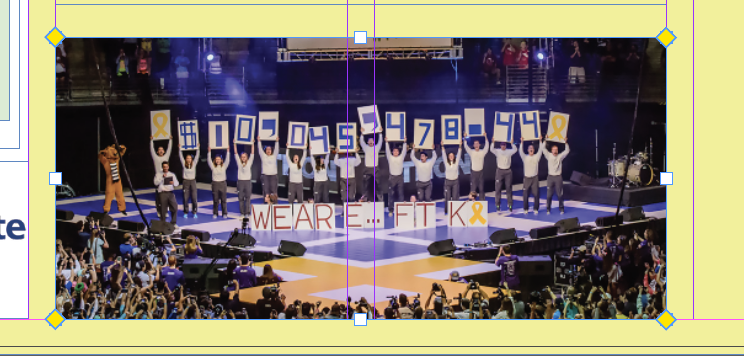
Select the object for which you want round edges. You will see a yellow square towards the top of the right edge of the object. Click the yellow square.
The objects frame with change to have yellow diamonds on the corners.
Click-and-drag one of the diamonds right or left towards the center of the object.
Save your work by selecting Save in the file menu (ctrl/cmd + s on the keyboard).
Adding an Outline to an Object
You can add an outline called a Stroke to an image, shape, or text box.
Pick the selection tool from the tools.
Click on the object you want to outline.
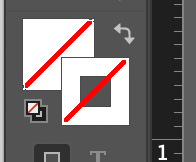
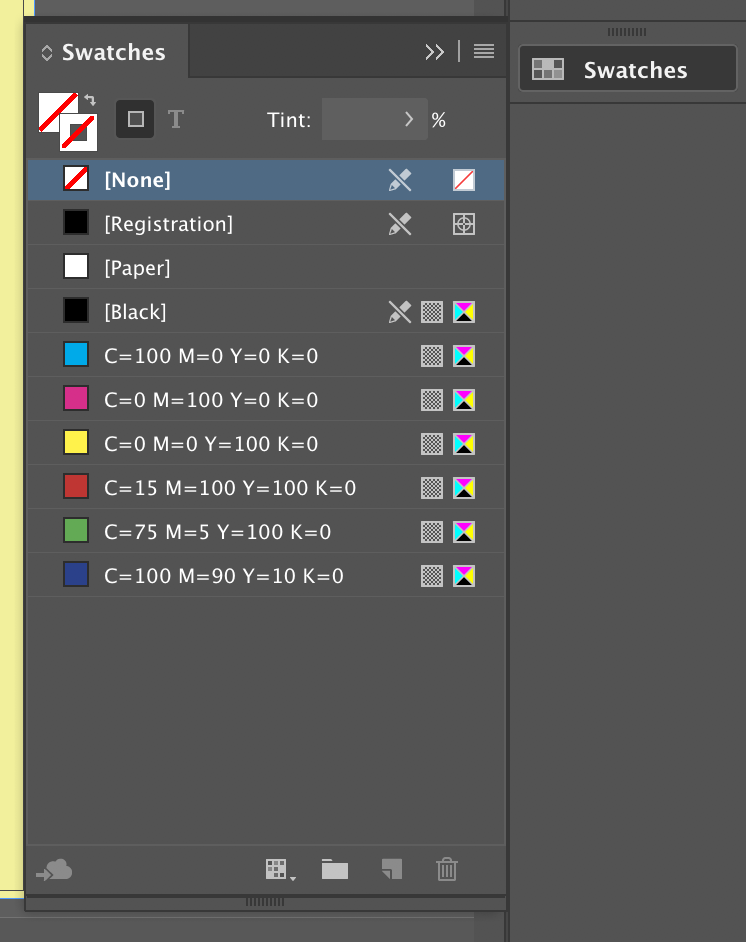
Click on the Stroke selector in the toolbar to bring it in front of the Fill selector.
Both have a red line through them to represent that the we are working on has no fill or stroke color.
Click on Swatches on the bottom of the right hand toolbar.
Select the swatch color for your stroke. The stroke will be applied at 1pt thickness.
Adjust the color you selected by double clicking on the Stroke selector which opens the Color Picker window.
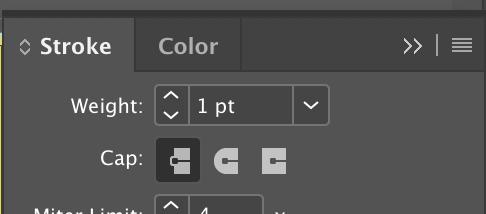
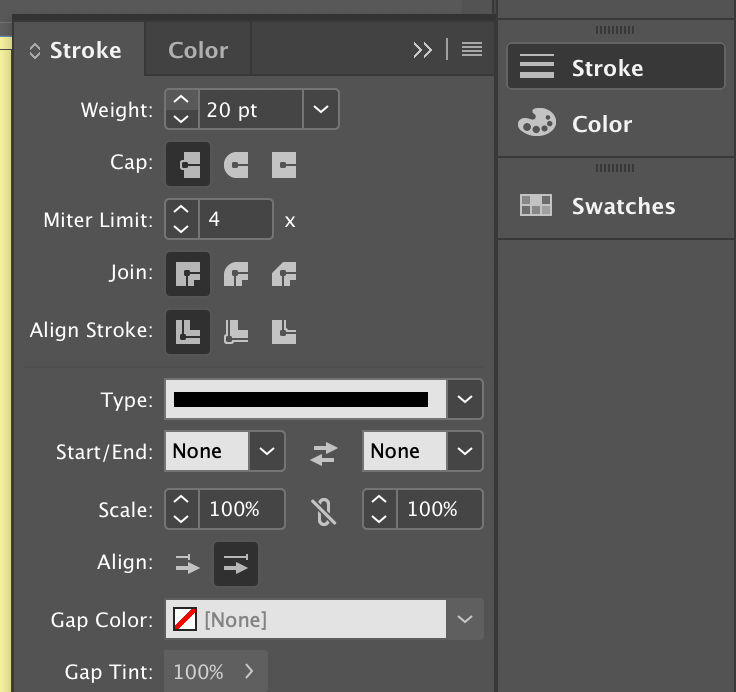
Select Stroke in the right hand toolbar, two tools above the Swatches button.
Use the Weight selection to make your Stroke thicker.
You will likely want a thickness of between 10-20pt.
You will see the stroke on your object in your poster.
You will still see the object’s frame, which will not be seen when you export your final poster.
Save your work by selecting Save in the file menu (ctrl/cmd + s on the keyboard).
