This tutorial walks through how to export your finished poster as a PDF file.
To be able to share or print the poster you created in InDesign, you will next to export it as a PDF.

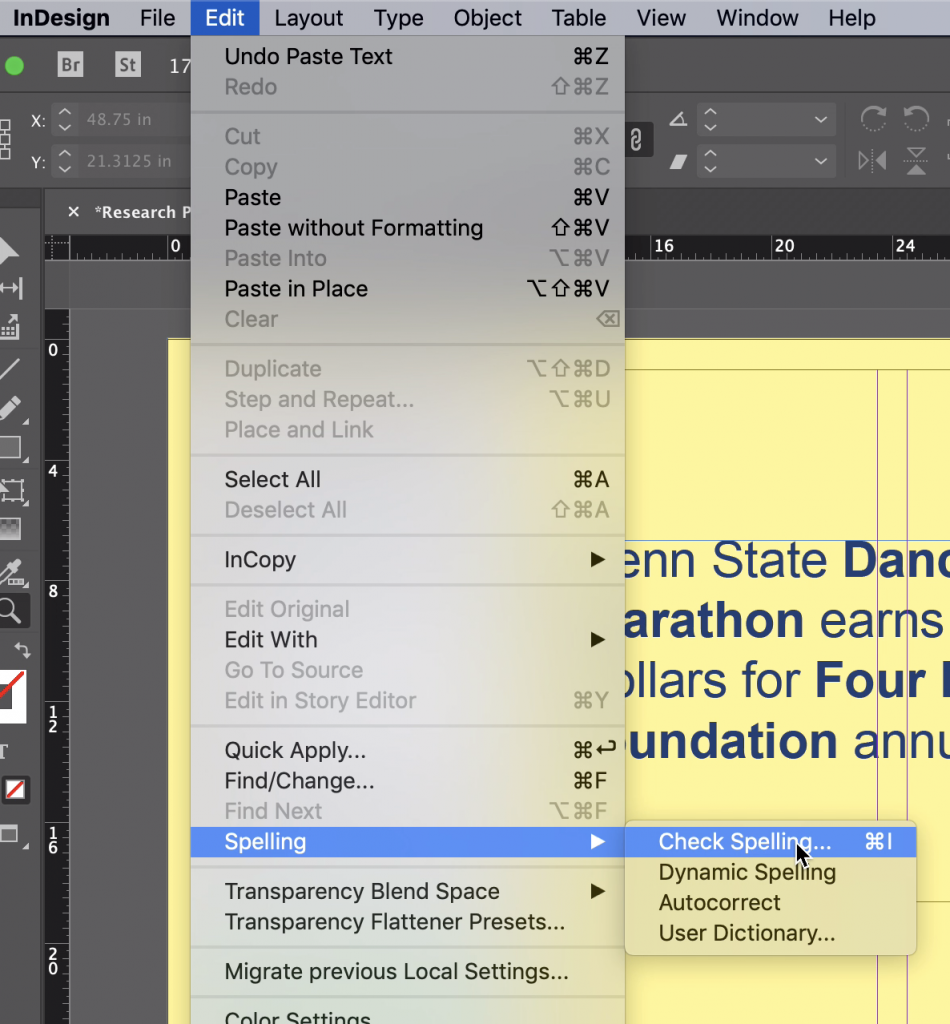
NOTE: You may want to run the spell check before exporting your poster because InDesign does not spell check as-you-go. Do this from the Edit menu.
- Confirm that your poster is correct by clicking the Preview button located on the bottom right of the tools.

Your poster will display without all the outlines and guides you normally see.
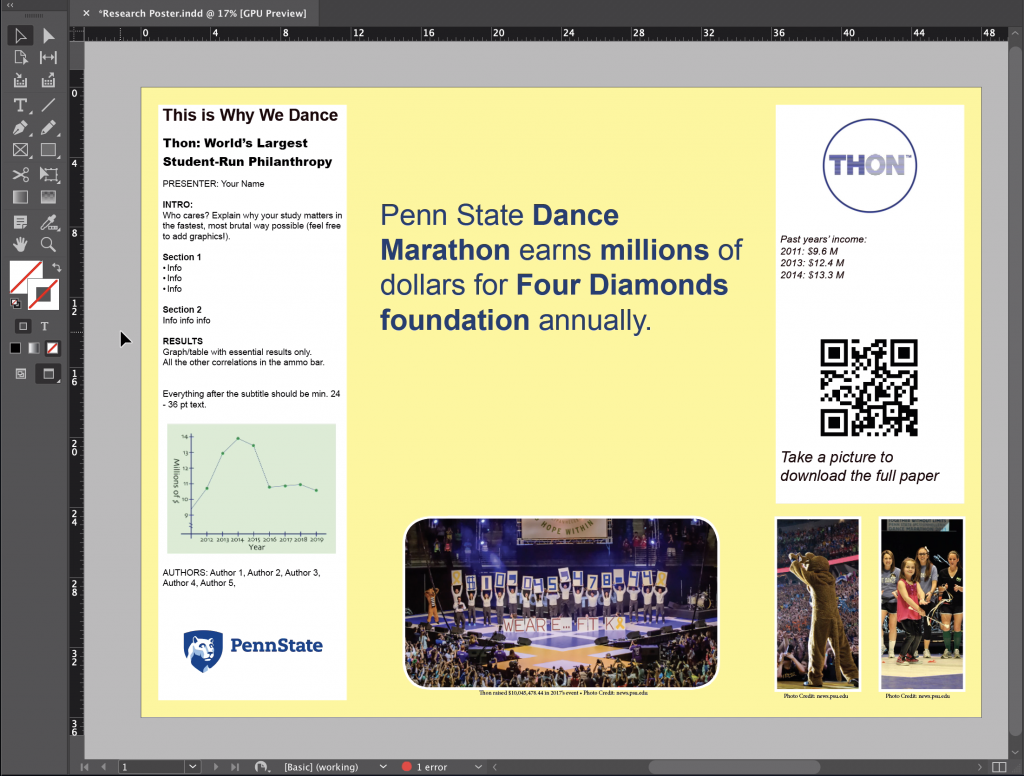
- If you need to make changes, click the Normal view button, located at the bottom left of the tools, to the left of the Preview button.

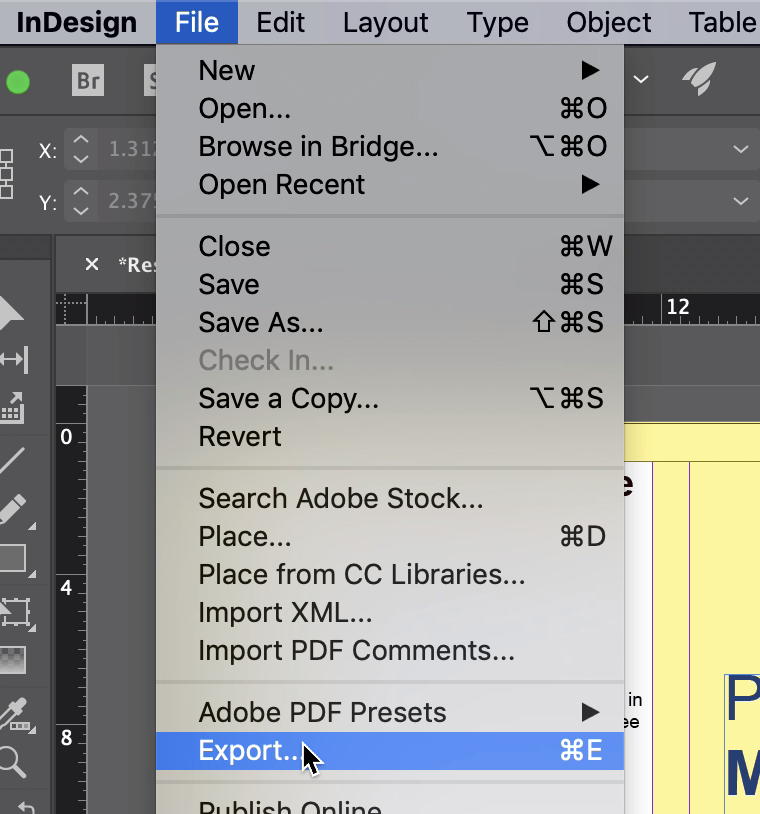
- When you’re sure your poster is ready to be exported, select Export from the File menu.
- Click Desktop on the left sidebar to make the exported file easy to locate, and give your poster a new name if needed.
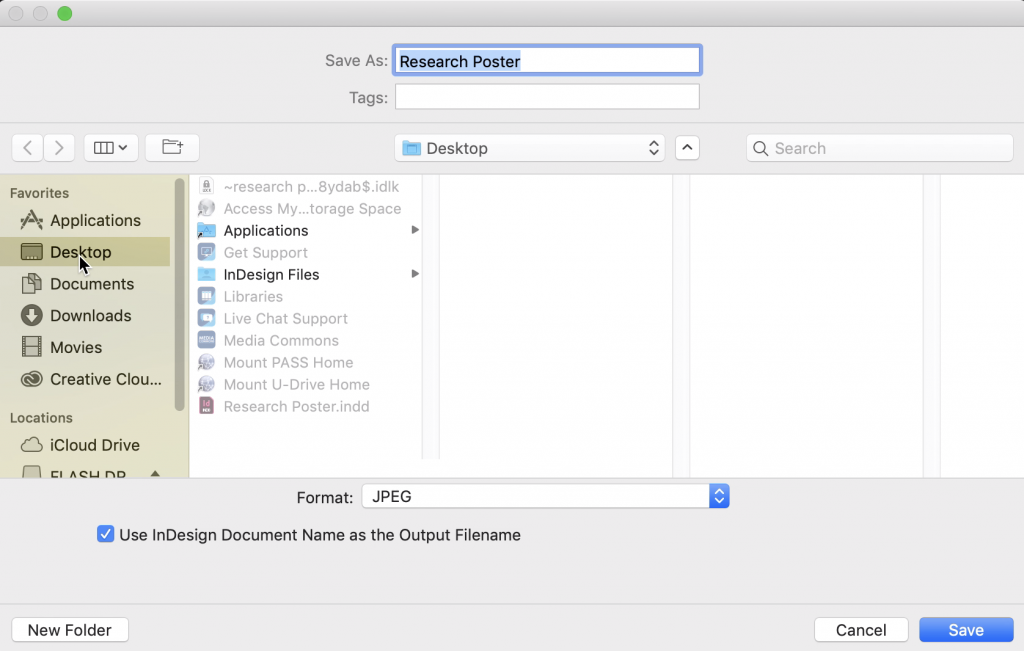
- Click the Format drop down menu and select Adobe PDF (Print).
Choose this file type even if you will not be printing it.
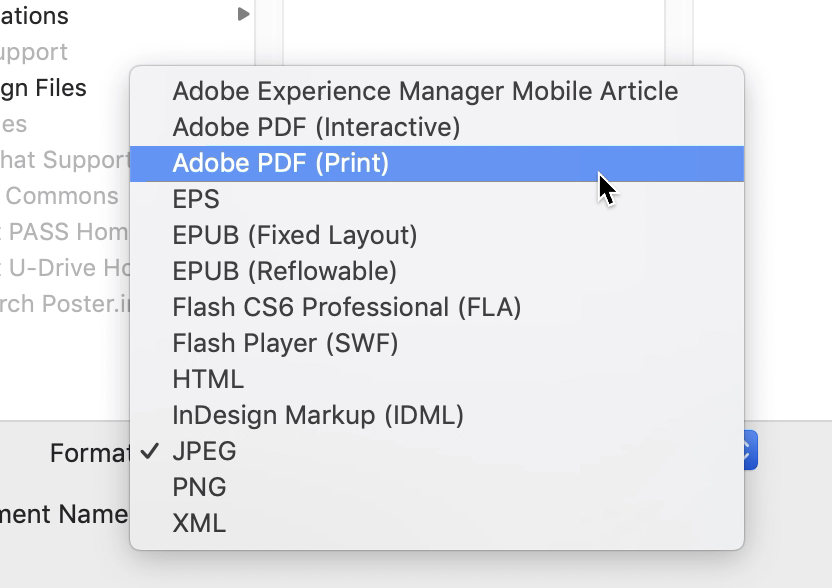
- Click the Save button in the lower right corner of the window.

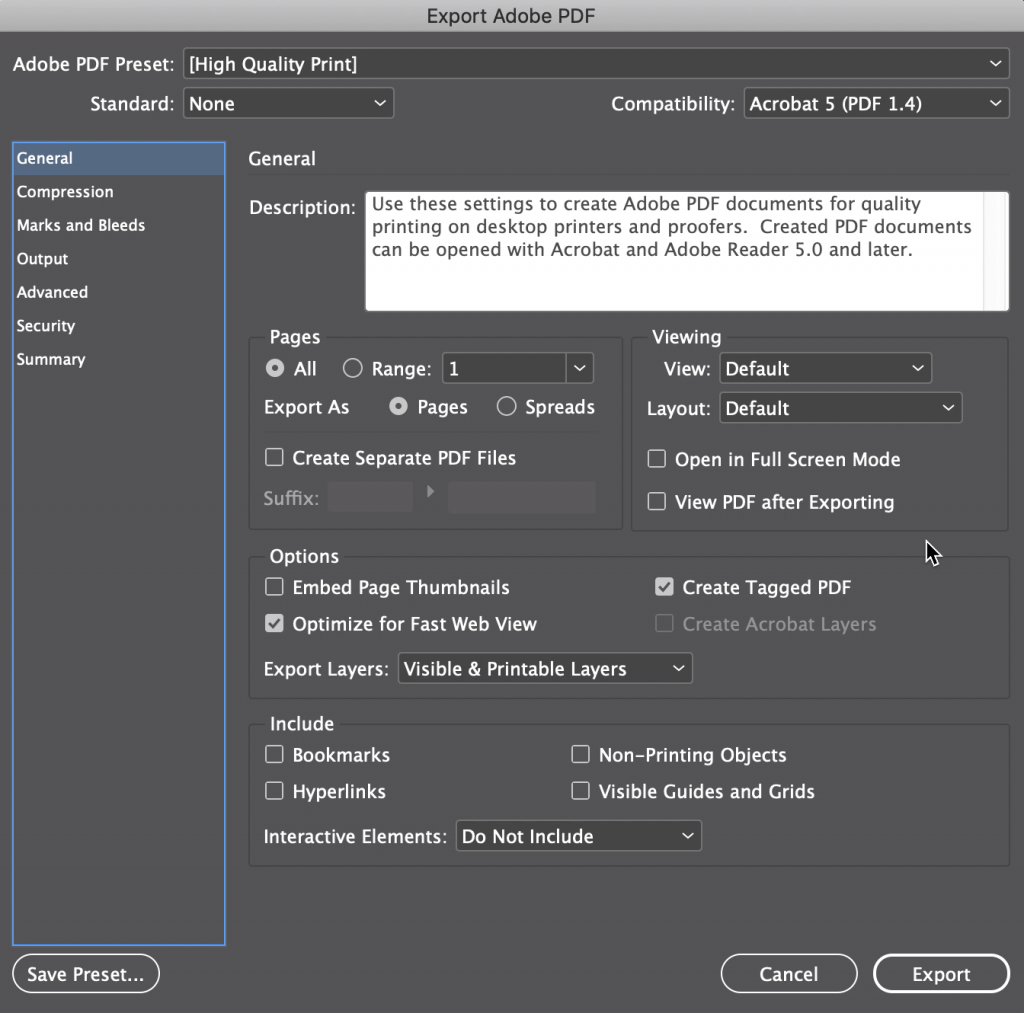
A PDF export window will pop open.
- Leave all of the default settings and click Export in the lower right corner of the window.
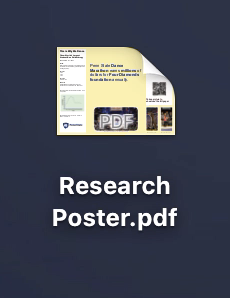
- Your exported file can be found on the Desktop with the name you gave it and the PDF extension and a thumbnail of your poster as the icon.
This file can be emailed or uploaded to OneDrive, Google Drive or Canvas and can be opened and viewed on any computer or mobile device. If you need to print your poster, visit Penn State’s Multimedia Print Center.
