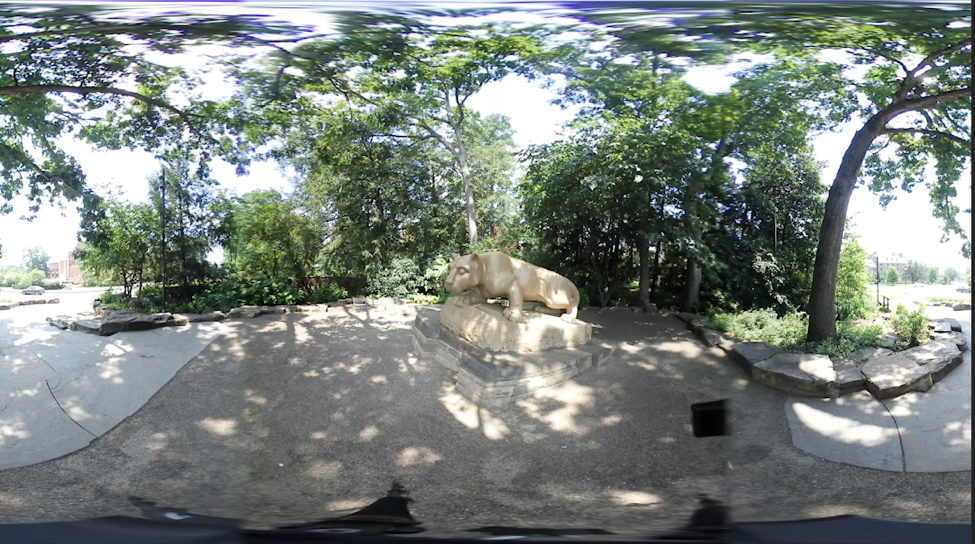
This tutorial show how to use the rotate sphere effect in Adobe Premiere Pro, which allows you to re-orient your 360° footage. This may be useful if you need to change the starting position of your 360° video, or the horizon on your footage is off, which may happen if you were filming on a slant or your tripod was off.
Here we have a shot of the Lion Shrine at the University Park Campus.
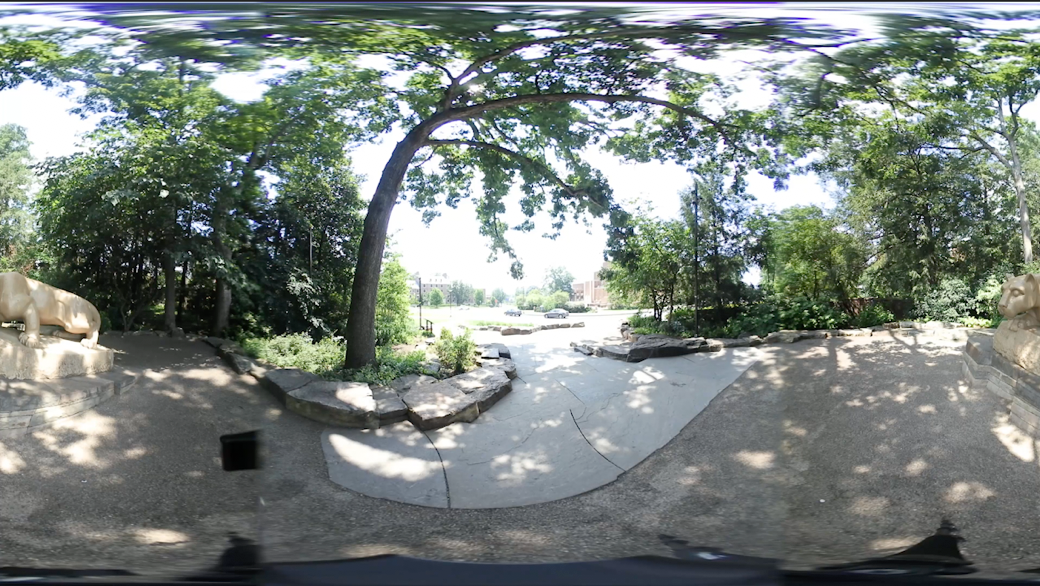
Currently the starting position of the video is not focused on the shrine but the road. While the viewer would be able to turn around to see the statue, we can assure that they will see when the video starts by using the rotate sphere effect to move the statue to the center of the frame.
First we will need to add the effect to the clip.
- Go to the effects browser in the window in the bottom left corner of the interface.
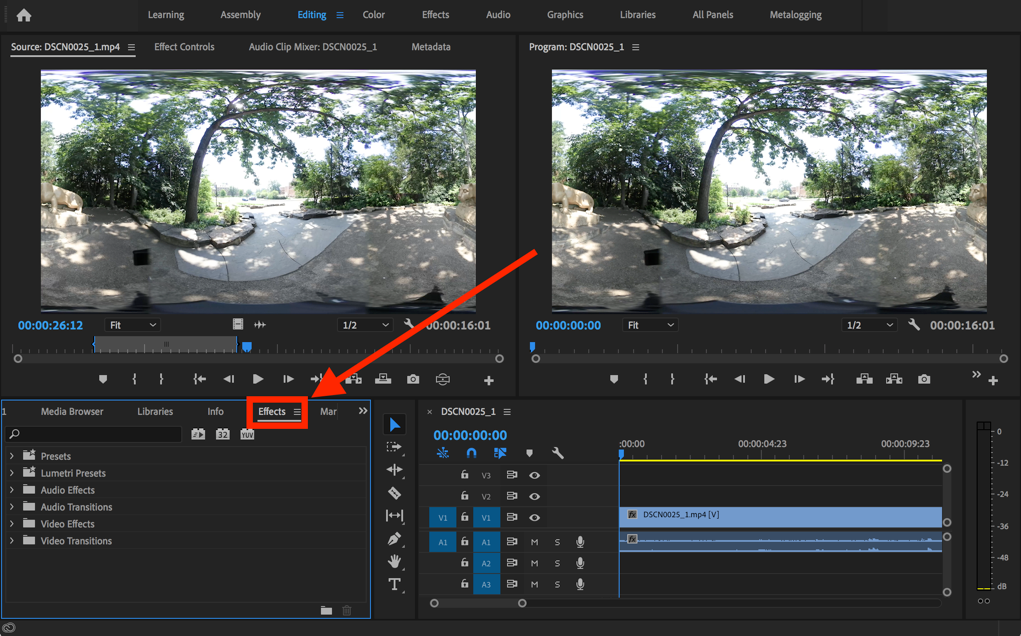
- Open the Video Effects folder.
- Open the Immersive Video subfolder.
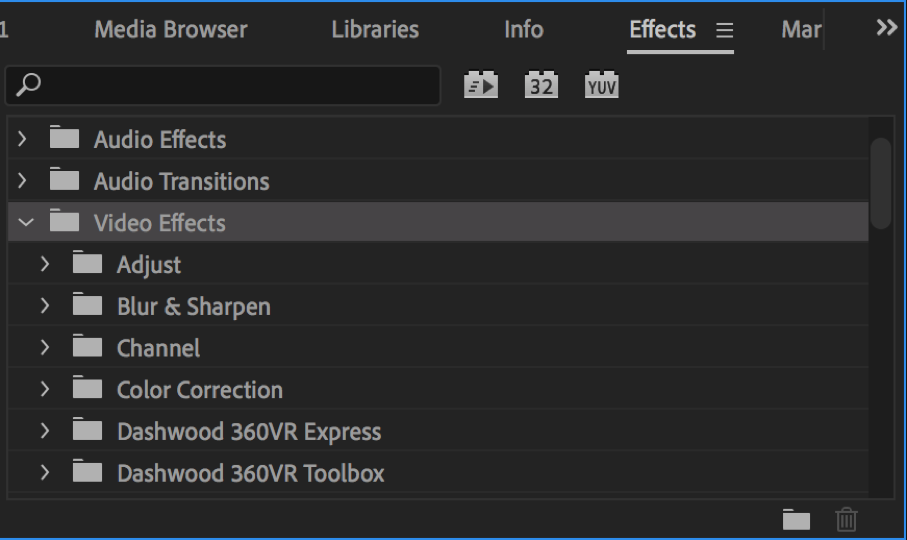
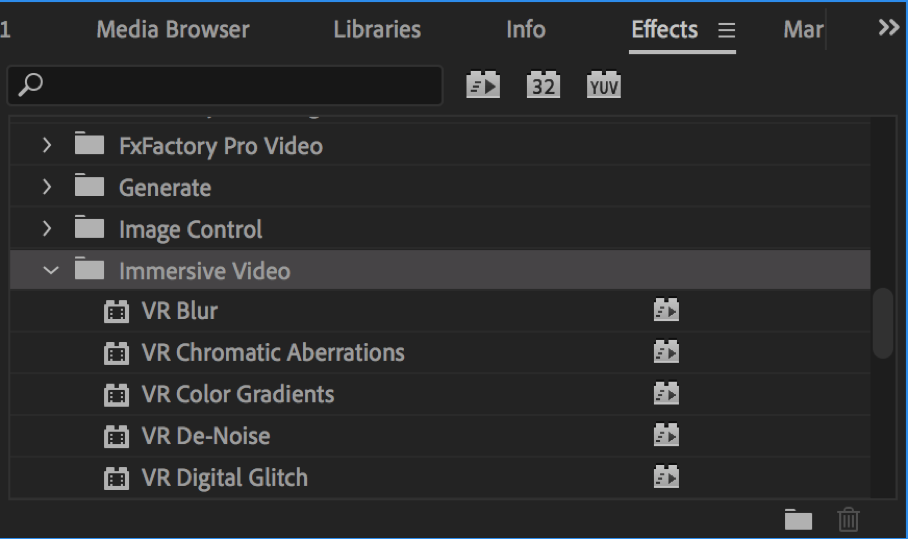
- Find the Rotate Sphere effect.
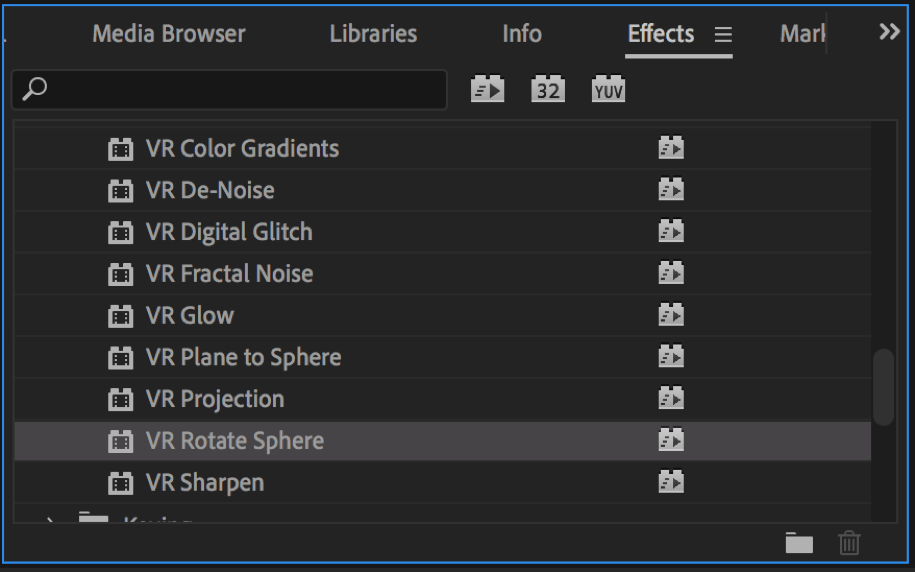
- Drag and drop the effect onto the clip.

- Go to the effect controls in the top left window of the interface. This should open automatically.
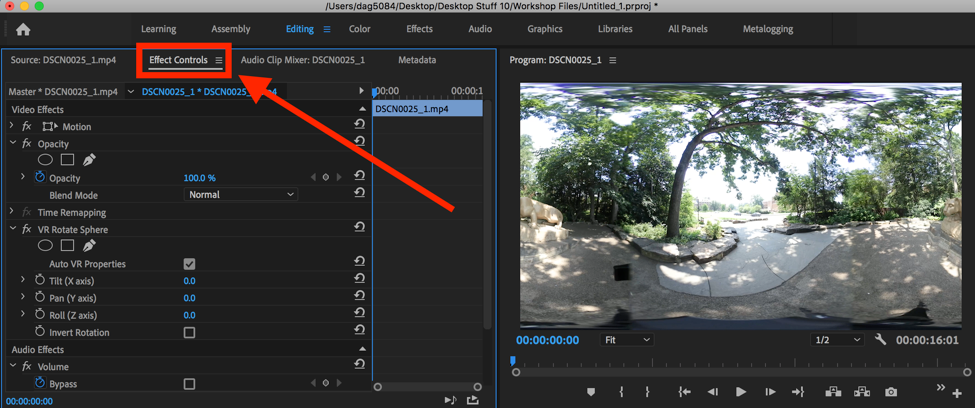
Within this window you will see the VR Rotate Sphere controls.
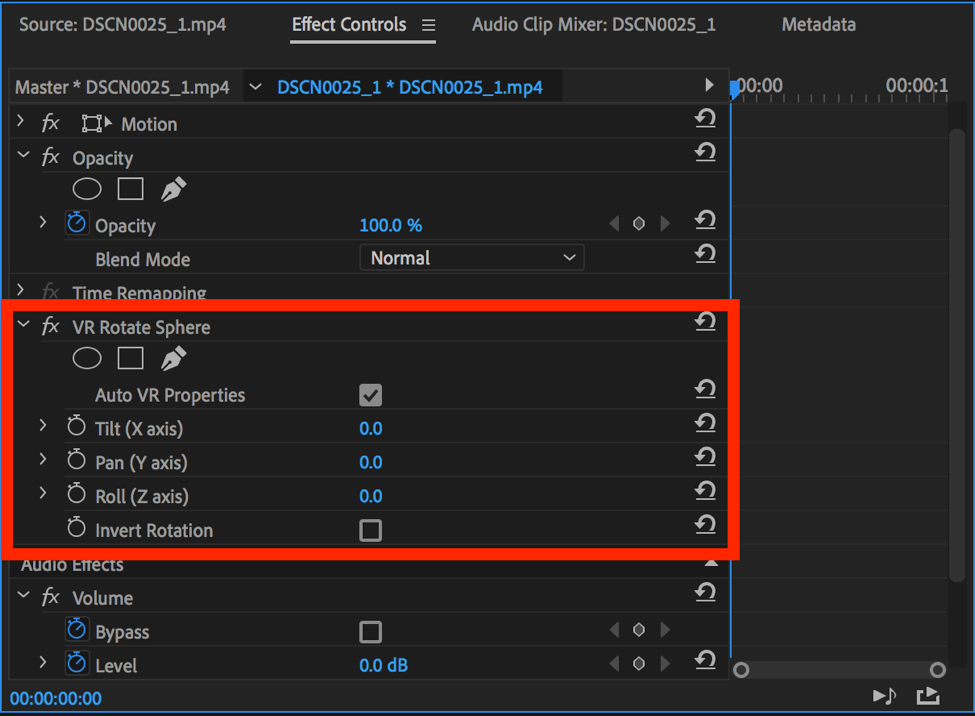
- To change the orientation of the clip, just change the Tilt, Pan, and Roll controls as needed.
In this case, we are going to change the Pan setting to 180
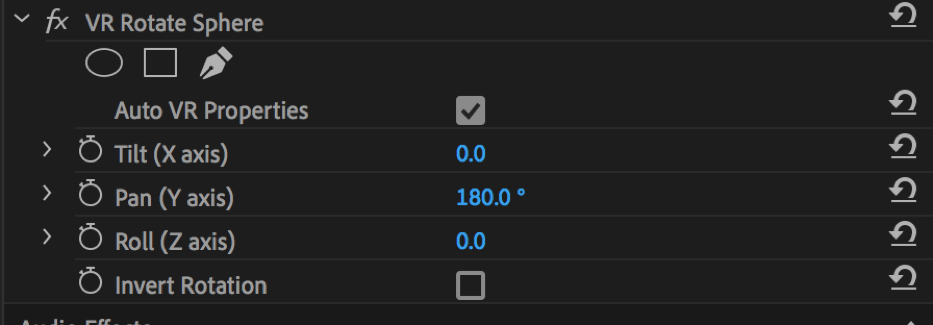
Now, the Lion Shrine will be in the center of the frame.
