
This tutorial shows how to use the VR Plane to Sphere effect in Adobe Premiere Pro to take 2D elements such as pictures, standard video, or titles, and map them properly into your 360° video.
Add the VR Plane to Sphere Effect
Because of the way 360° videos are laid out, when adding these elements, you need to take into account the fact that the video on the screen will eventually be wrapped around to create a 360° video. This means that if you don’t account for this, your 2D elements may appear distorted in the video. The VR Plane to Sphere effect will make sure these elements are laid out properly within the video.
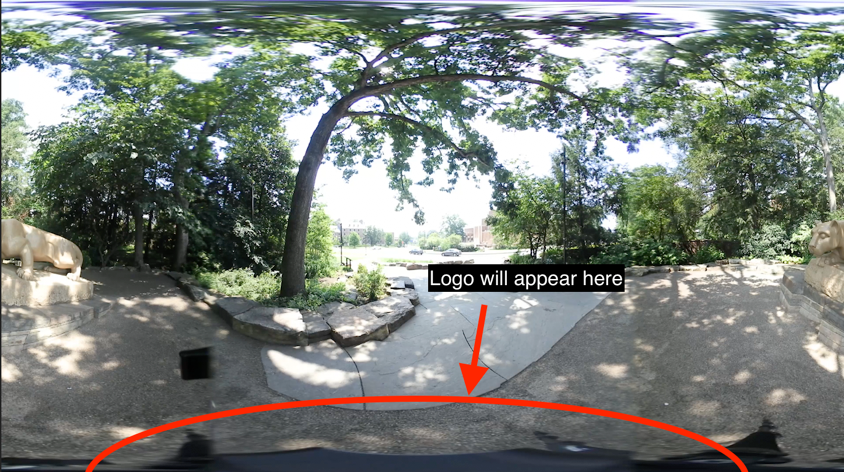
For this example, let’s say we wanted to add a logo to cover up the tripod that appears in the bottom of the shot.

- Add your 2D element into the timeline above your 360° video track.

- Go to the Effects bin in the bottom left hand window.
- Open the Video Effects folder.

- Open the Immersive Video subfolder.
- Find the VR Plane to Sphere effect.

- Drag and drop the effect onto the 2D element in your project.

Once you drop it on, you will notice a change right away with your 2D element in the preview window. You can now adjust some of the effect settings to move the element around the 360° video.
Effect Controls
In this case, we want to move the logo down to the bottom of the video so that it covers the tripod.
To do this, go over to the Effect Controls window to the left of the preview window.
You should see the VR Plane to Sphere effect located here.

The two main settings in this effect we will be using are the Scale and the Rotate Projection.
Scale
Scale will allow you to resize the element. You can do this just by either typing your own number into the setting or clicking and dragging the number to the right or left.
Rotate Projection
The Rotate Projection setting is what we will use to move the element around the video. In this case, we will move it to the bottom of the screen.
To do this, we will change the Projection Tilt (X axis). Click and drag the number and slide it to the right and you will see the element move in the preview window.

Depending on where you need to place the element, you may need to play around with all 3 axes on this setting. Once you have it set though, take a look at it in the 360° preview mode to make sure everything looks right.

