This tutorial will show you how to backup and restore your iMovie project using cloud storage. The process for backing up a Final Cut project is the same.
Movie Library
iMovie will autosave all of its data and assets (video, images, audio) into a library file called iMovie Library in the Movies folder of the computer you are working on for the day. Every time you make a change or add to your project in iMovie, your project will autosave. This iMovie Library file must not be renamed or it will stop working.
- When you are done editing, close out of iMovie by clicking the red button in the top-left corner of the program.
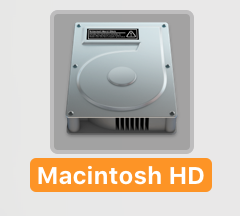
- Double-click the Macintosh HD icon in the top-right corner of your desktop or click the Finder icon at the bottom of your screen.
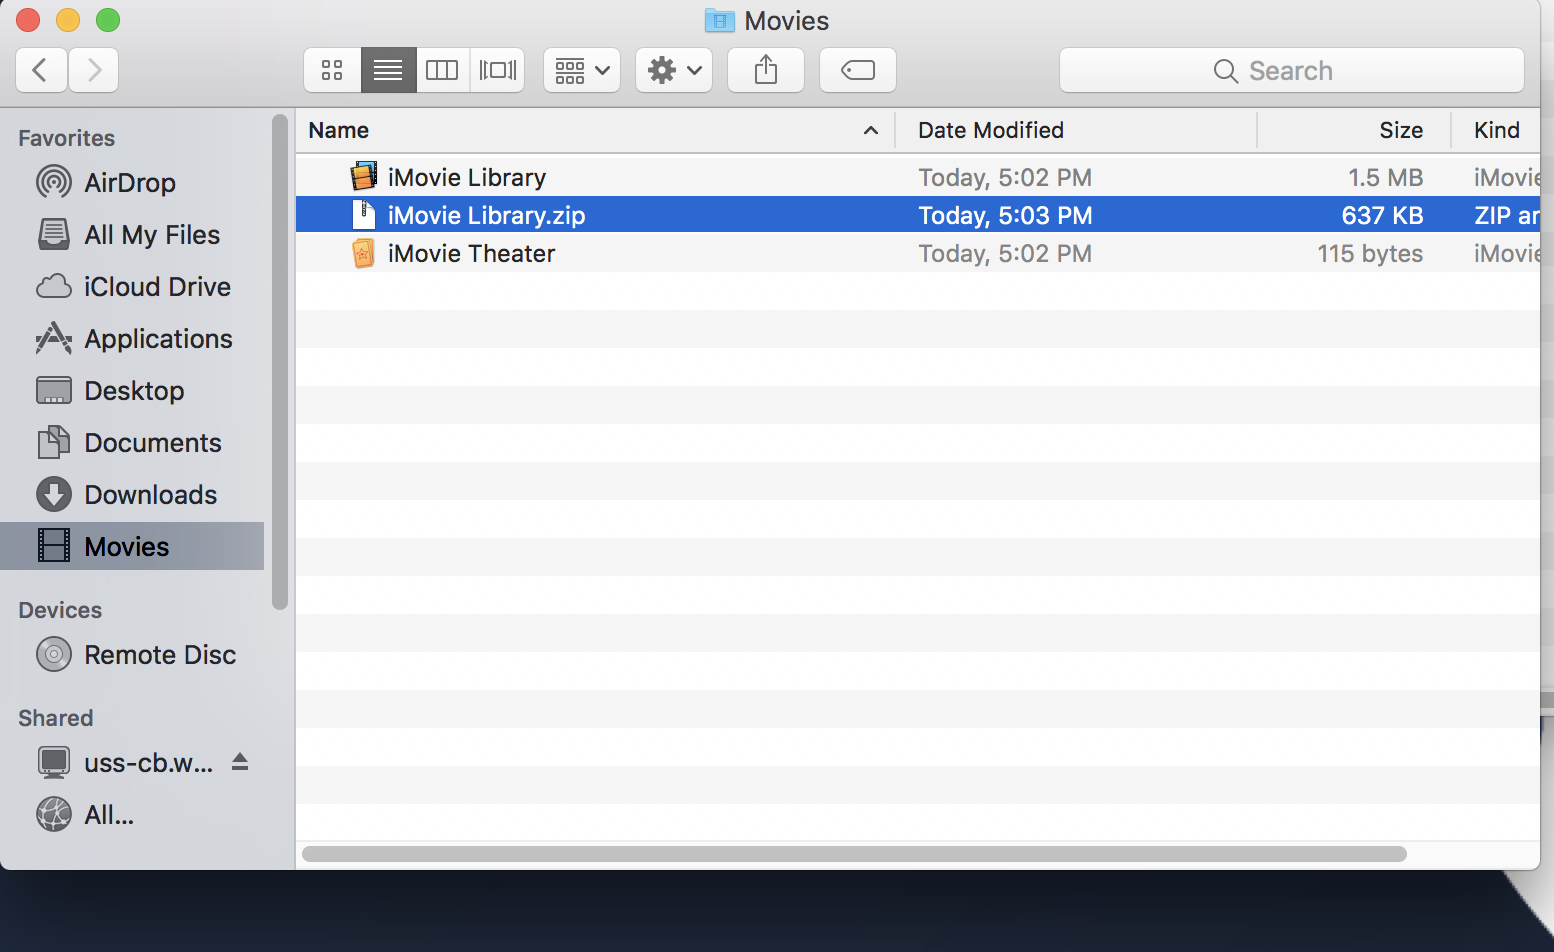
- Select the Movies folder on the left side of the Finder window.
Your iMovie Library will be listed in that folder. This is the file you will want to move back and forth, between your external storage and the computer.
The iMovie Library will be named accordingly and the icon looks like two pieces of film. The Final cut project will either be named “untitled” or will have the name you gave it, and its icon is 4 purple squares with stars in them.
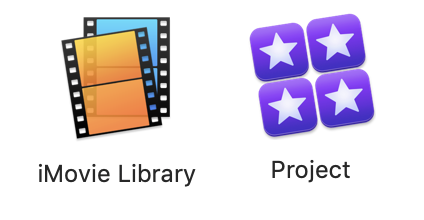
Do not double-click on this file, otherwise, it will open your project back up and you will have to close out of iMovie again.
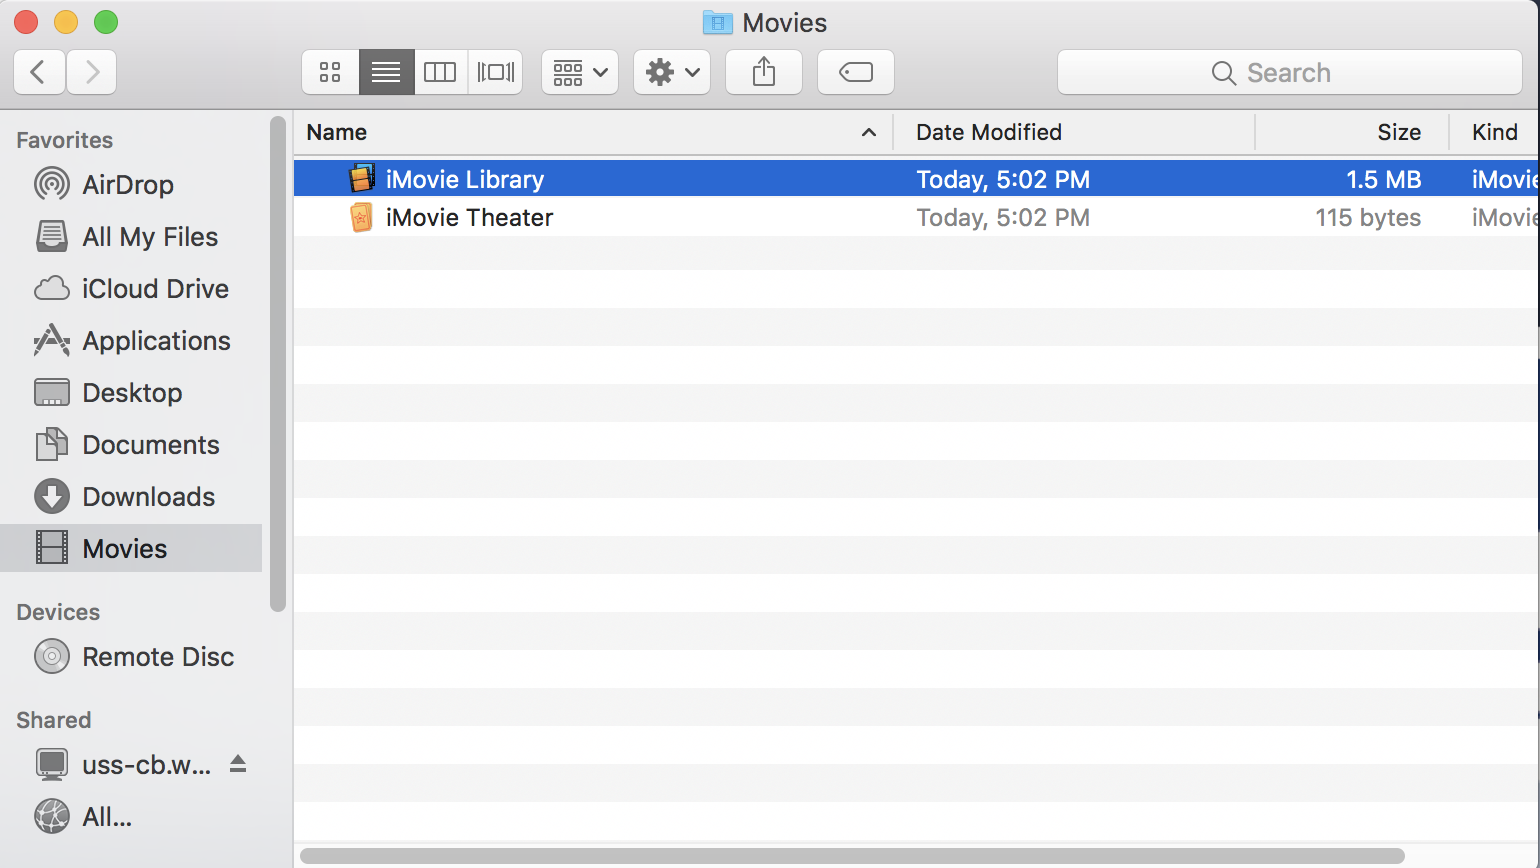
- Right-click the iMovie Library file.
- Select “Compress iMovie Library.”
This will compress your file into a .zip file, which protects your file, and creates a second backup.
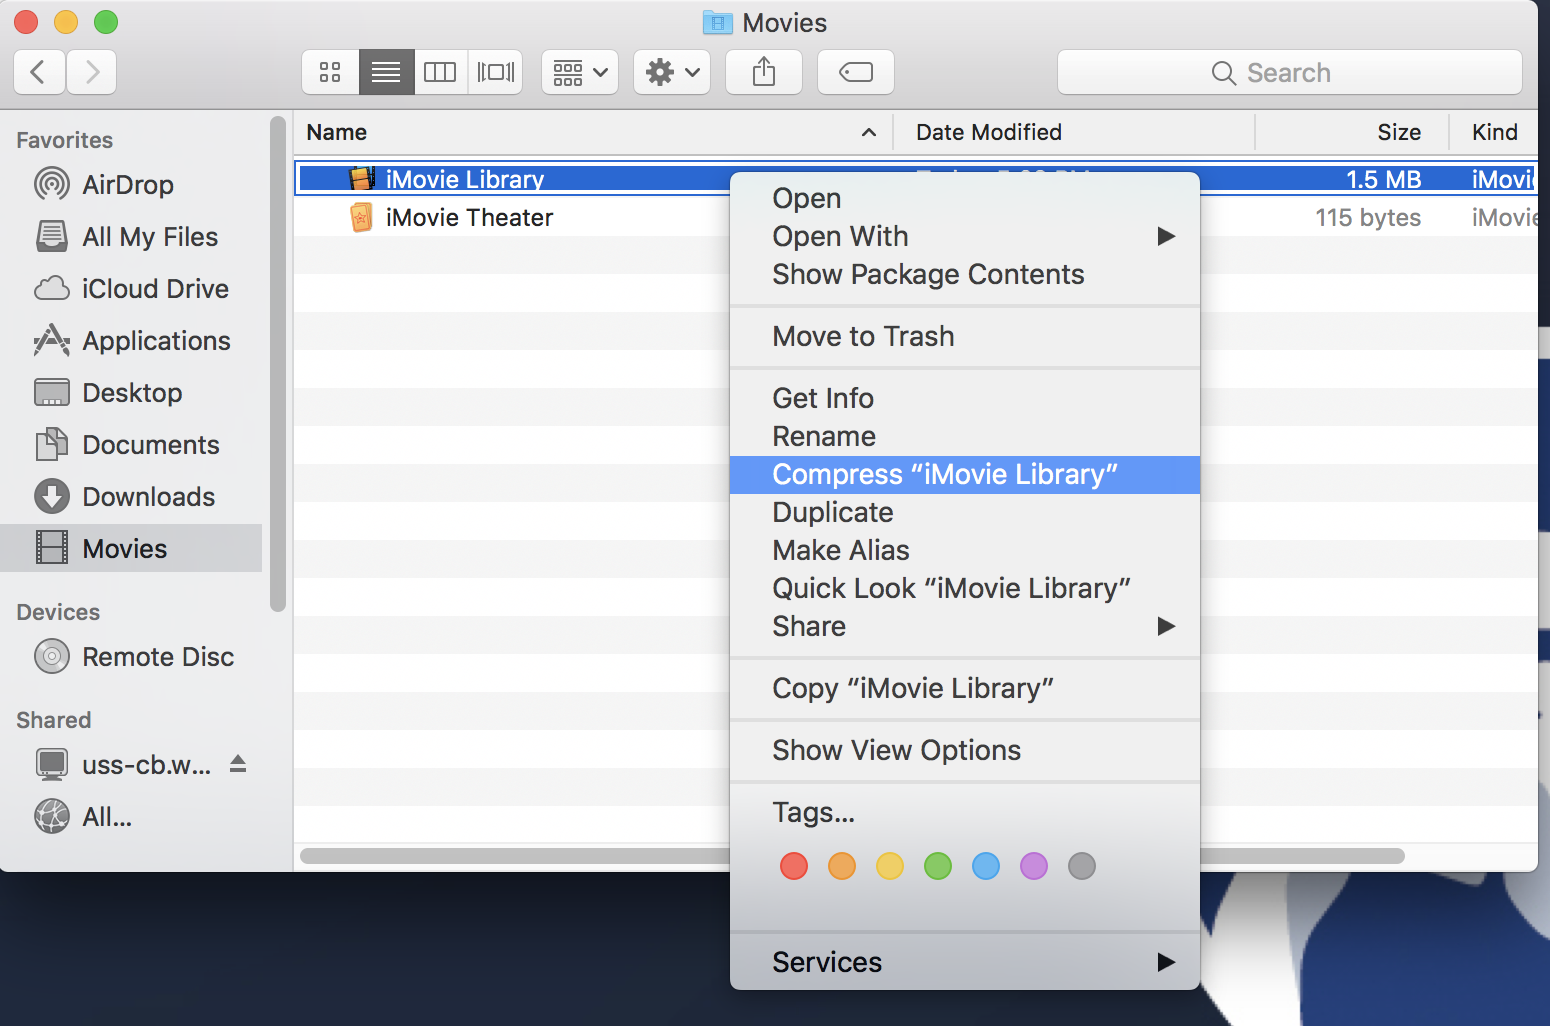
Once you’ve compressed your iMovie Library, you should now have a file called iMovie Library.zip in this list as well.
Backing Up
- Open a browser and log into the cloud storage service you want to save your project to (OneDrive, Google Drive, etc.).
You will want to be able to see your web browser and the Finder window with your iMovie Library.
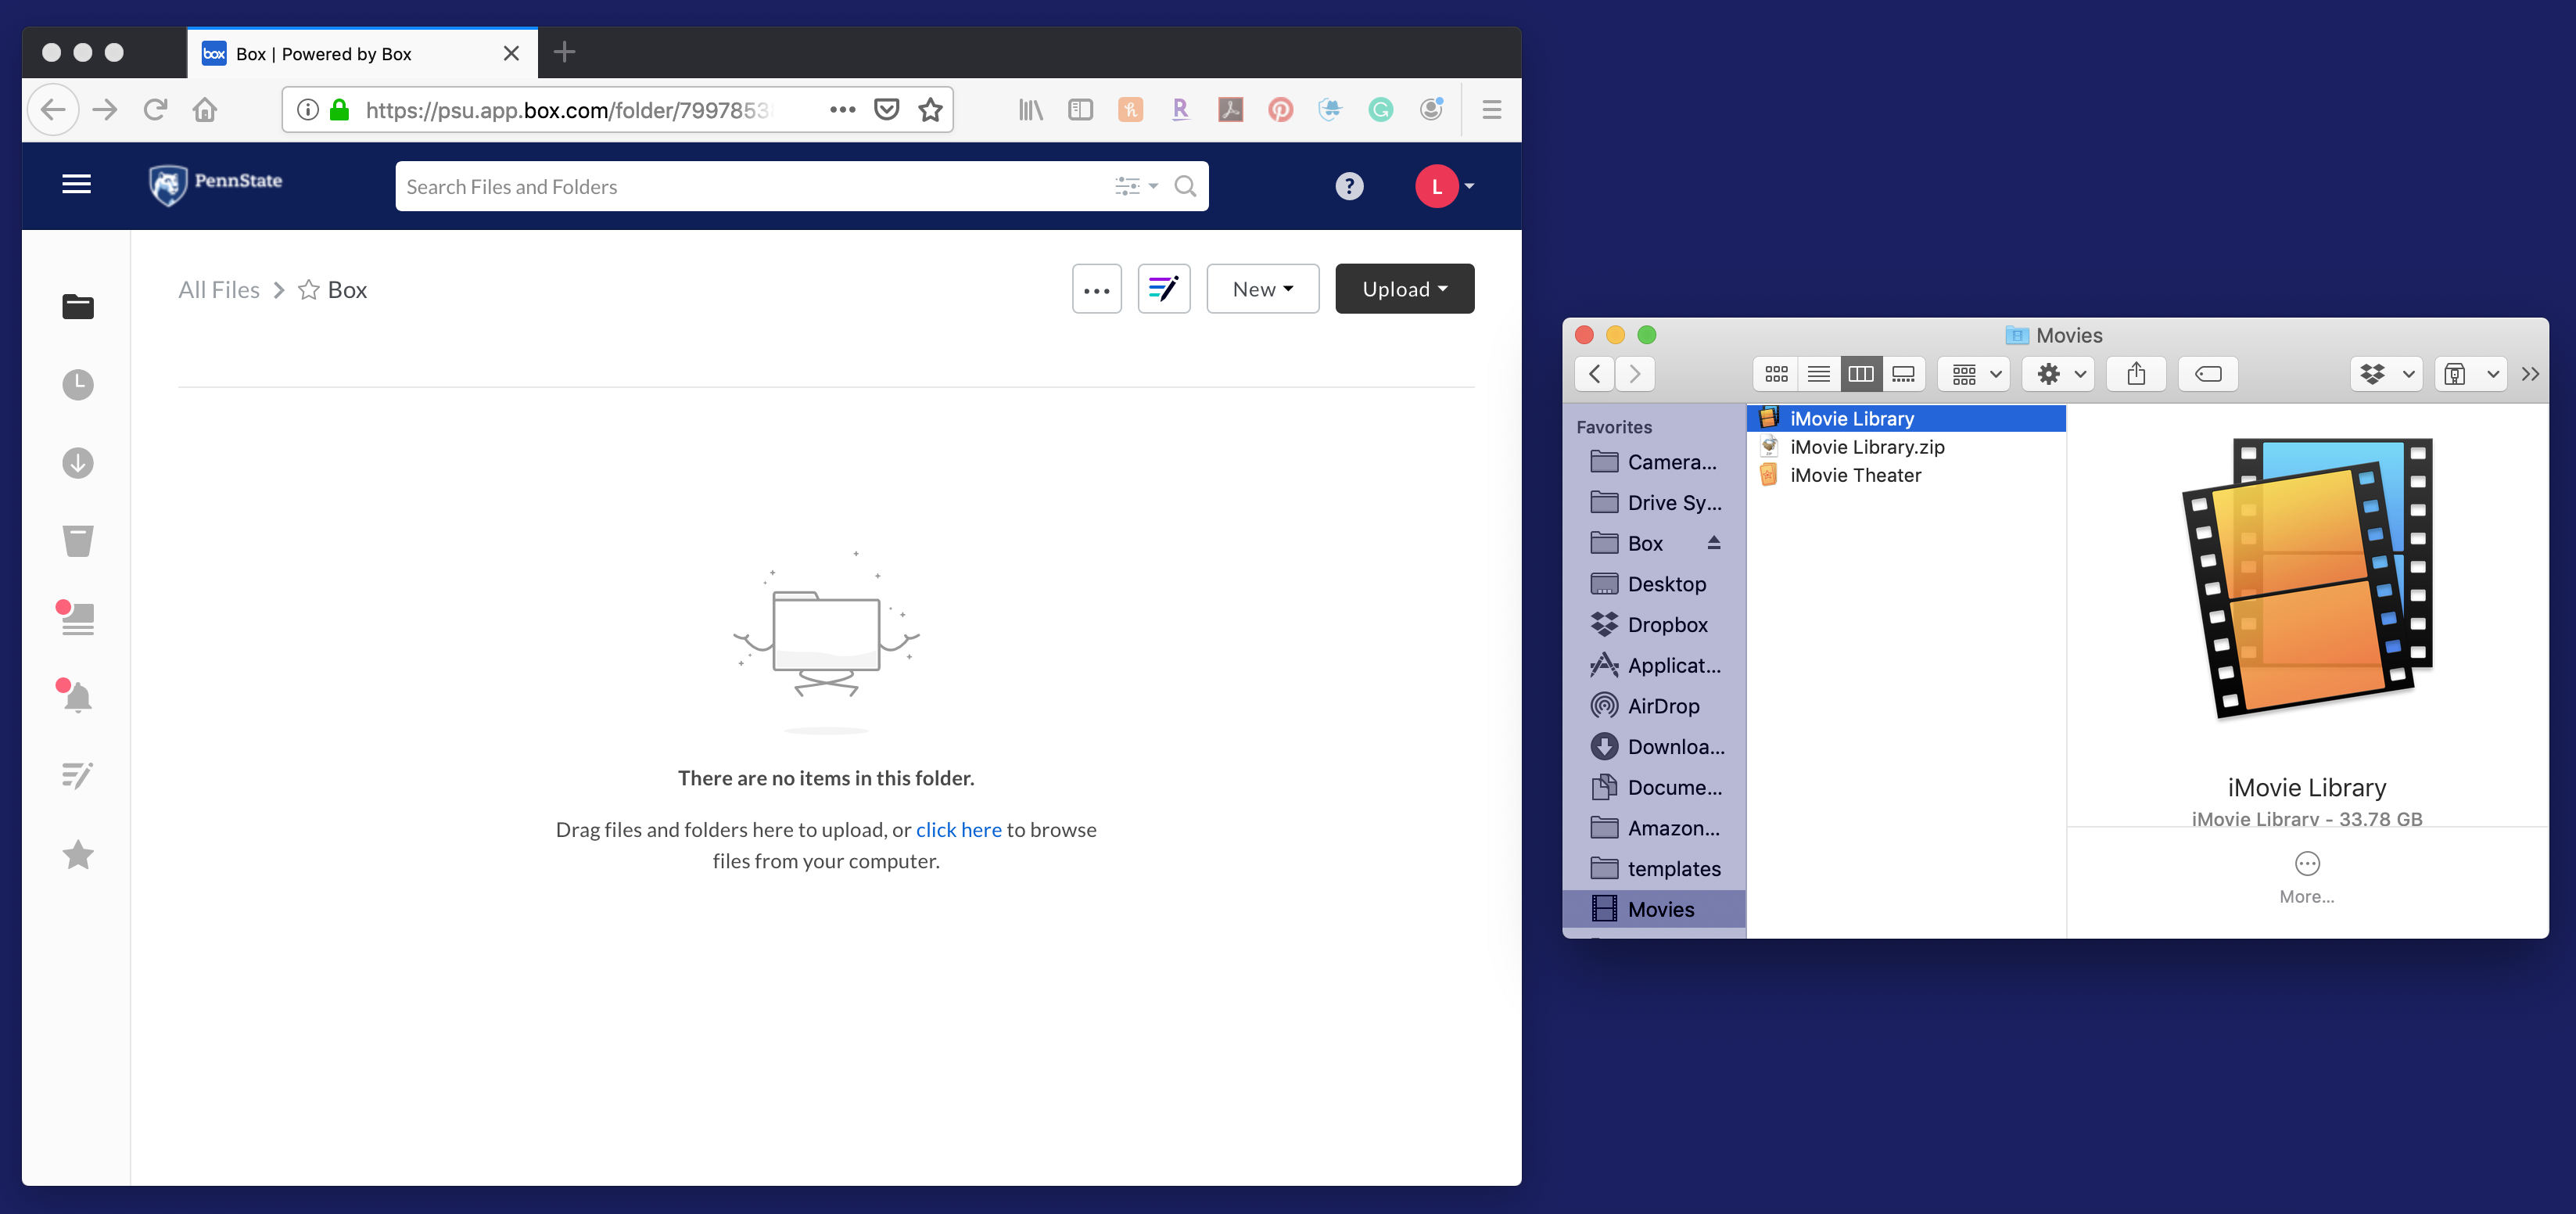
- Drag and drop your iMovie Library.zip file into the cloud storage file area and it will begin to upload.
NOTE: If there is an older version of your iMovie Library already uploaded, it will be replaced by the new version.
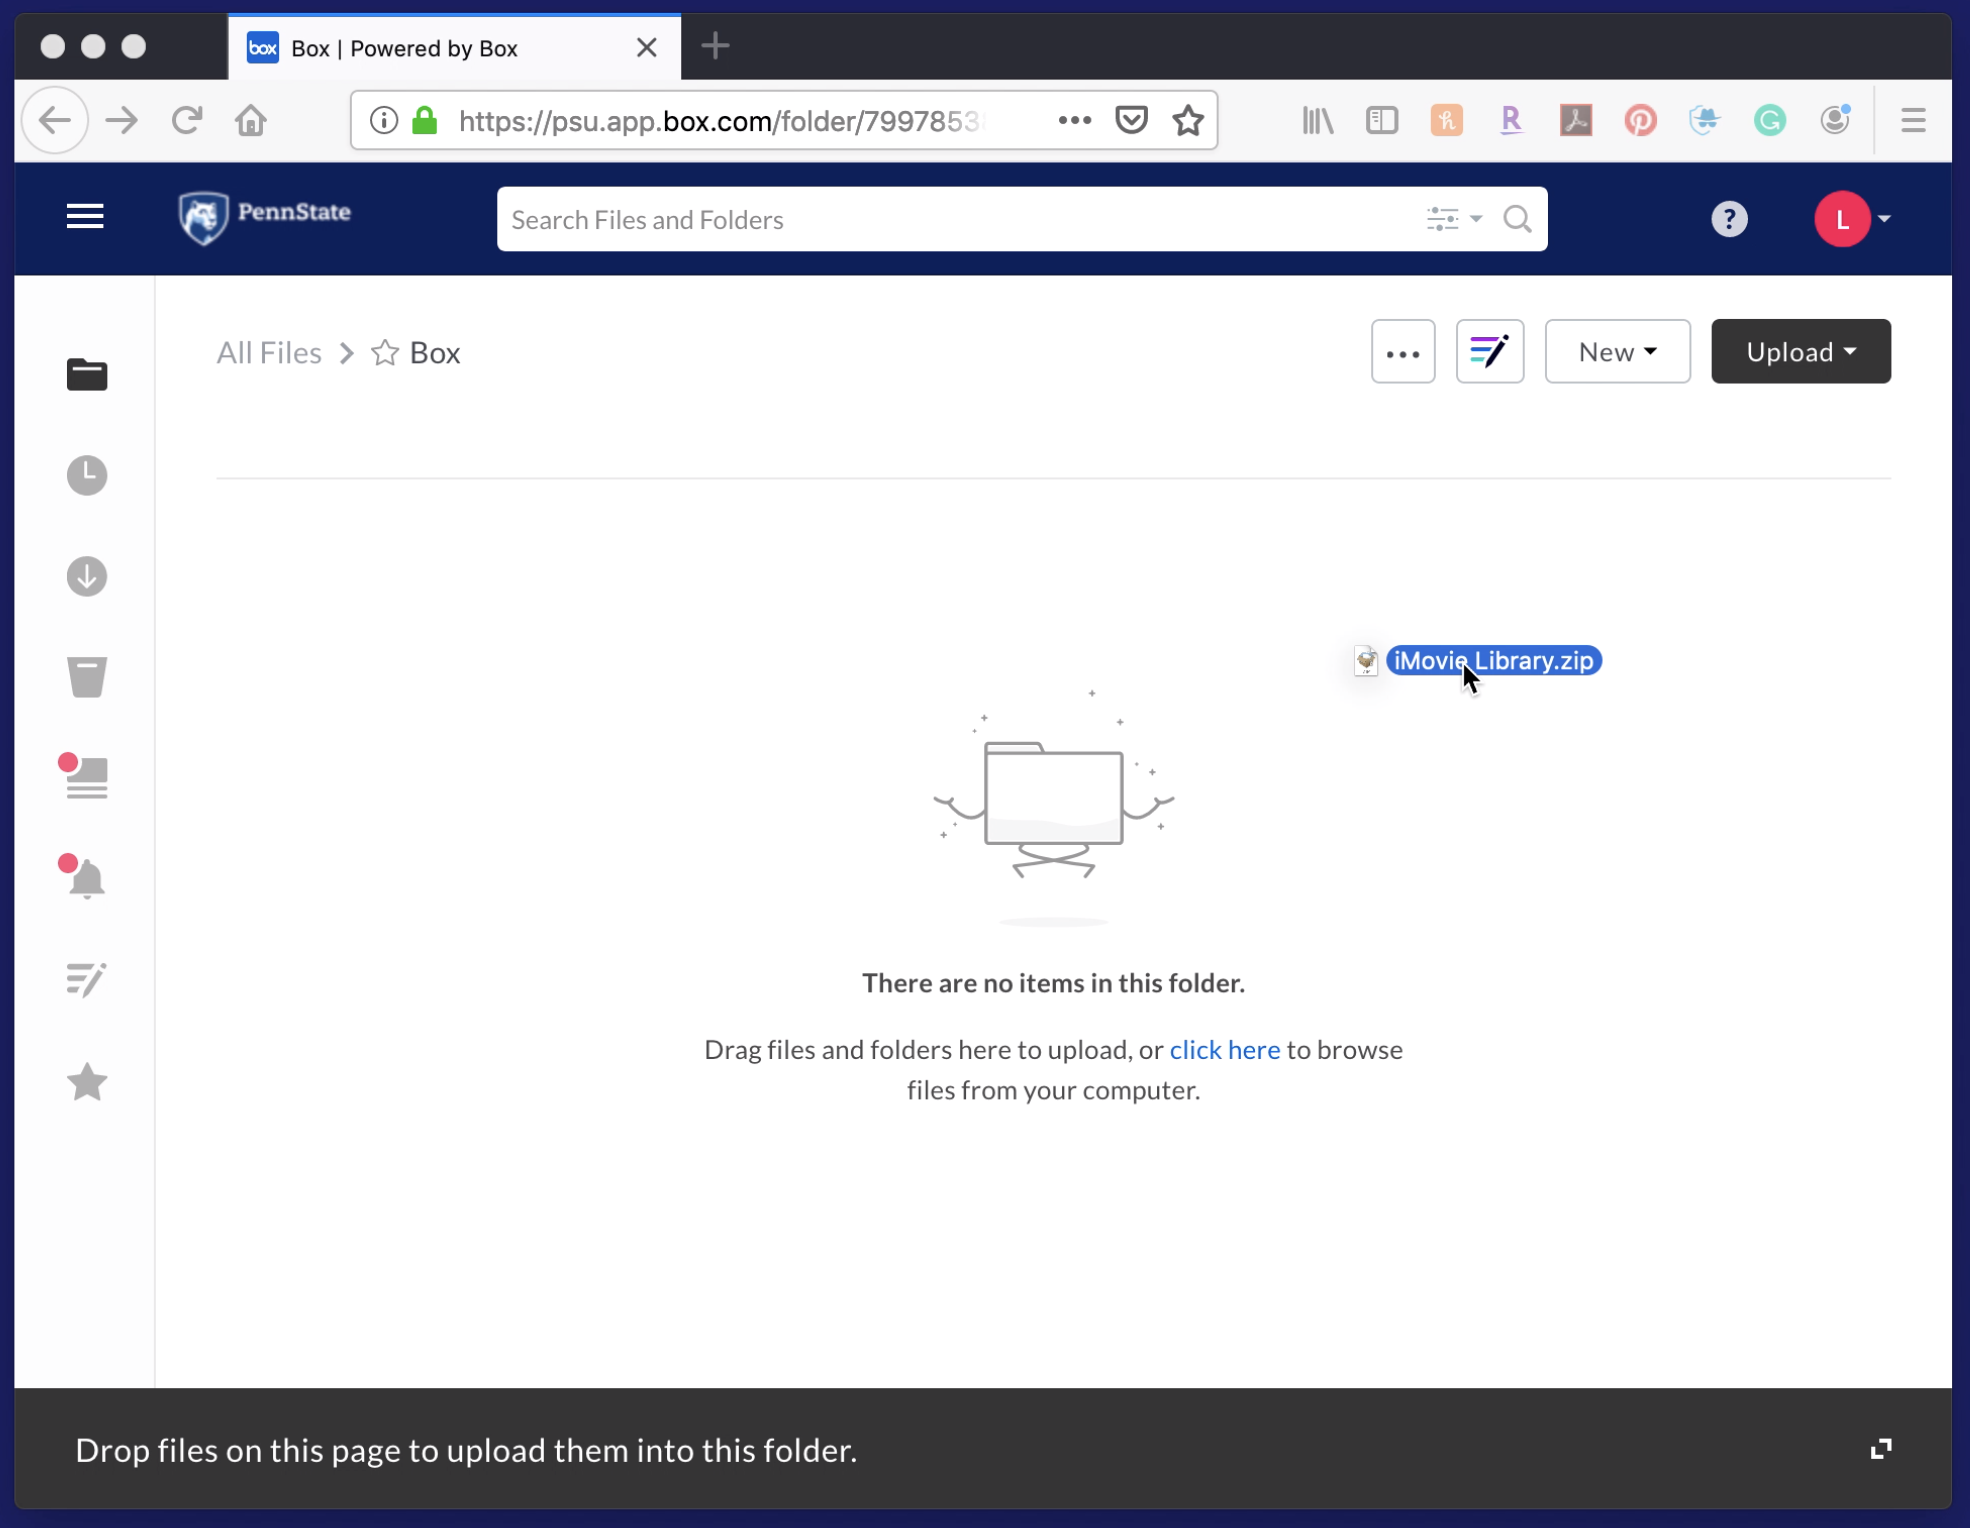
Your project is backed up once your iMovie Library.zip file has finished uploading.
Restoring
To restore your project from cloud storage, you will reverse the back-up process, this time returning the iMovie Library.zip from to the Movies Folder. You will need to do this before you launch iMovie.
- Access the cloud storage account you backed up to (OneDrive, Google Drive, etc.).
- Locate and download your iMovie Library.zip file.
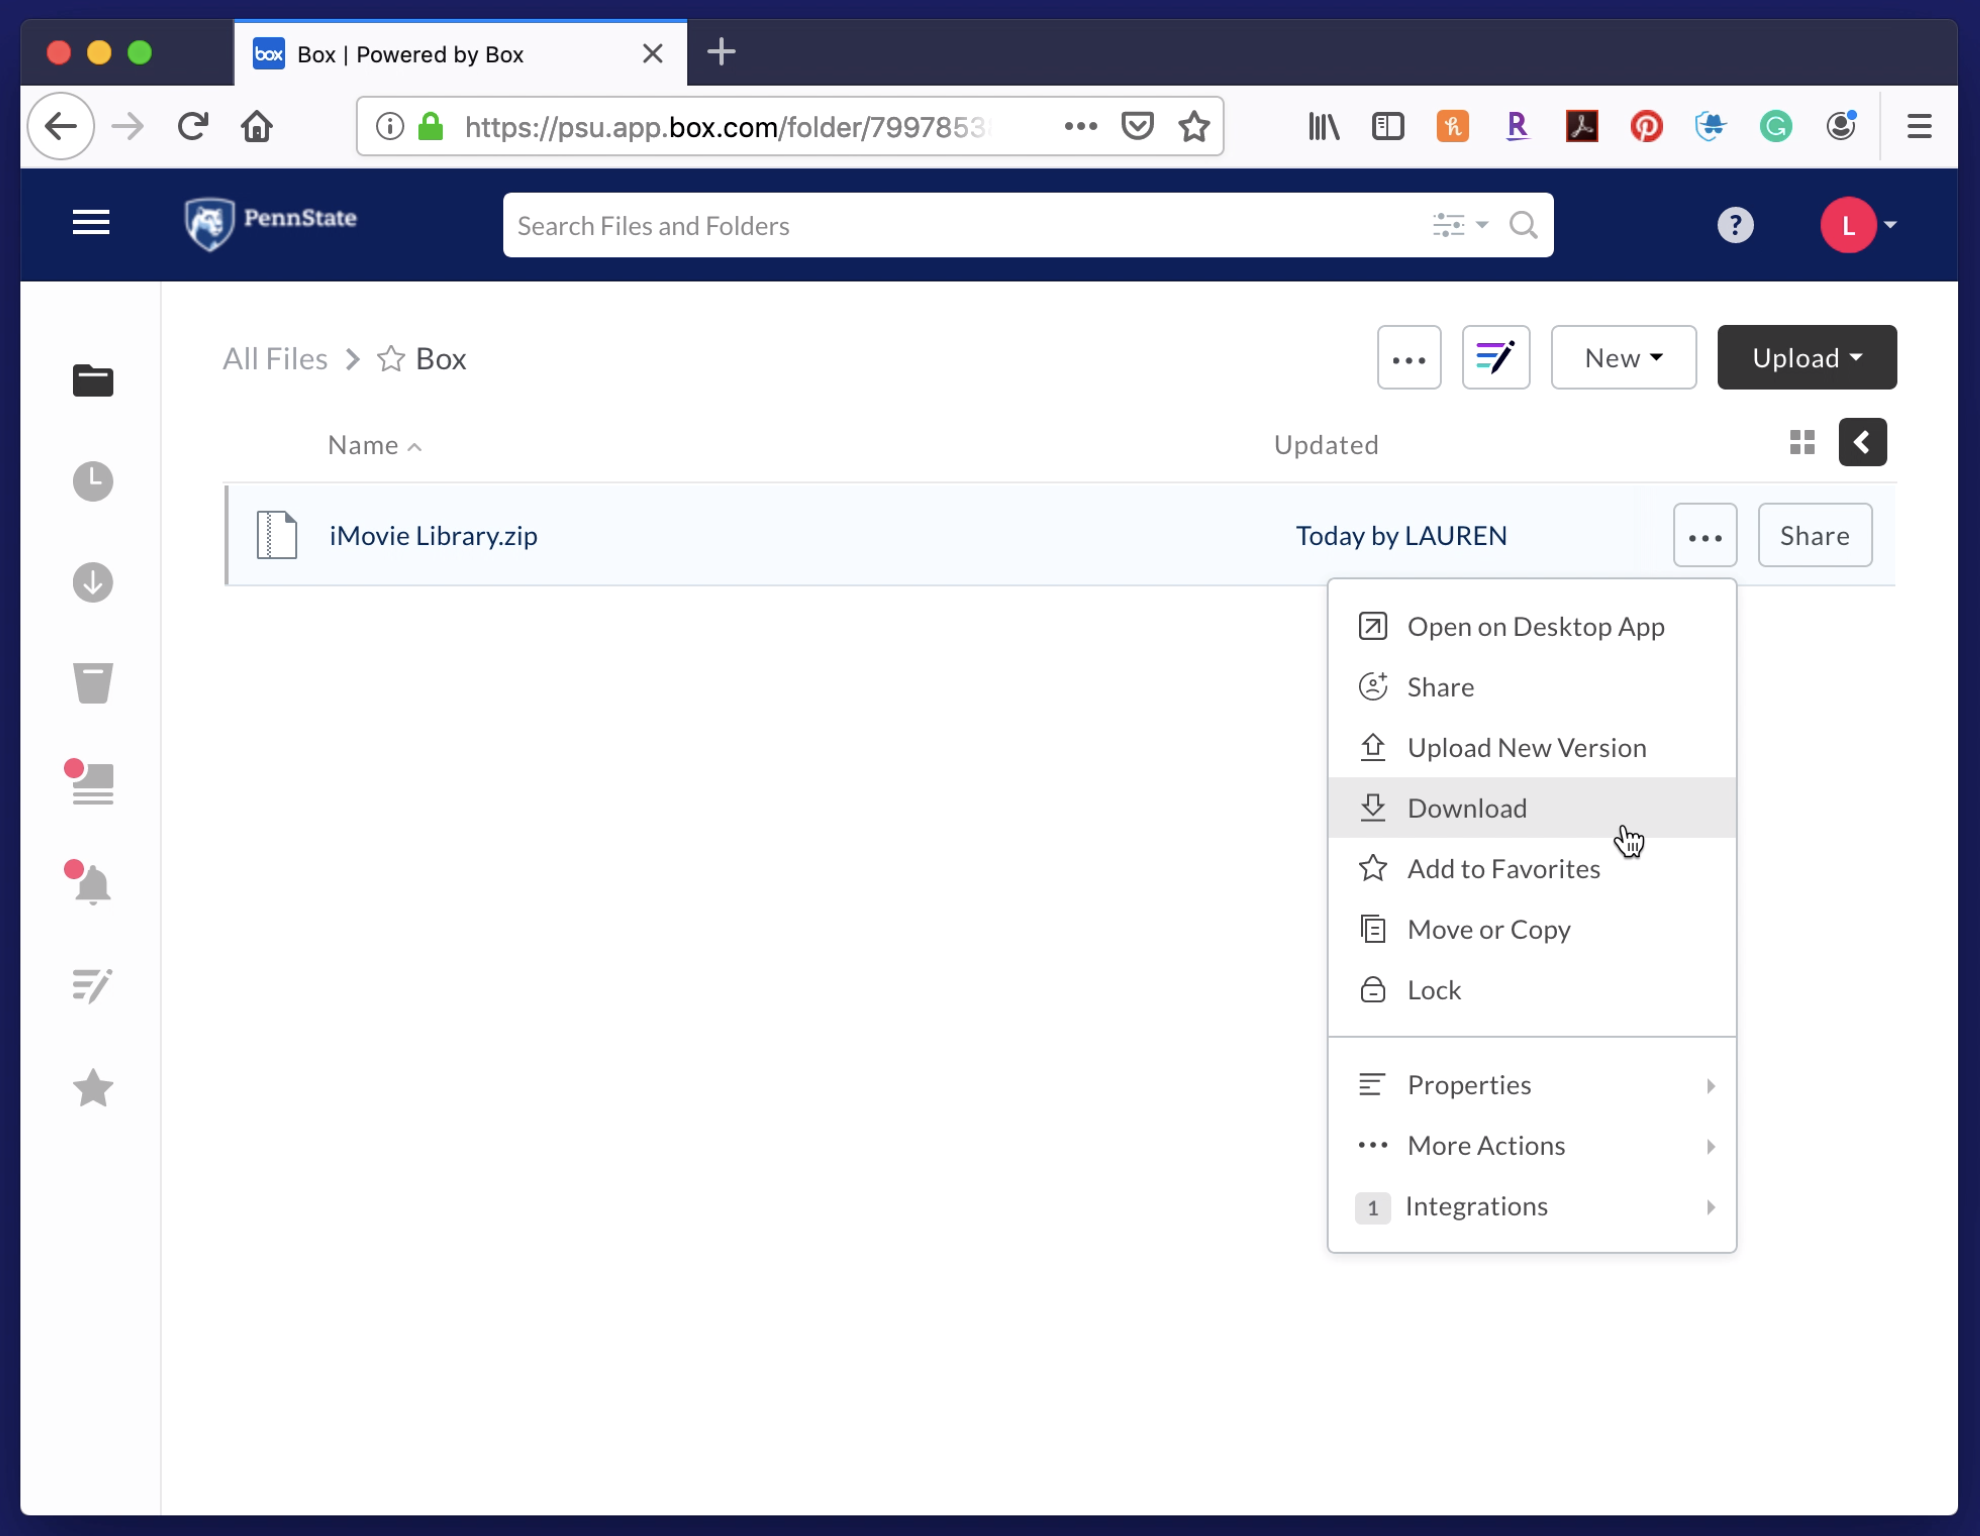
- Double-click the downloaded iMovie Library.zip file to unzip it. This will bring back your regular iMovie Library file.
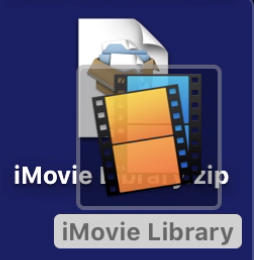
- Move the un-zipped iMovie Library file into the Movies folder of the computer.
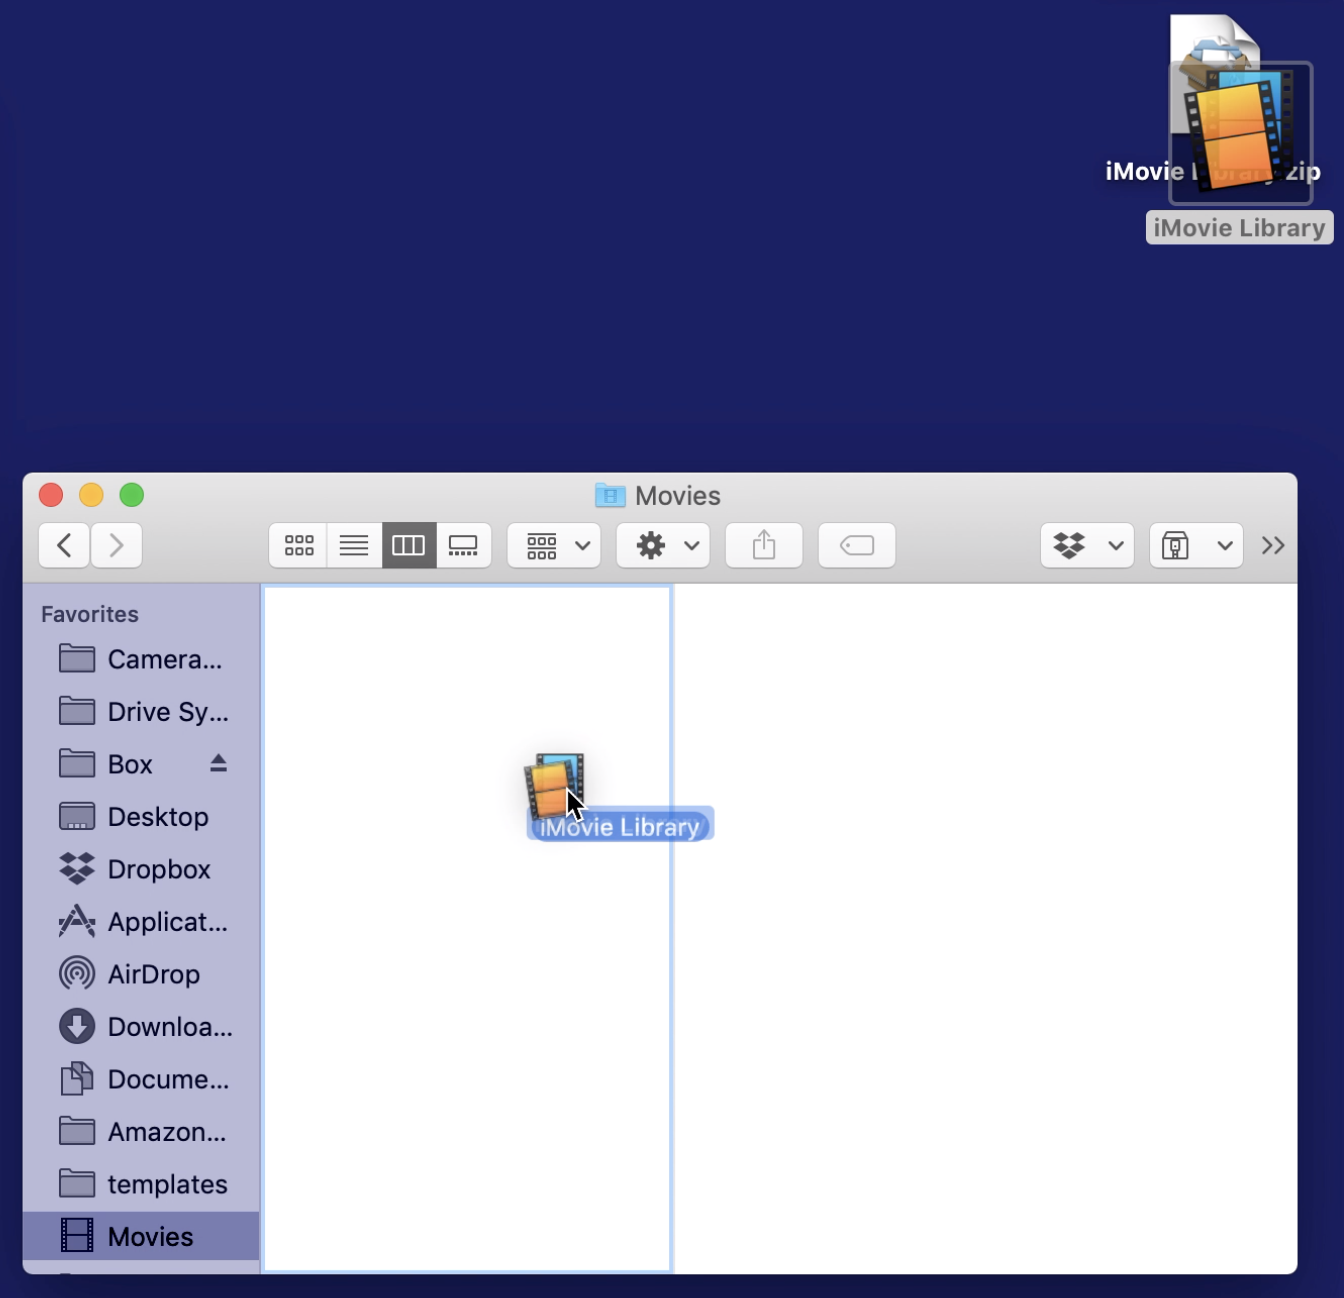
- Double-click on your iMovie Library to continue editing in iMovie.
