This tutorial will show you how to publish your page in Adobe Express.
Once you’ve created a page and are ready for people to view it, you can publish your page.
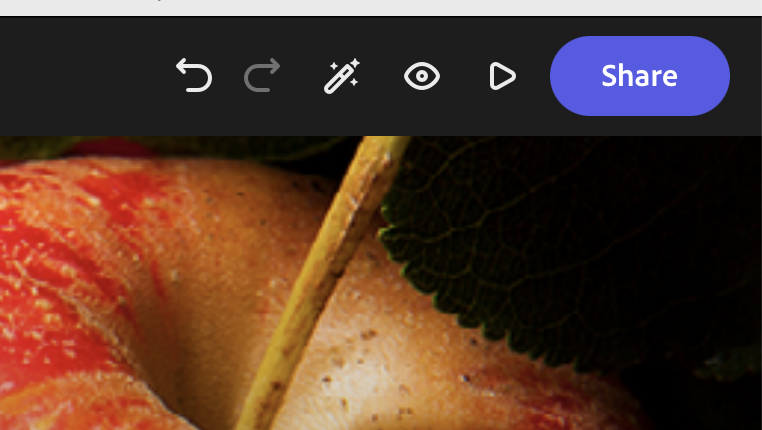
- Click the Share button at the top of the page.
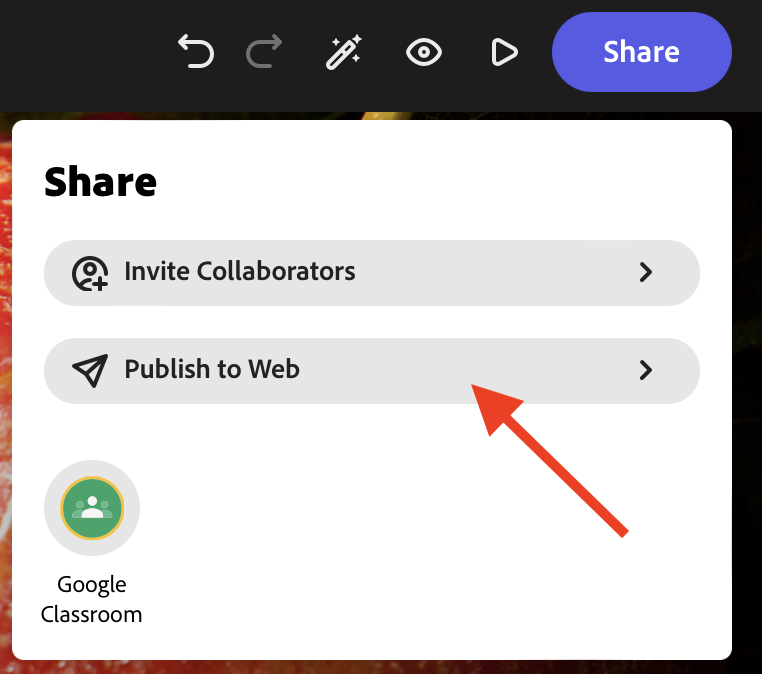
- Select Publish to Web.
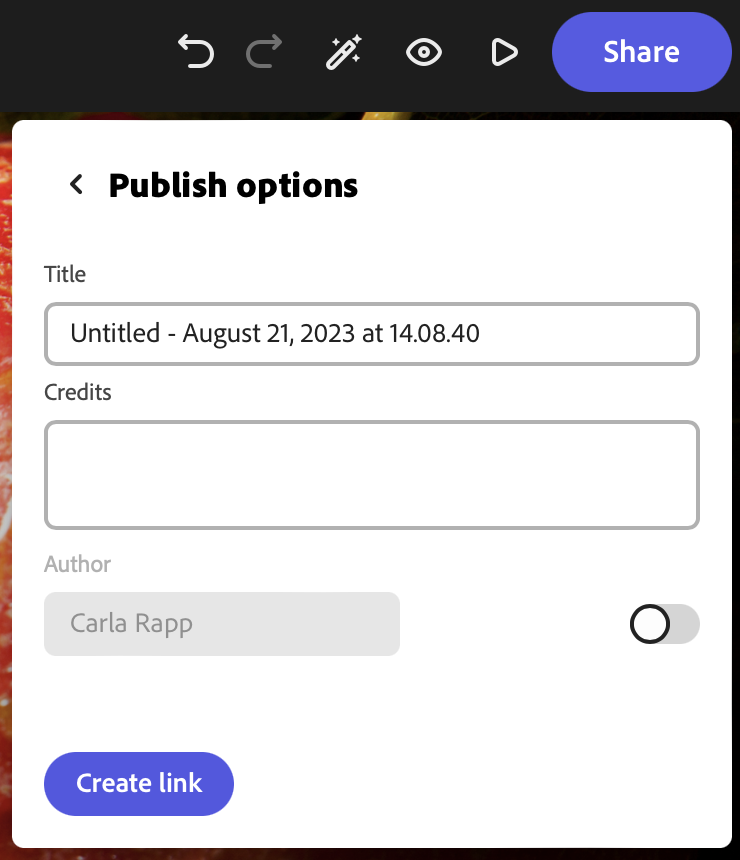
This window will give you a bunch of different settings that you can change around.
- You can change the Title of the page.
The next section will allow you to edit the Credits for your page, which Express adds for you automatically when you search through Express’ photo finder.
4. If you need to add other photo credits for photos not found in Express, or if you would like to edit the automatic credits, you can do so in the Credits box.
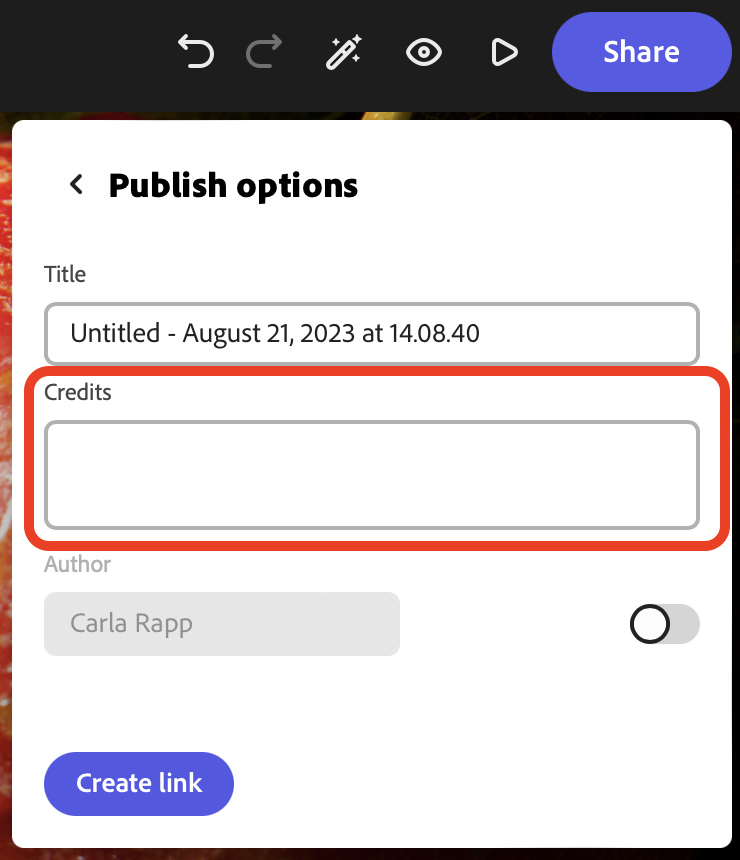
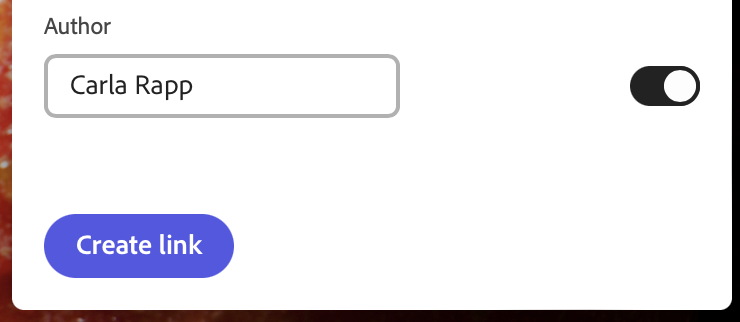
The last box will display your name, with a slider director next to it. This will most likely be set to “Off” but we want to set it to On, in order to list your name as the author of the page.
5. Click on the slider to switch your name display on.
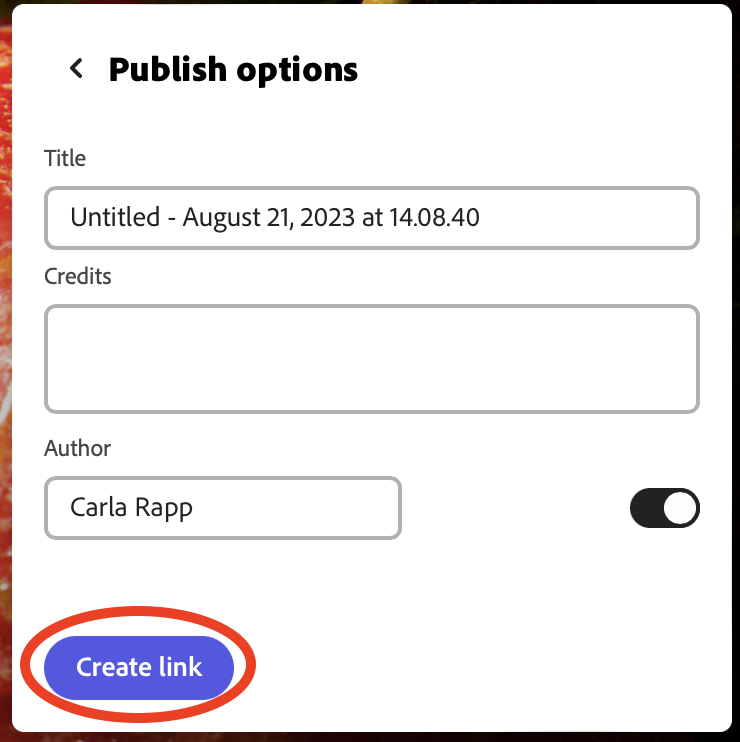
- Once you’ve filled out these details and you are ready to publish, click on Create Link at the bottom of the window.
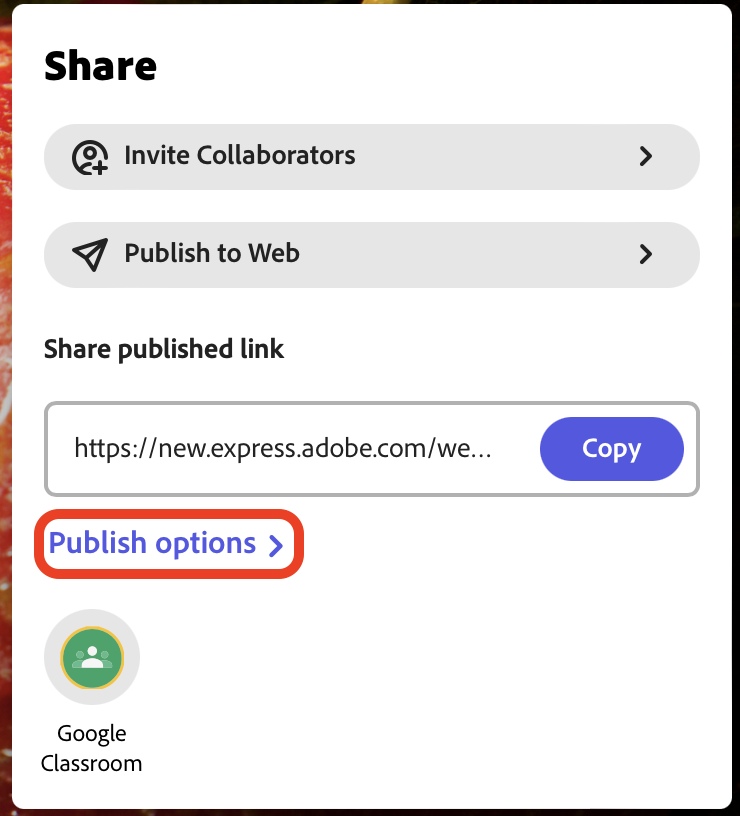
Express will then take you to the Share page, where it will give you the URL for your page you just published!
- Share on social media and/or copy the URL and send it to whomever you want to view your page.
This link is specific to your page, and will never change.
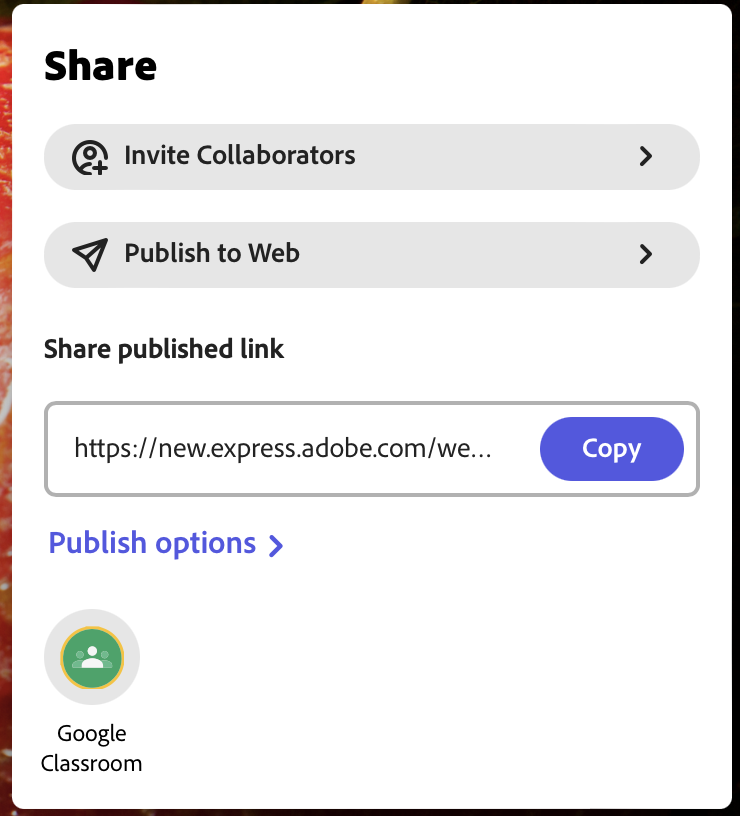
If you ever need to edit the details of your published page, you can do so by entering the Share window again, and clicking on Publish Options below your URL.
