Transitions provide a smooth and easy change between clips. They generally are used to show a passage of time or change of location. This tutorial will guide you through the process of adding transitions to an iMovie project.
Transitions
- Make sure you have some footage in the Timeline.
- Select the Transitions tab at the top of the screen.
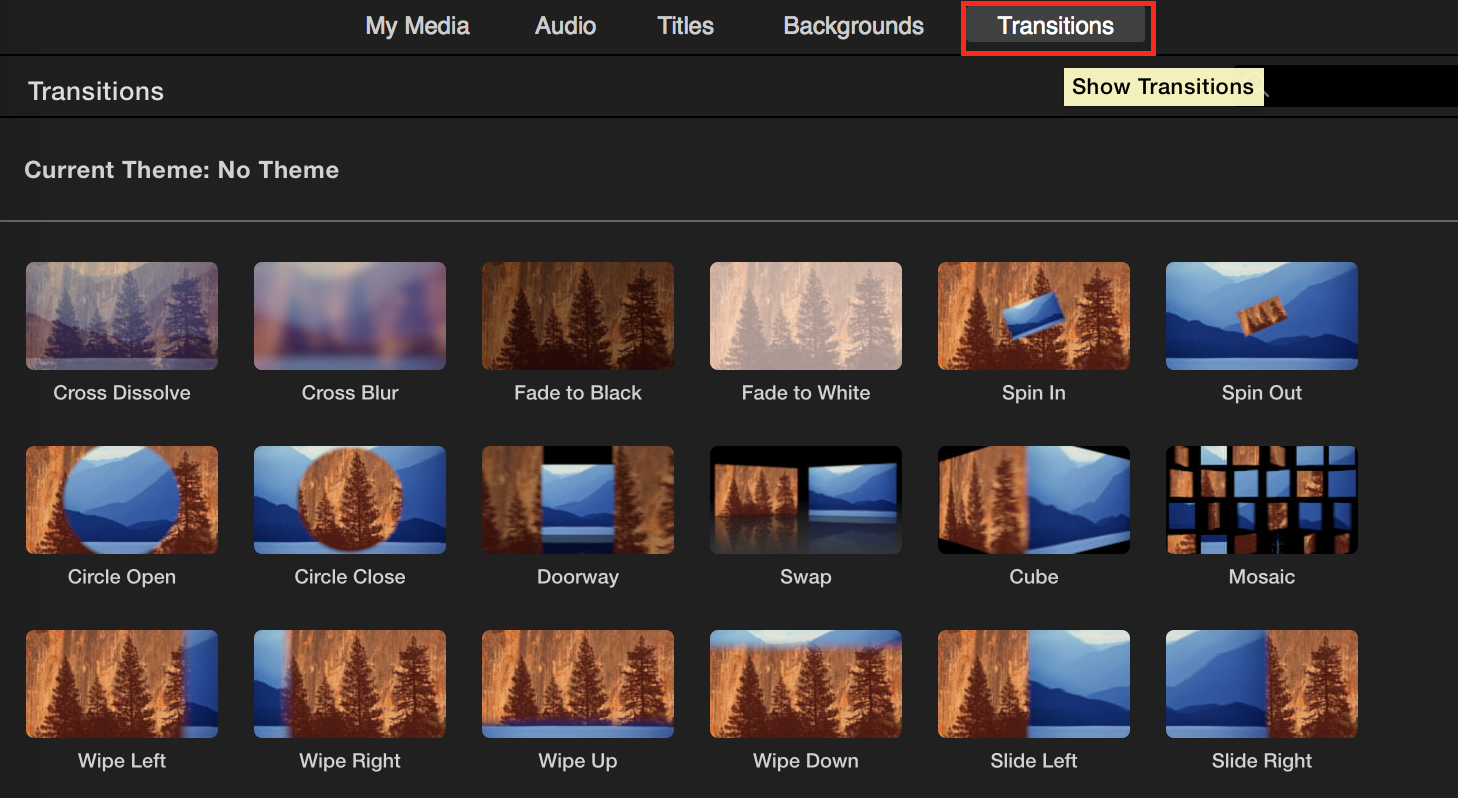
This will open the Transitions Browser which has several different Transitions that you can use.
NOTE: We recommend using Cross Dissolve or Fade to Black.
- Hover over a Transition thumbnail to see a short preview of what the Transition will do when applied to your Timeline.
- Drag and drop the Transition you want to use between two clips, before the first clip, or after the last clip.
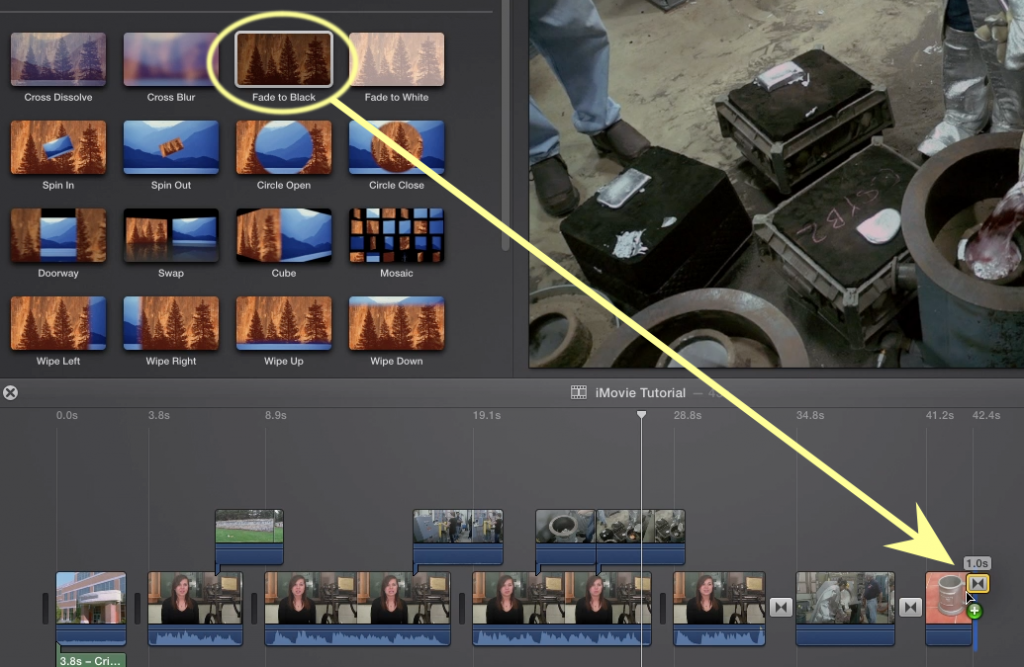
The added Transition will appear as a little box wherever it has been placed in the timeline.
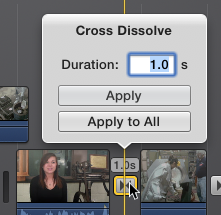
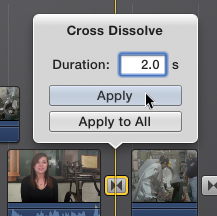
- Double click a transition you have added in the timeline to adjust its length.
- Type in the desired duration
- Select Apply or Apply to All to change the duration for only the selected transition or to all transitions in your Timeline.
Cutaways
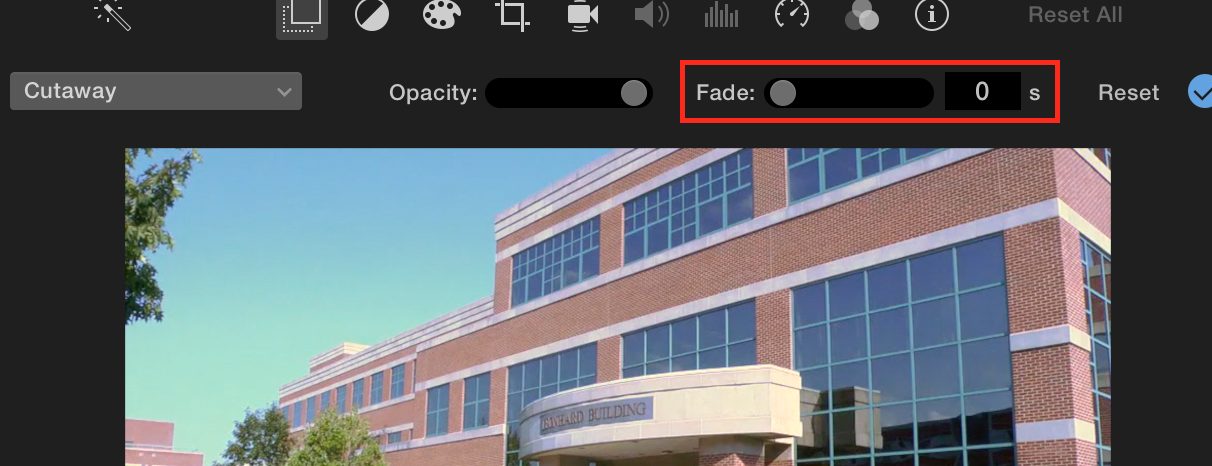
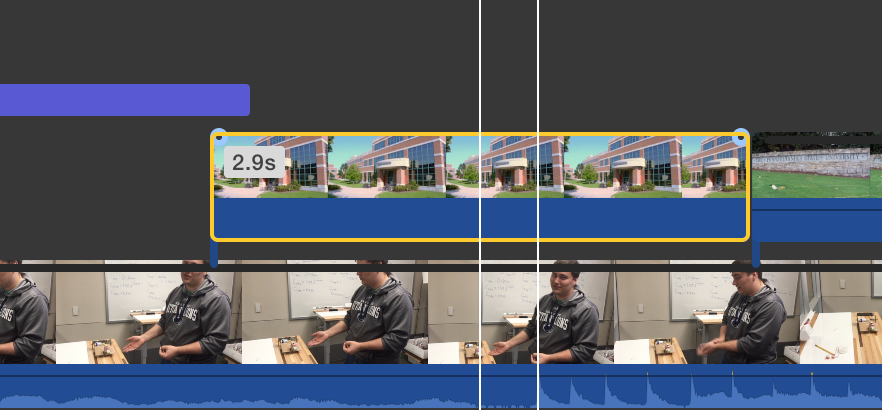
You can also fade cutaways in and out as well. You will not want to do this to any cutaways that are directly next to each other as it will cause you to see the main video in-between the two cutaway clips.
- Select the clip you want to fade.
- Select the Video overlay settings button, the first in the row of icons above the preview window.
- Move the slider labeled Fade to adjust the length of the fades.
