iMovie comes with several Clip Filters and Audio Effects that can be added to any or all of your footage to help you achieve a style or look to your video. The following tutorial will help you find and add those effects.
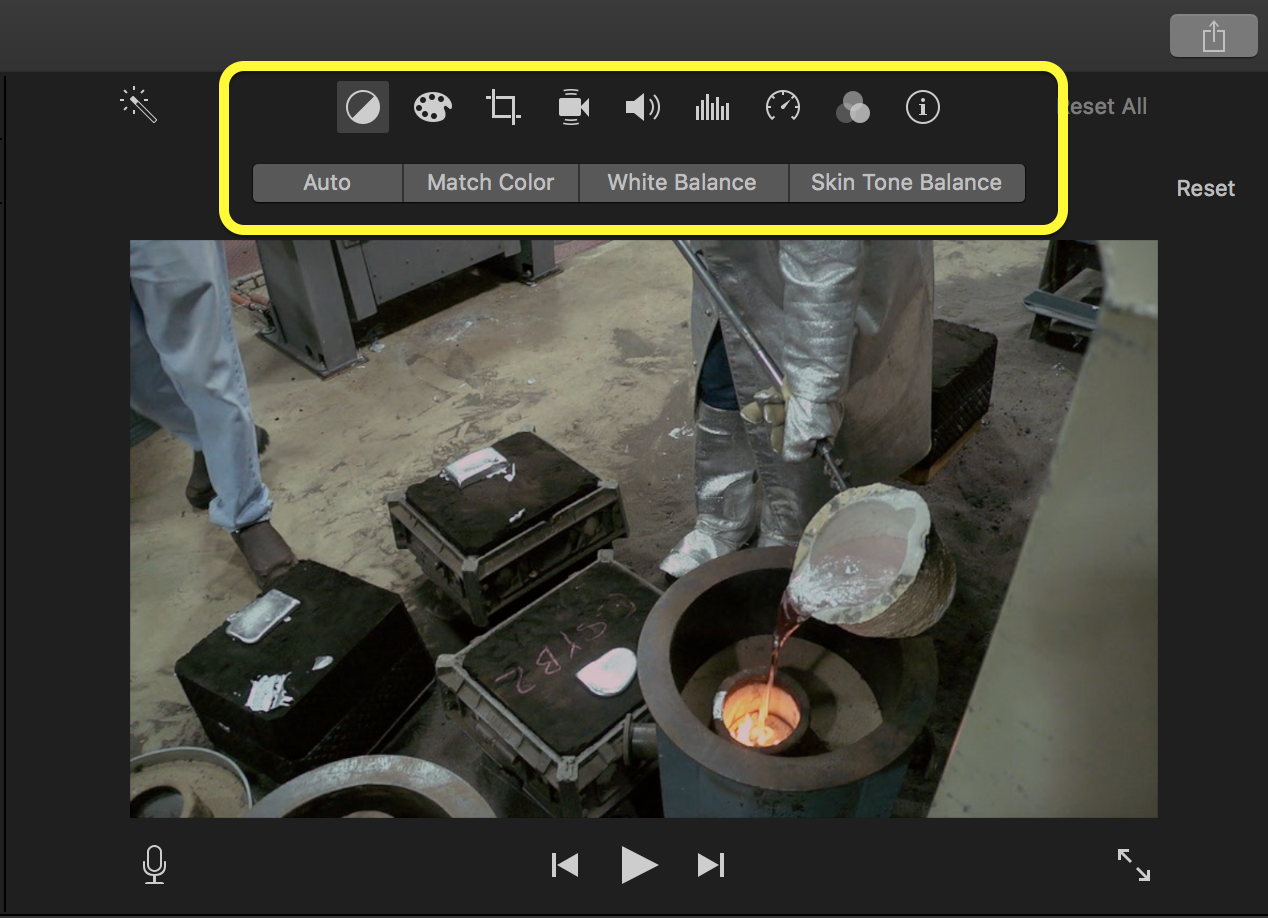
- Double-click the clip in your Timeline that you wish to modify. You will then see a row of icons appear over your video in the Viewer window of iMovie.

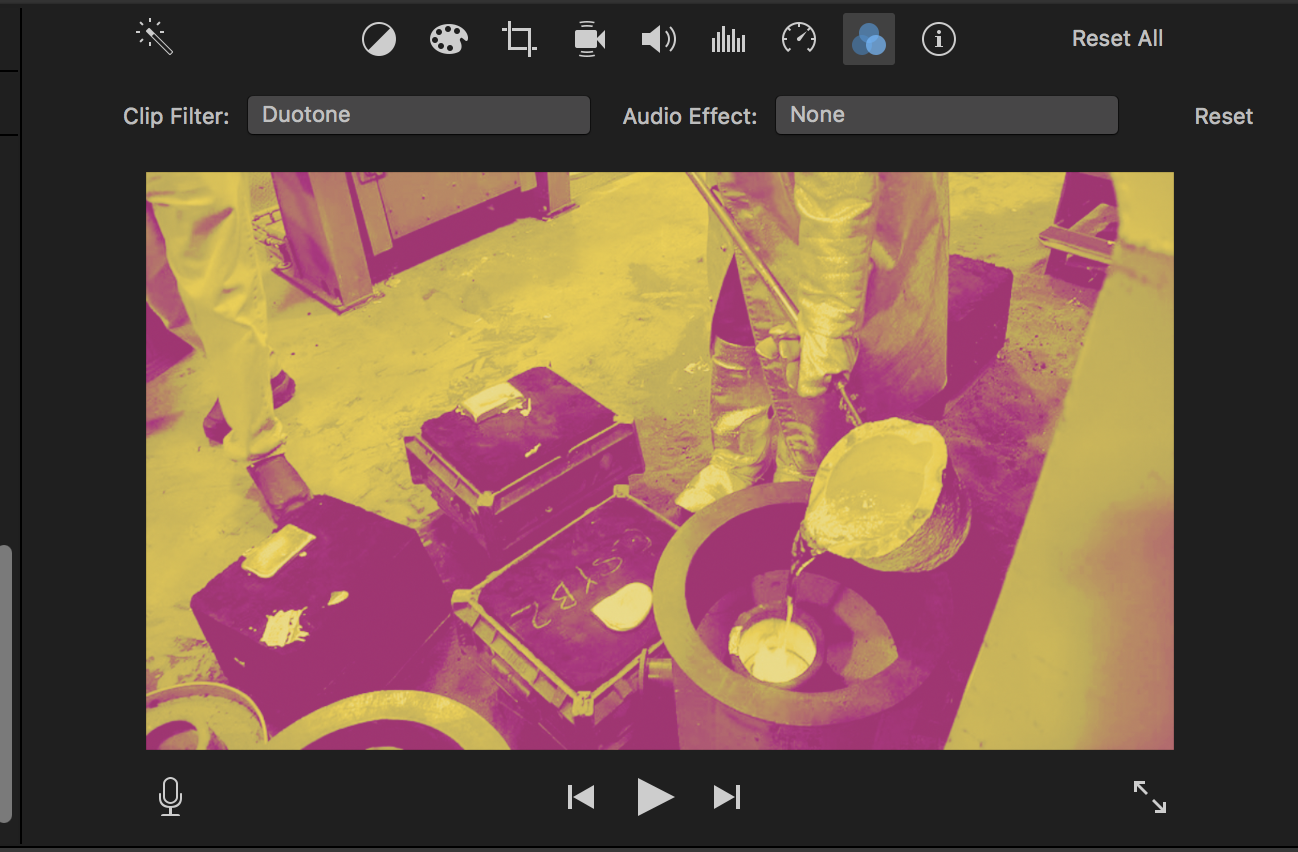
- Select the Clip Filters and Audio Effects icon, which looks like three overlapping circles. Some settings will appear directly below, giving you the option to change the Clip Filter and/or Audio Effect for your selected clip.

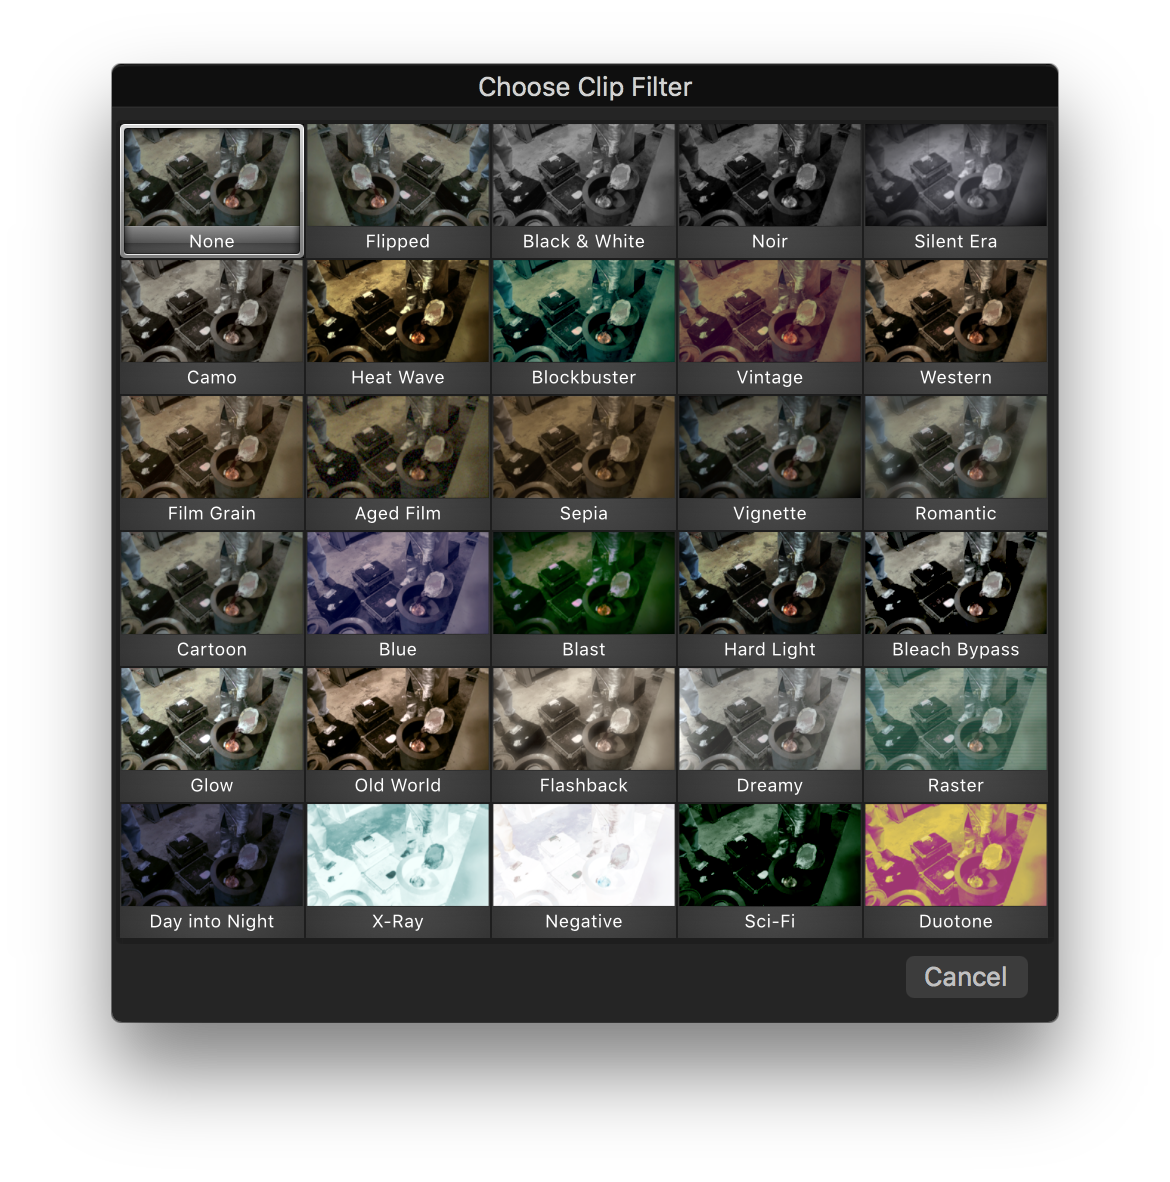
- Select the Clip Filter button and a popup window will appear with a list of effects you can use on your video clip. These work much like Instagram filters.
- Hover over each selection for a preview of how the effect will look on your video. and click the effect you want to apply it to your clip.


- The popup window will close and the Clip Filter button will now display the name of the Effect you chose.

- The Audio Effects work the same way. Select the Audio Effect button, and select from the list of effects that you wish to apply to the audio of your clip.

