This tutorial shows how to record a voiceover in Adobe Premiere Pro.
- Go up to the Premiere Pro CC menu at the top of the screen,
- Select Preferences, then Audio.
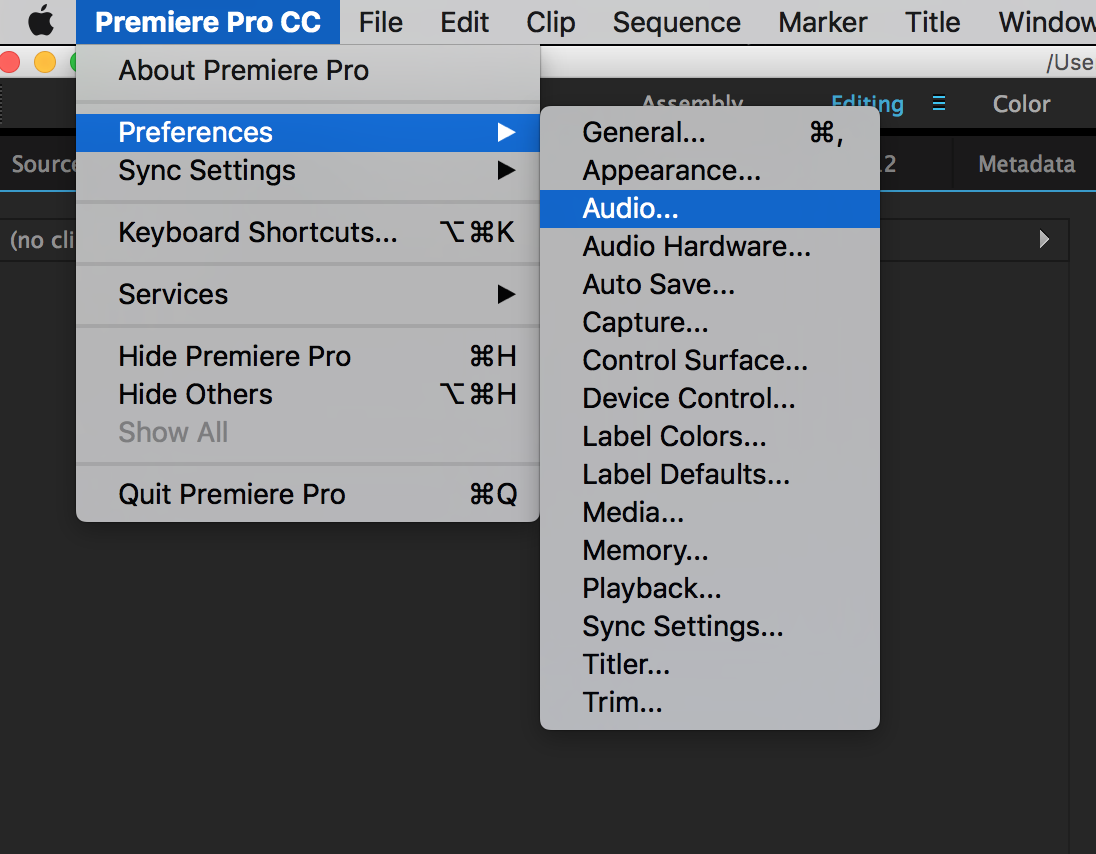
A second window will open up.
- Find the option that reads “Mute input during timeline recording” and click the check box next to it.
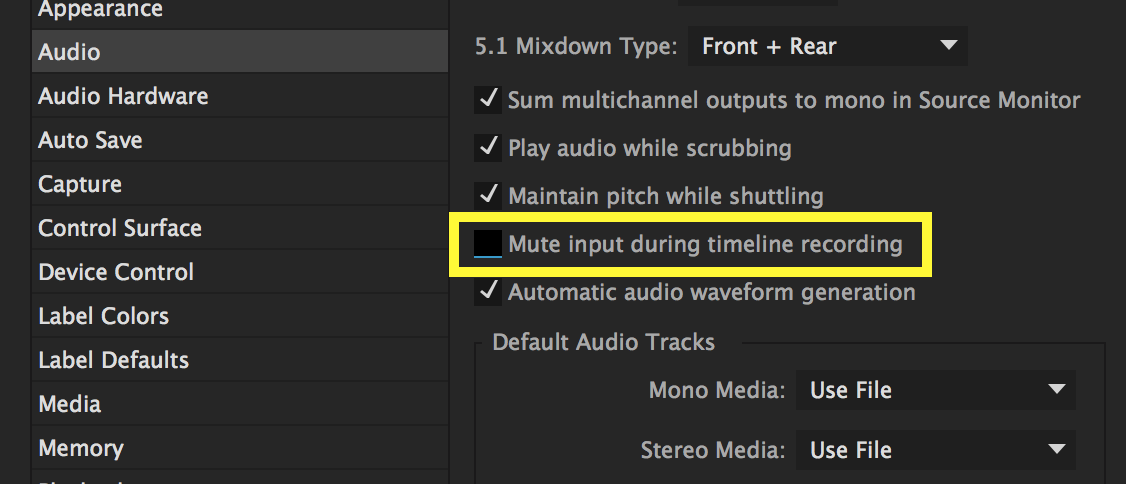
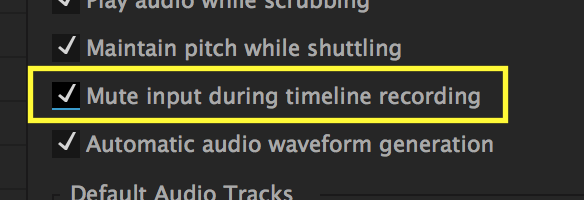
This will prevent feedback during the recording process. Now you are ready to record your voiceover.
- Go down to the audio track you would like to record on and click the letter S that appears next to the track name to solo the track.
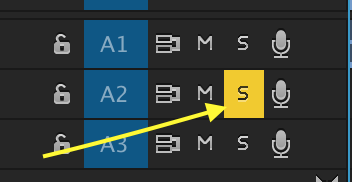
- Press the microphone icon on the audio track to begin recording.
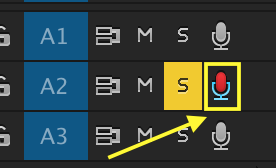
- Once you are done recording, click the microphone icon again to stop and the voice-over will appear on the audio track you recorded on.

