This tutorial will show you how to create a new podcast project in GarageBand and adjust your settings to make it easier to record and navigate.
Create a New Project
- Open GarageBand by selecting the GarageBand icon on the dock at the bottom of the screen or clicking the magnifying glass in the upper right hand corner of the screen and typing “GarageBand.” When it shows up in the search, click on it to open.

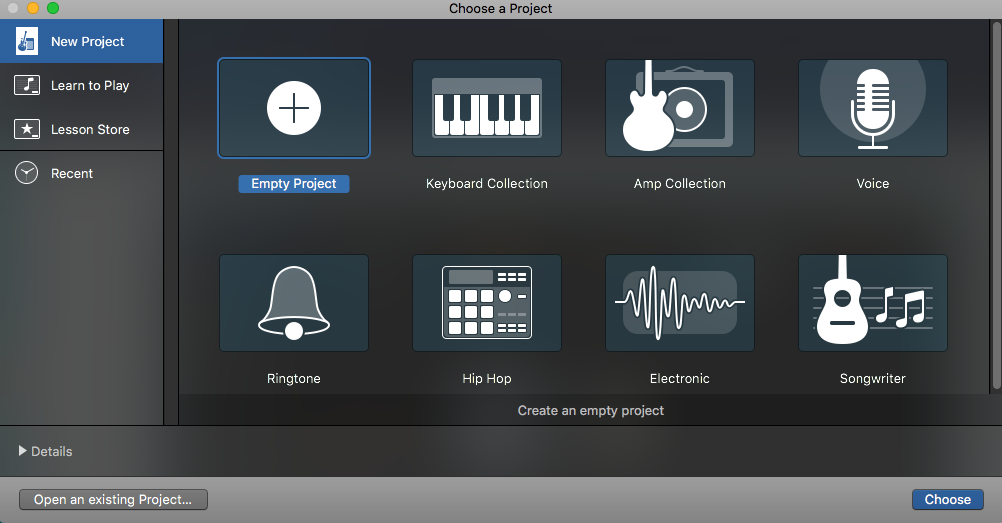
- Scroll down to find the Podcast template and then single click it to select it. Do not double click it or you will skip selecting your microphone.
NOTE: The podcast template is only available on Media Commons computers.
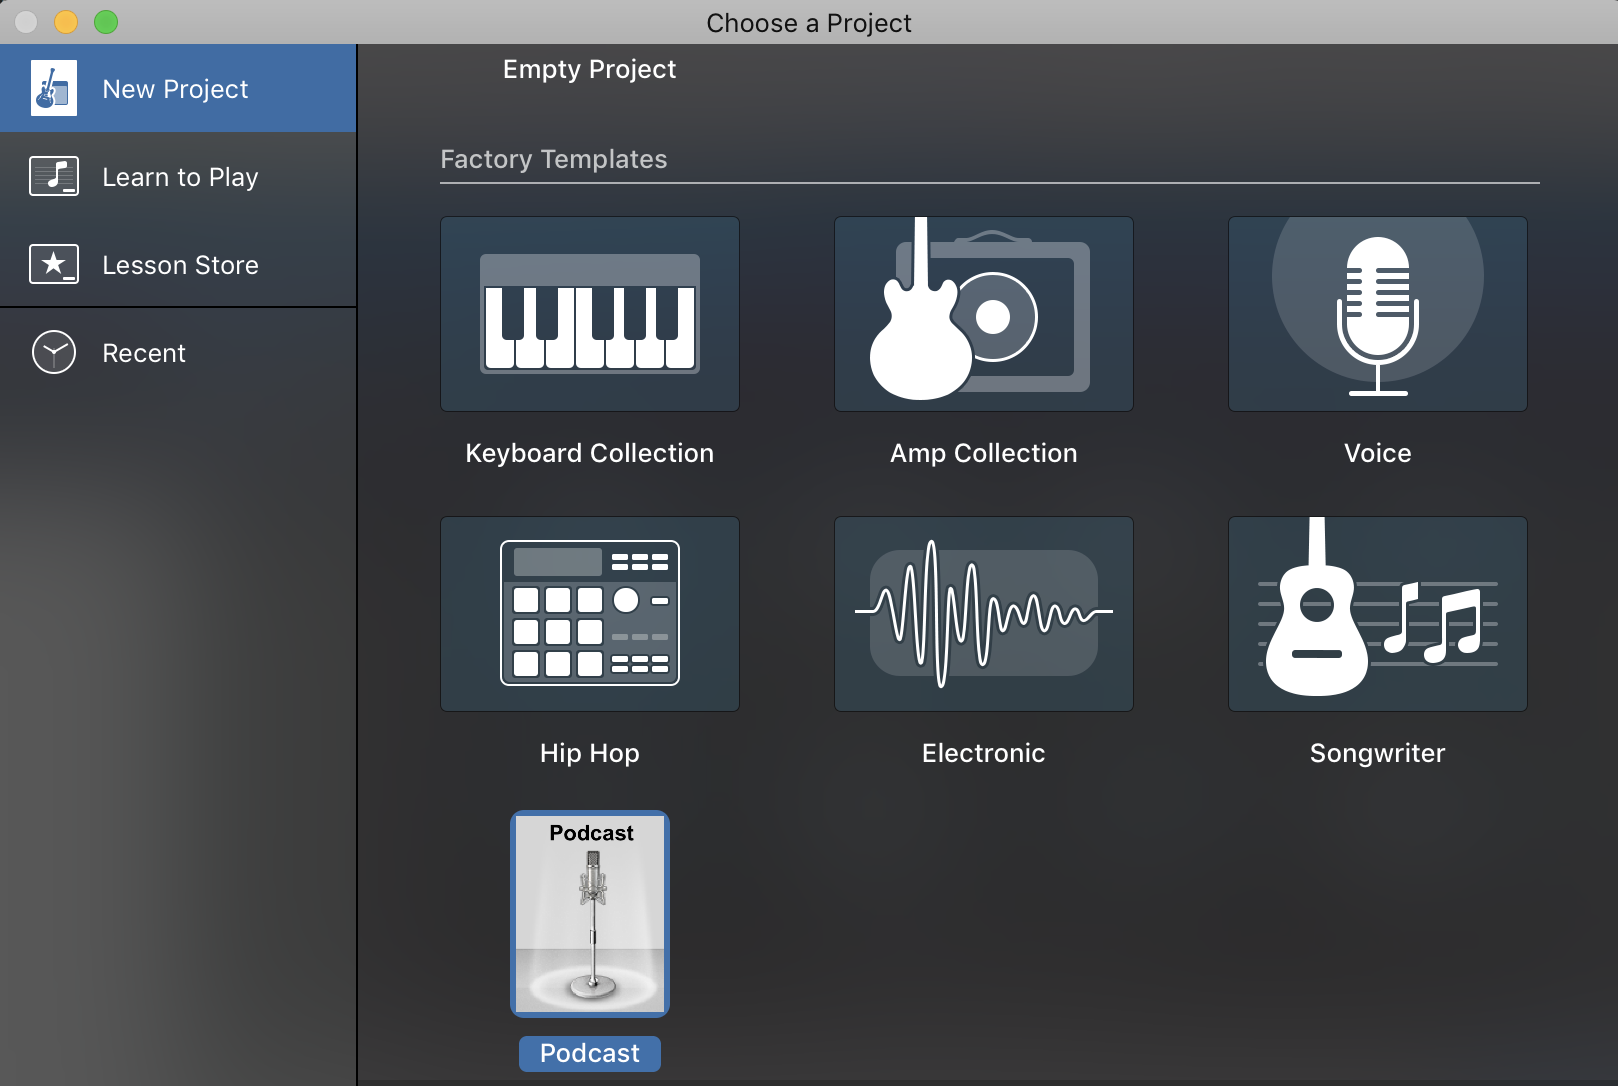
- Select the Details button at the bottom left section of the window to access more GarageBand settings.
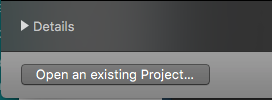
- Select a microphone to record from in the Input Device section.
NOTE: If you are in the Media Commons, you will want to look for the Blue Snowball microphone. If you are using your own microphone, it will show up here. If you are just recording through the built-in microphone on your laptop, you can select that as well.

- Once you’ve selected your microphone, click Choose in the bottom right corner of the window.
- Select the microphone button under the Audio category when prompted to select a track type.
- Click Create to start a new voice track.
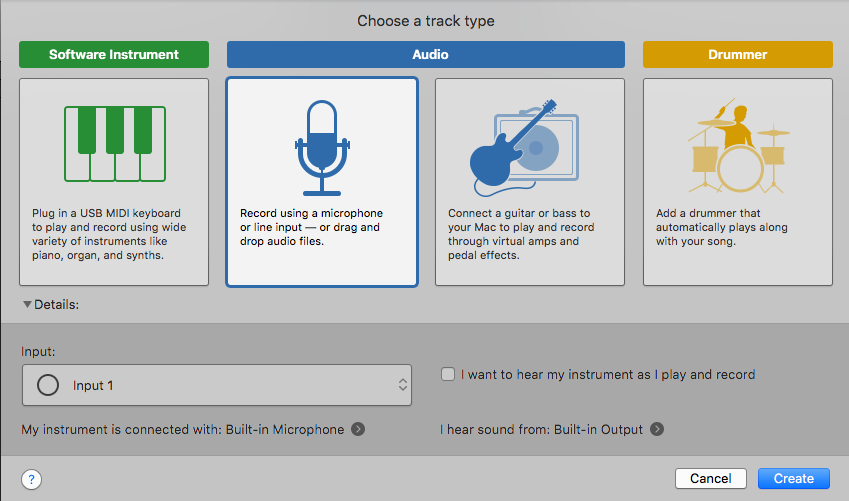
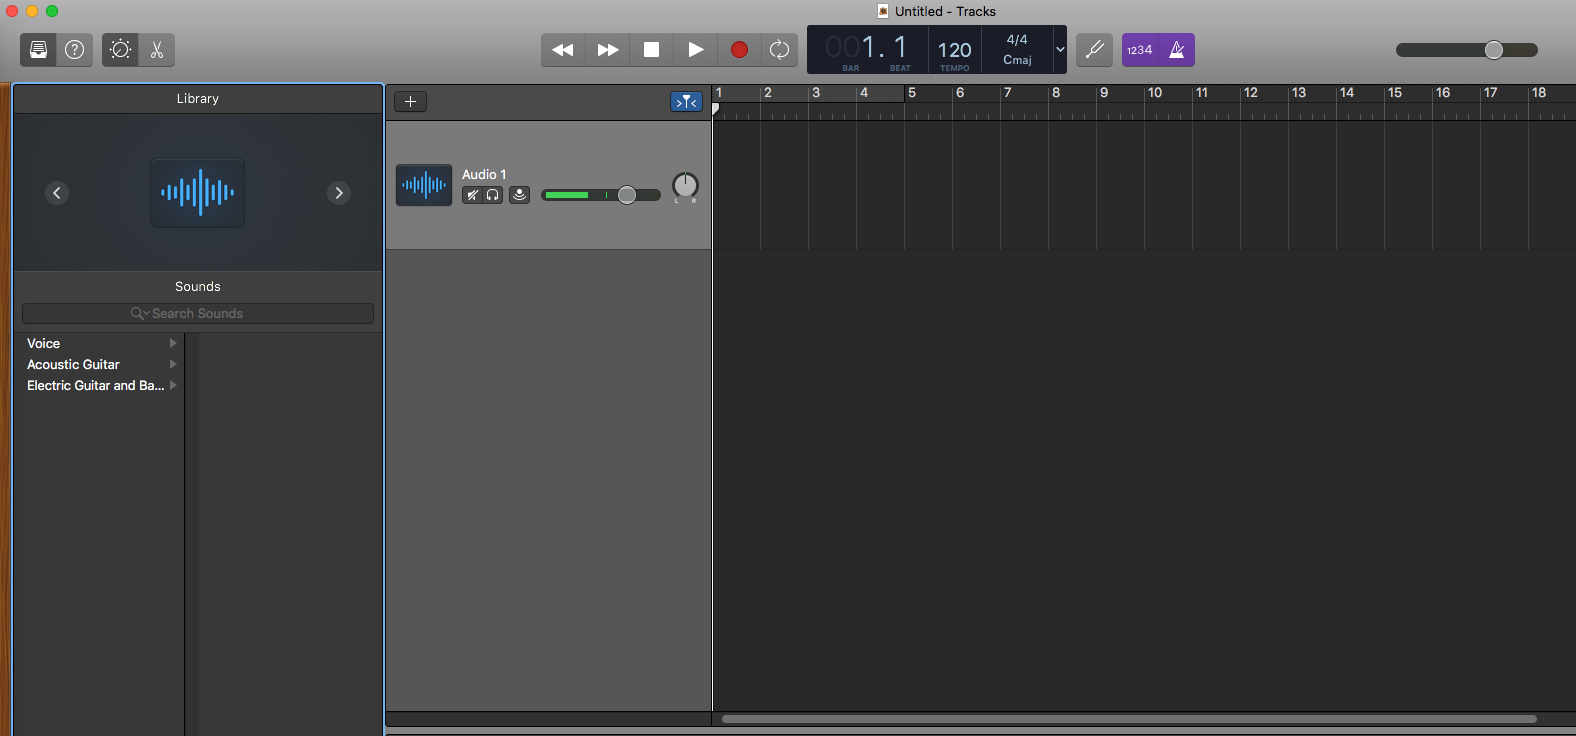
You’ve now created a new GarageBand project! The interface will look like this:
Adjust Settings for Recording
Before you record, you will want to adjust a few pieces of the interface to make it easier to record and navigate.
- Click the library and smart controls buttons in the top left corner to collapse two of the sidebars.
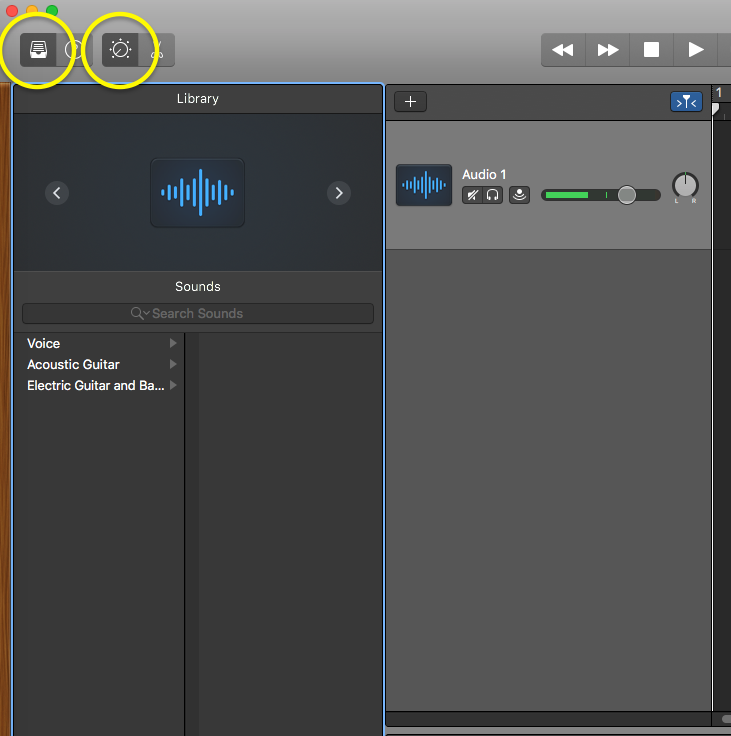
- Click the purple Metronome and Count-In timer buttons on the right to turn off these features.

- Select the down arrow on the right side of the beats and time display and choose Time from the list.


Your GarageBand interface and project should now look something like this:
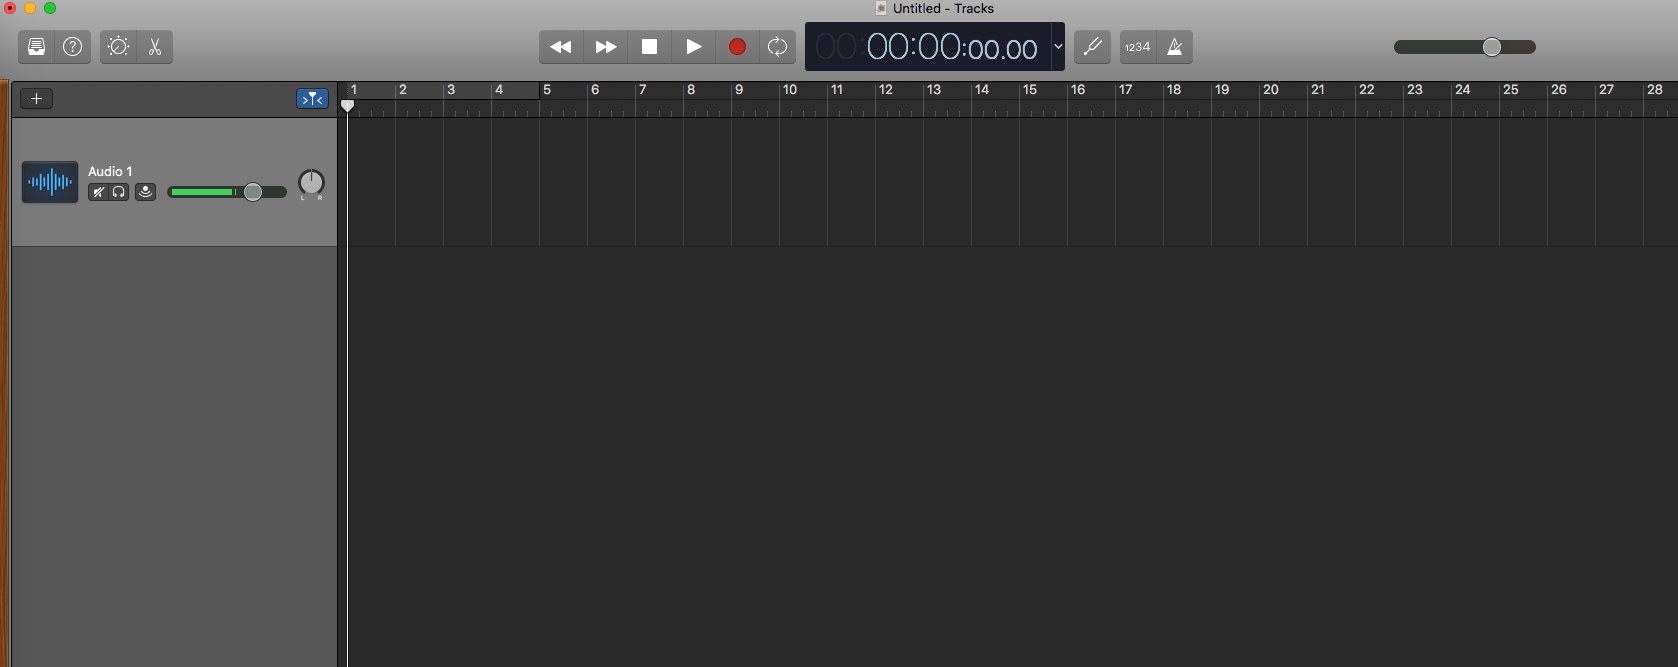
This provides you with the ideal setup with which to record your podcast.
Save Your Project
- Navigate to the File menu in the top left corner of your screen.
- Select Save or Save As from this list.
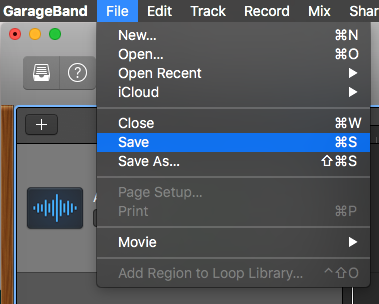
This will bring up a window asking you what you want to name the project and where to save it.
- Type the name you wish to call your podcast in the Save As: box.
- Select Desktop on the left side bar to save it out to your main screen.
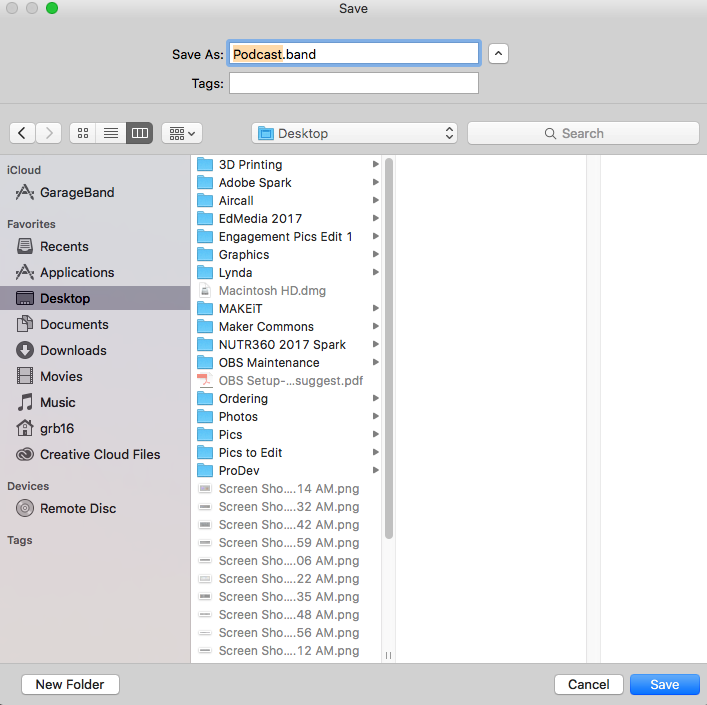
- Click the Save button and your podcast will be ready to go.
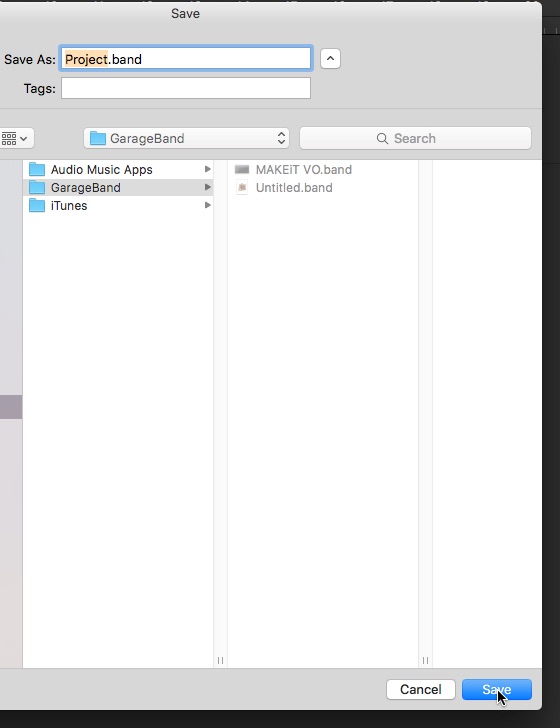
If you’ve saved your project to the Desktop, you will find your project file on the main Desktop screen of the computer. Your project file will look like this:

To learn how to backup and restore your GarageBand projects, please read the tutorial on Backing Up / Restoring a GarageBand Project.
