
This tutorial will show you how to import a number of sequential image files so you can create animations at various frame rates.
Download Workshop Files (135 MB)
Video normally plays at 29.97 or 30 fps (frames per second) frame rate. Each individual frame or still is onscreen for 1/30th of a second (approximately 0.03 seconds). This means that 60 seconds of video consists of 1800 individual frames (30 x 60).
Film normally plays at a 24 fps (frames per second) frame rate. Each individual frame or still is onscreen for 1/24th of a second (aproximately 0.04 seconds). This means that 60 seconds of film consists of 1440 individual frames (24 x 60).
For this workshop, we are going to create a stop motion animated image sequence. The frame rate will be 10 fps or 1/10th of a second (0.10) per image. At this rate, 60 seconds will only need 600 images.
Import Images
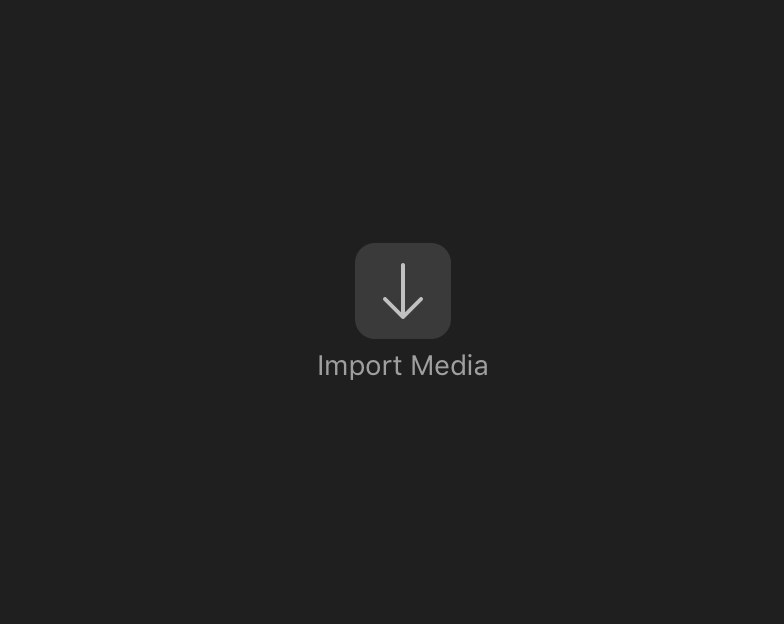
- Click Import Media in the center of the Event Browser in the top portion of the Final Cut window or select File Menu>Import>Media…

- Navigate to the FCP_Photo_Workshop folder on the Desktop
- Select the photos720x480 folder by single.
- Click Import Selected in the bottom right of the window to import all of the photos in the folder.

- Click the Create New Project icon in the timeline area or lower pane of the Final Cut window.

- Name your project in the window that opens and then click OK.

When this has finished, you are ready to begin editing.
Edit Your Project
- Single click on one of of the imported photos the top left of the Final Cut window and then select Edit Menu > Select All.

- Click and drag them to the timeline all at once.

You will have the option to set up your video properties because this is the first media being added to your project. Default settings will produce a 1080p 24 fps (23.98) video. The standard rate for film.
- Change the rate to 30fps for video and click OK.

- Select all of the photos on the timeline if they have become unselected by clicking on one and then using the command-a shortcut, or selecting from the Edit Menu > Select All again. They will be outlined with a yellow highlight border.
- Select Modify Menu > Change Duration…

- Type in the new duration of the selected items, which will display in the middle of the toolbar. For this project we are choosing 3.
Each frame will last for a duration of 3 frames. This will give us a frame rate of 10 fps (frames per second).

- Press the space bar to view your movie.