Exporting your finished movie is one of the last steps of the editing process. This tutorial covers the process of converting your edited project into a new movie file that can be uploaded to YouTube, embedded into a website or presentation, or burned to a DVD.
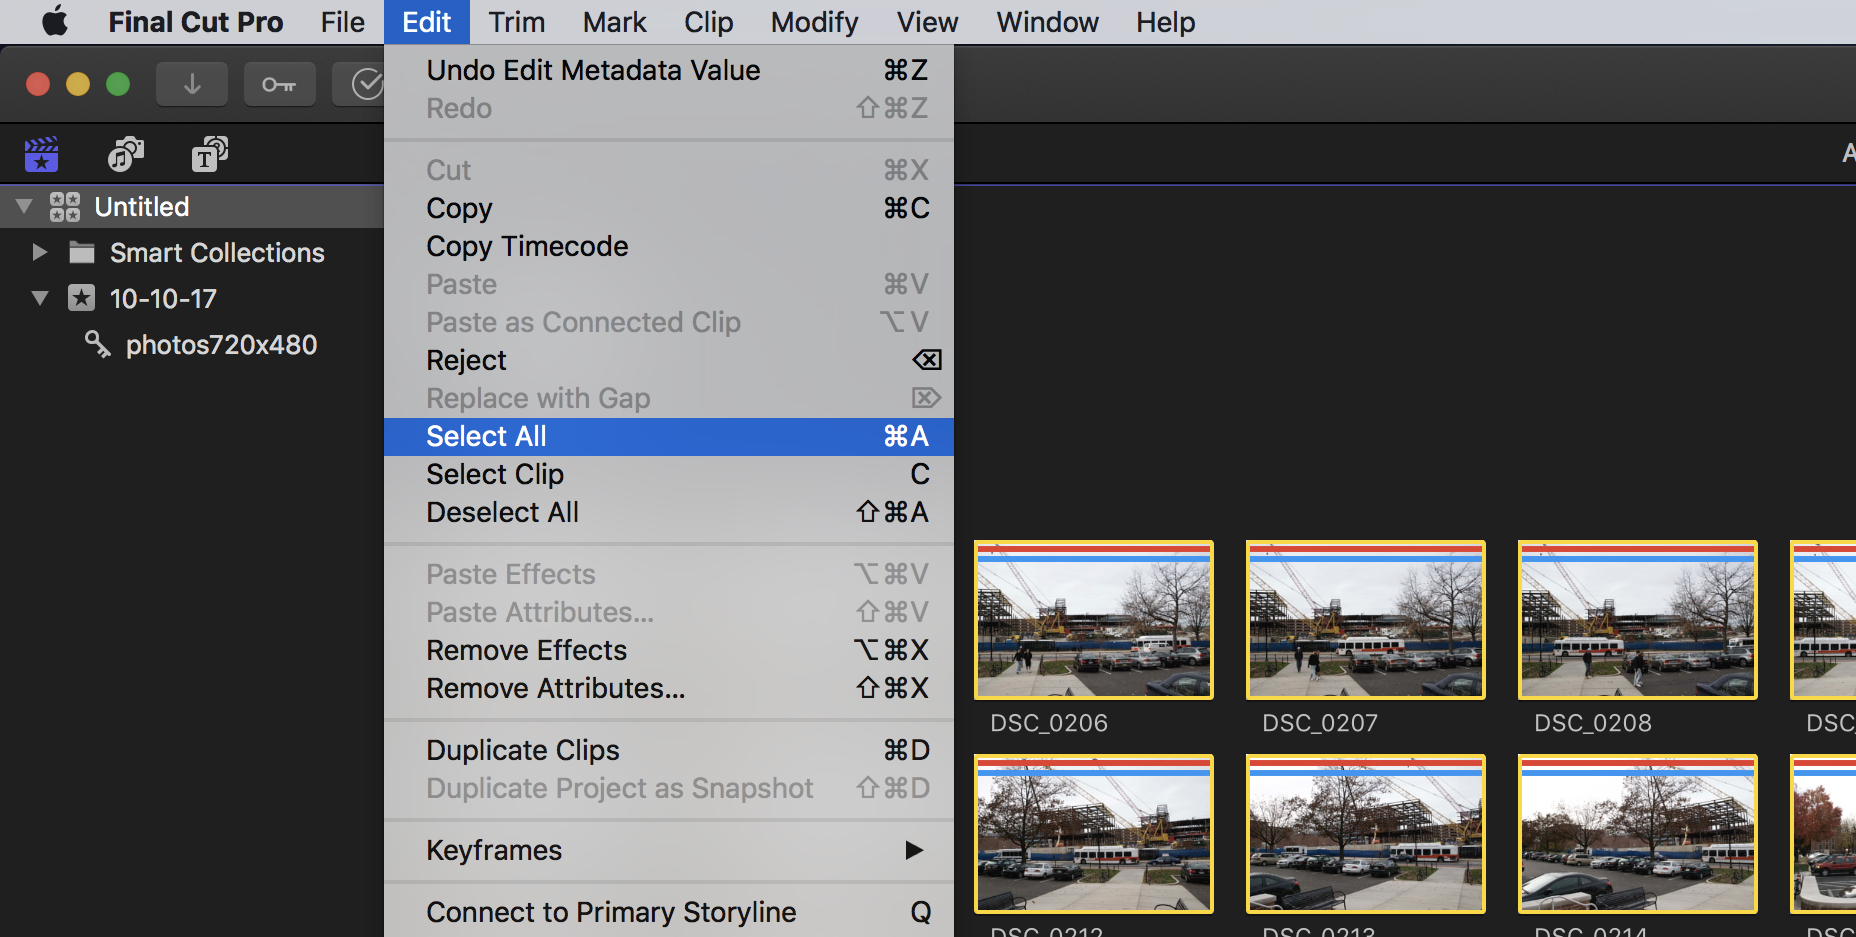
- Click the timeline and then select Edit menu > Select All from the menubar.
This helps make sure that you are exporting the entire movie.
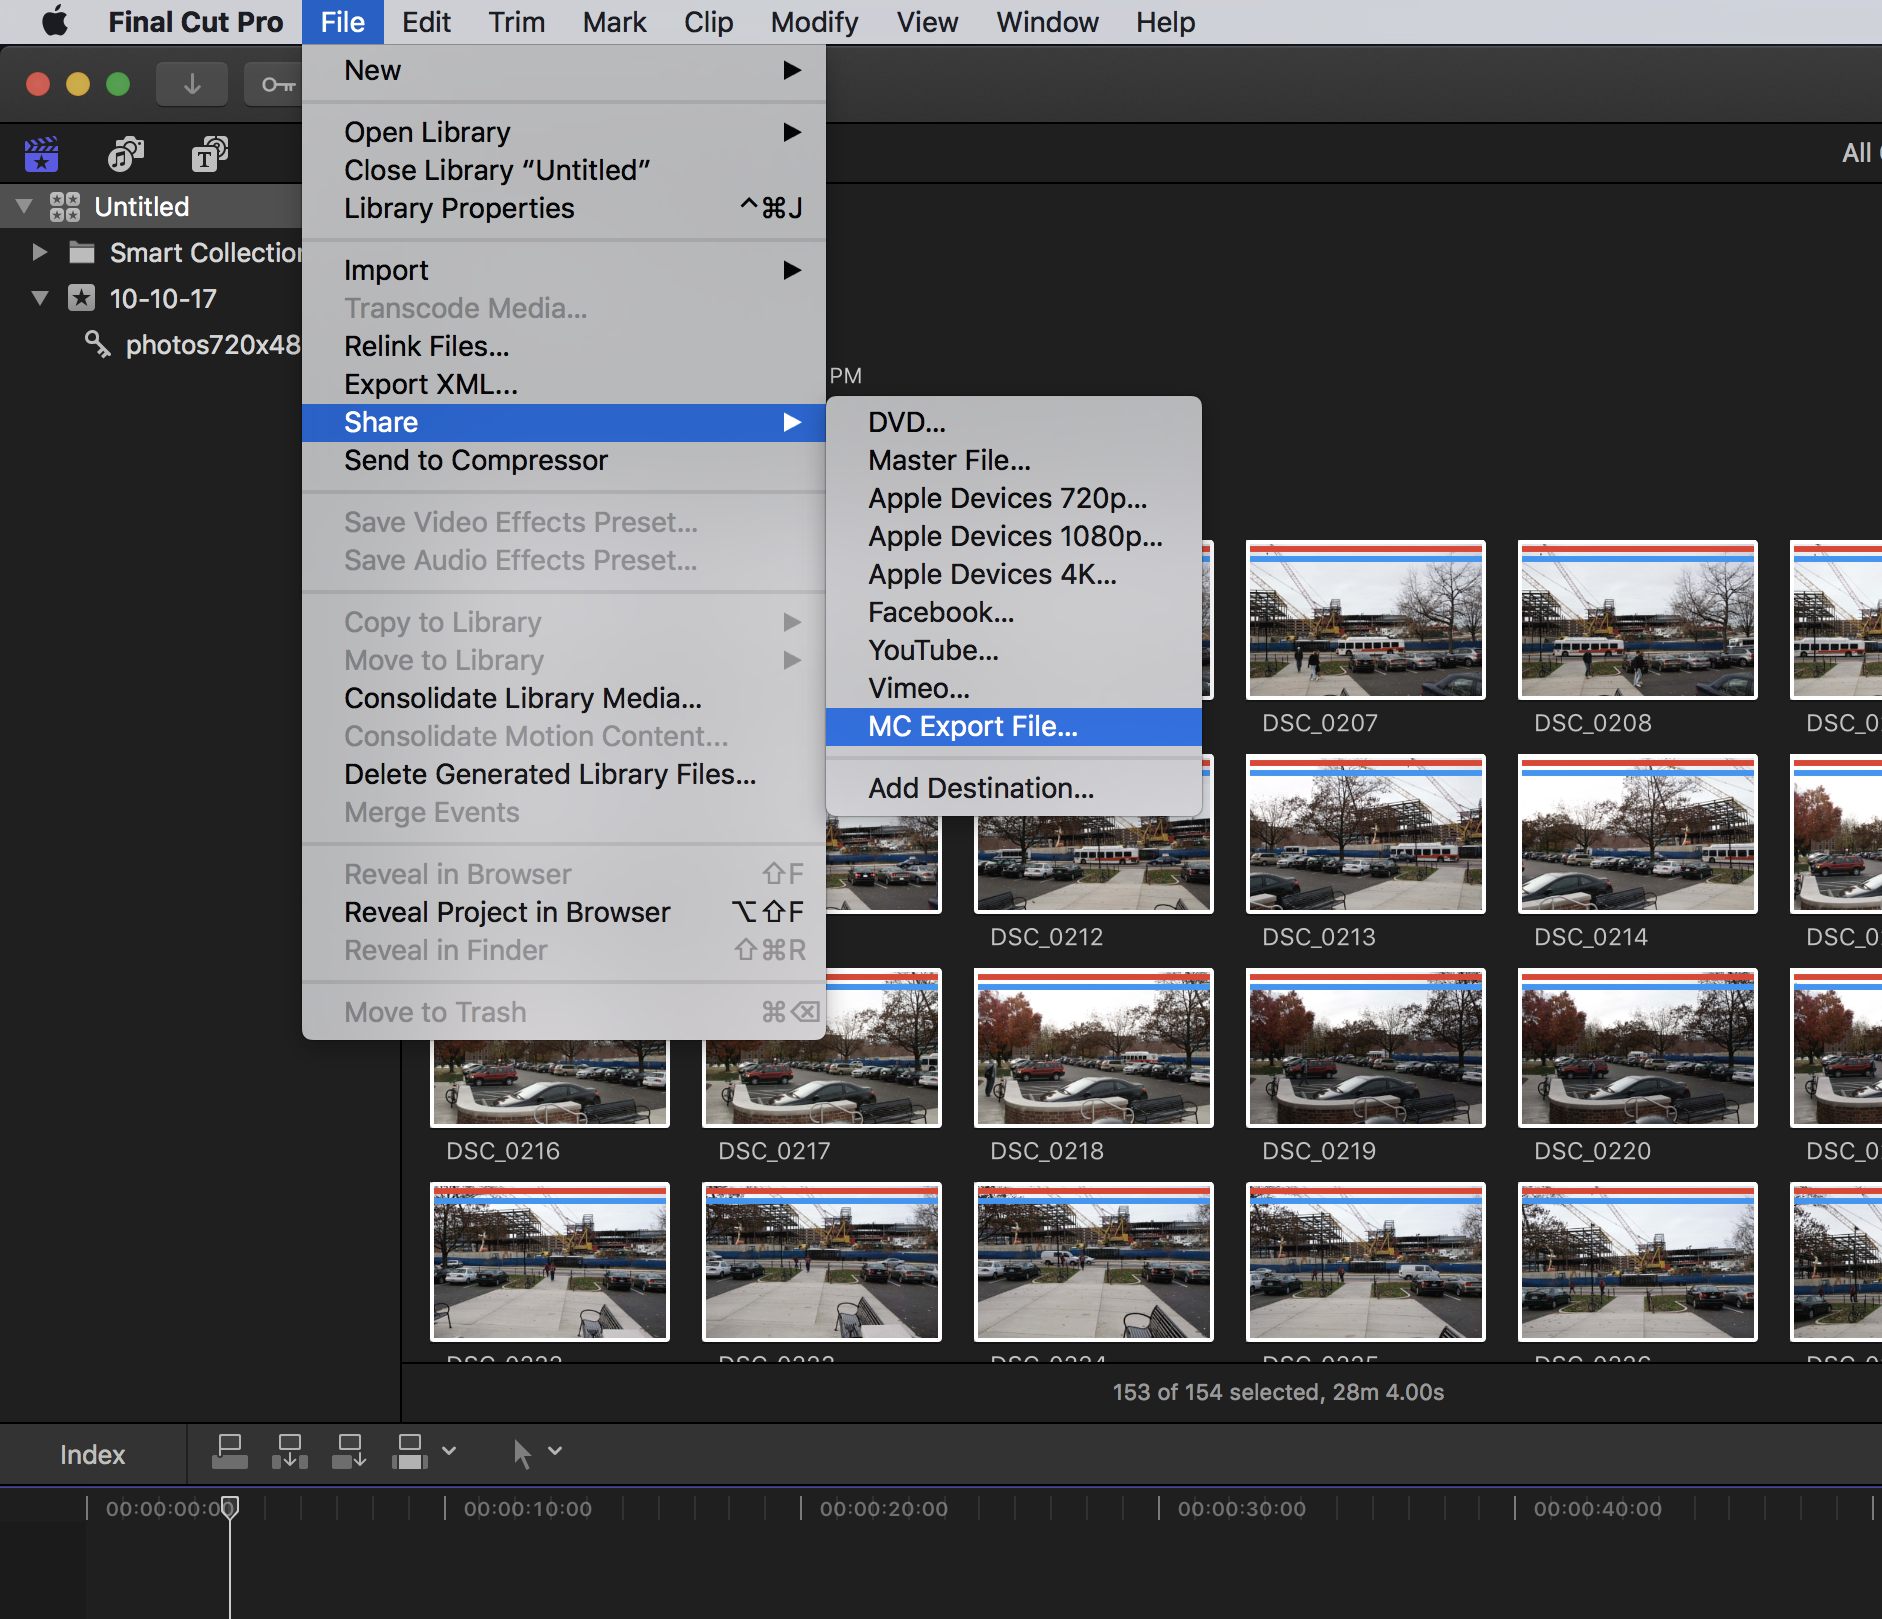
- Select File > Share > MC Export File…
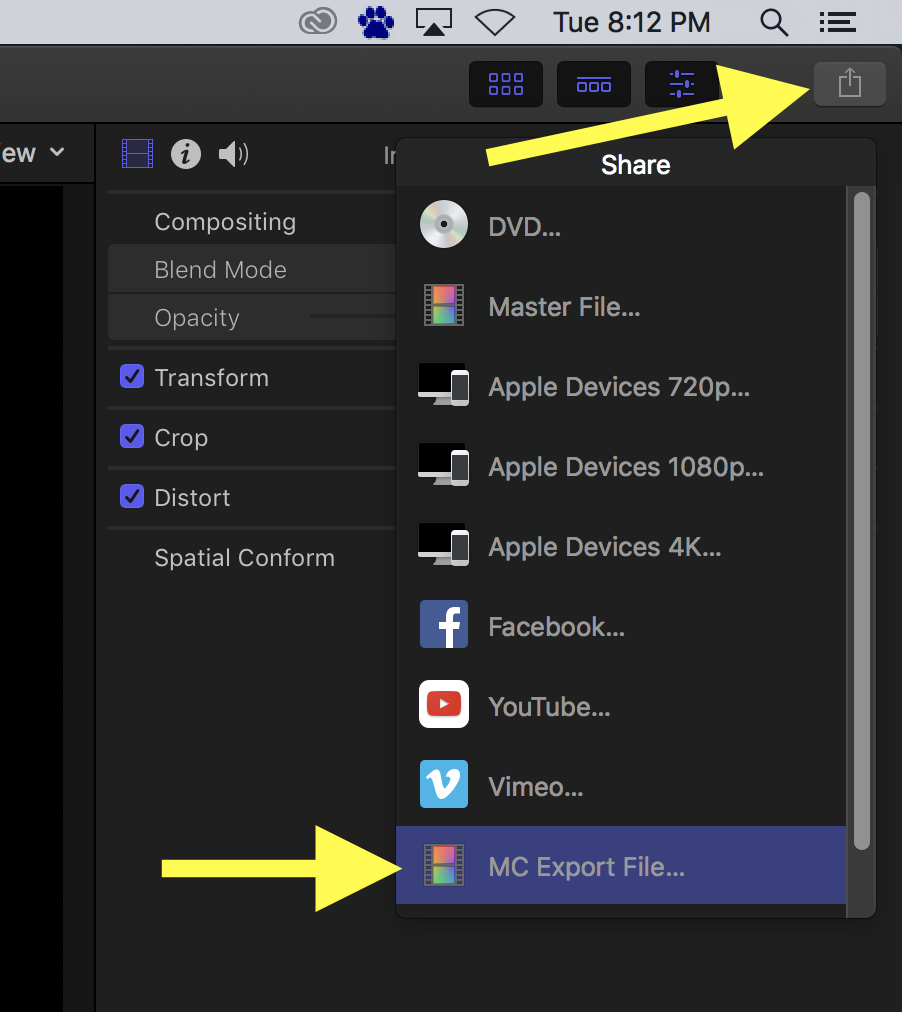
Alternatively, you can click on the Share Project button on the right side of the Toolbar and select MC Export File…
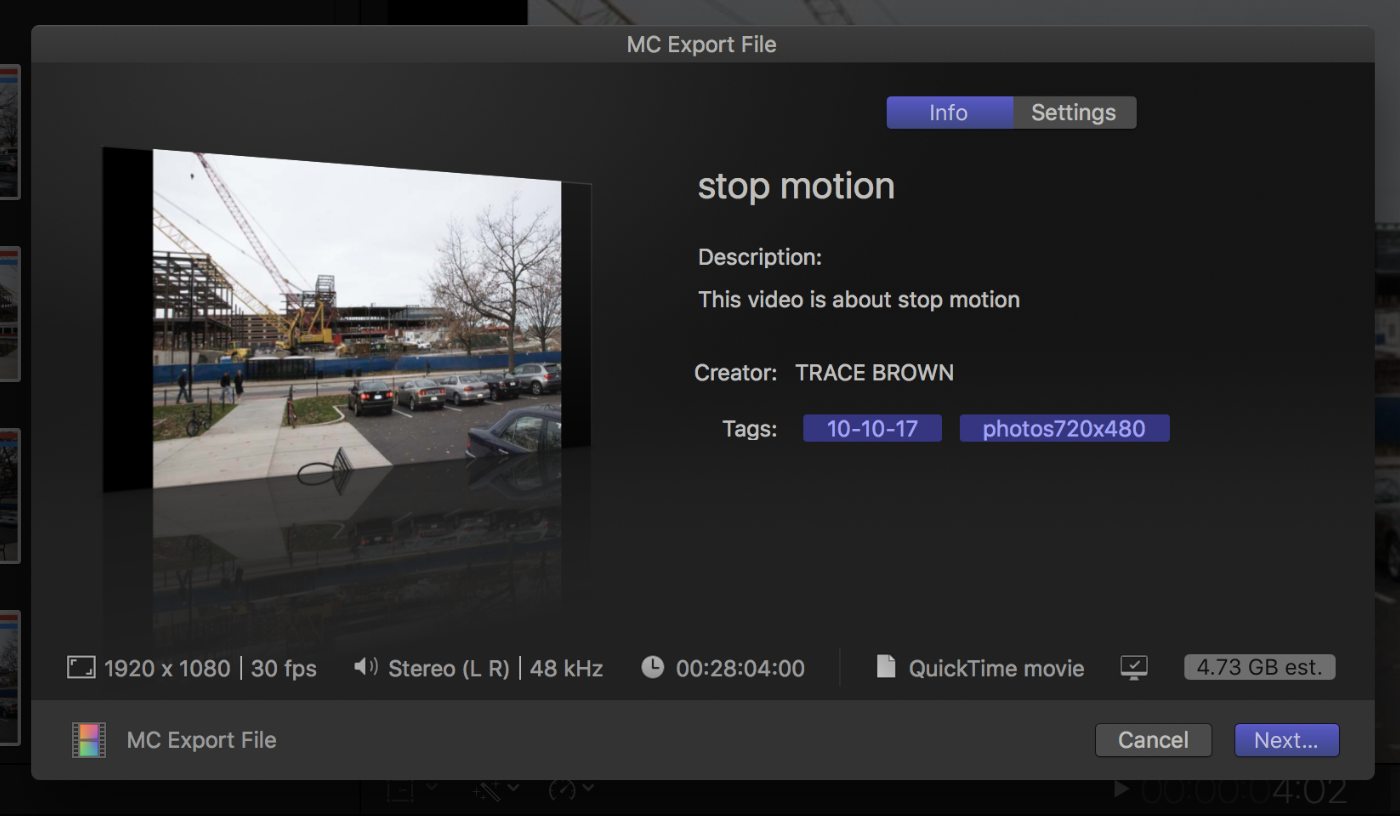
The Share window will appear and you can review the title, size, and other characteristics of the movie you are about to output.
- Click Next in the bottom right of this window.
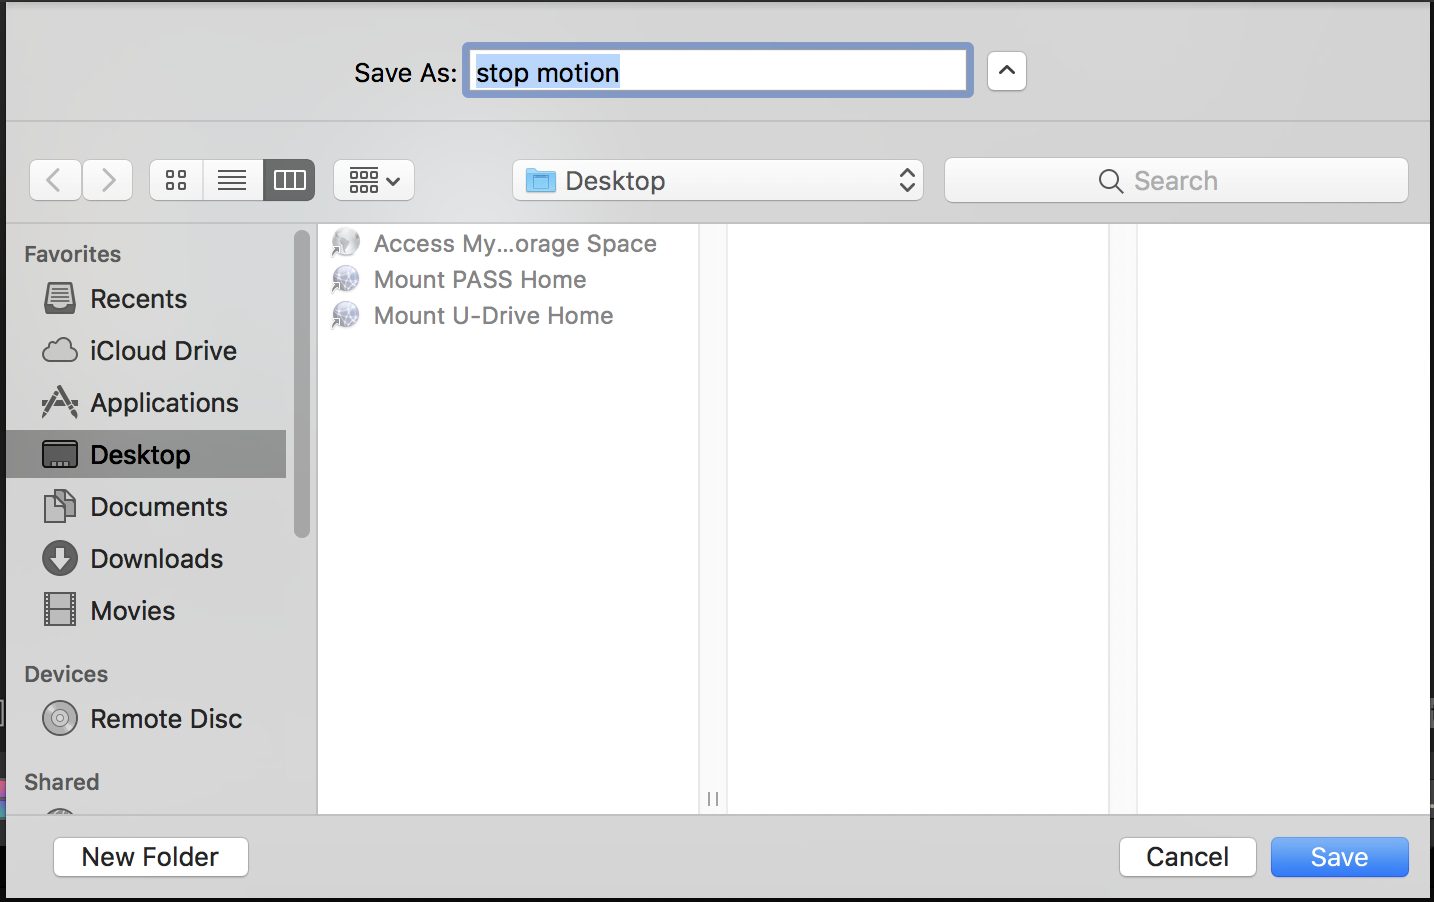
- Choose a location for the exported files and click Save.
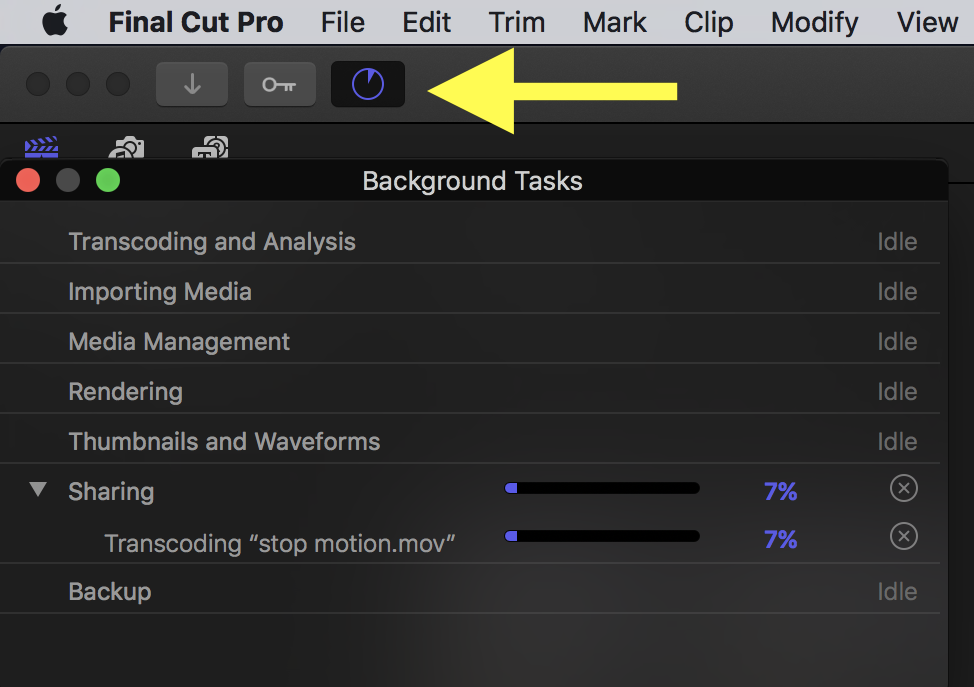
Exporting will take place in the background. To view the progress, click on the Background Tasks indicator in the top left of the Final Cut window.
The Background Tasks window will open and show you the progress.
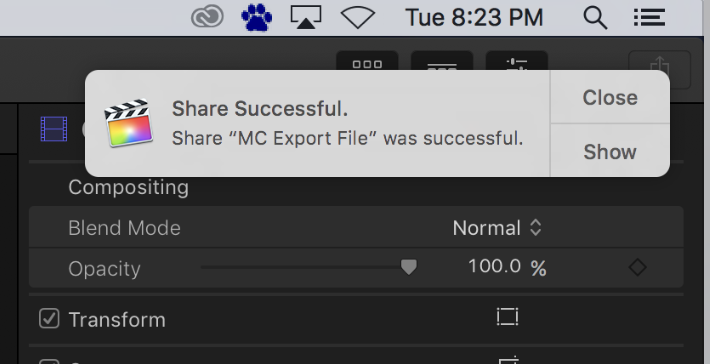
When it has finished sharing, the Share Successful window will appear and the movie will open in QuickTime Player. The movie will be in the location you selected in the previous step.
This is the file that you will want to use as your final project or use for uploading to YouTube.
