This tutorial explains how to import videos into iMovie from an HD camera.
On the Camera
- Plug in your HD camera via USB or Firewire cable, whichever your camera uses.
- Make sure your camera is on and set to Playback mode.
NOTE: You should be able to switch to Playback mode by pressing the button next to an icon that usually looks something like this: ![]()
In iMovie
- Click the Import button either in the bottom center of the screen, or at the top left of iMovie. The Import Window will pop up.

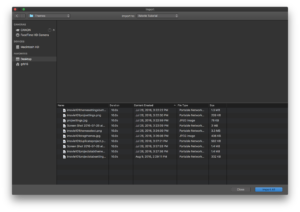
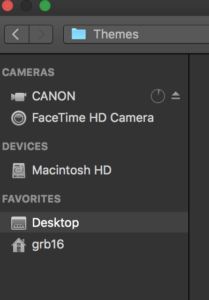
Your camera and all of its clips should show up in this window automatically, but if they don’t, you can locate your camera on the left hand menu of the Import Window under the Cameras heading. When you find your camera, select it to bring up your clips.
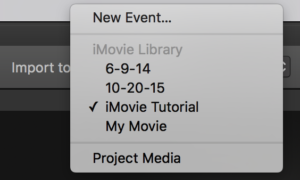
- Select the Import to: dropdown menu at the top of the Import window.

- Select an existing Event, or select New Event to create a new event in which to import your video clips. iMovie will then prompt you to name your New Event.
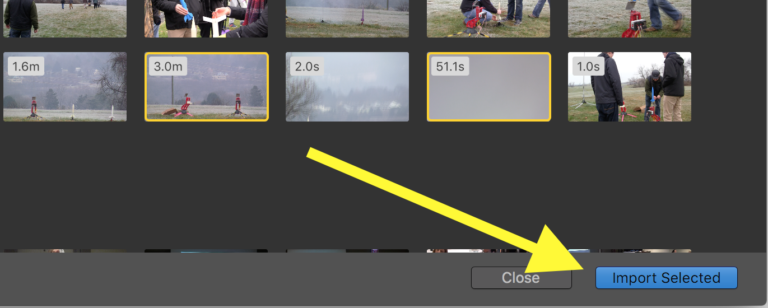
- Select the clips you wish to import.
NOTE: If you want to import all of them, click the Import All button in the lower right-hand corner of the window. If you want to select only specific clips, hold the Command Key (⌘) and click on each clip individually. This will allow you to select the clips you want at the same time.
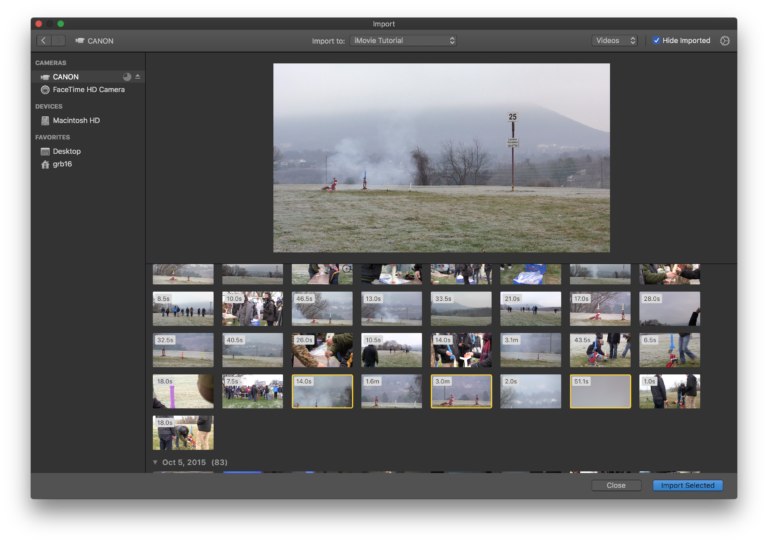
- When you have selected the proper Event and all of the clips that you would like to import, click Import Selected in the lower right-hand corner.
When the import is complete, it will prompt you.
Your clips should now appear in the Event Library in the top left of the iMovie screen.
