This tutorial will explain how to add sound effects, music and how to record voiceovers in iMovie.
Sound Effects and Music
iMovie has a built-in Library of sound effects and royalty free music that you are able to use and access easily from within the program.
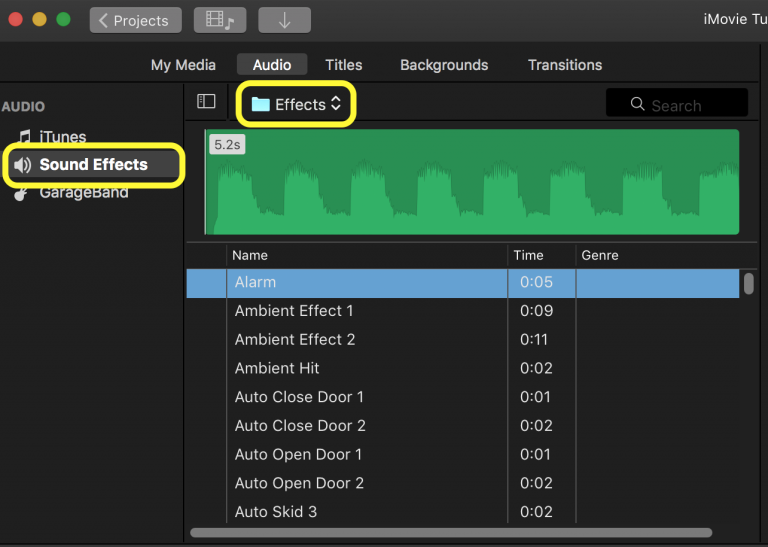
- Select the Audio tab at the top of your Event Window, above your clips.

The Audio Browser will open in the top left pane of iMovie where your clips were.
- Select Sound Effects in the left-side audio menu.
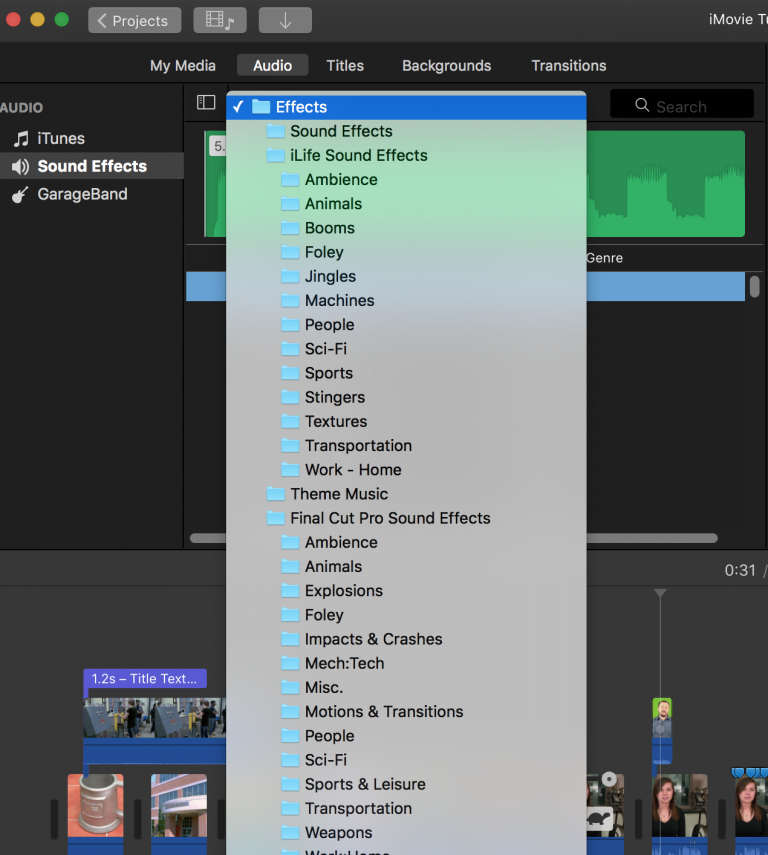
- Sort through sound options by selecting the Effects blue folder icon and choosing a category from the list.
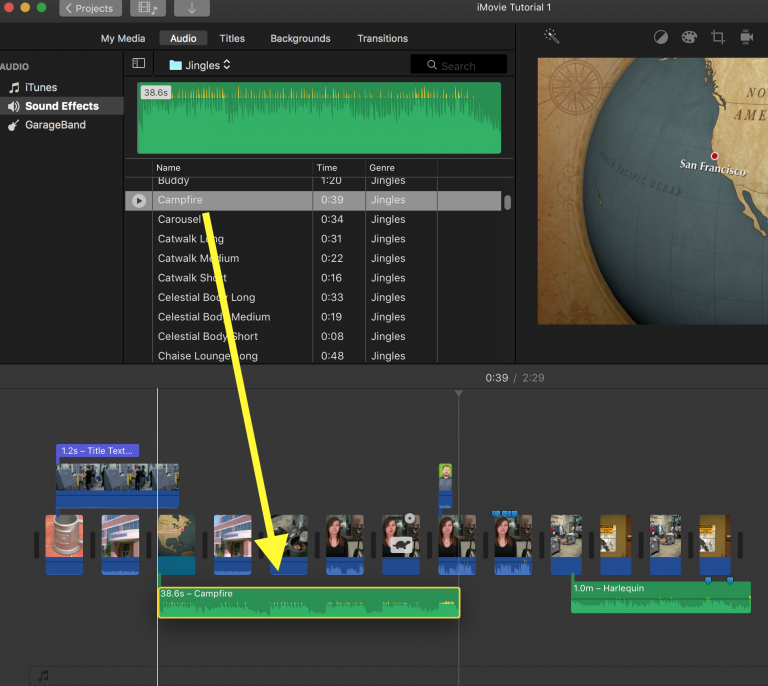
- Drag and drop the audio clip you want to use from the Audio Browser directly to the Timeline.
- You can then adjust the length of your sound clip by dragging from the left or right edges.
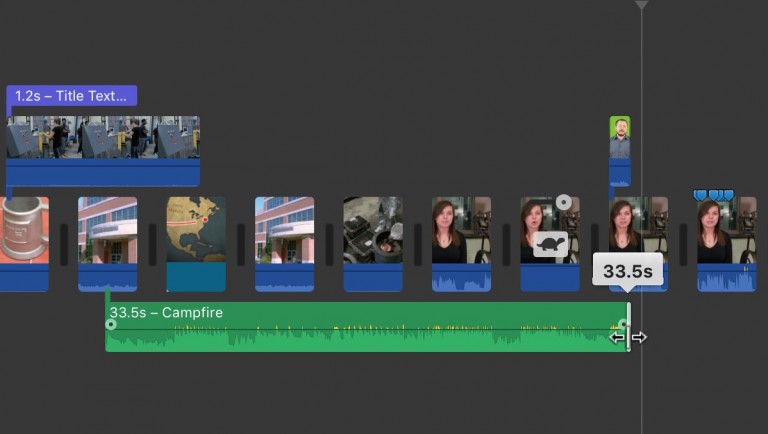
- Your sound or music can be moved in the Timeline by clicking on the top-third of the green bar and dragging it along the Timeline.
Music Options
Music options are found in the Jingles category under iLife Sound Effects.
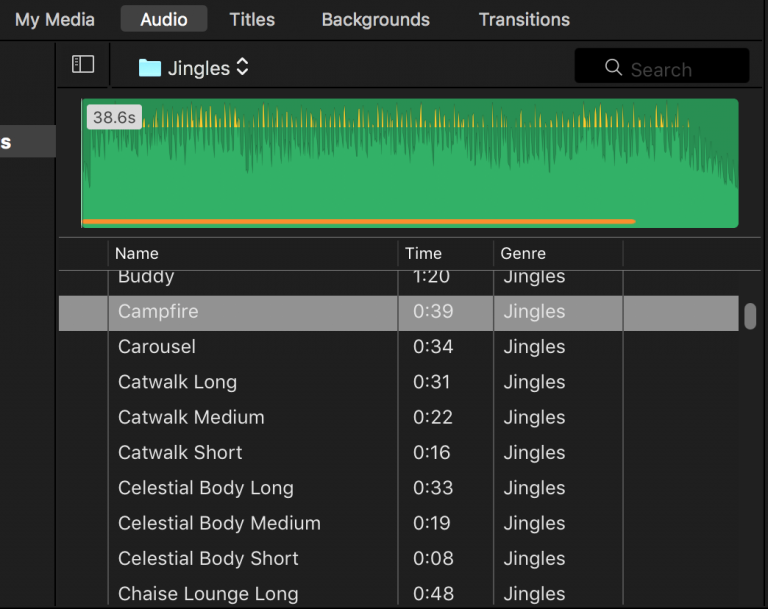
There are some adjustments that are very useful and easy to make to your music.
Fade In and Out
- Hover your mouse over the green bar you want to fade, and a small dot will appear on the left and right edges of the bar.
- Center your cursor over the dot and when the cursor changes to two left-and-right-pointing triangles, click and drag away from the edge of the bar.

NOTE: You can also apply these fades to the sound attached to your video clips.
Volume Adjustment
You may want to adjust your music volume if it is too loud for the sound in your video clips.
- To have it lower automatically wherever those video clips end up, hold down command and click on all of the clips that you want to hear better.
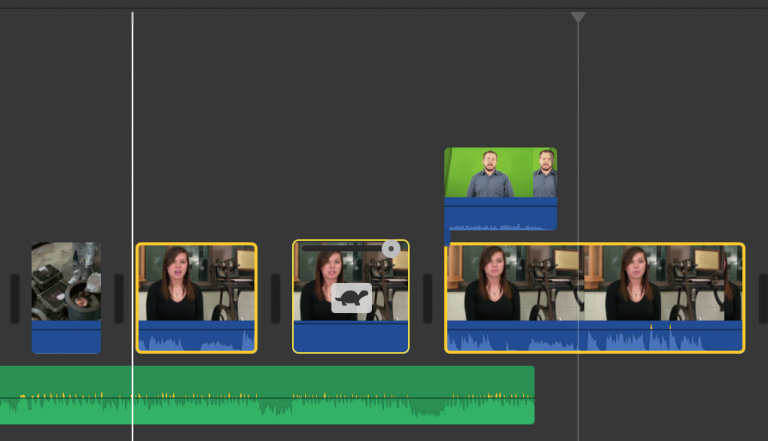
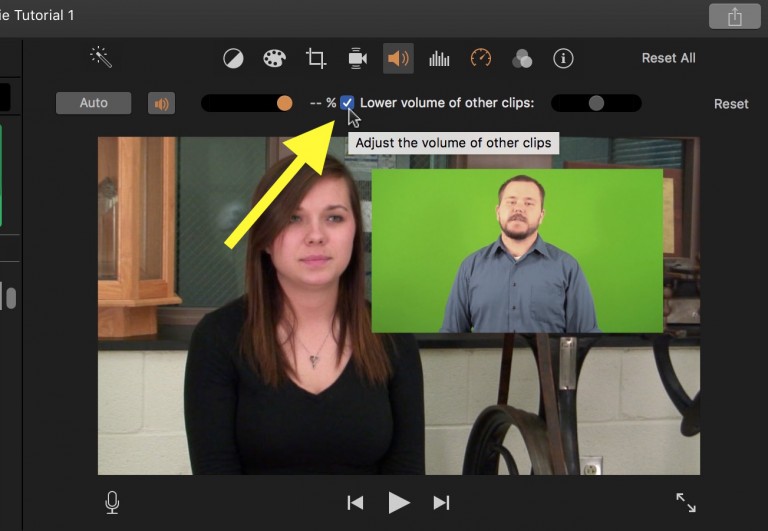
- Once selected, click on the Volume Icon above the Viewer Window.
- Check the box next to where it says Lower volume of other clips.
Recording a Voiceover
You can record voiceover narration directly into your iMovie Timeline.
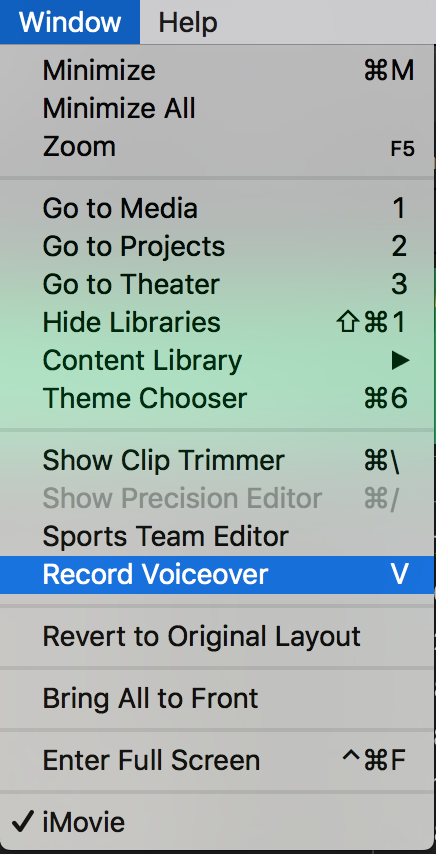
- Select Window on the menu bar.
- Select Record Voiceover, about halfway down the menu that opens. You can also just press “V” on the keyboard.
The Voiceover options will appear below the Viewer Window.
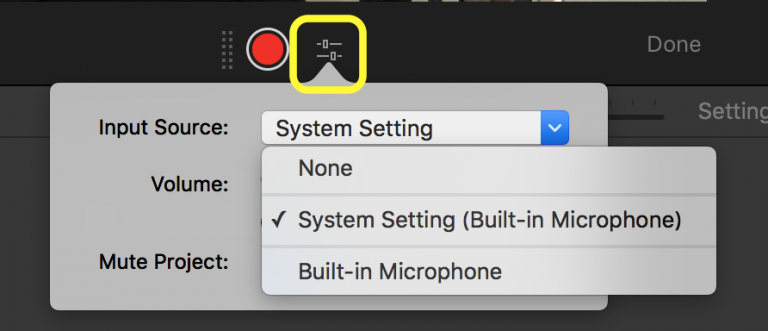
- Select the appropriate microphone by clicking on the voiceover settings button, denoted by the white slider bars.
- To record, click the red Record Button in the center and you will be given a 3-second countdown before it starts recording.
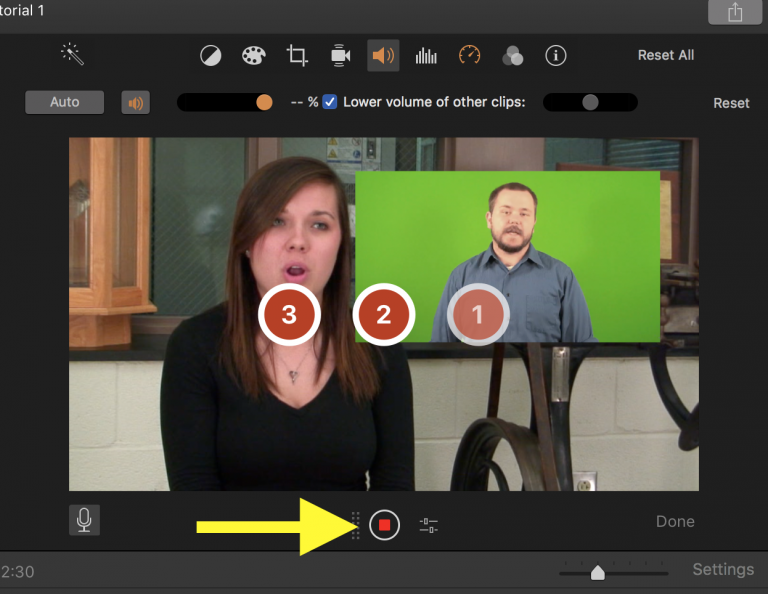
- Press Spacebar or click the red Record Button again to stop recording.
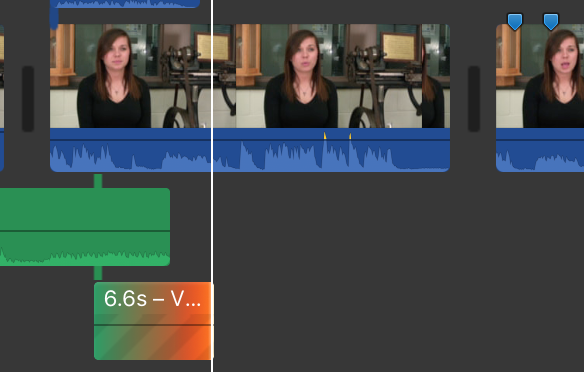
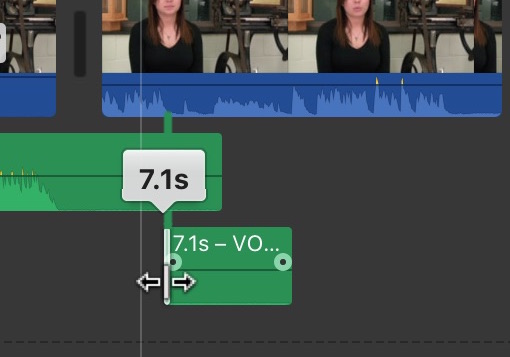
- Trim the beginning and end by dragging the edges.
- Reposition your voiceover by dragging from the top of the green bar.
Adjust Voiceover Volume
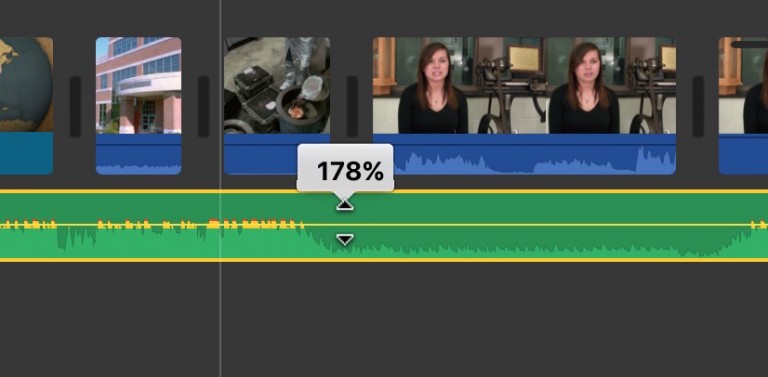
- To change the volume of your clip, hover your cursor over the line that runs horizontally along the center of the green bar.
- Click and drag up or down depending on if you want it louder or softer.
NOTE: If the tips of your waveforms turn red, it is too loud and will sound distorted.
Delete or Rearrange Parts of Your Voiceover
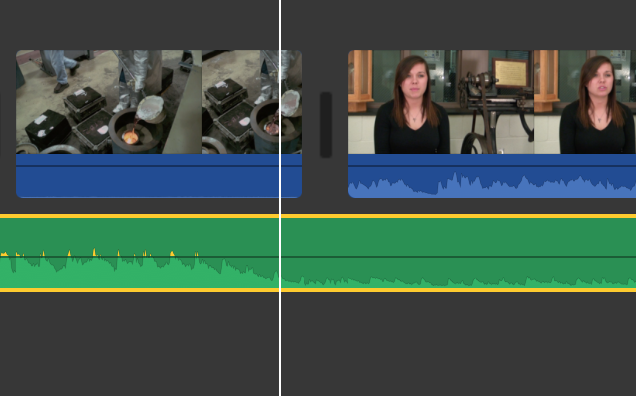
- Single click on your recording where you want to make the cut. This will move the playhead to where your cut will be made.
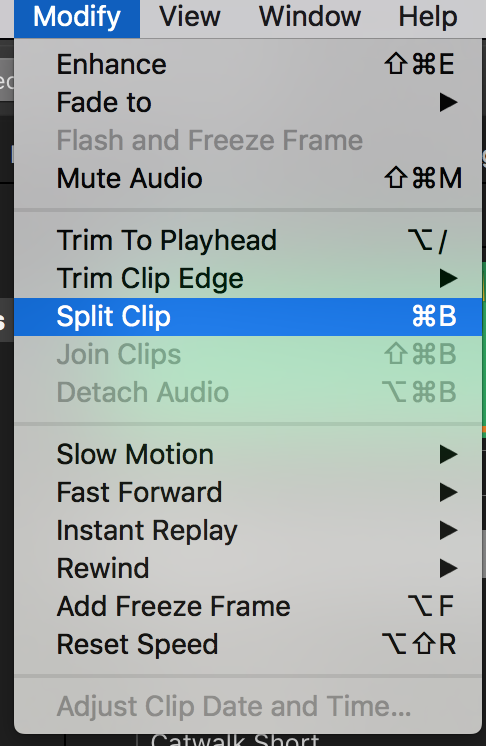
- Select Modify on the menu bar.
- Select Split Clip, about halfway down the menu that opens. You can also just press “Command+B” on the keyboard.
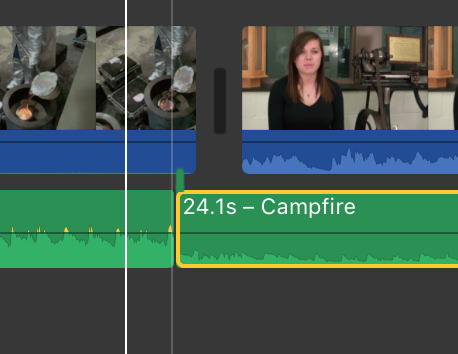
- To delete part of your voiceover select it and hit delete on the keyboard.
