This tutorial will show you how to backup your GarageBand project when you are done working for the day, and restore your project when you are ready to work on your podcast again. You can save to a flash drive, hard drive, MC Storage, or cloud storage.
Note: If you wish to backup your project to the MC Storage Space, you will need to sign up before backing up your iMovie/Final Cut Pro/GarageBand project.
Saving Your Project
- Navigate to the File menu at the top of your screen.
- Select Save As.
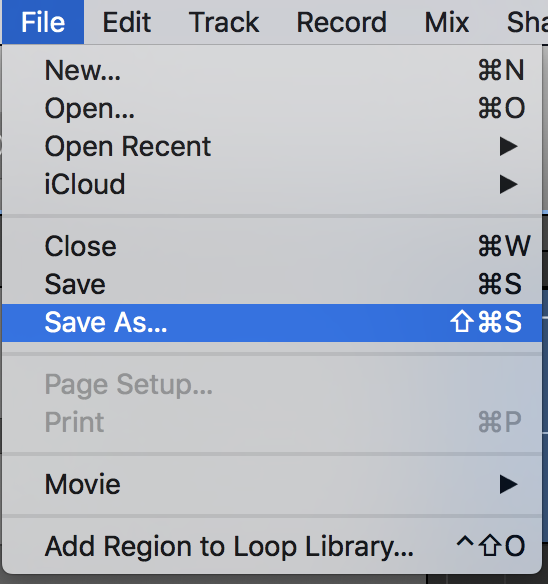
- Give your project a title at the top of the save window.
- On the left-hand side, select Desktop in order to save your project to the computer’s Desktop.
- In the bottom-left corner, uncheck the Hide Extension box, so you can identify your file as a .band file.
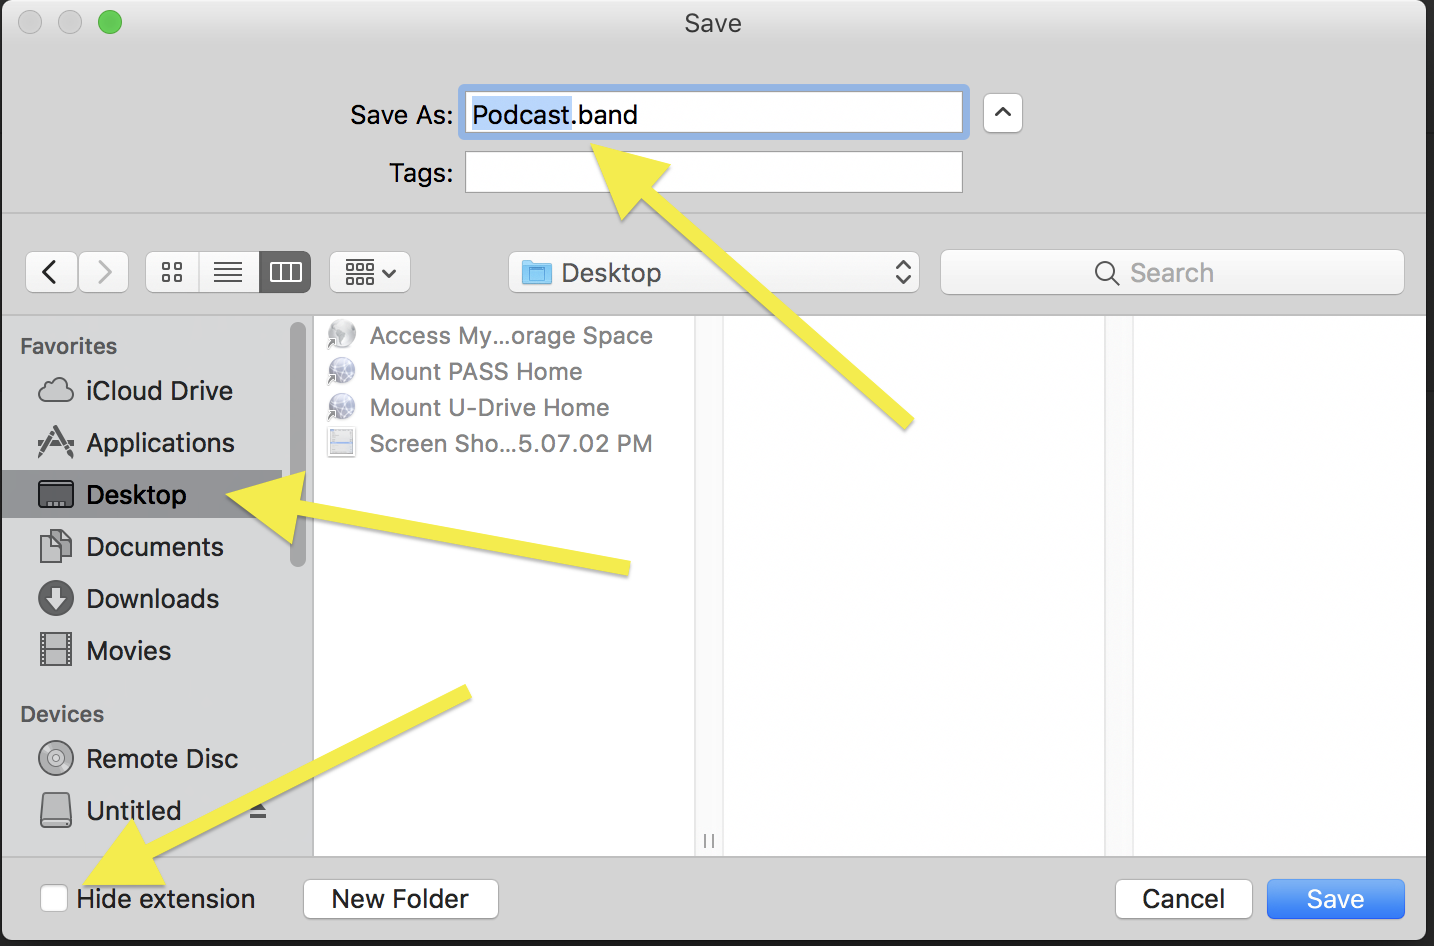
- Click Save in the bottom-right corner. This will save your GarageBand project out to the Desktop of the computer you’re working on.
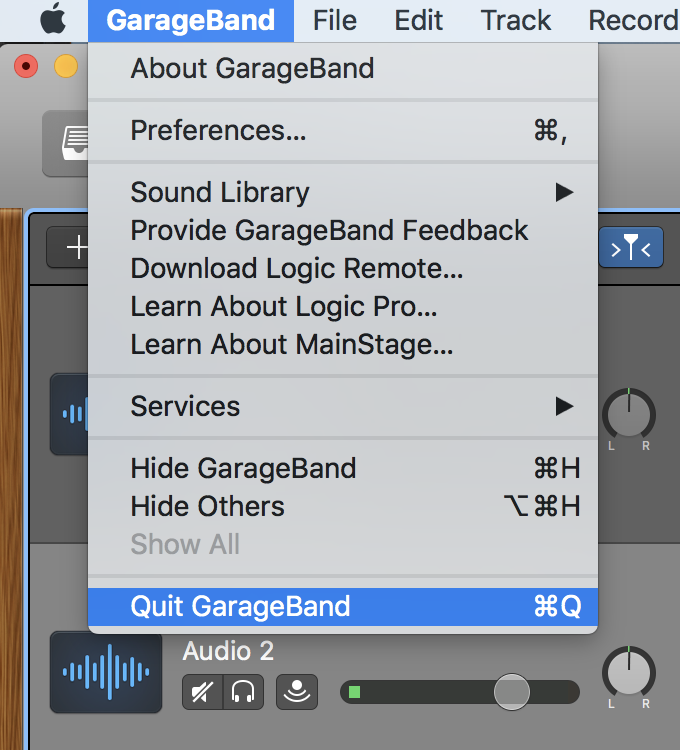
- Once your project is saved, you will need to quit out of GarageBand to avoid any errors.
NOTE: Do not just click the red circle, that does not close the program. Click “GarageBand” then “Quit GarageBand.”
- Locate your saved project file on your desktop:
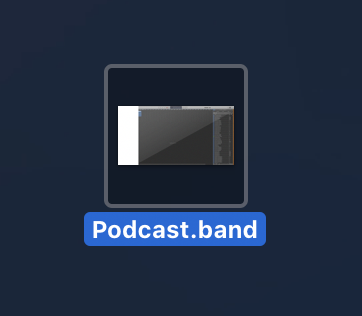
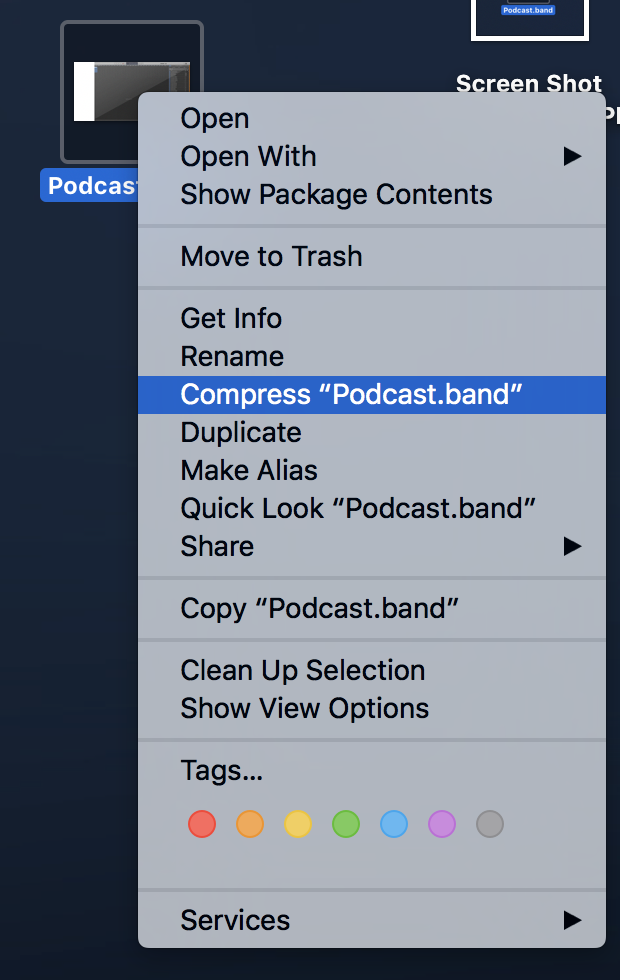
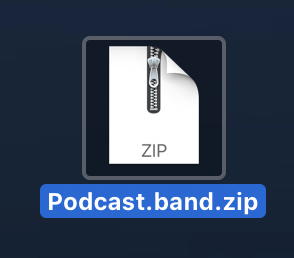
- Now, right-click your GarageBand project file on the Desktop, and select the Compress option from the drop-down menu.
Backing Up
Now that you’ve saved your project, you are ready to connect whichever storage method you prefer. This can be a flash drive, an external hard drive, or the Media Commons Storage Space. If you are saving to cloud storage like Google Drive, Box, or Dropbox, simply login to your account from a web browser.
- If you are using a flash drive or hard drive, connect it to the iMac via USB. It will show up on the Desktop as an icon, so you can double-click on this icon to open your drive and view its contents.
- If you wish to save to the MC Storage Space (after you’ve signed up for a folder), double-click on the Access My MC Storage Space icon out on your Desktop.
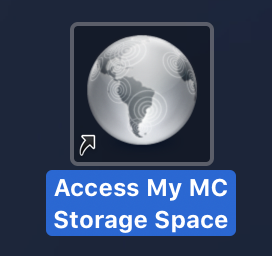
- This will launch the MC Storage drive, but it will not open by itself. To open the drive, double-click on the blue “MC” drive that appears on the Desktop.
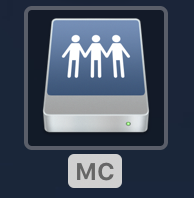
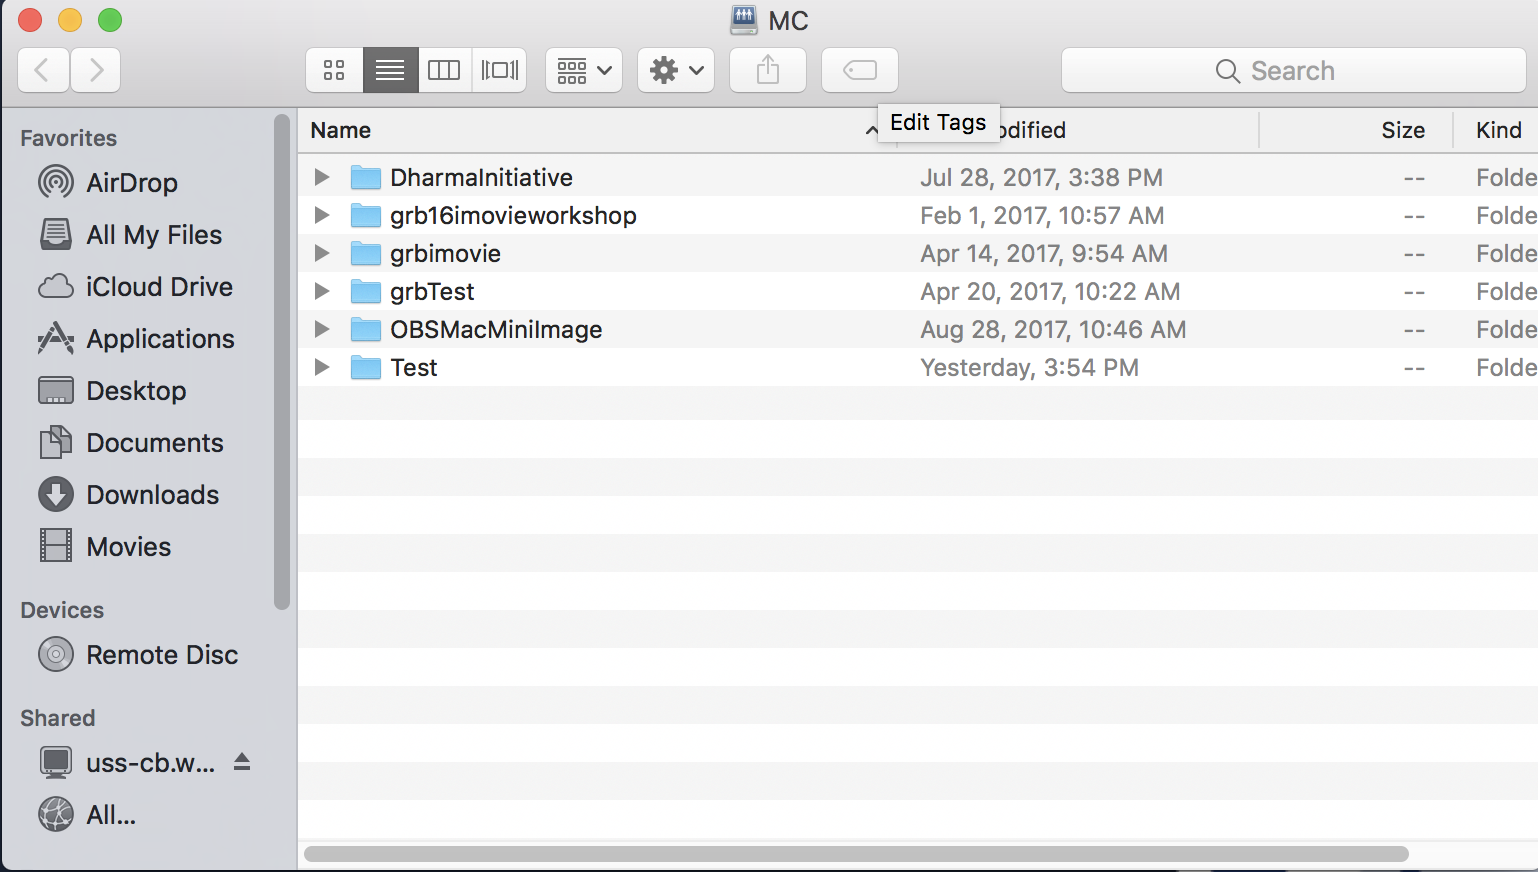
- This window will show you a list of all of the MC Storage Space folders for which you’ve signed up. Double-click on the folder that you wish to save to, in order to open it up.
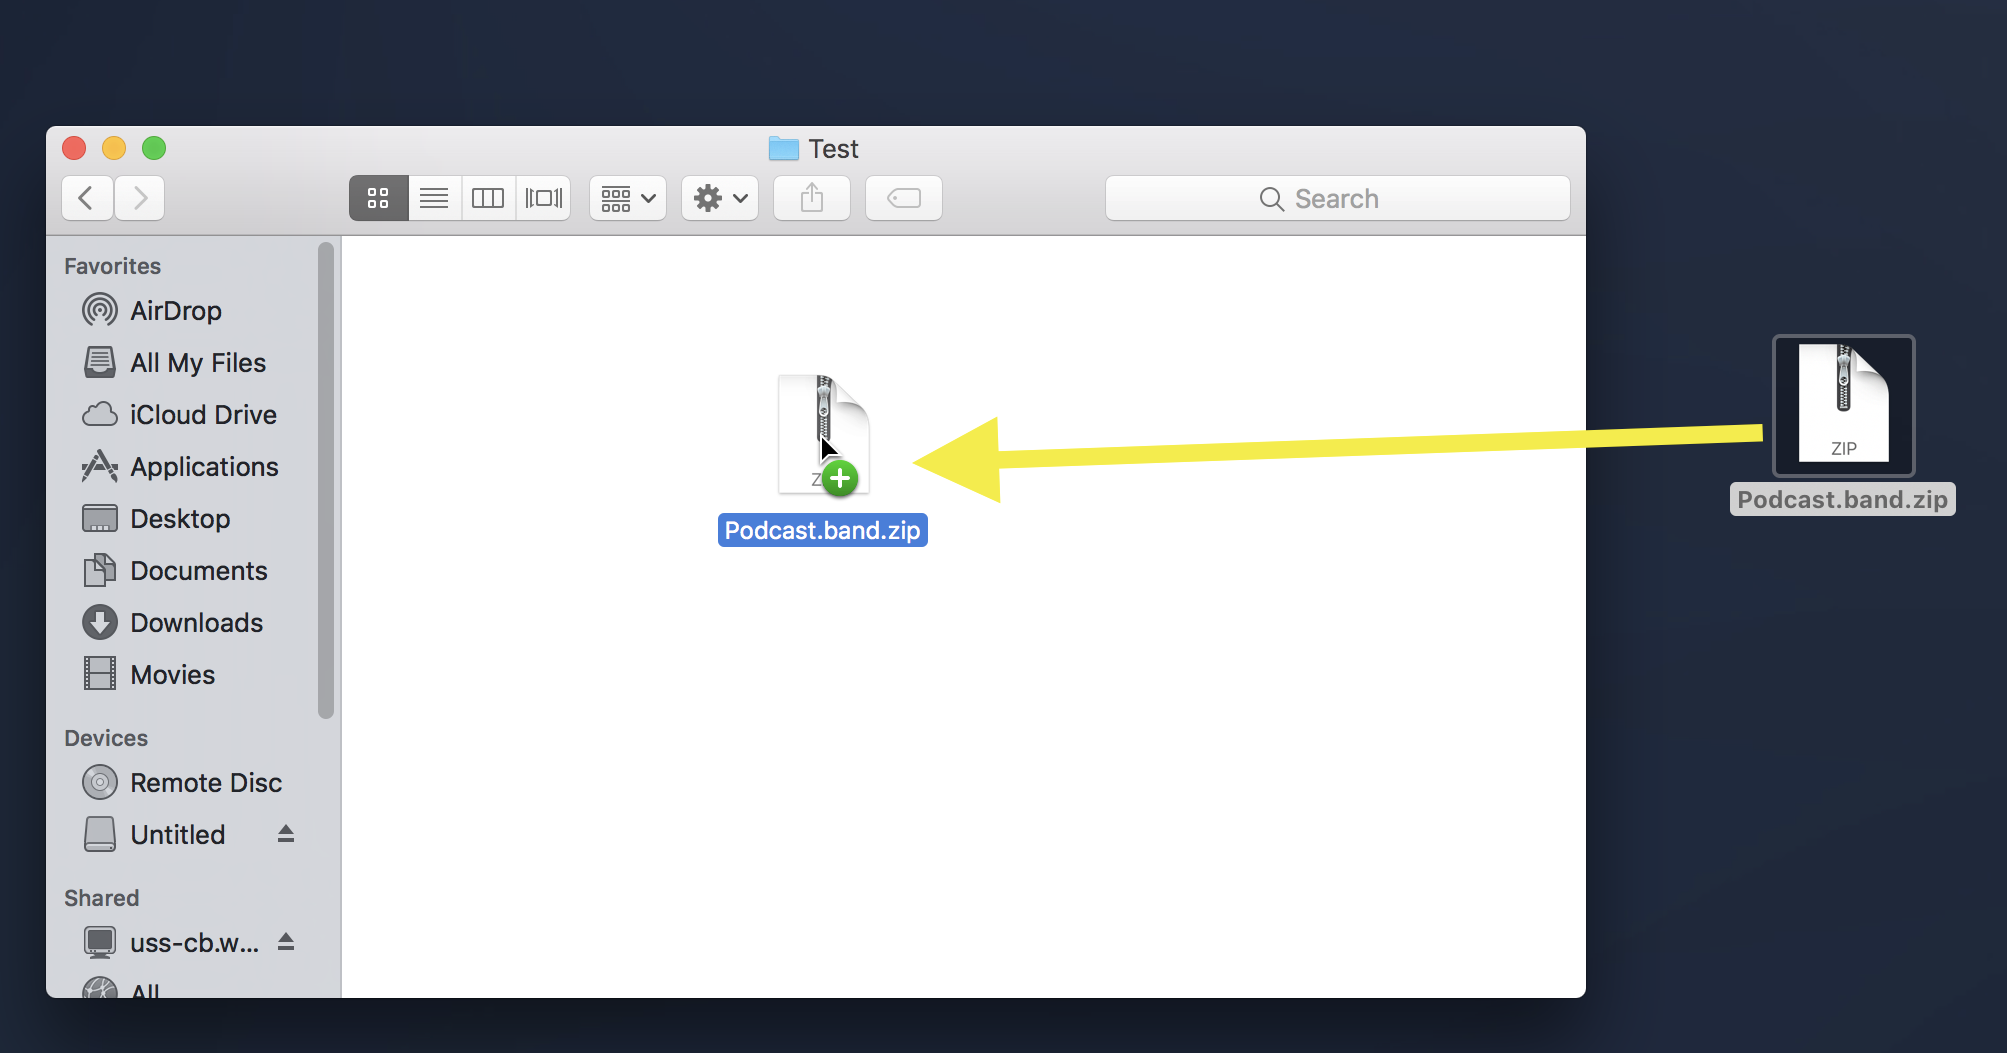
- Once you have your external storage opened up (flash drive, hard drive, MC storage), simply drag your GarageBand .zip file that you created previously, over into your folder to copy it in. Wait for this process to finish.
- If you are saving to cloud storage, simply upload your .zip file into your account.
- After your .zip file copies into your drive or uploads fully into your cloud storage account, you are good to go! Your project is now backed up so you can access it later and continue recording and editing.
Restoring
When you are ready to begin working on your GarageBand project again, you will want to access whichever storage device you used to backup your project.
- Once you’ve found your .zip file on your drive or downloaded it from cloud storage, drag it onto your Desktop.
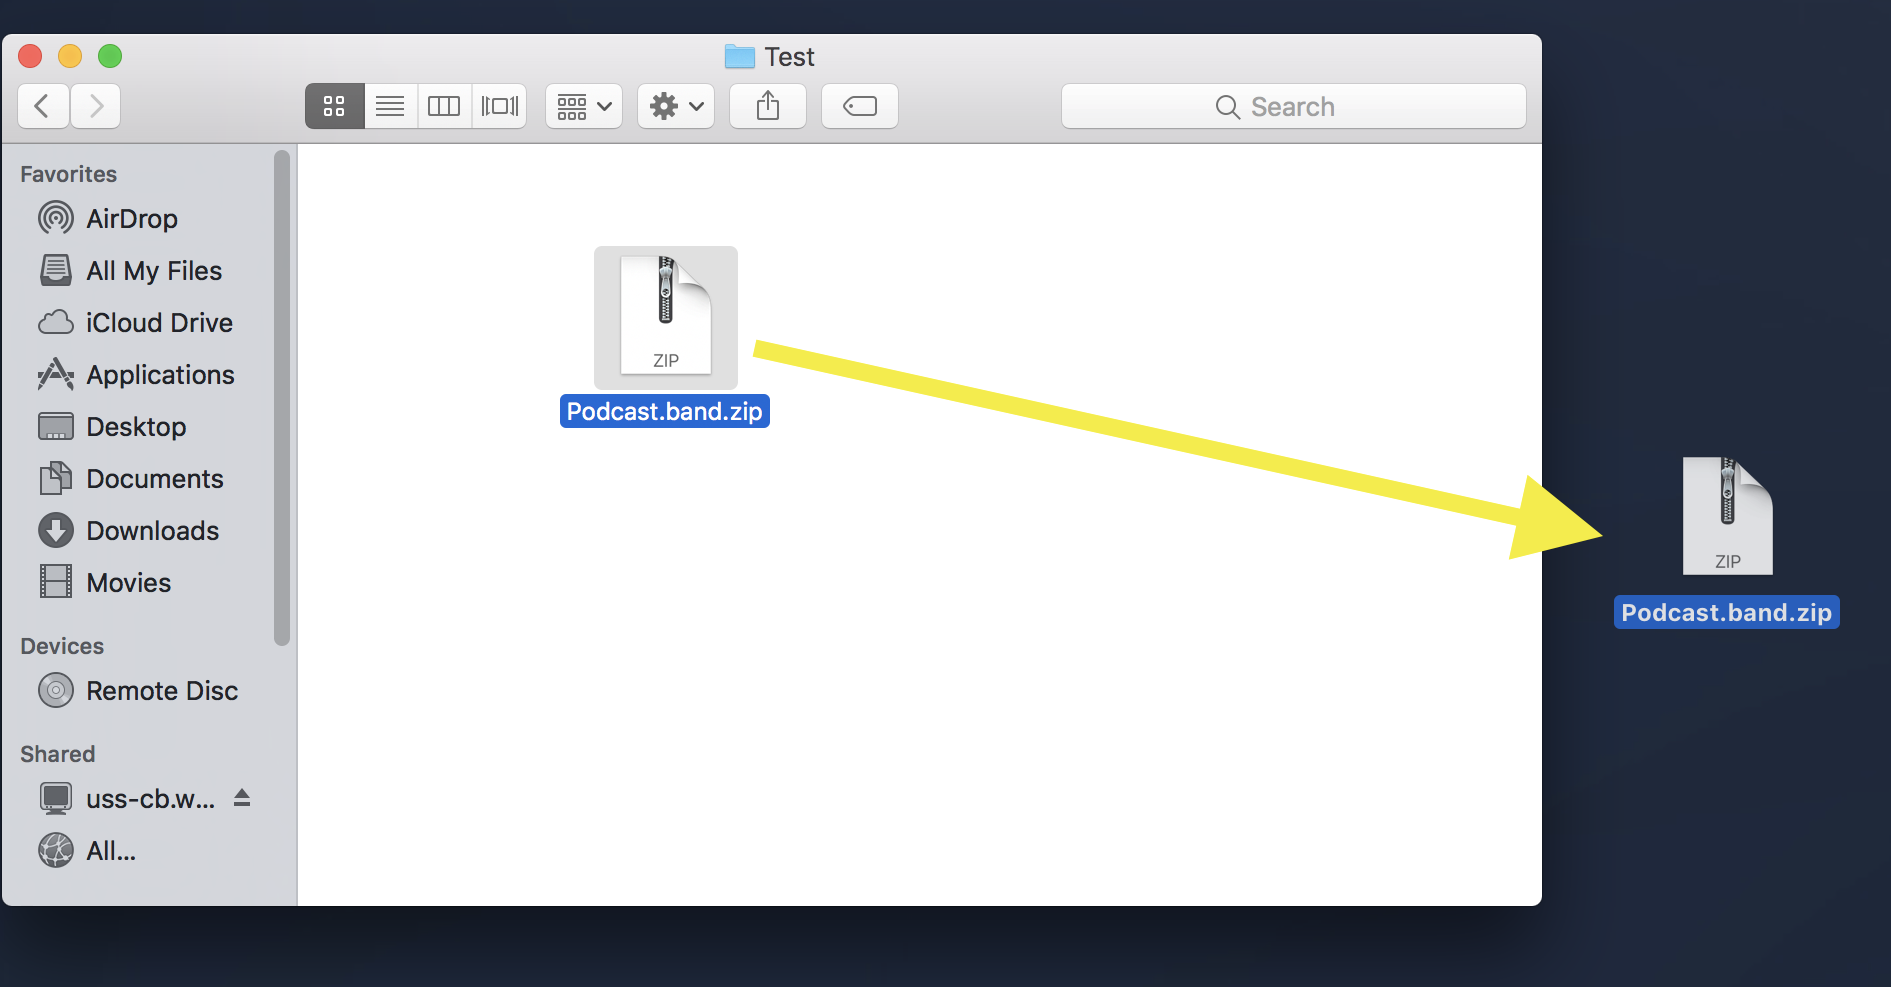
- After you’ve copied your .zip file to the Desktop, double-click it to unzip your project. This will bring back your GarageBand project file.
- Double-click your GarageBand project to open up GarageBand and continue working on your project.

