Before you can license any Adobe Stock Assets, you will need to fill out the Adobe Stock request form. Please note that Premium Stock Assets (Premium Images, Video, and Audio) are not available with your Penn State Adobe account and require special approval.
This tutorial shows you how to render your Essential Audio assets in Premiere Pro.
Render and Replace Audio
The Essential Audio files in Premiere Pro need to be rendered before you can export your project. If you do not render it, you will get an error when you try to export.
- Locate the audio files you need to update in your timeline.
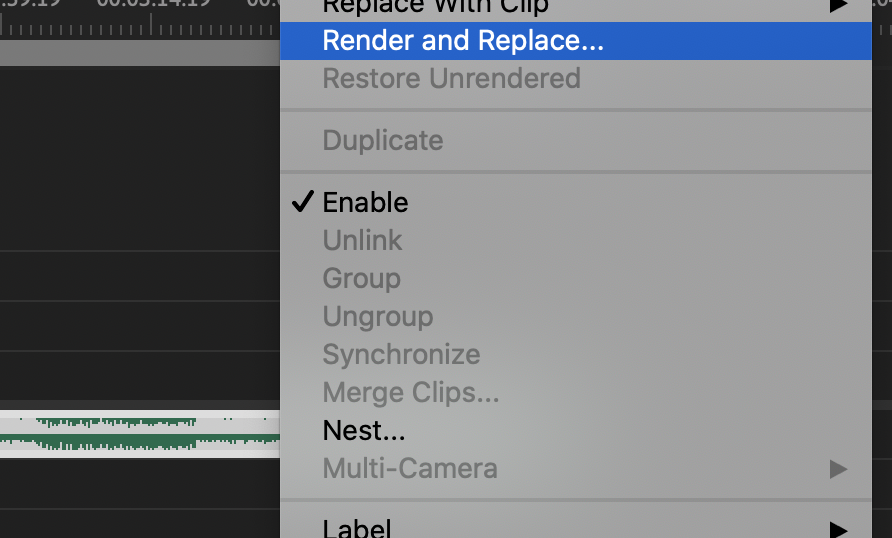
- Right-click (control-click on Mac) the file in the timeline.
- Select Render and Replace towards the top of the menu.

- You should see a progress bar while your file renders. Once it’s done you will be able to export your project.
- Continue doing this for all Stock audio clips.
NOTE: If you have used the same clip more than once or put cuts in it, you will have to Render and Replace each one. If you select more than one clip at the same time, you can select Render and Replace for all selected clips.
