This tutorial will show you how to add text and change the font, size, color, and justification.
Text Tool
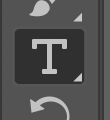
Access the Text Tool from the tool panel. The icon for the Text tool is an uppercase ‘T.’
Creating Floating Text
- Select the Text Tool.
- Single click where you’d like to add unbounded text.
- Type what you want your text to say.
NOTE: You can also copy text from somewhere else and paste it at this point instead of typing it in.
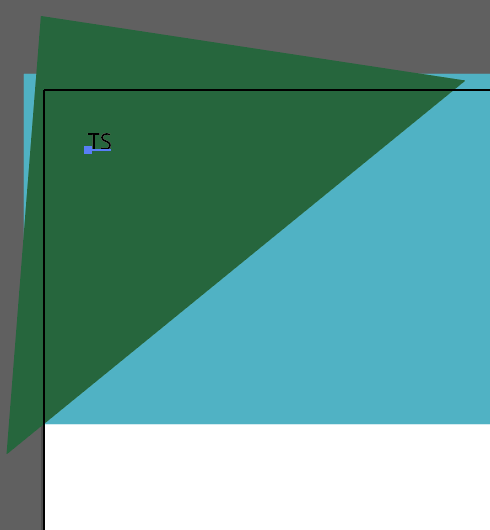
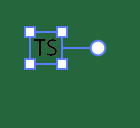
- When you’re finished entering your text content, hit esc on your keyboard.
Changing Text Settings
Settings for your text are found in the Properties panel.
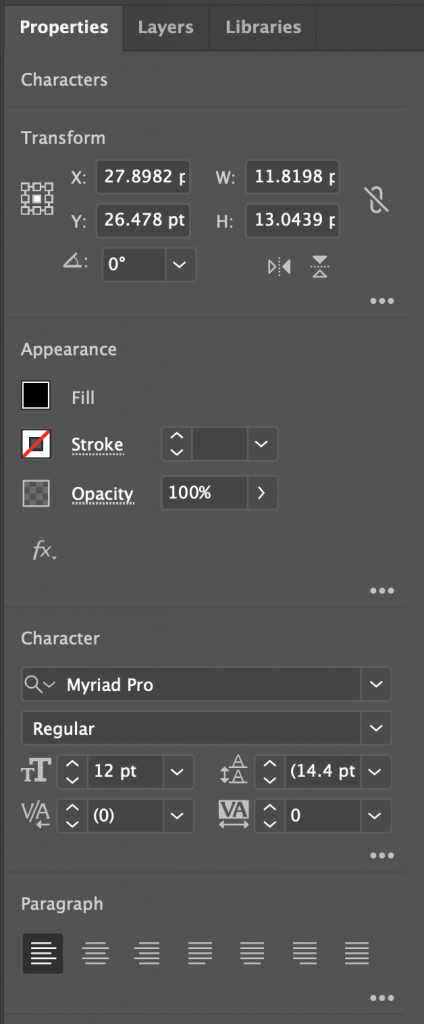
Font and size are changed in the Character panel in the properties panel.
- Click the dropdown box where the current font is listed.
NOTE: Illustrator’s Default font is Myriad Pro. It’s good practice to pick something other than the default font.
- Single-click on the font you want to use.
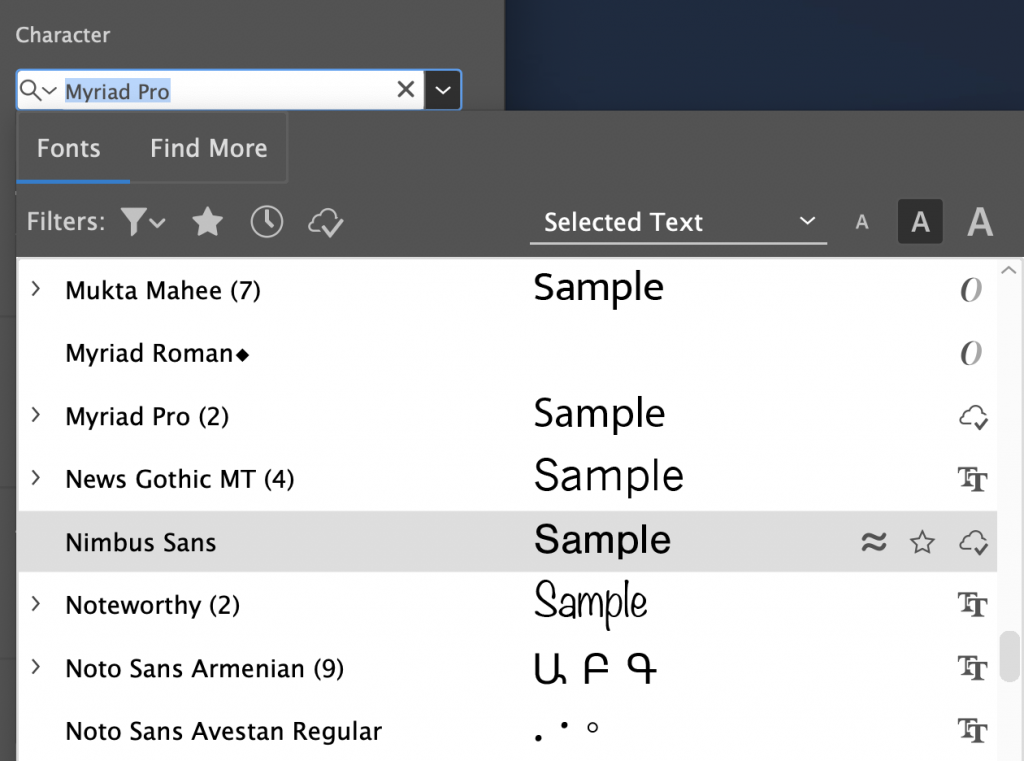
- Click the dropdown next to the current font size. The default size is “12 pt.”
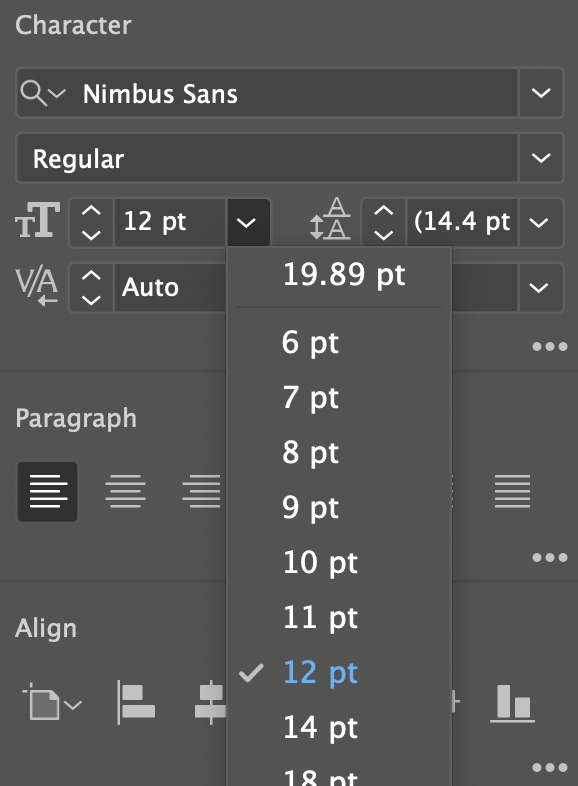
- Click on the size you want your font to be.
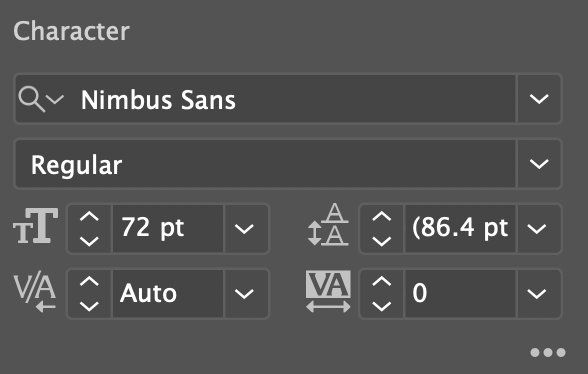
NOTE: You can also type the size you want into the size field, or use the up and down arrows to change it.

Change Text Color
- Select the text you want to change using the Selection Tool.
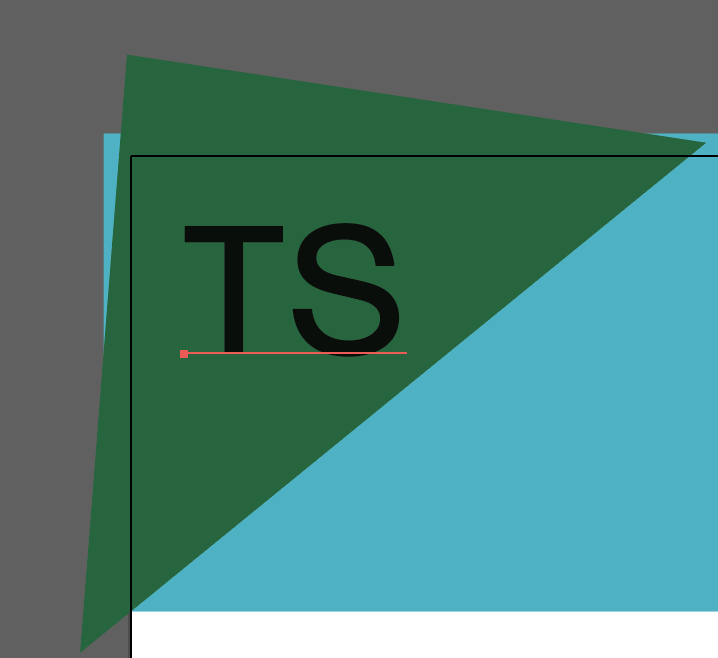
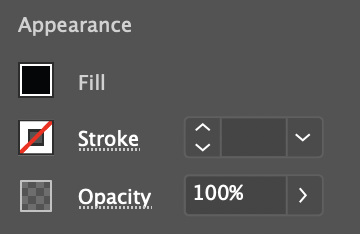
The color settings are in the Appearance panel found in the Properties panel.
- Click on the color swatch for Fill.
The Swatches panel will open.
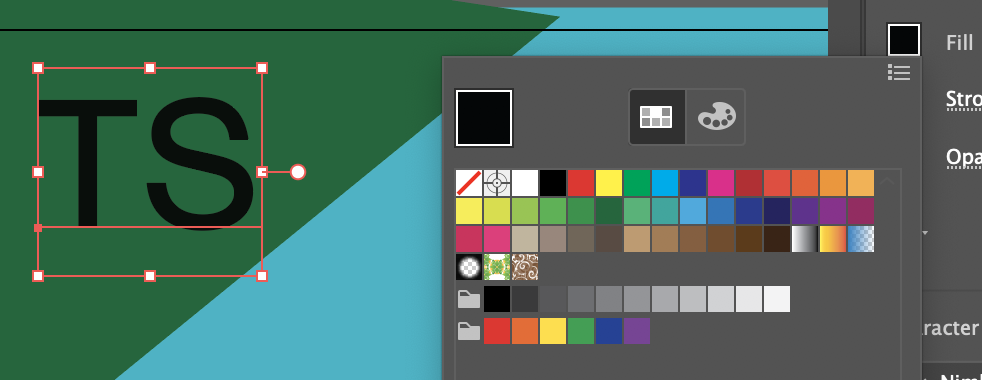
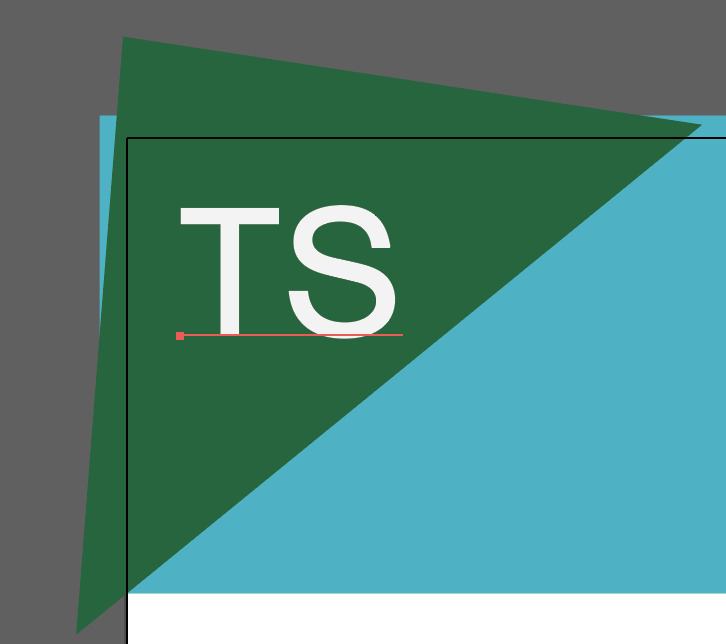
- Click the color you want to use.
Create Bounded Text
For larger areas of text, you may want to use bounded text instead of floating text. The bounding will allow you to enter large amounts of text and will wrap it to multiple lines automatically.
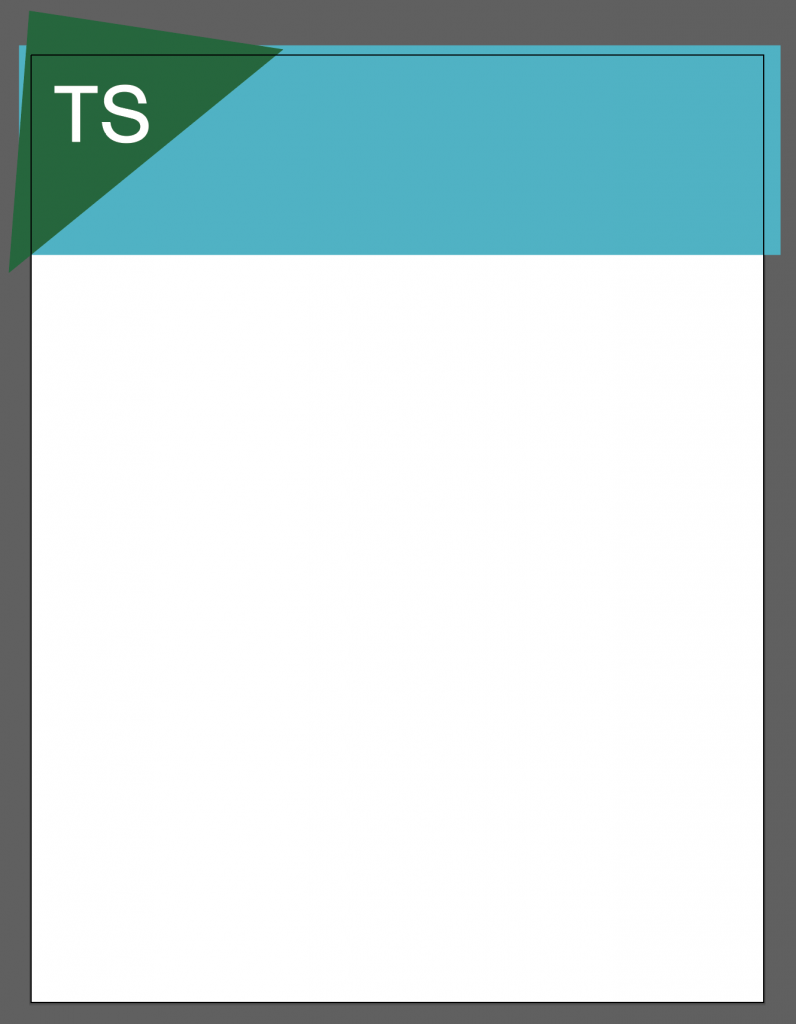
- Using the Text Tool, click-and-drag a boundary for your text.
NOTE: The text box can later be adjusted using the Selection Tool.
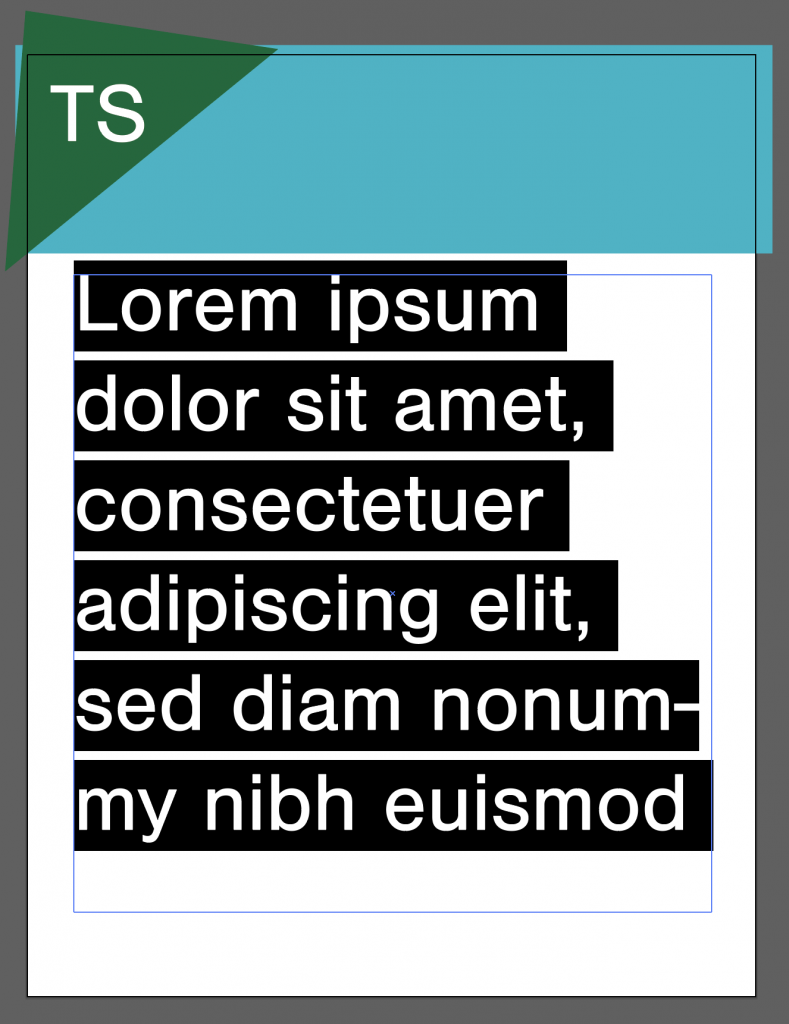
The box will fill with “lorem ipsum” filler text.
- Type or paste in the text you need.
NOTE: The text settings will be Illustrator’s default settings if it’s the first text you’ve created. If you created other text already, it may use the settings from that text.
- Hit esc on the keyboard when you’re done editing the text.
- Use settings in Properties panel (character and appearance) to change font, size, and color.
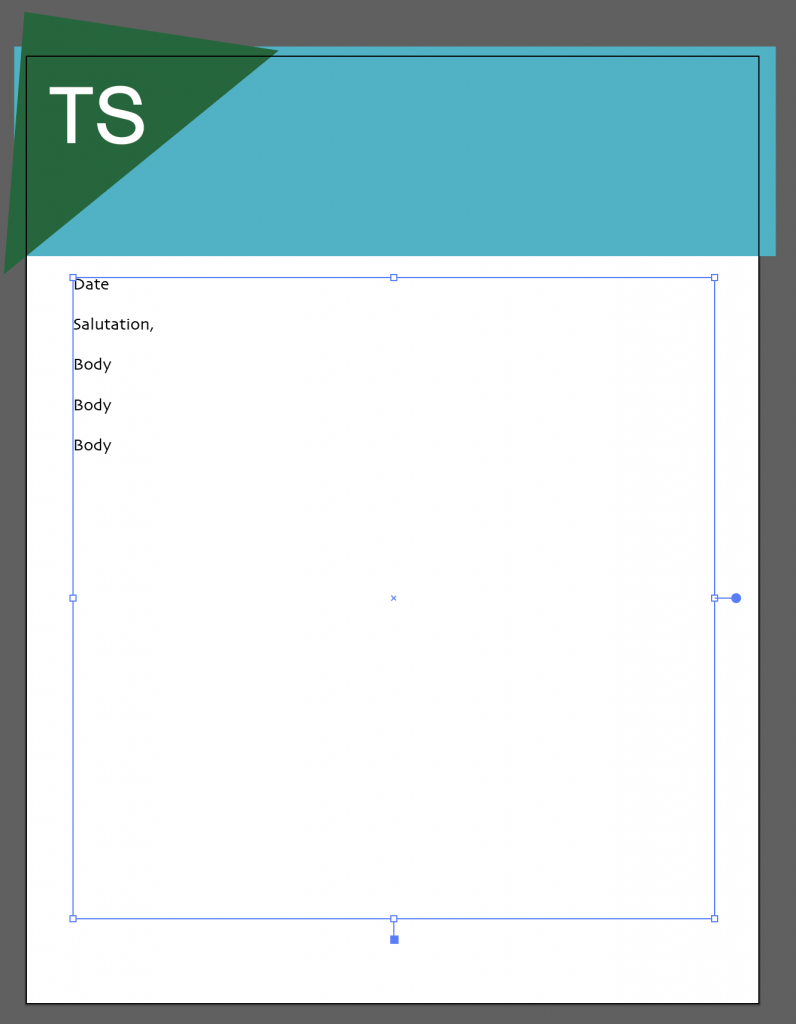
You are also able to change the justification of your text (left, centered, etc.)
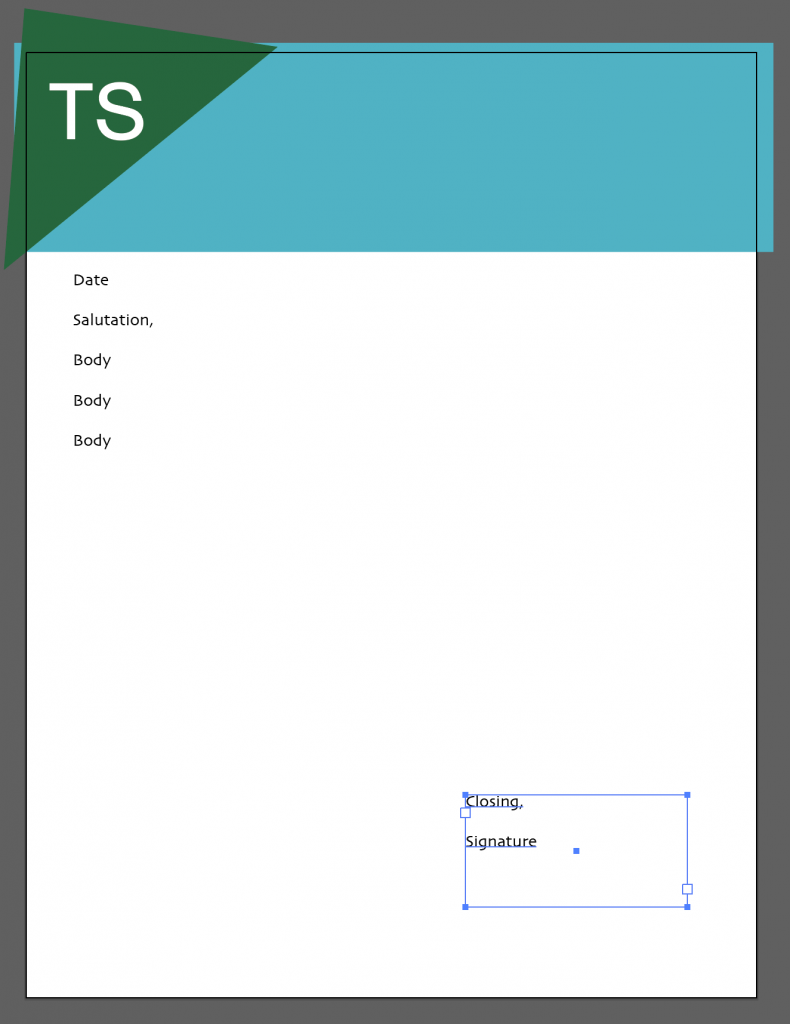
The justification options are in the Paragraph panel within in the Properties panel.

Click on the option you want to make changes.
If the text box is selected it will apply to all text in the box. If you only want certain lines affected, you can highlight text with your cursor.

Duplicate Text with Copy/Paste
If you want to duplicate an object you have already, you might try to just copy/paste to get a second one. While this will duplicate the object, the new object will paste in the center of your document, which would make it harder to align with the original one.
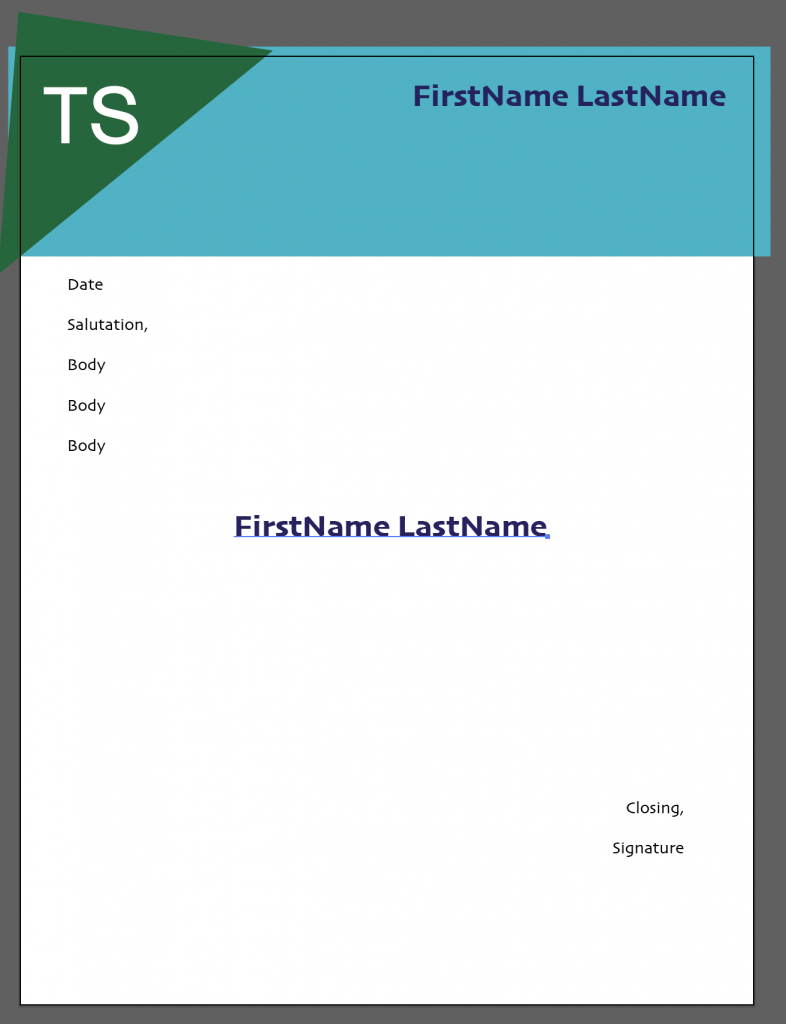
You may instead want to try “pasting in place” which you can do from the Edit menu.
This will put the new item directly on top of the old one and you can move it with the Selection Tool, or with your keyboard’s arrow keys.

You may find once your design is complete that it’s not well balanced.
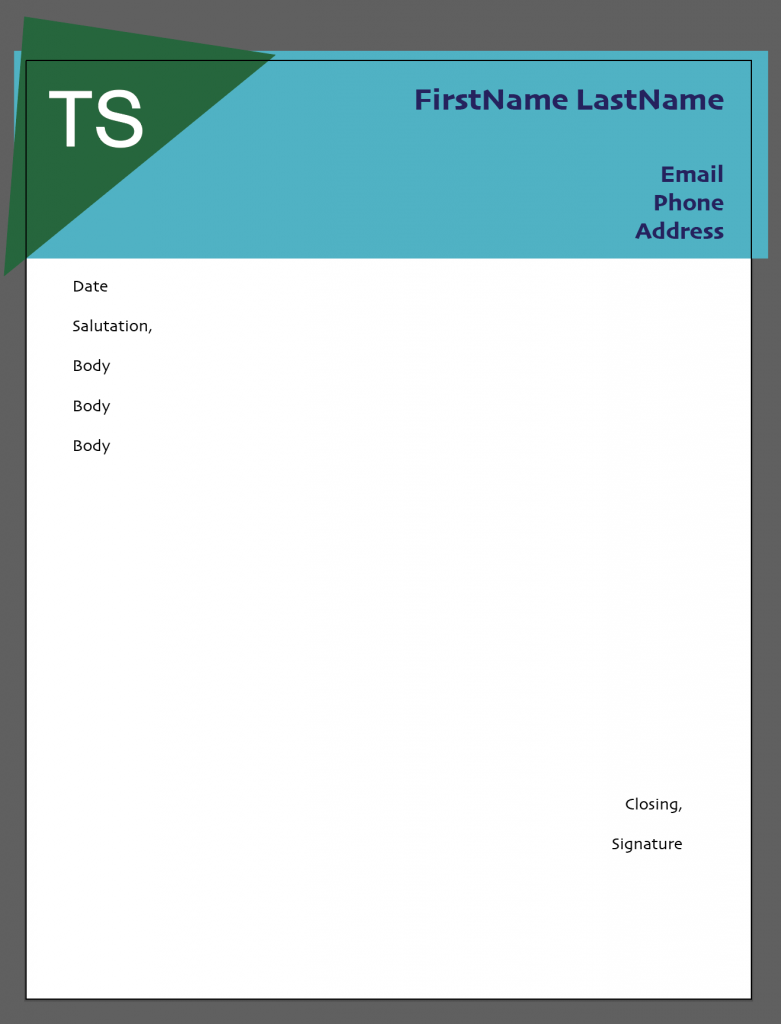
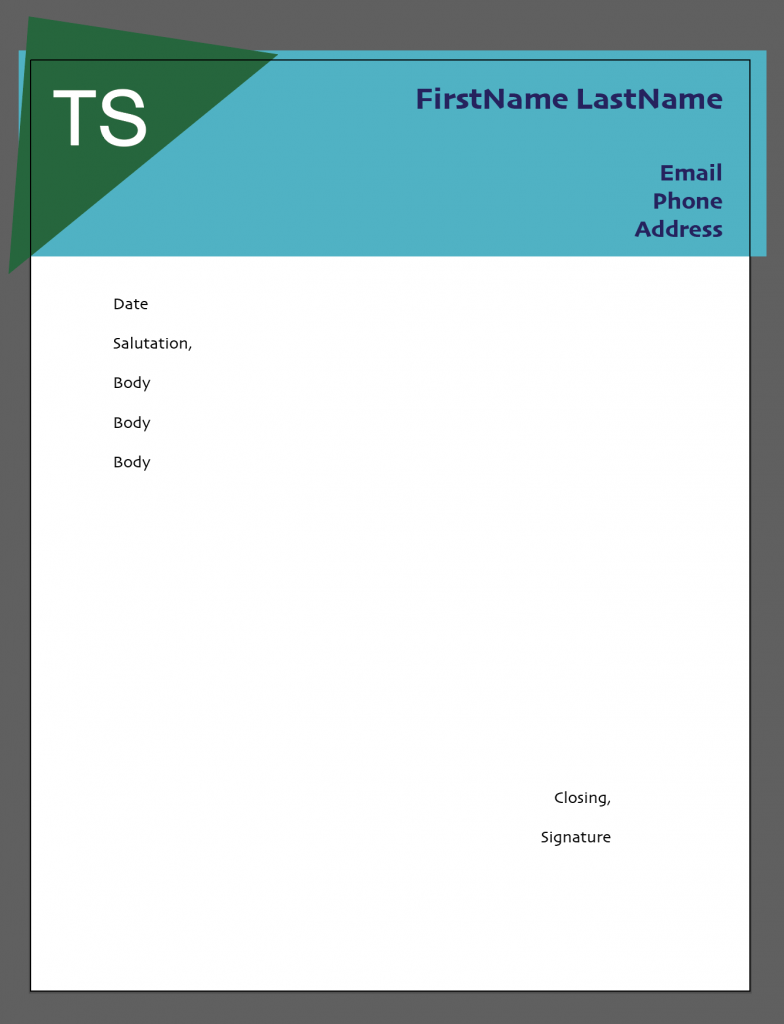
Use the Selection Tool and arrow keys to tweak your design.
Save Your Progress
Save your progress by selecting Save in the File menu.
