This tutorial will show you how to create a new Webpage in Adobe Express.
Start a New Webpage Project
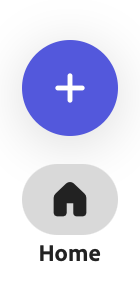
- Click on the purple + icon on the left of your homepage in Express.
- A list of project options will open. Scroll through to find Webpage or type this in as a search keyword in the field provided.
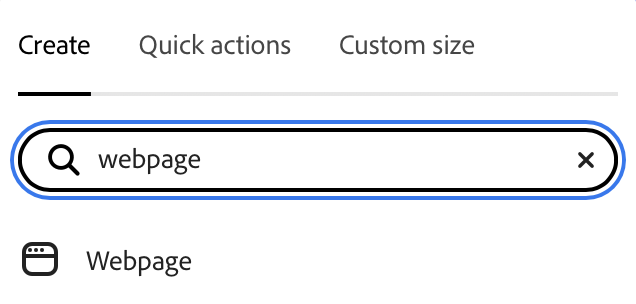
This will create a brand new, blank Page to which you can start adding content.
- To name your project, click on the default name starting with Untitled in the menu bar at the top.


Add a Title and Subtitle
- Click on Add a Title. Type in whatever suits your project.
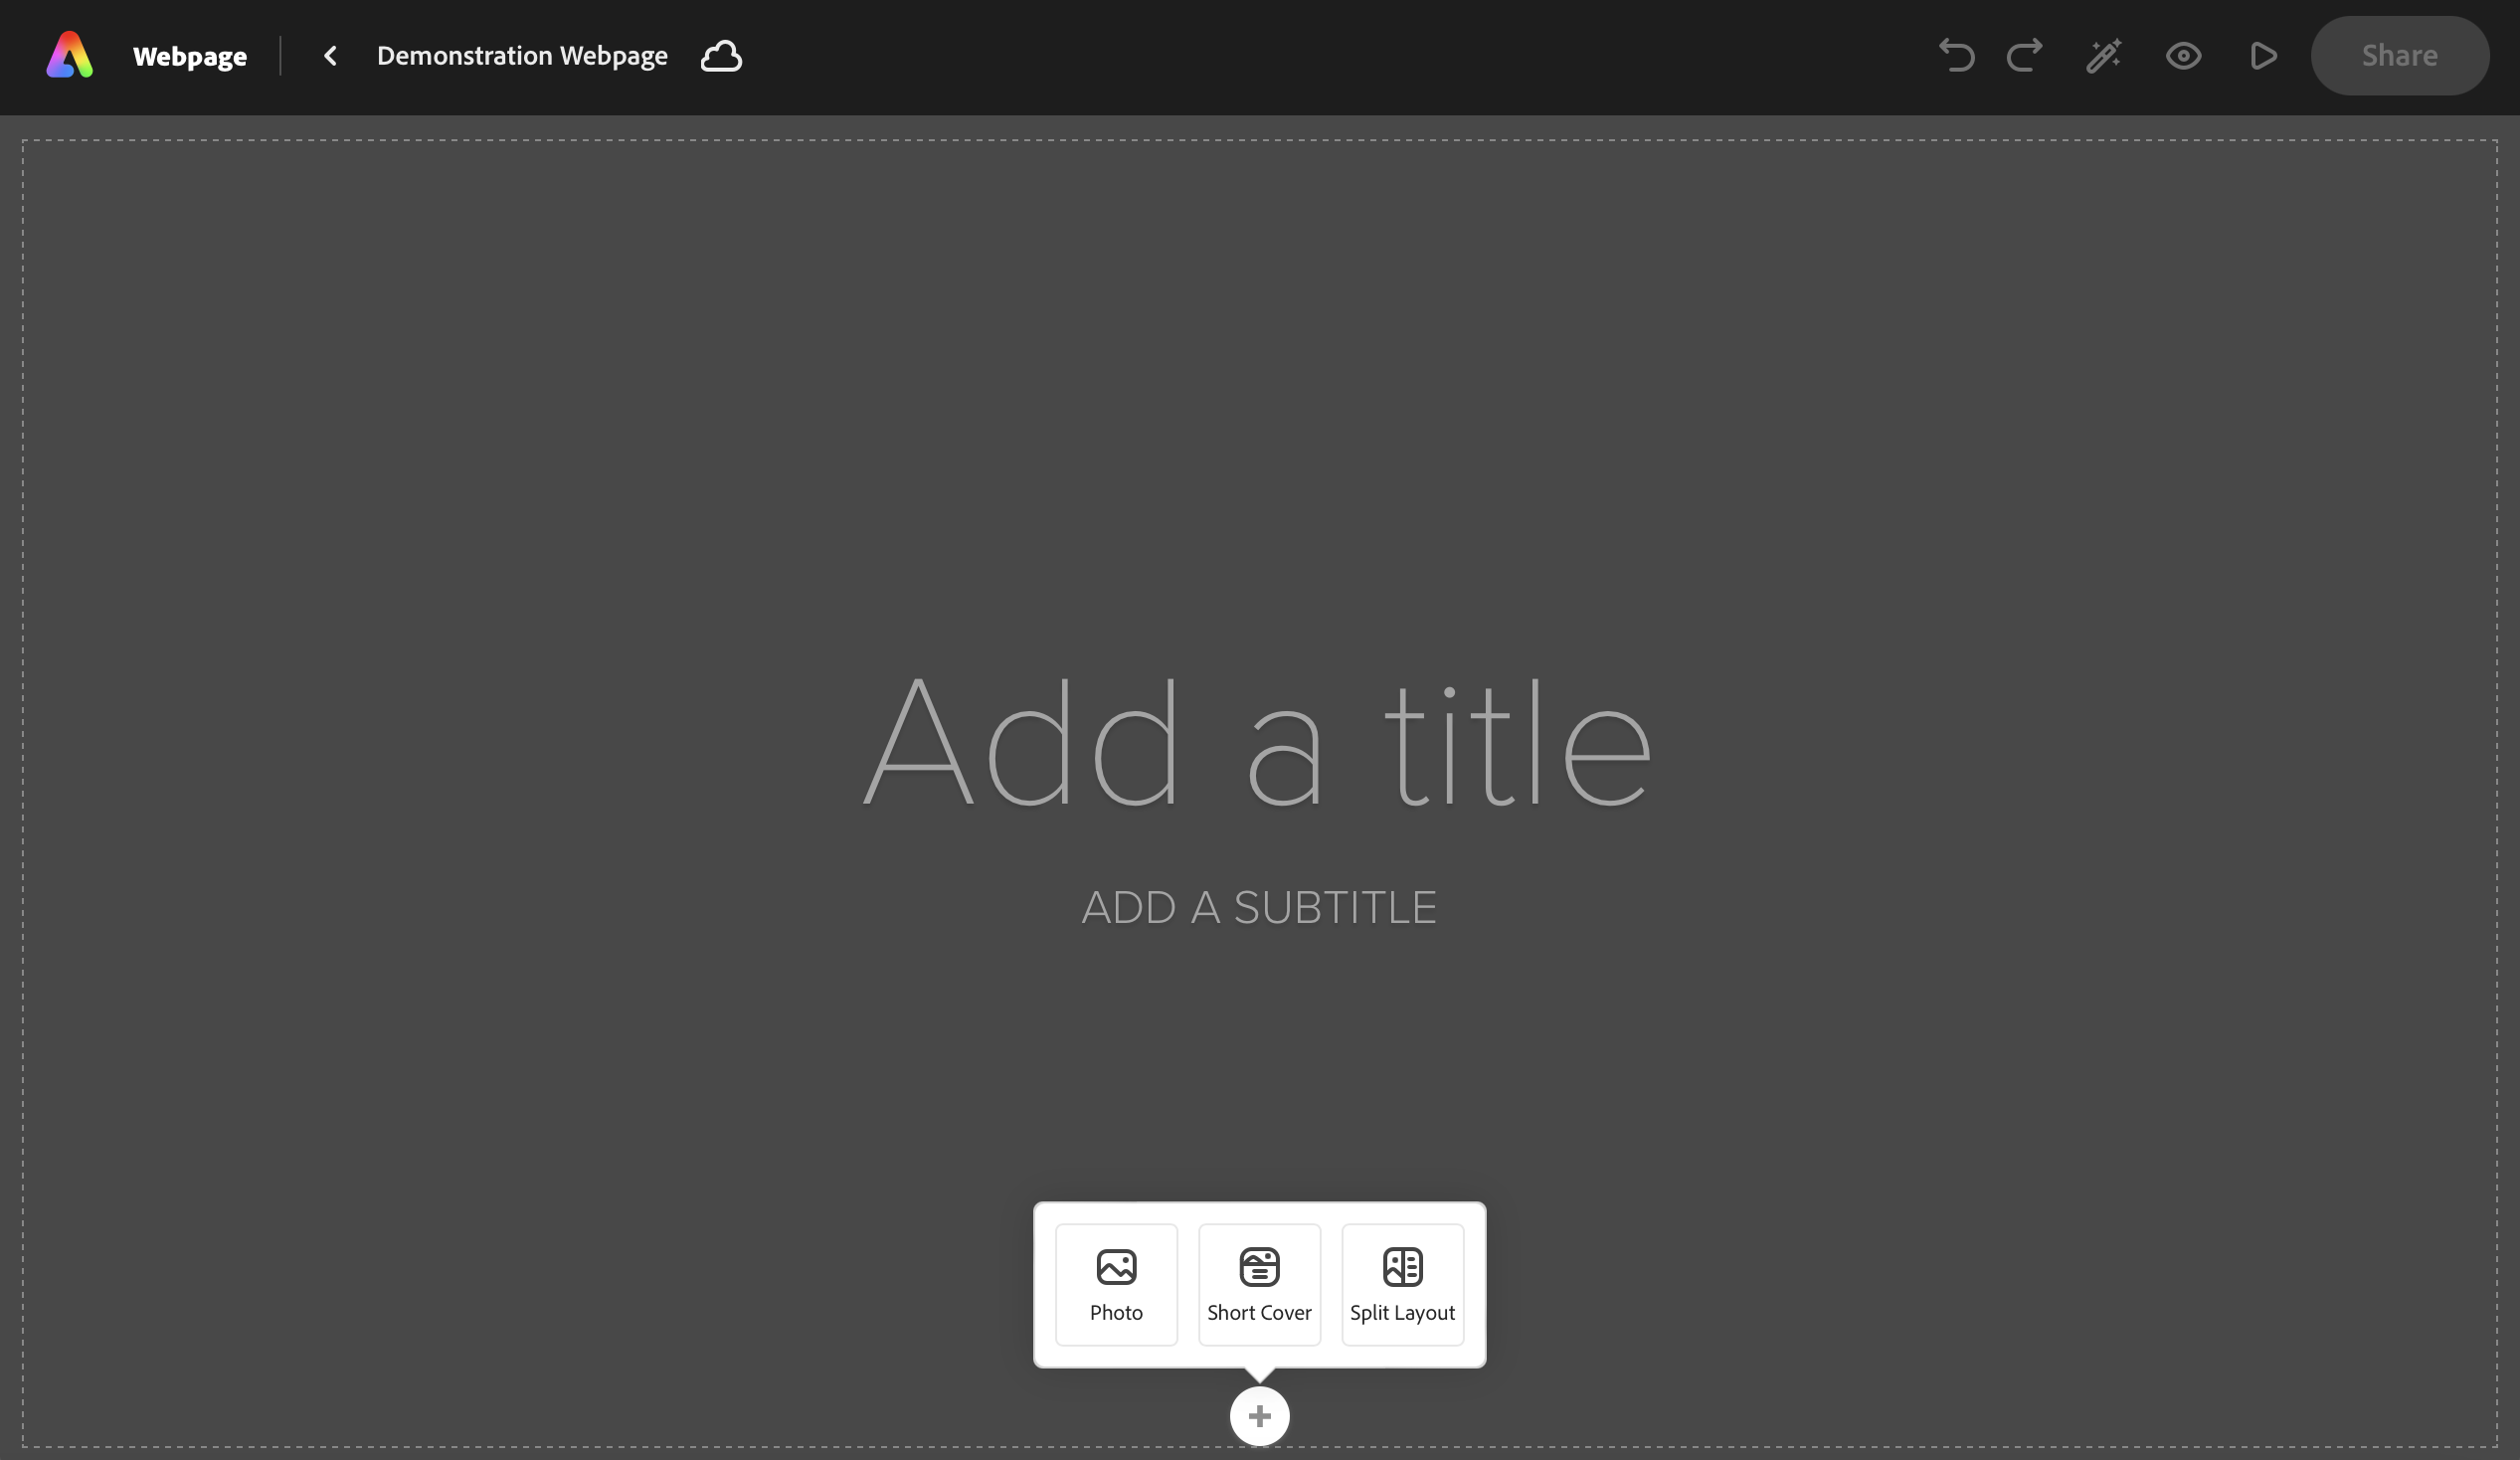
- Do the same with Add a Subtitle.

Select a Theme
Once you have a title for your blog, you may wish to change the Theme of your page. Express makes this very easy to do.
- Click on the Themes button (magic wand) in the top right corner of the screen to access the theme menu.

- Click on any of the themes listed to change your blog.
Express swaps typefaces, styling, captions, etc on the fly so you don’t need to worry about messing up the content of your webpage. You will see the change immediately and can swap it back if you don’t like the one you’ve chosen.
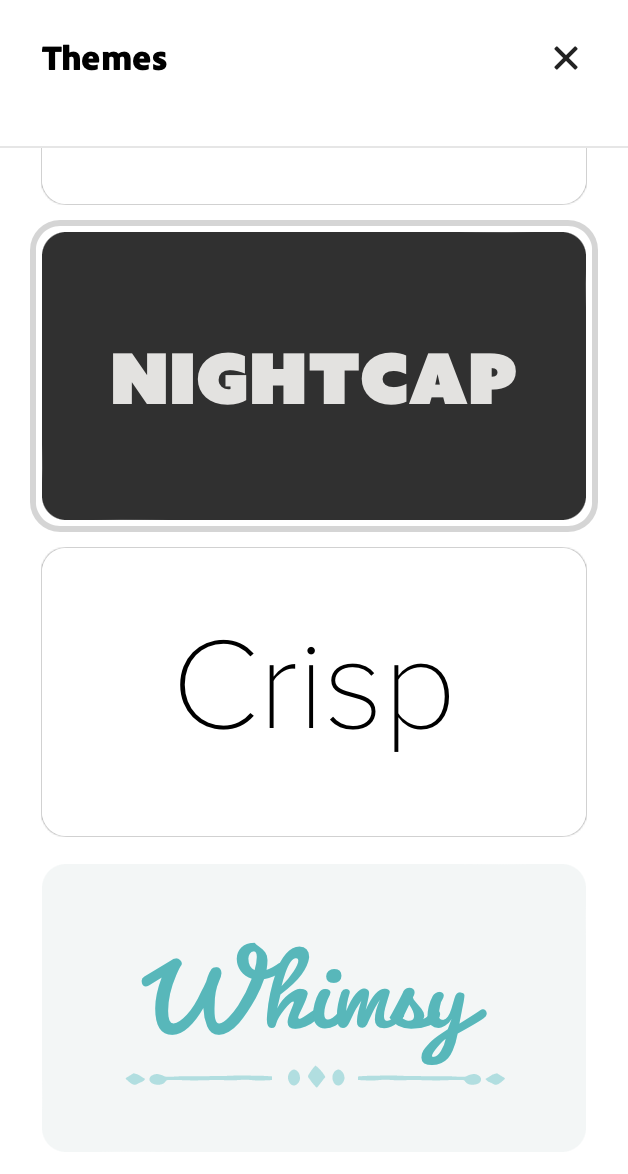
- When you’ve found a theme you like, you can collapse the theme menu by click on the grey x in the top-right corner of that menu.
Add a Background Image
Now that you have a title and a theme, you can also add a background image behind your title.
- Click on the + icon, right underneath your title.
- Select Photo.
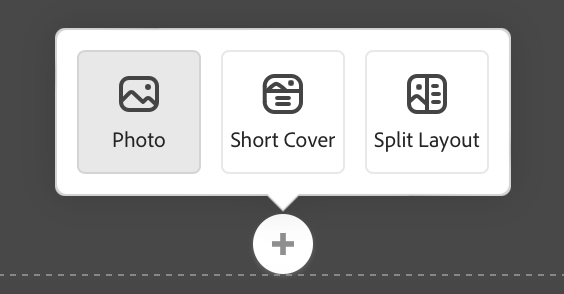
Express allows you to add pictures into your page in a few different ways including Upload from device and Search photos.
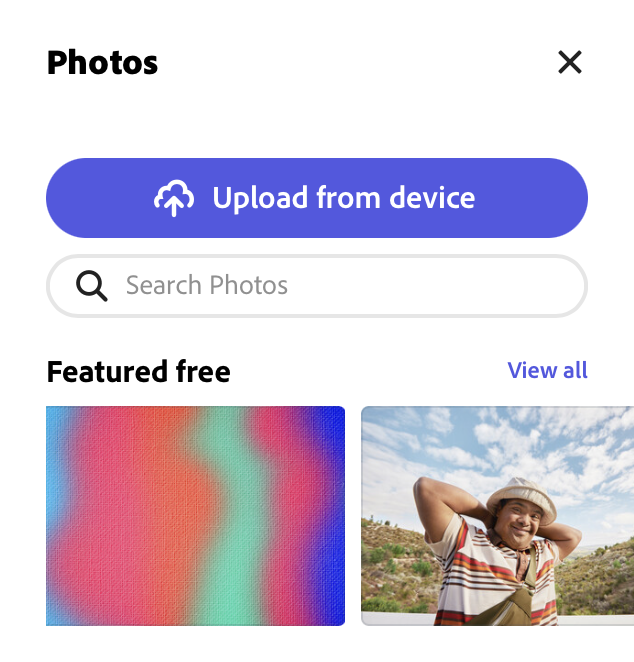
Upload Option
- If you have a photo of your own that you would like to add, you can click Upload from device. This will give you a file browser, so you can search through the computer and find the photo you wish to upload.
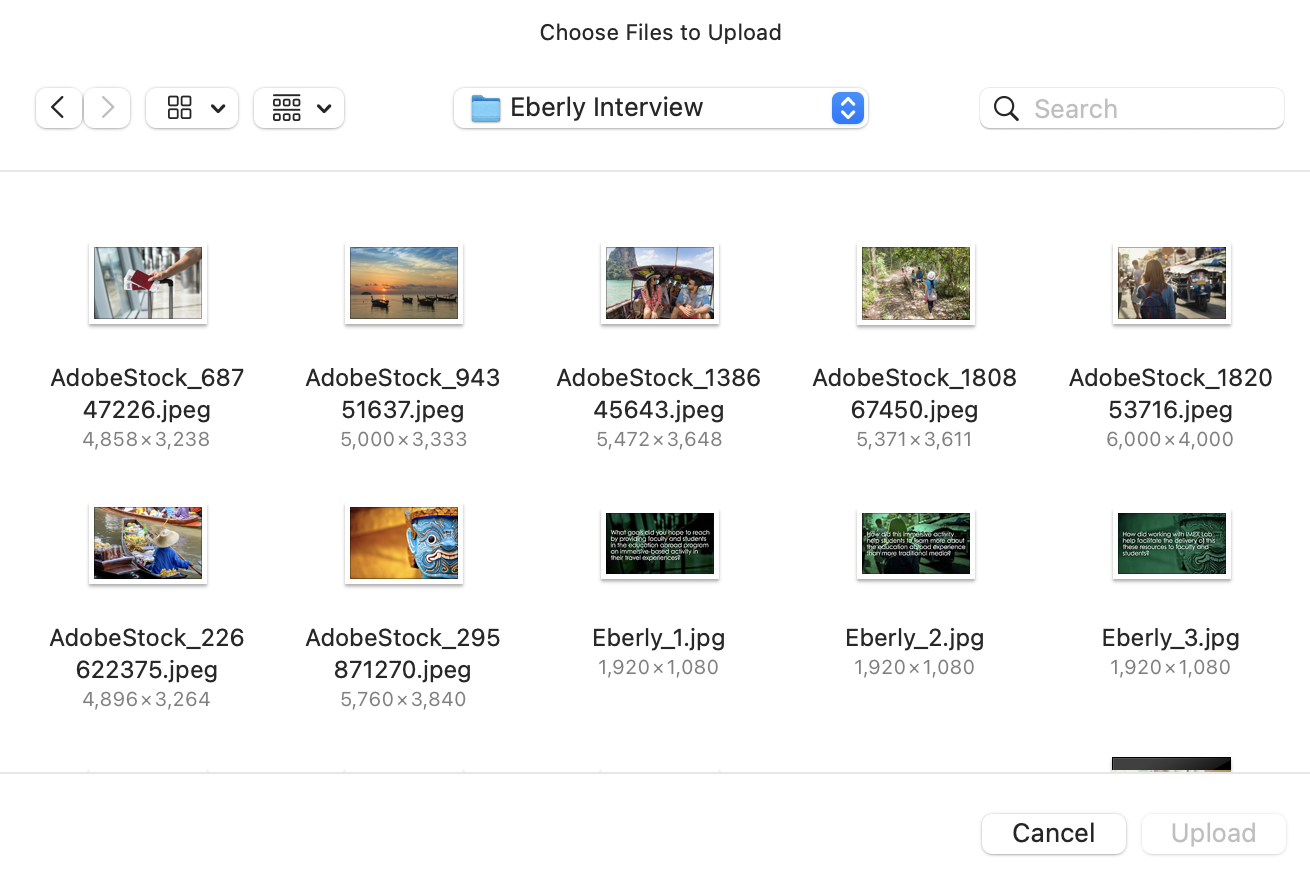
- Once you’ve found the photo you want, select it, and click Upload.
Search Option
- You can use Search photos to browse free and premium assets from Adobe Stock. Enter keywords to find images appropriate to your project.
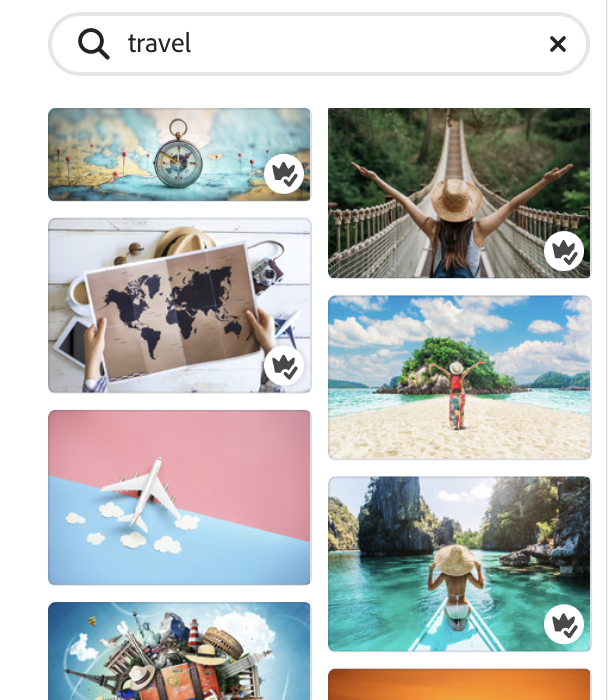
Note: Images with the crown icon are premium assets and will need to be licensed through Adobe Stock in order to publish your project. Get more information about this process or use only images without this crown icon to ensure you are using free assets.
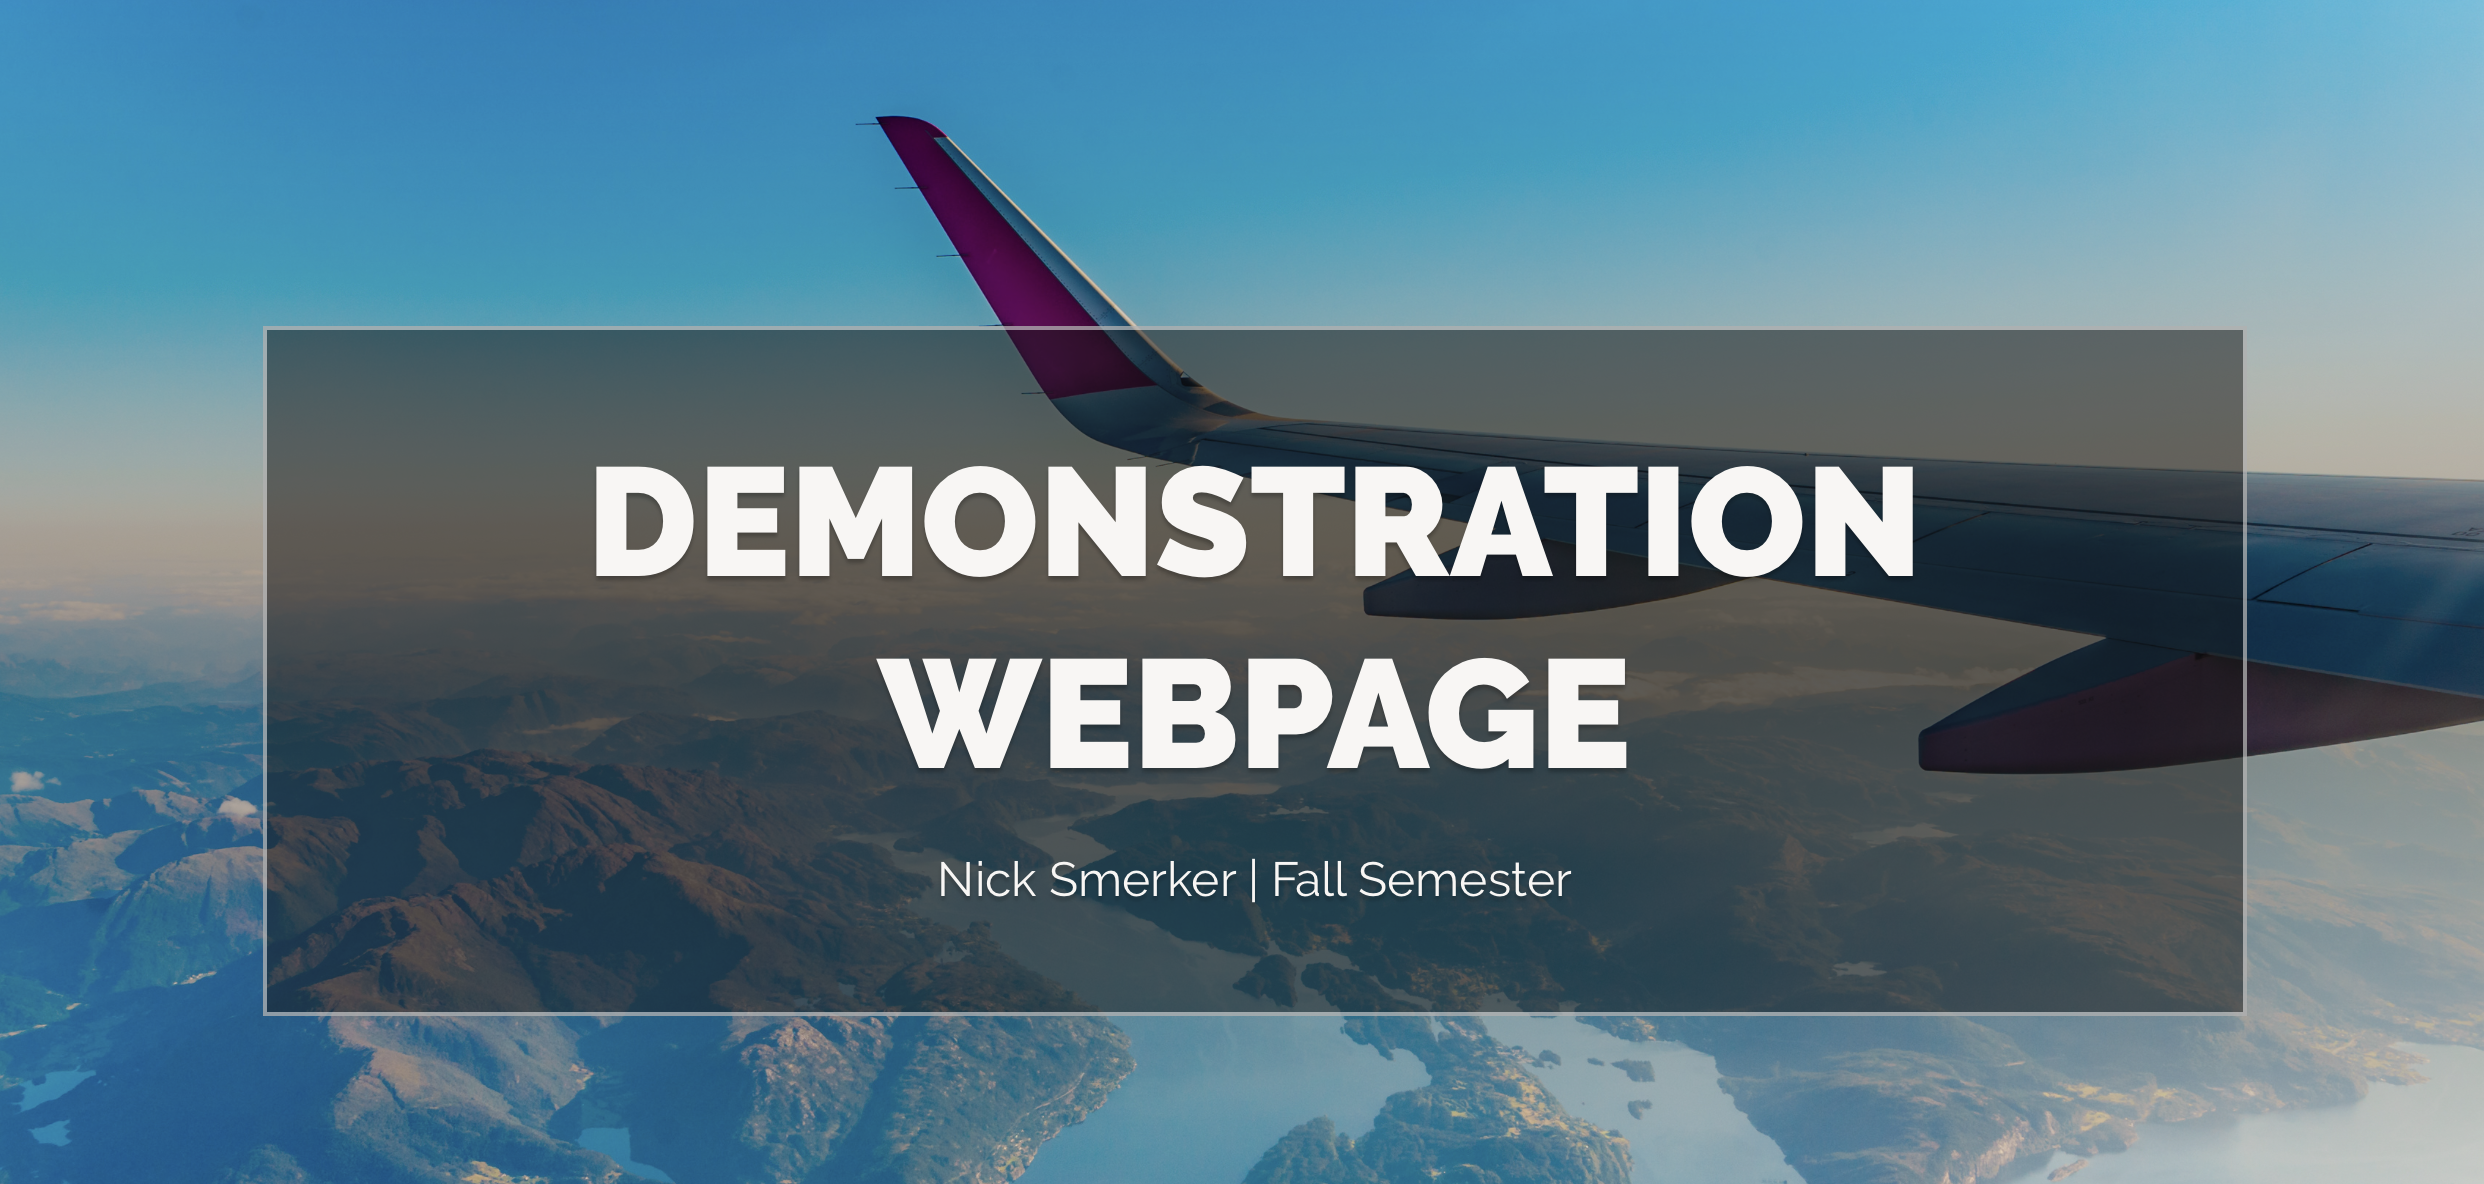
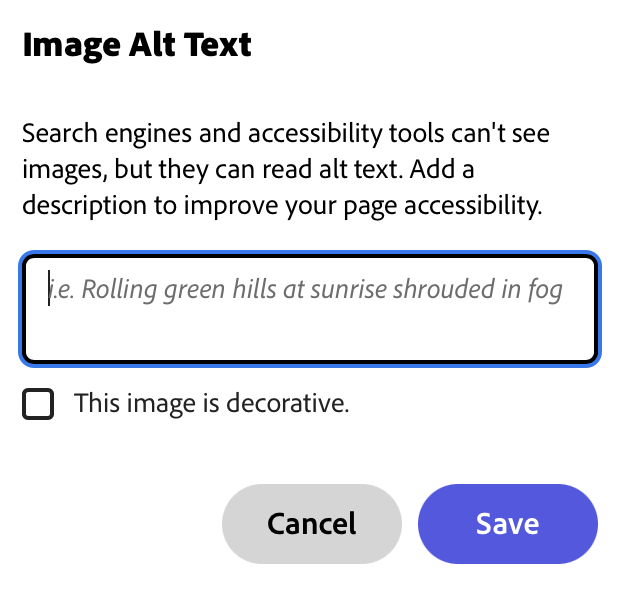
- It’s best practice for accessibility to add alt text that describes photos for those using screen reading devices. To do so, click the gear icon in the lower right corner of your Photo banner area.

Now you should have a title, a subtitle, a theme and a photo banner for your page. You can now scroll down the page and start adding your content.
