This tutorial assumes you are already familiar with the concepts discussed in the Basic Editing in iMovie tutorial.
Add a Title
- Start with video already on your Timeline.
- Select Titles at the top of the screen.
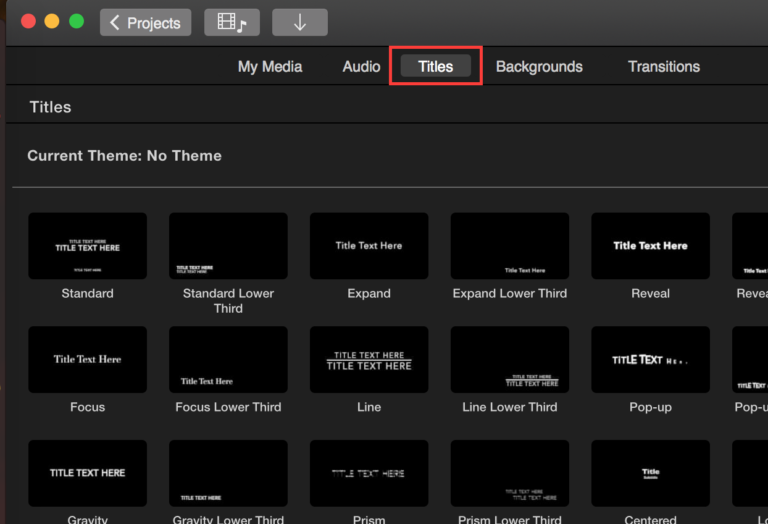
This will open up the Titles Browser where you can browse the various pre-made title sequences available in iMovie.
- Run your cursor over the thumbnail of a Title to see a preview of what the Title will look like when applied to your movie.
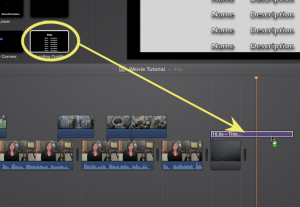
- Drag and drop the text where you want it in your video.
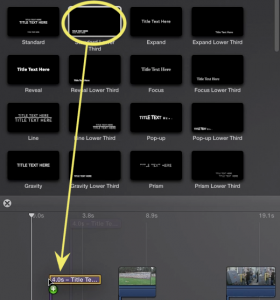
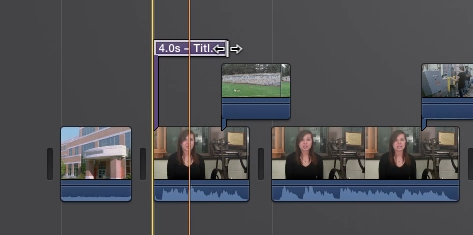
- Drag the edges of the purple text bar to make it longer or shorter. Make sure the text will be on screen long enough for someone to read it.
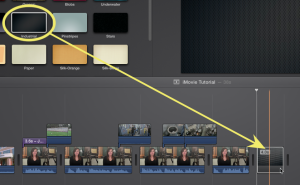
- If you do not want anything behind the text, drop it into the timeline at the end or between clips.
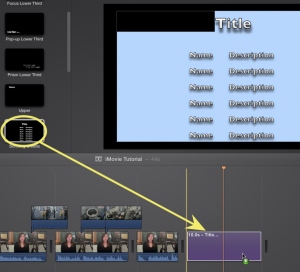
- Select Backgrounds at the top of the screen if you want a background that is not one of your own video clips or photos.
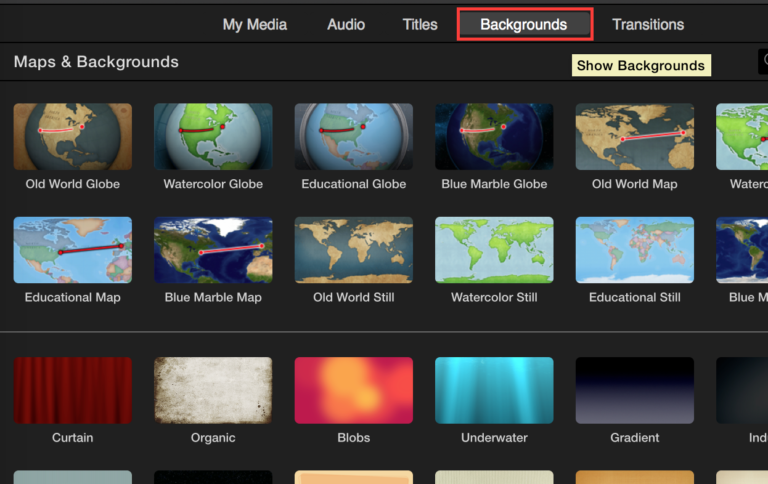
- Drag in a background of your choice and then drag your title choice on top of your background.
Customize Text
When you first bring in your text, some or all of it will be highlighted in the viewer to be edited.
- Type in the text you want to appear.
- Double click or highlight the other text fields that you may need to change.
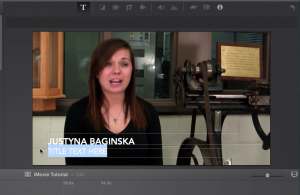
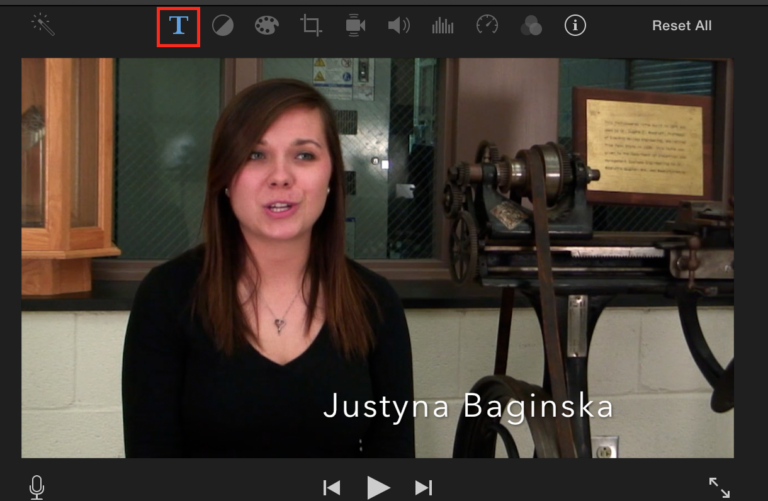
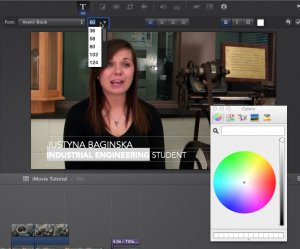
- Select the T icon above the viewer window to adjust the font, size, and color of the text.
- Select the check symbol on the right side of the text options when you are done.
- Select the purple text bar to make further adjustments to your text at any time.
