This tutorial shows how to save and export a 360° video project in Adobe Premiere Pro.
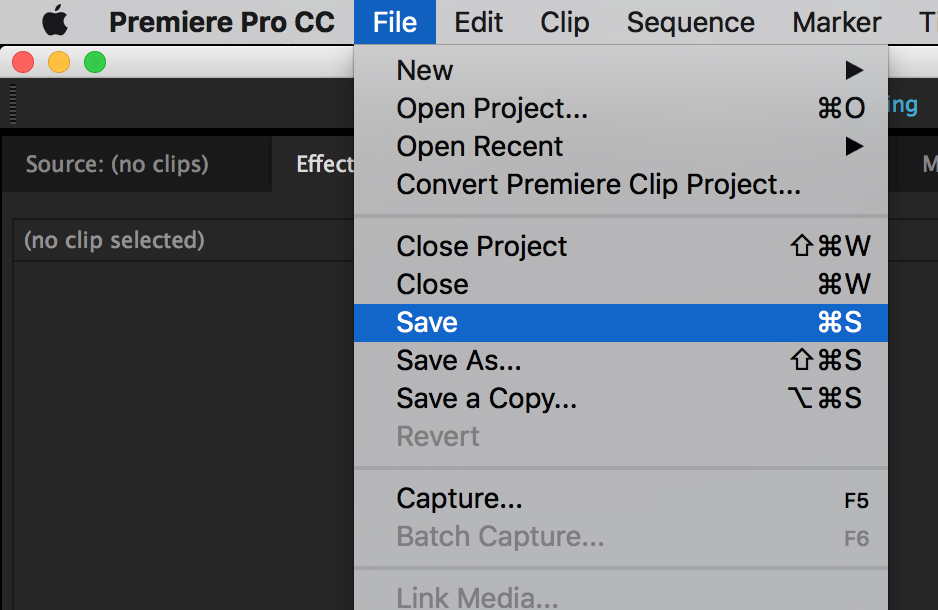
Before you export your project, it’s a good idea to save all of the changes that you have made.
- Open the File menu then select Save.
- Open the File menu, then select Export and Media.
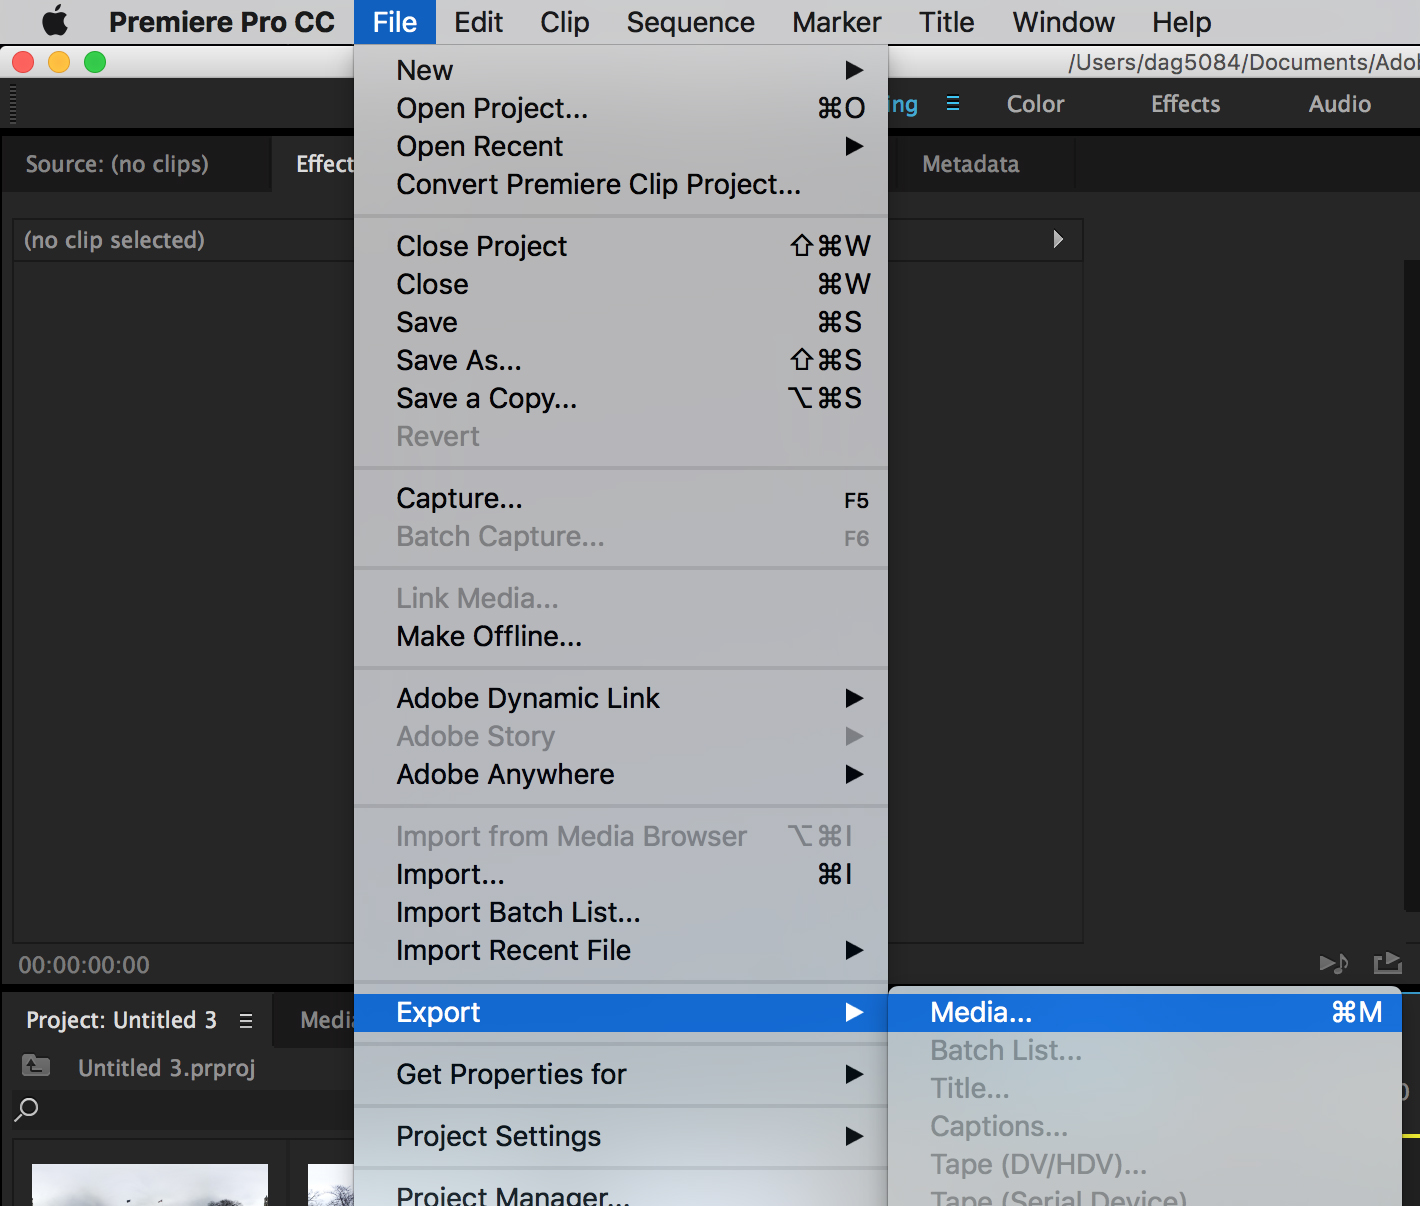
A new window will open allowing you to see the settings that your video will export at.
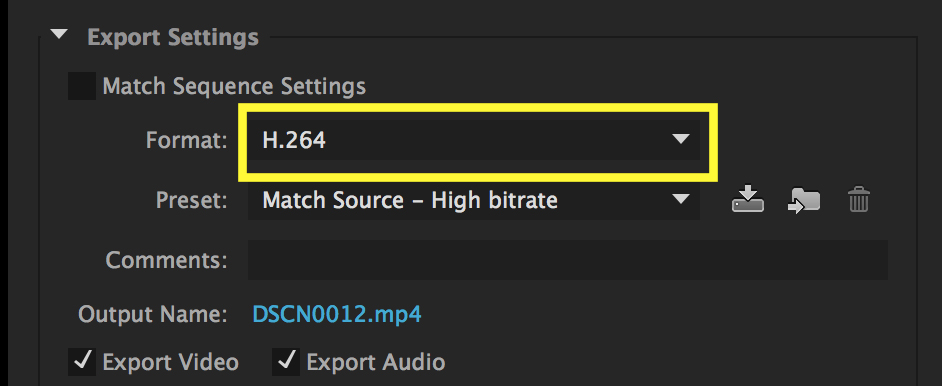
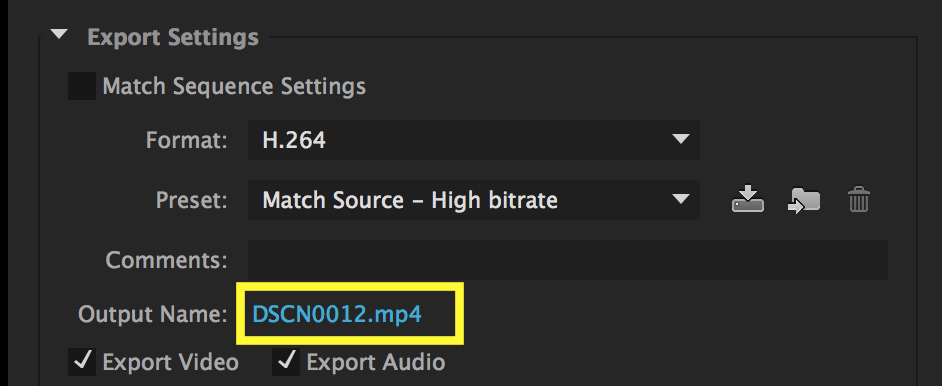
- In the top right hand corner of this window, first make sure that under the heading Format, your project is set to H.264.
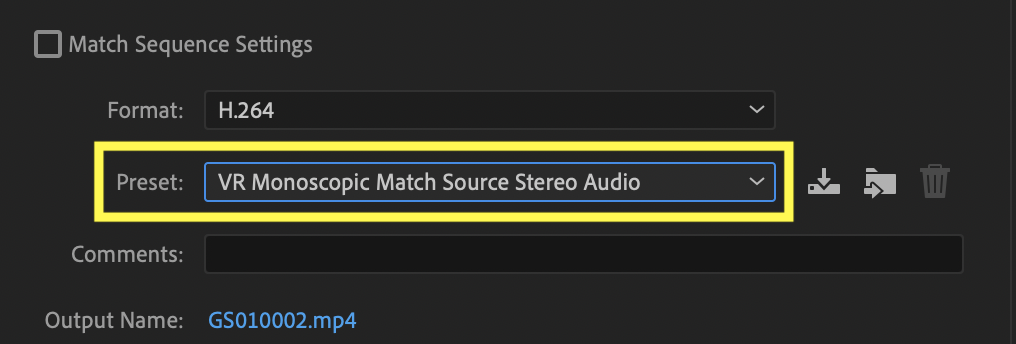
- Click the Preset drop down menu and select the preset VR Monoscopic Match Source Stereo Audio.
Now you can choose where you would like to save your project and give the file a name.
- Click on the title of the file next to the heading Output Name.
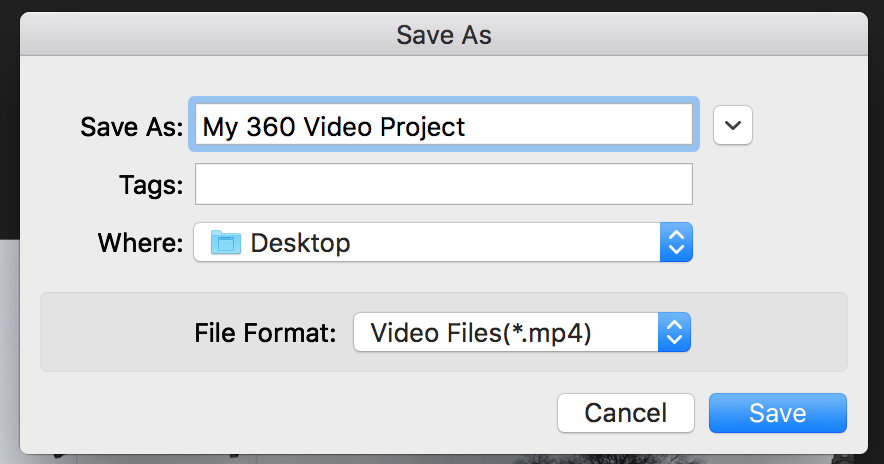
A window will come up allowing you to rename the file and select where you would like to save it. It is best to save this to the Desktop so that you can easily access it.
- Once you have re-named the file and chosen the location, press the Save button.
- Go to the Video settings tab in the bottom right hand corner of the window.
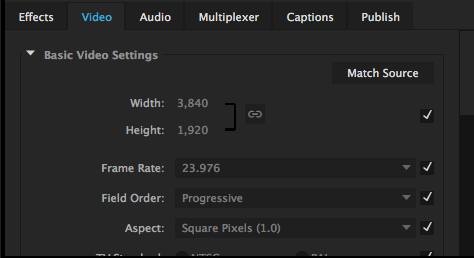
- Scroll to the bottom of these settings and click on the check box next to Video is VR.
- Make sure the Frame Layout drop down menu is set for Monoscopic.

Now you are ready to export the project.
- Go to the bottom right hand corner of the window and press the Export button.

Your video will then begin exporting. Depending on how long the video is, this may take some time. 360° Video projects tend to use large files so this may take some time. Once it is done you will have a .mp4 file on the desktop that you can then use to upload.
