Movie Captioner allows you to create captions for a video and then export a caption file that can be uploaded to Youtube. What movie captioner does is load your video and replay a few seconds of the video over and over allowing you to type what you hear.
This tutorial covers the Movie Captioner interface, captioning your video, exporting captions for YouTube, and uploading captions to YouTube.
Movie Captioner Interface
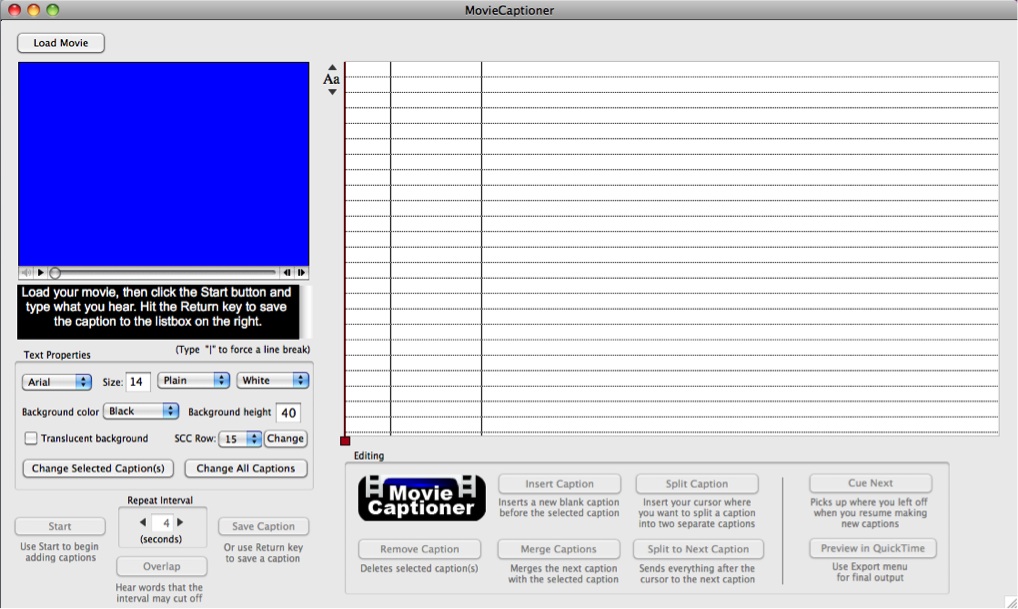
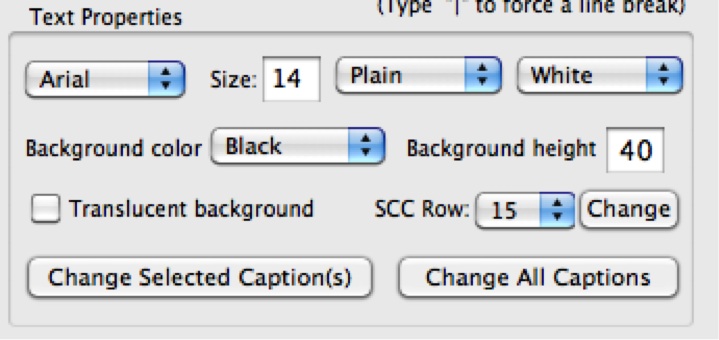
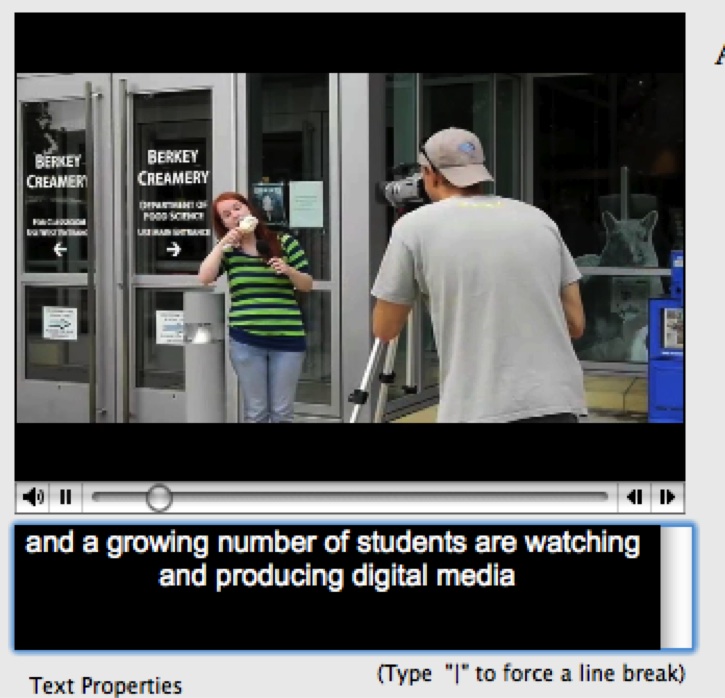
Underneath the window where you type your captions is a set of options to change the font.
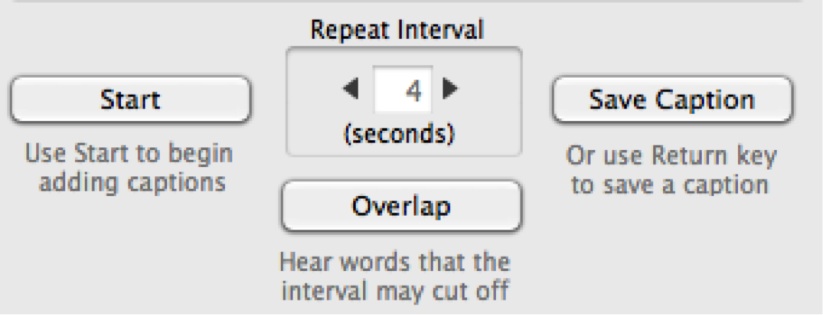
Right below the font options is options for changing the interval of your captions.
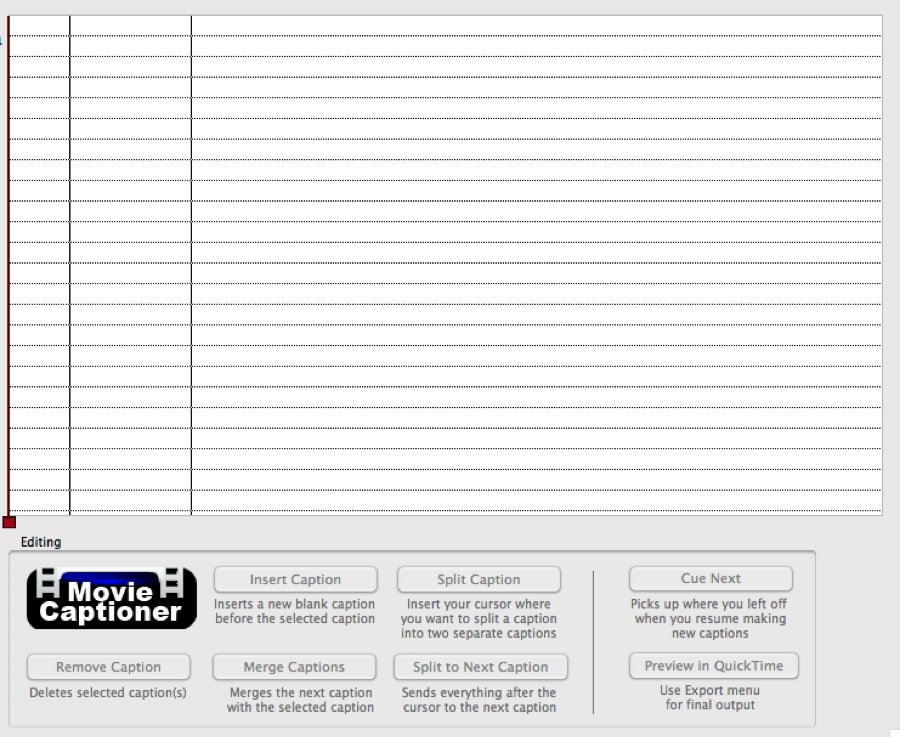
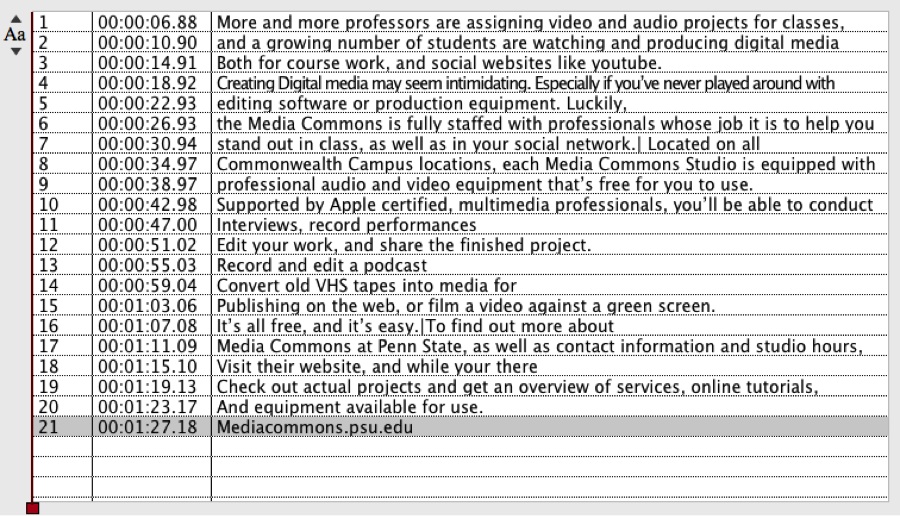
On the right side of the screen you will see a bunch of rows broken up into 3 columns.
Starting to Caption your Video
To start captioning a video, you will first need to load the video into Movie Captioner.
- Press the Load Movie button on the top left corner of the screen.
- Select your video.

- Play the video and pause it right before you want to start adding captions.
- Press the Start button at the bottom of the window.
Your video will start to loop for the amount of seconds you set as your interval.
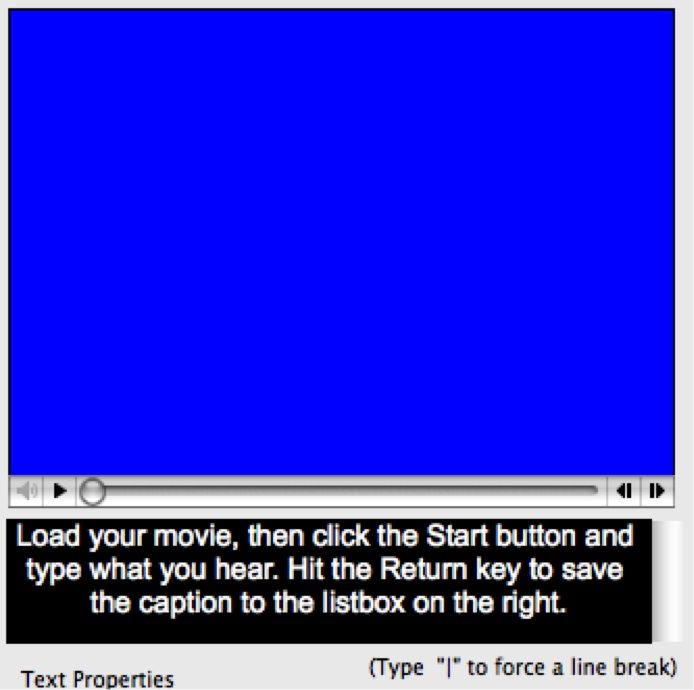
- Start typing your captions in the black box underneath where your video plays.

- When you’ve finished a caption, press the Return key on your keyboard.
When you do, Movie Captioner will automatically move to the next interval of video and you can start to type your captions in for the next interval.

When you’ve finished captioning, you should have a list of captions with timecodes placed next to them.
Exporting Captions for YouTube
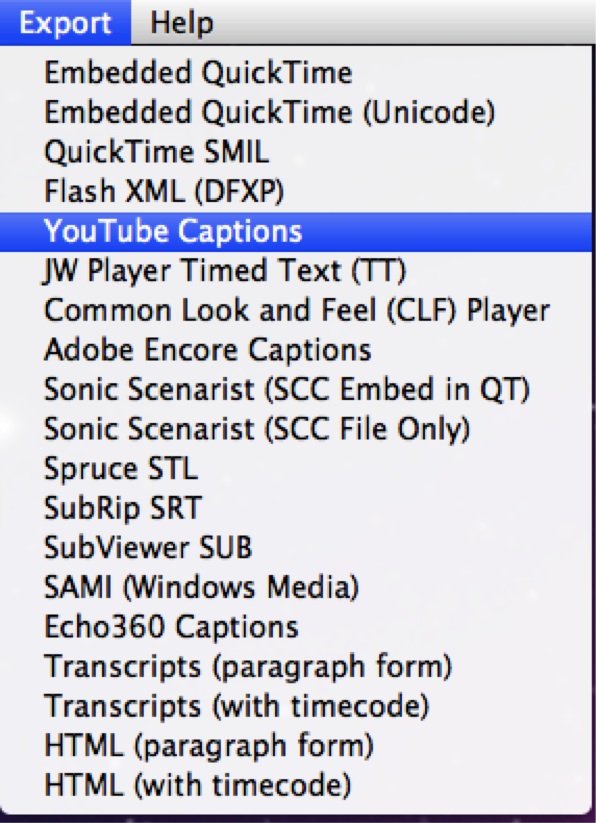
- Select Export from the top of the screen.
- Select the option that says YouTube Captions.
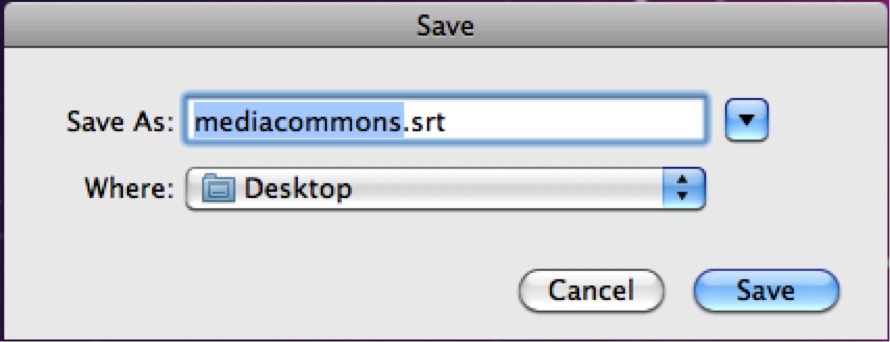
- Type in the name you wish to give your file.
- Click Save. This .srt file is what will be uploaded to YouTube.
Uploading Your Captions to YouTube
- Log in to YouTube.
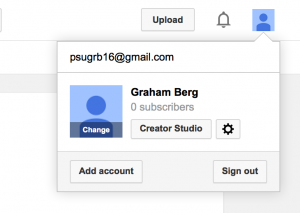
- Click on your user avatar in the top right corner of the page and select Creator Studio.
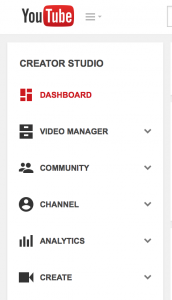
- Select Video Manager in the menu on the left-hand side of your screen.
You will then be presented with all of the videos that you have uploaded to YouTube.
- Find the video that you want to add captions to.
- Click where it says Edit, right beside your video.

On the next page, there will be several tabs with information about your video.
- Select the Subtitles and CC tab.

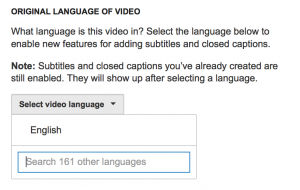
- In this tab, click on Select Video Language.
YouTube defaults to English, but you can search for the language of your choice.
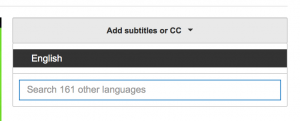
- After you select your language, a new button will appear that says Add Subtitles or CC. Click on it, and then select your desired language from the drop down menu.
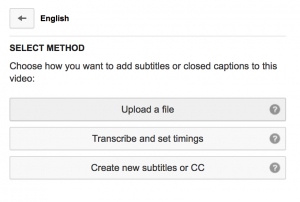
- On the following screen, click the Upload a file button.
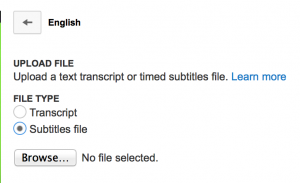
- Next, under File Type, select Subtitles file.
- Click Browse to find your caption file.
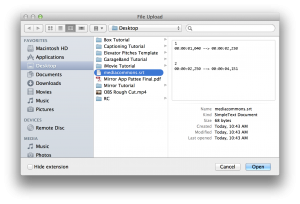
- In the window that appears, find your .srt file that you exported from Movie Captioner.
- Select it, and click Open in the bottom right corner of the window.
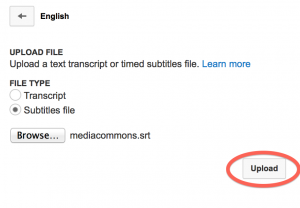
- Select Upload, and your file will upload.
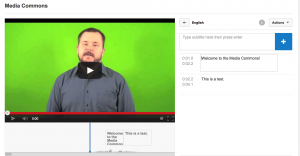
- Once you are happy with your captioning, click Publish in the bottom right corner of the window.
