This tutorial will introduce some of the basic editing skills in iMovie.
Starting a New Project
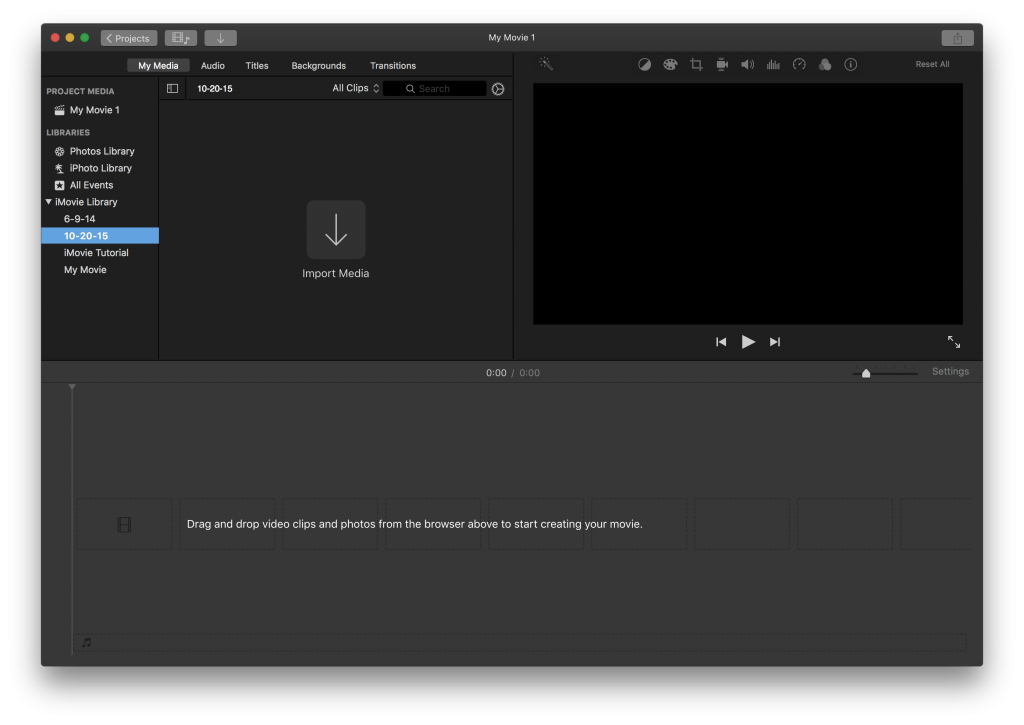
- Open iMovie. You should be presented with a screen that looks like this:
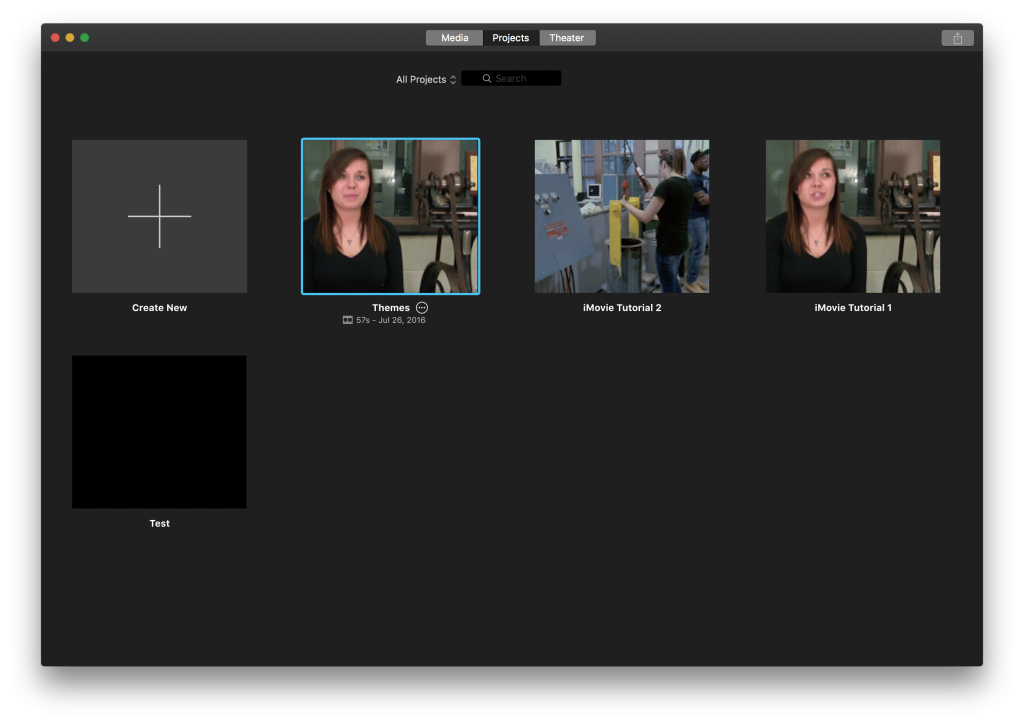
This is the Project List, and it will show you all of the projects that you have made in iMovie. If this is your first time using the program, then you might not see any projects listed in this window.
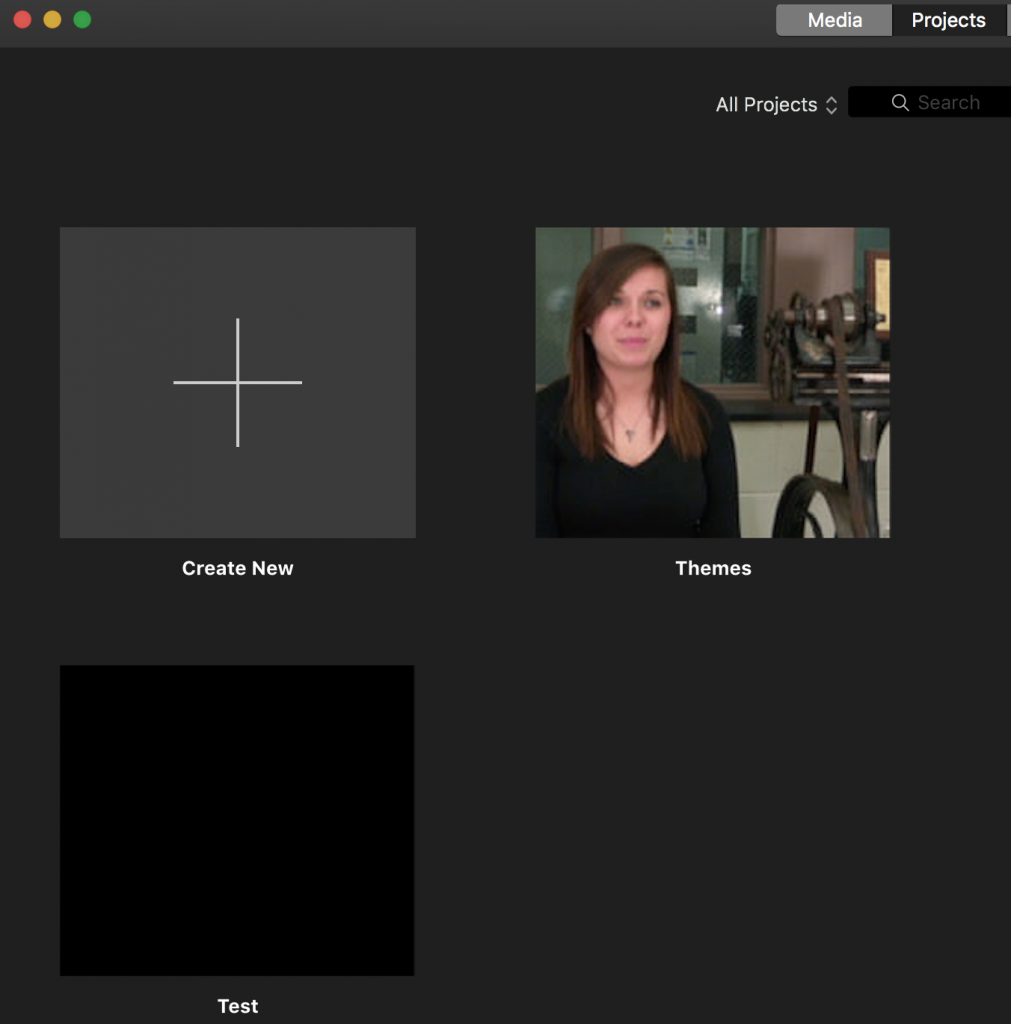
- To create a new project, select the Create New box, denoted by a large “plus” sign.
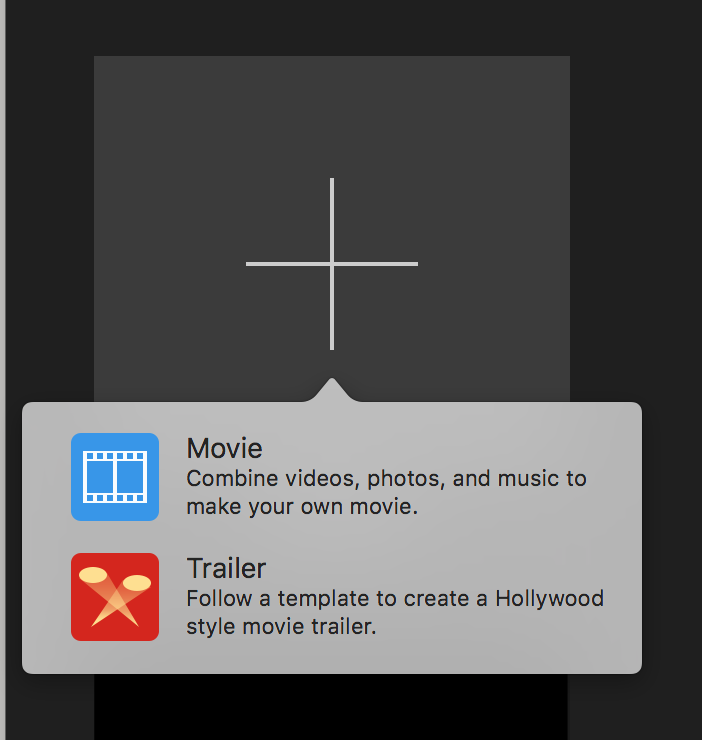
- Select Movie from the dropdown that appears.
- Select the Projects Button in the upper left corner. A popup box will appear, allowing you to enter a name for your project.


Keep in mind that you can always rename your movie later from the Projects List.
- Double-click your project in the Projects List to reopen it.
NOTE: There is no Save command under the File menu. This is because iMovie autosaves at regular intervals and does not require you to manually save.
The Project Interface
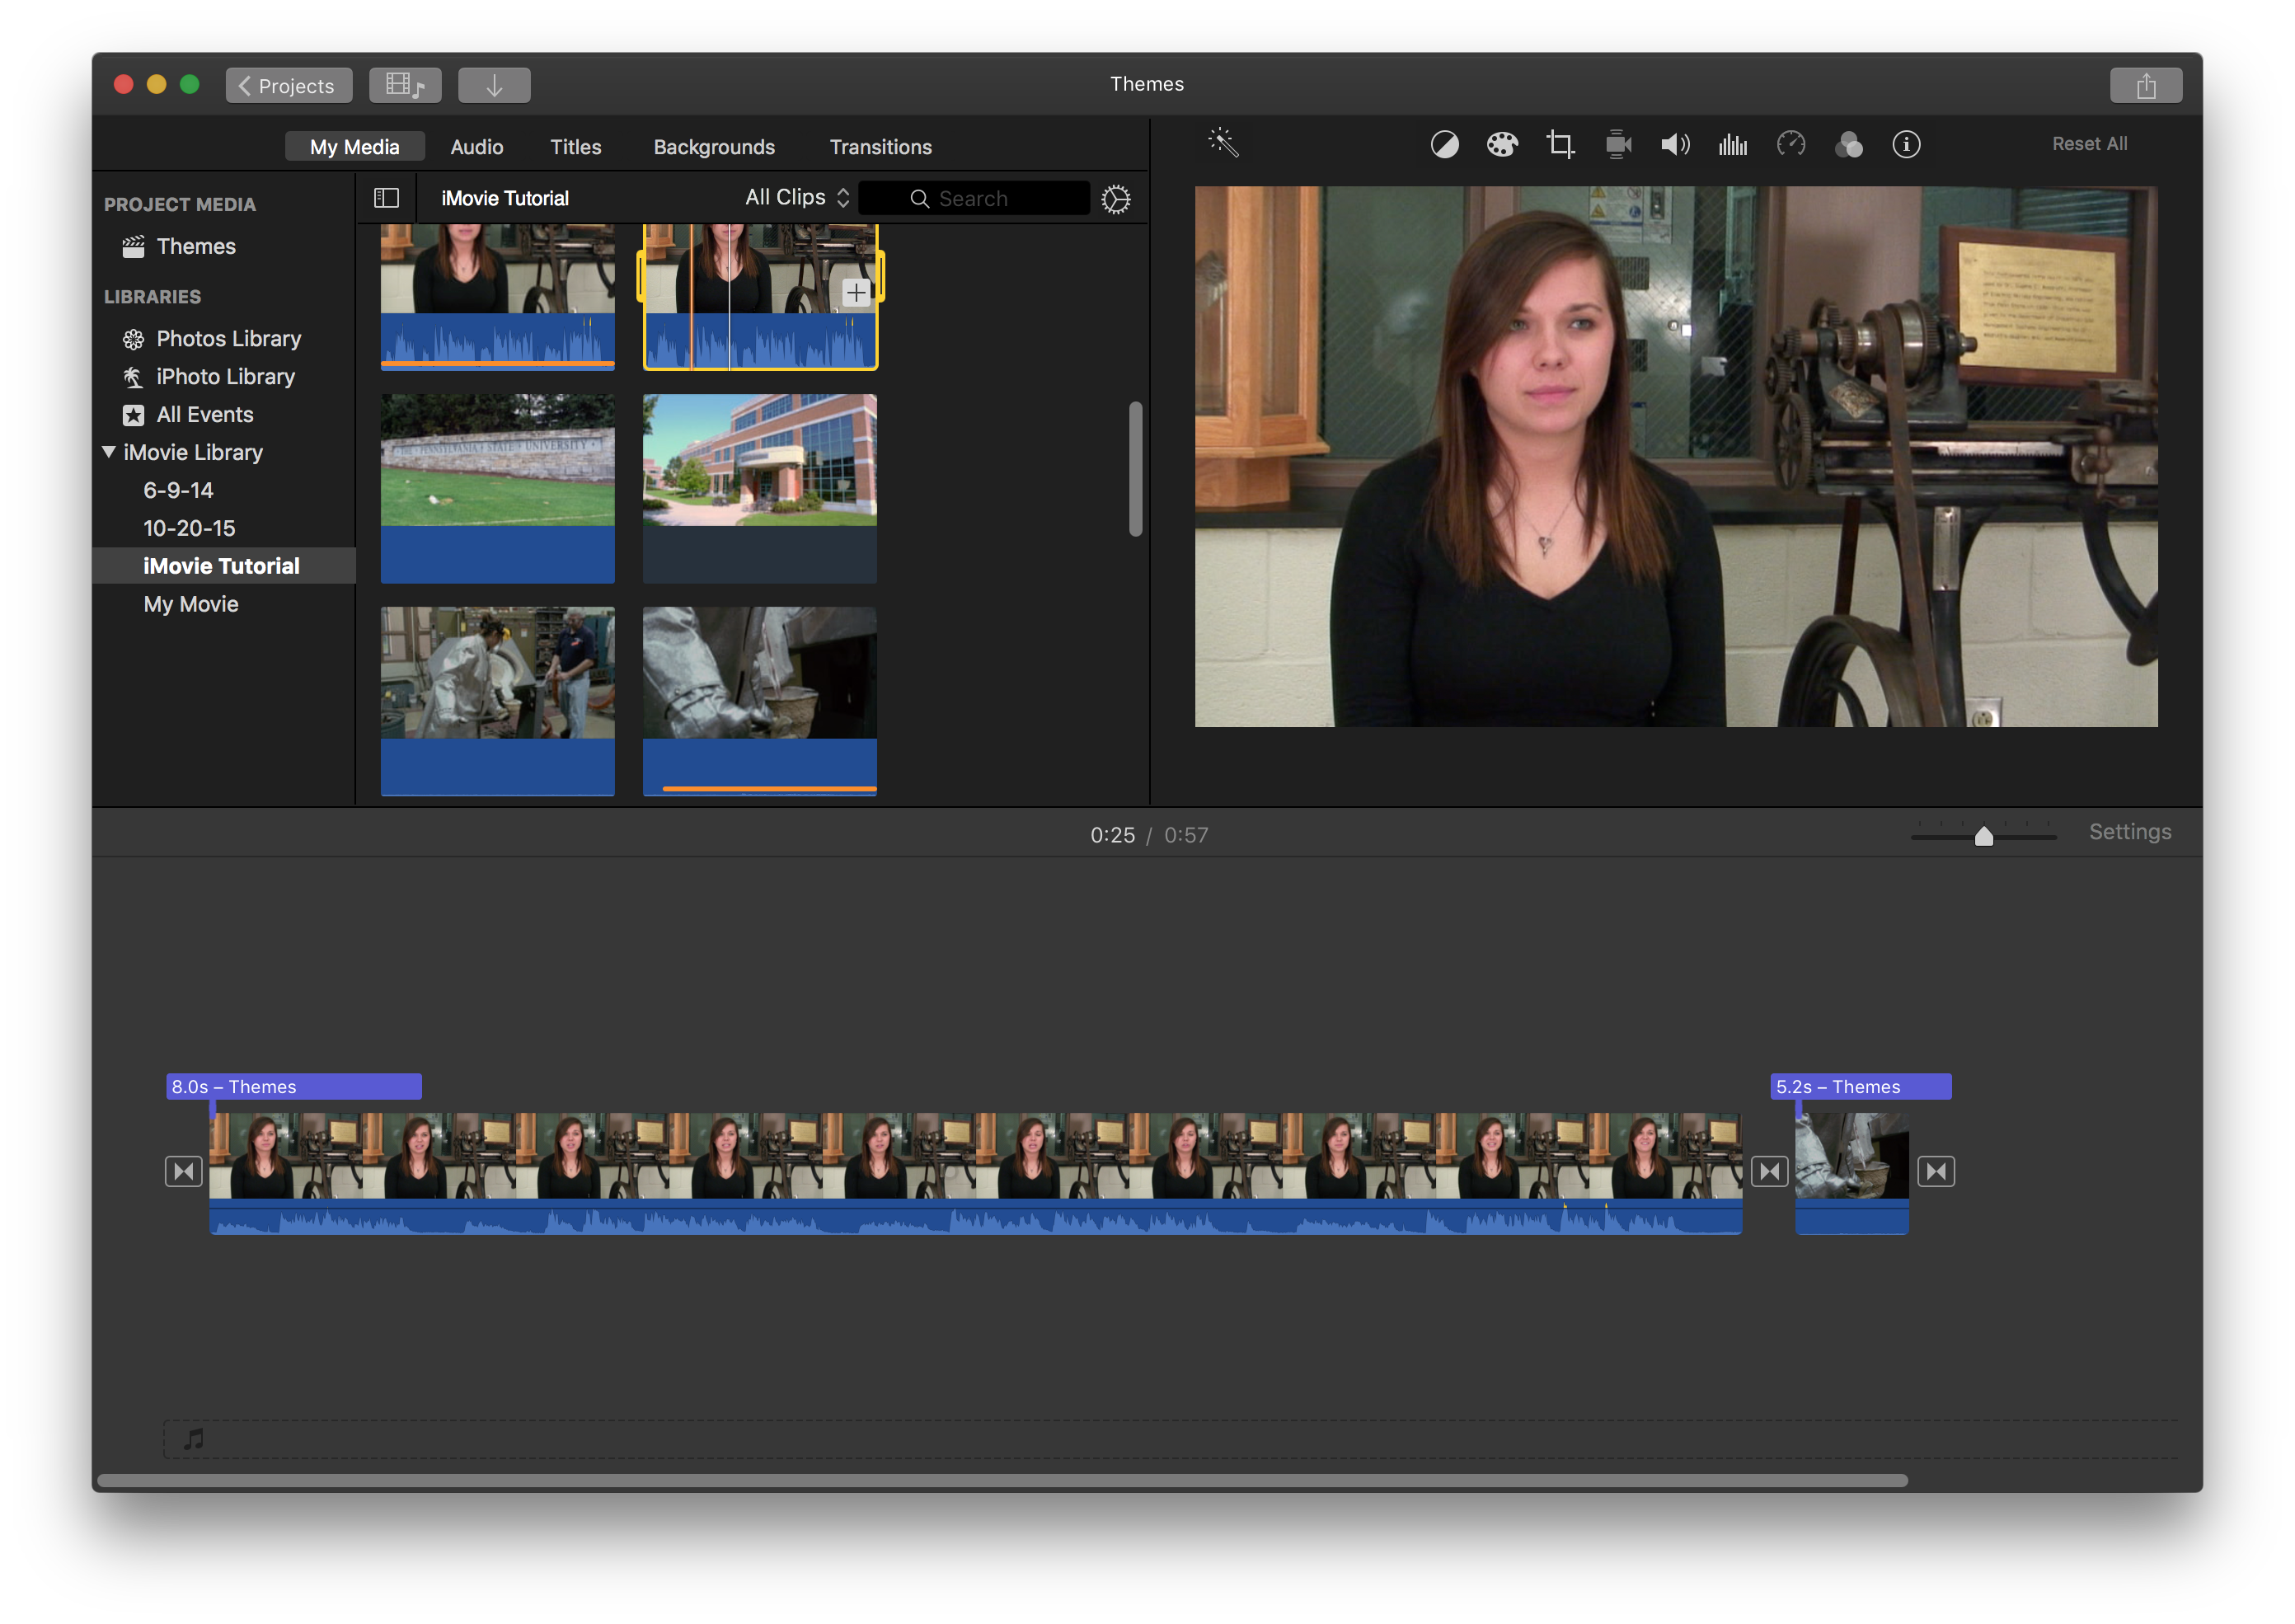
The upper left section in iMovie is called the Event Library.
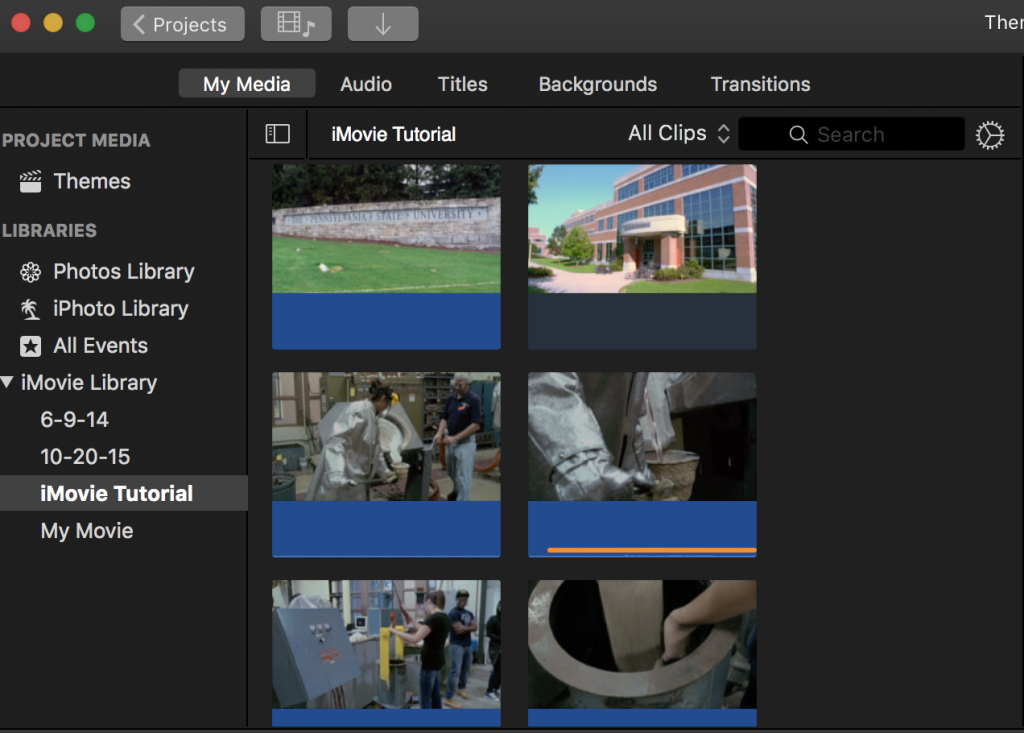
The next section is the bottom half of the interface and is called the Project workspace or Timeline.

The Project workspace is where you can access and build your movie from the files you selected from the Event Library workspace.
The section in the top right corner is called the Viewer.
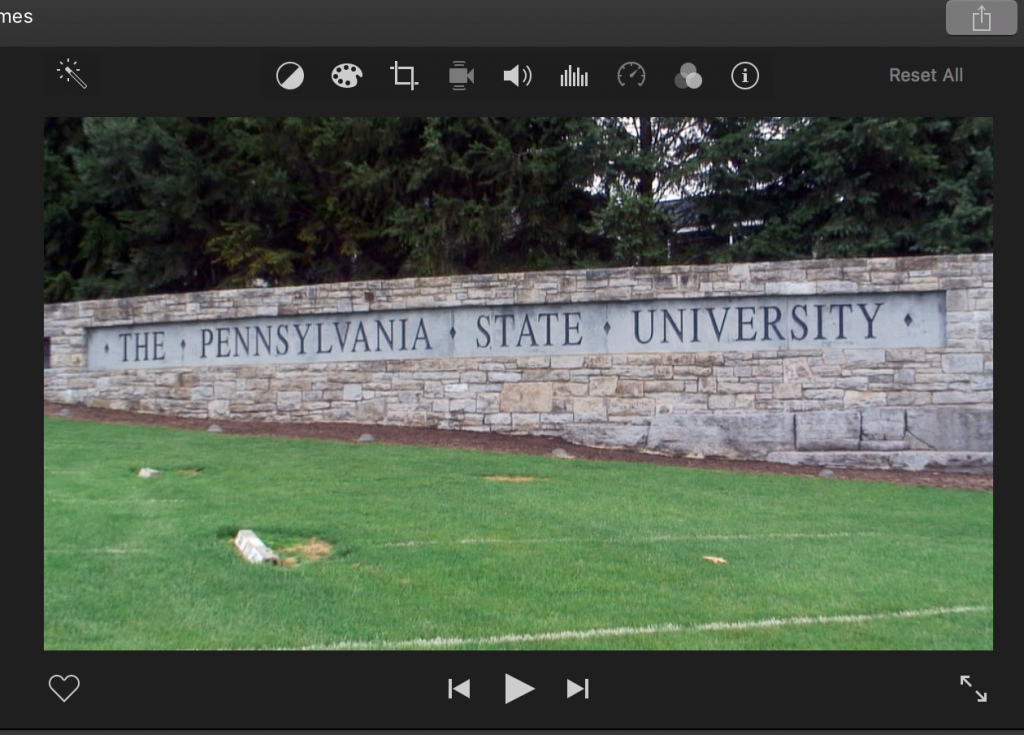
This Viewer window is where your footage will play as you edit and watch the clips in your Project workspace. You will also be able to make many different clip adjustments in this section of the interface by clicking the adjustment icons at the top of the Viewer.
Importing Files from Your Computer
- Select the Import button (downward pointing arrow) at the top of iMovie.

- A window will appear that allows you to select the clips you want to import. Use the menu on the left to navigate to your media either on the computer, external drive, or camera, that you wish to import.
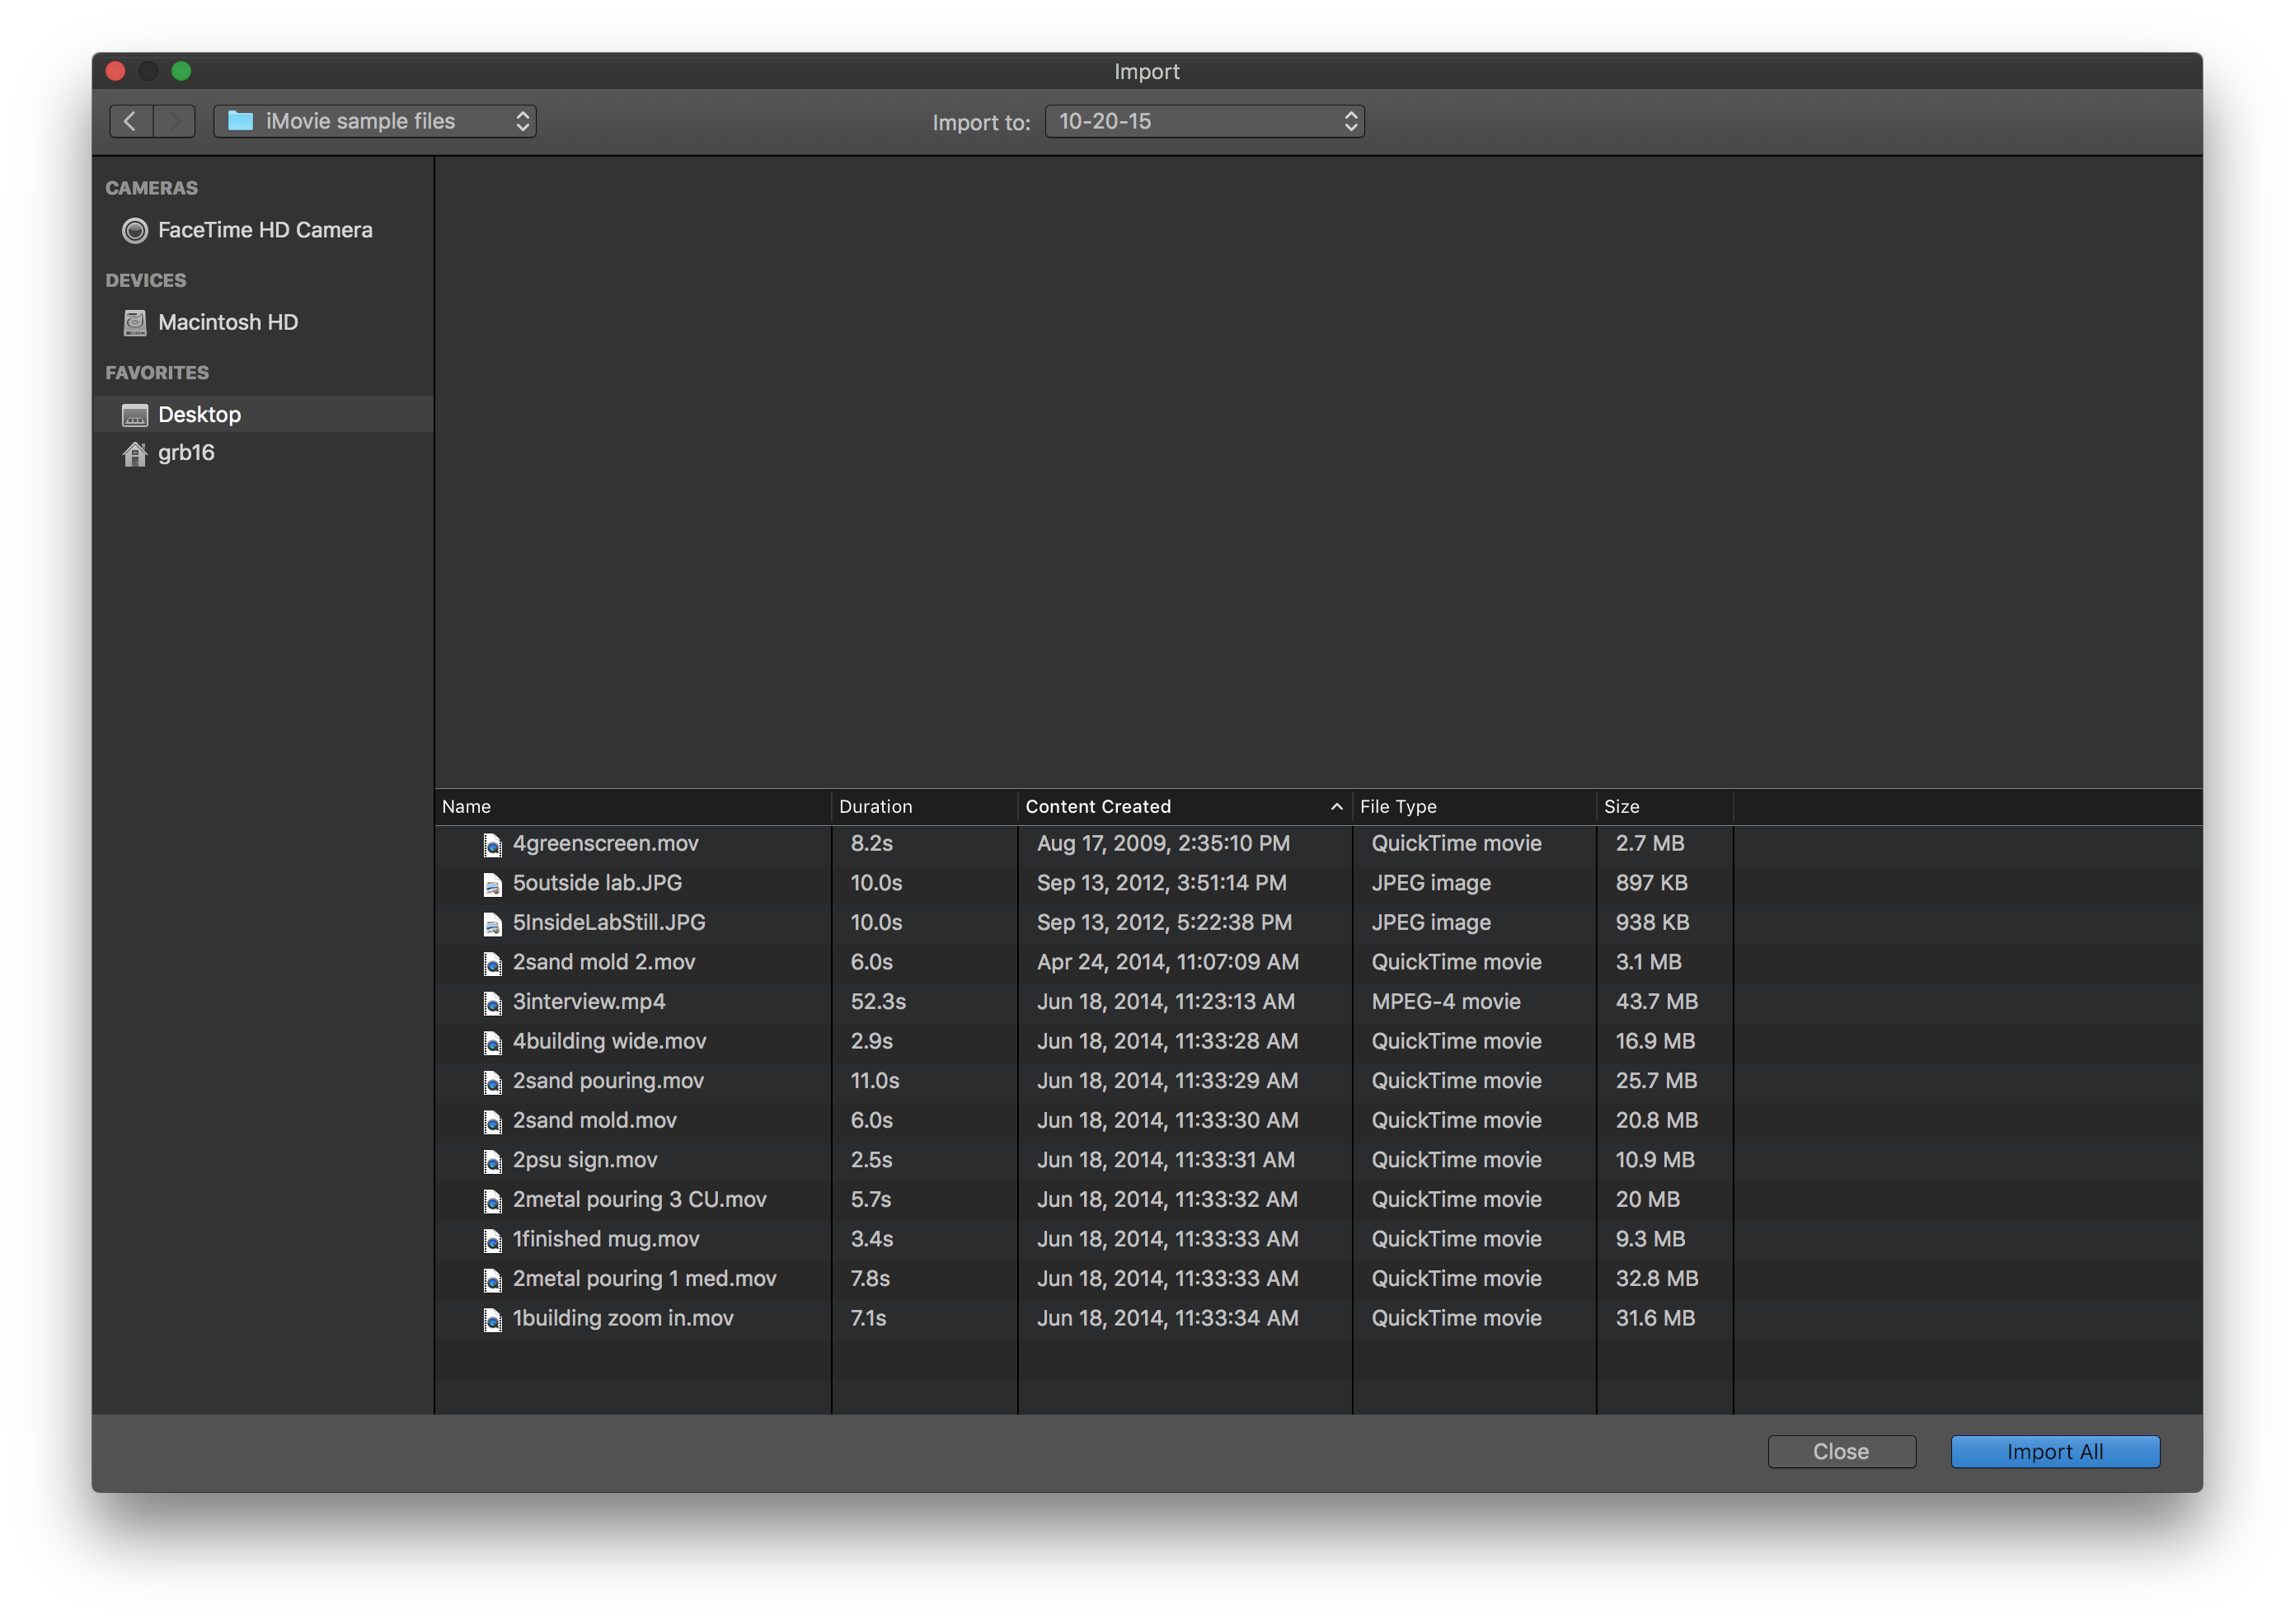
At the top of the Import Window, you will also see a menu titled Import to: where you can select which Event you would like the clips to import to.
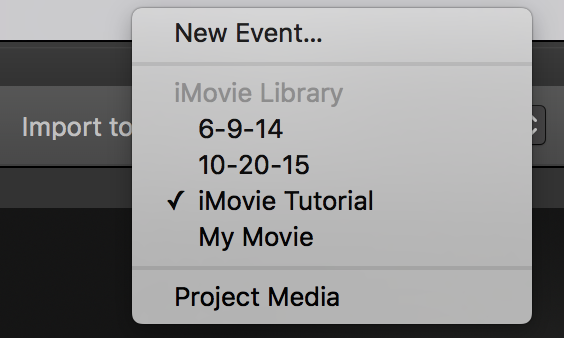
- Click the Import to drop-down menu
- Select an existing Event or select New Event to create a new event in which to import your video clips.
Editing Workflow Between the Event Library and Project
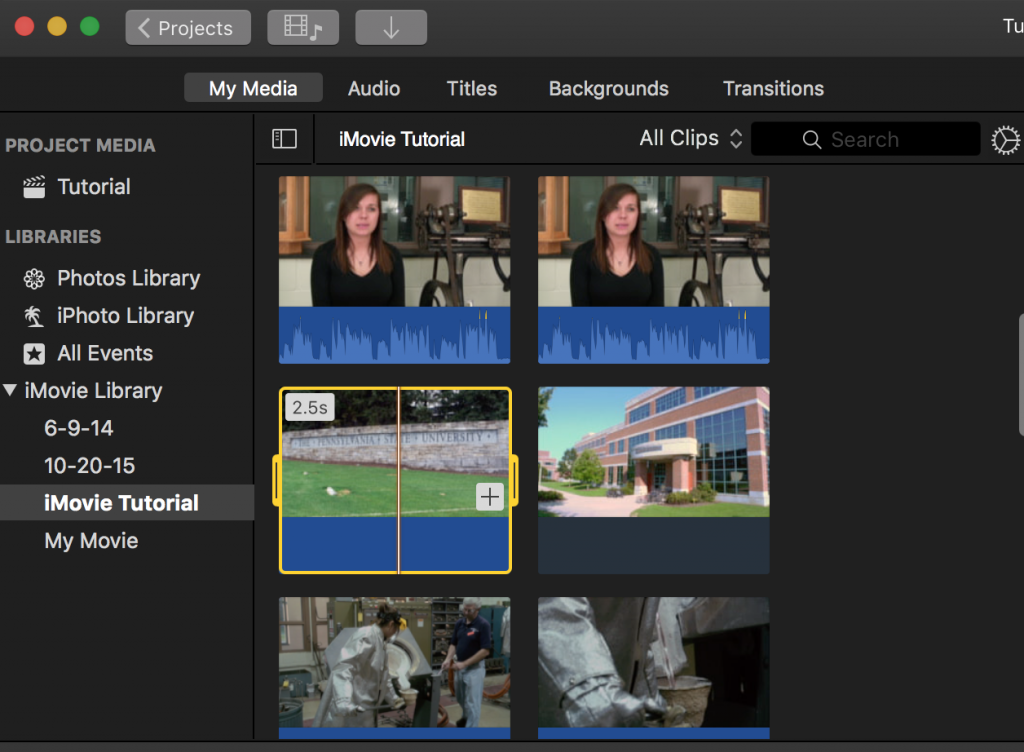
The Event Library workspace and the Project Timeline look similar. The major difference between the two is that you cannot edit in the Event Library workspace. All editing must occur in the Project Timeline. The most you can do in the Event Library is select a certain clip and drag that clip into the Project Timeline.
- Select a video clip in your Event Library workspace that you would want to use in your Timeline. A yellow box will appear around the selected clip.
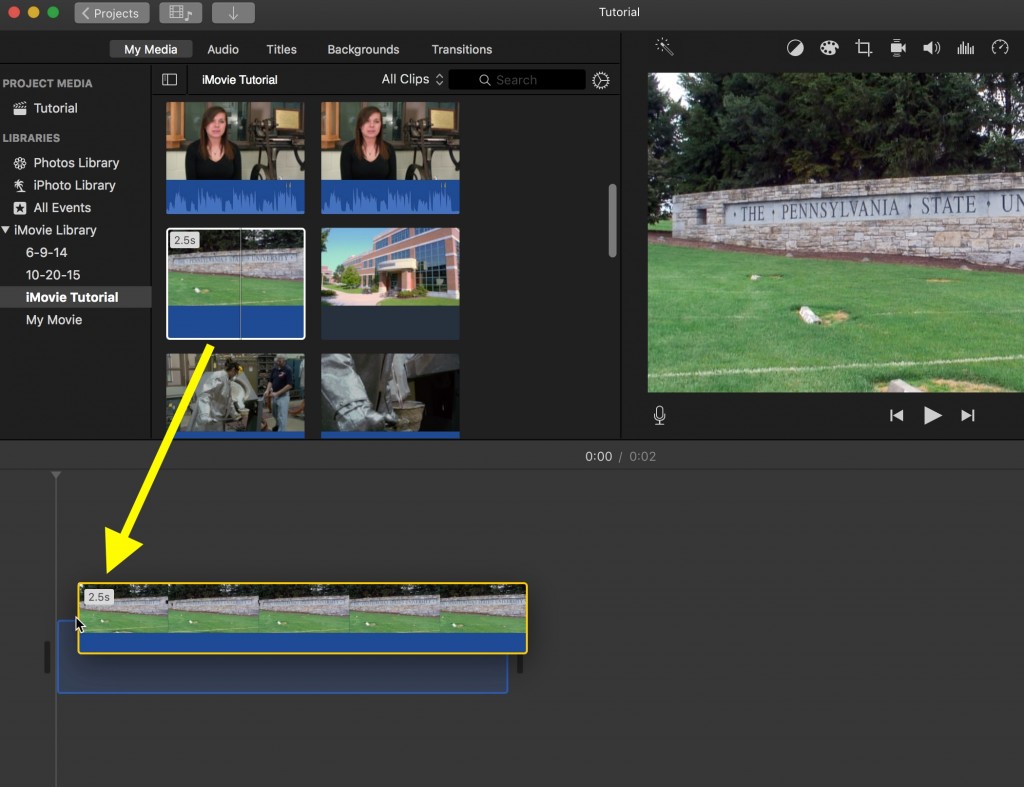
- Click and drag the selected video clip into your Timeline, and it will add the clip into your Project.
Basic Editing in the Timeline
Now that we know how to add clips from our Event Browser to our Timeline, we can start to edit some of our footage.
Splitting a Clip
- To split a clip into two different clips, move your Playhead (white line that follows your cursor) to the point you want to split, and click on it.
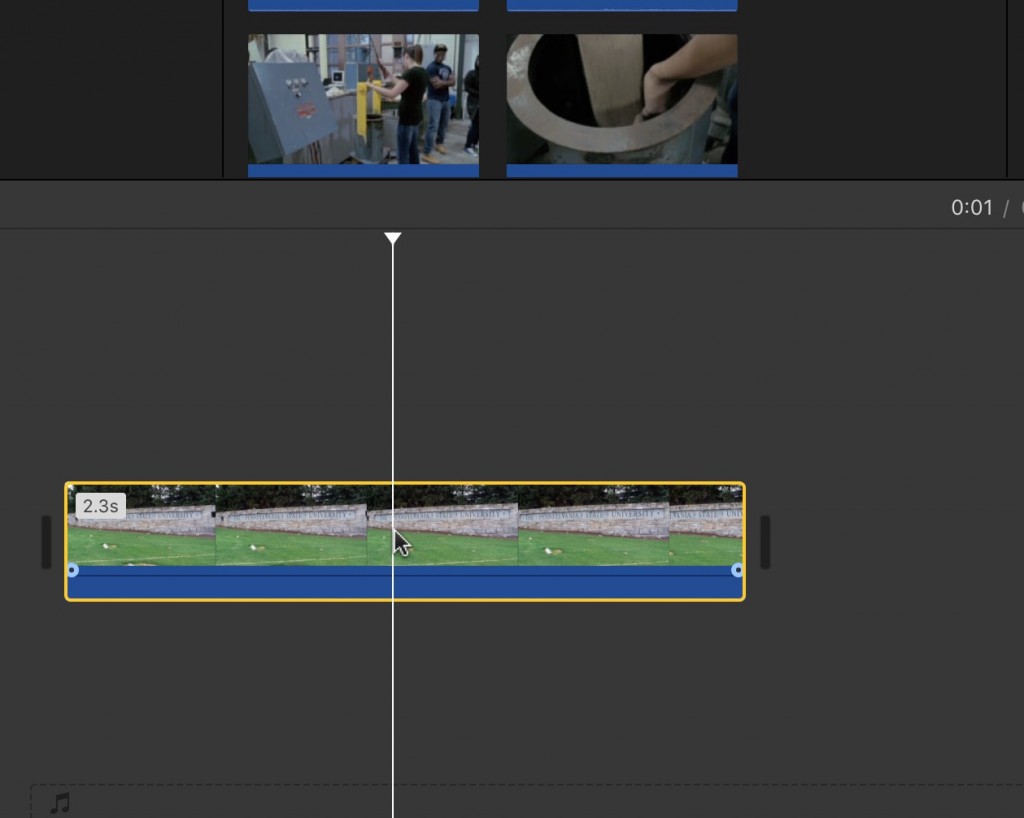
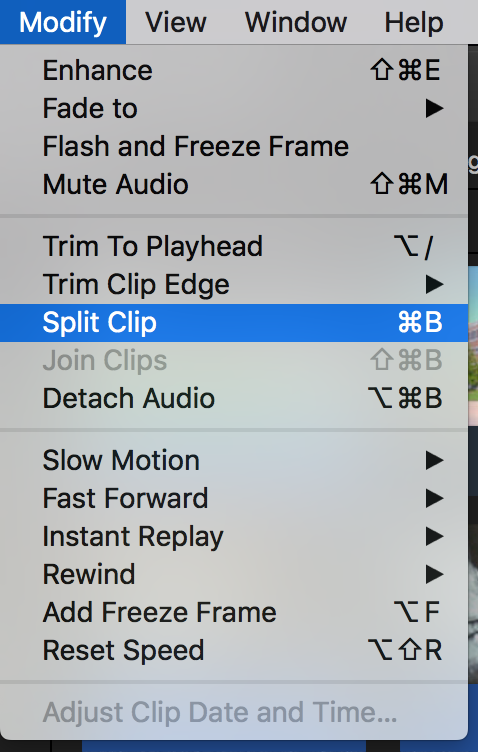
- Select the Modify menu at the top of the screen.
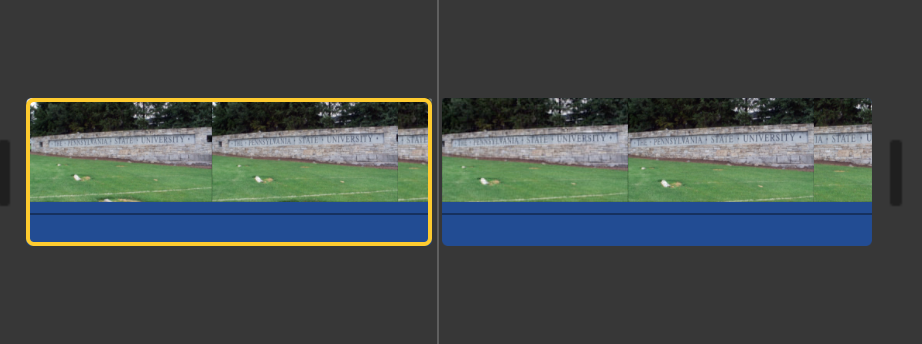
- Scroll down to the middle of the drop-down menu and choose Split Clip.
Trimming Clips
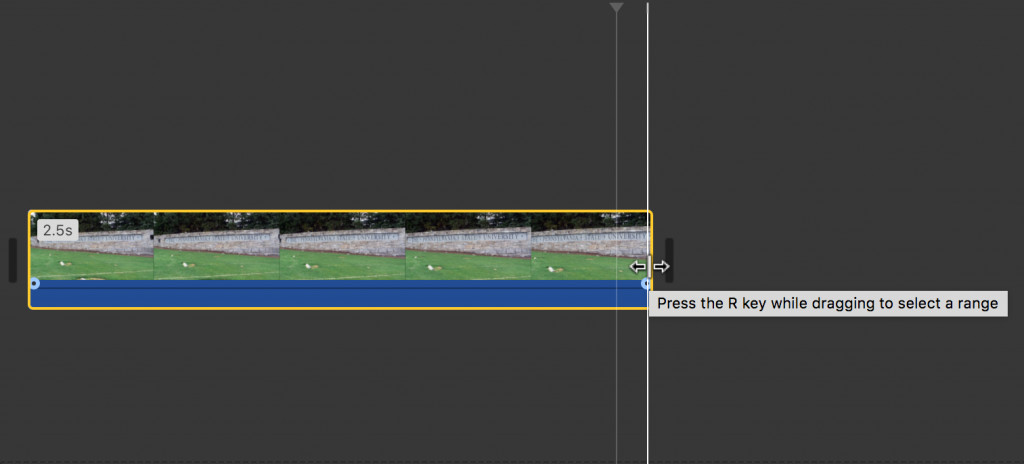
If you need to trim a clip down because you’ve added too much of it to your Timeline, you can simply drag the ends of the clips in your Project Timeline workspace.
- Select the clip you wish to trim. You will know it is selected when a yellow border appears around it.
- Move your cursor to the left edge of the clip until your cursor turns into two arrows pointing left and right.
- Click, hold, and drag left or right to either extend or shorten where you clip starts, respectively.
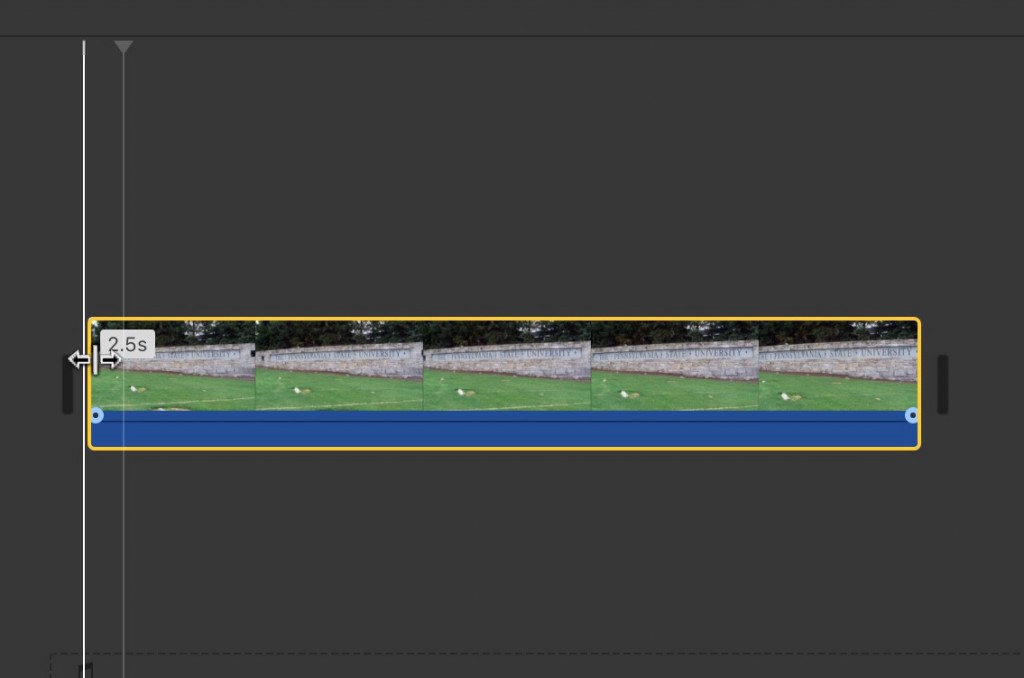
- Repeat the previous two steps on the right edge of the clip.
