This tutorial shows how to create a project folder and begin a new project in Adobe Premiere Pro.
Project Folder
Before you get started editing in Premiere Pro, you need to create a file system to save all of your video files and your Premiere project files.
- Create a folder on the desktop and name it something specific to your project, such as “360 Project”.
- Upload your video files to the new folder.
File Management
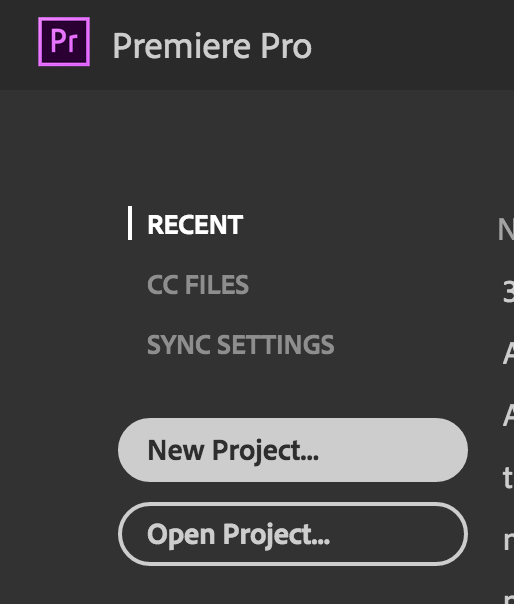
- Open up Adobe Premiere Pro.
- Select New Project on the left hand side of the pop-up window to create your video project.

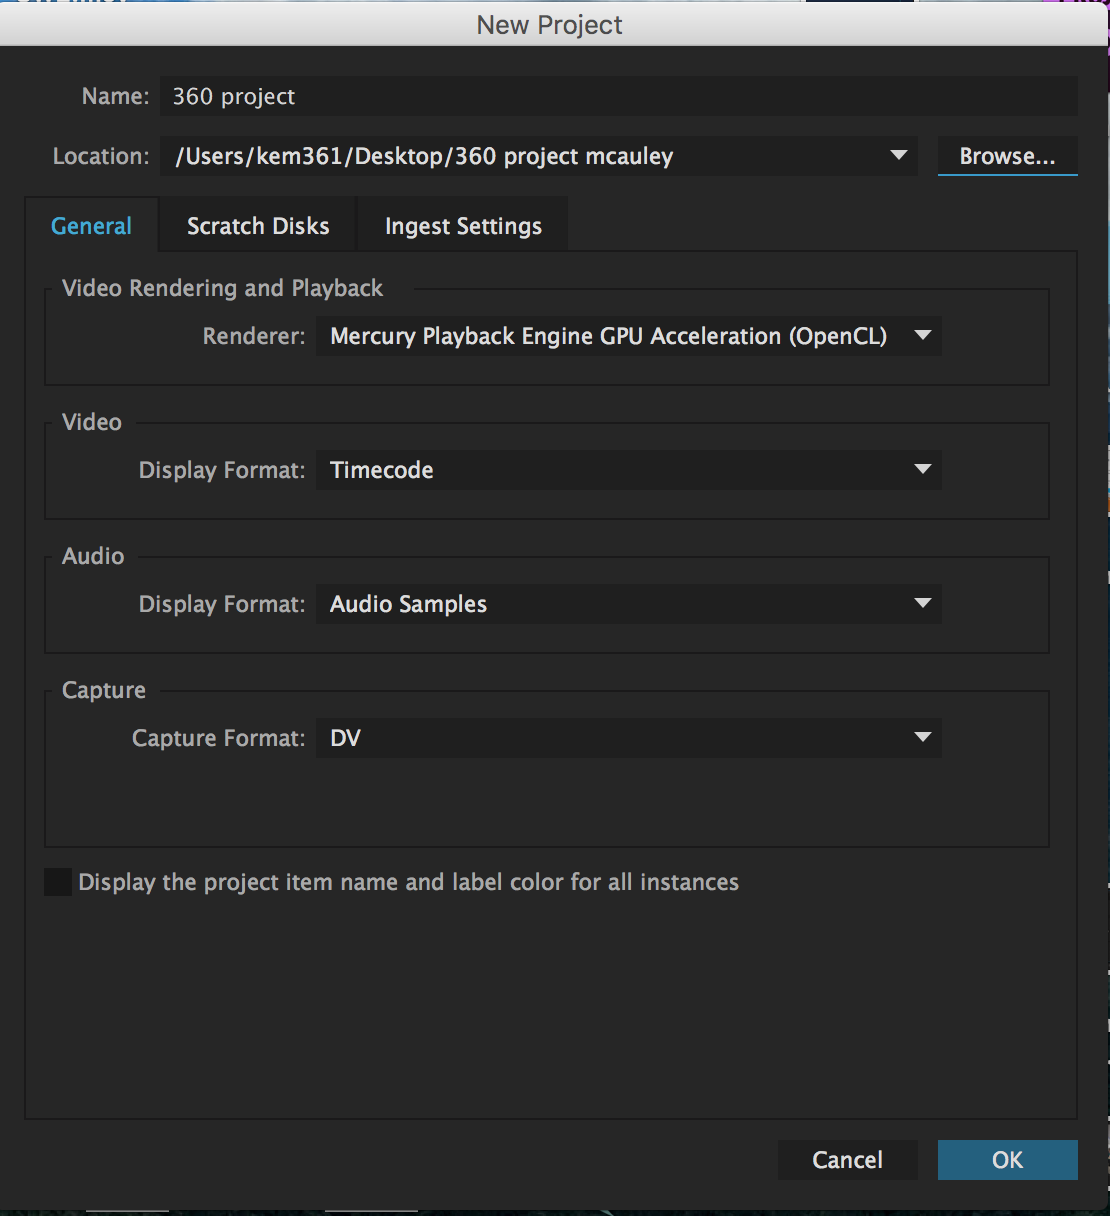
Once you’ve selected New Project, you’ll be taken to a new pop-up window where you will change a few settings before getting started with editing.
- Name your project by typing in a title at the top of the window in the Name title box, for example 360 Project for AEE349.
- Change the location of your project file to the 360 project folder you created on your desktop by clicking Browse on the right hand side of the pop-up window and selecting your folder.

You don’t need to change any of the other settings on this screen. You are now ready to work within the Adobe Premiere interface.
