Interviewing
Checklist
- Decide if an interview is an appropriate asset for your project.
- Choose what style of interview is most appropriate.
- Brainstorm potential interview subjects.
- Contact your interview subjects and plan interview logistics.
- Write your questions.
- Borrow or rent the necessary equipment.
- Set-up equipment.
- Conduct interview.
Before the Interview
1. Decide if an interview is an appropriate asset for your project.
2. Choose what style of interview is most appropriate.
Sit-Down, Interviewer Off-Screen
Man-on-the-Street
Sit-Down, Interviewer On-Screen
Direct Address
3. Brainstorm potential interview subjects.
Expert on Topic
Personal Experience
Opinion Based
4. Contact your interview subjects and plan logistics.
Plan to conduct your interview in a place that not only is going to be quiet and well-lit but – possible – also relevant to your topic. For example, interviewing a chemistry professor in a lab will be more visually interesting than in a generic classroom.
5. Write your questions.
- Avoid “yes” or “no” questions, questions with one or two-word answers, or questions that will lead to “list” answers. Use open-ended questions. (Instead of, “Do you like your major?” ask “What made you chose your major?” and “What do you find interesting about your major?”)
- Ask questions that set up the topic, go into detail and then ones that sum up which is done well by asking about what’s to come.
- Give your subjects a general overview of what you will ask but don’t send your questions to your subject before the interview. They may try to prepare and/or memorize answers beforehand, and then they will be more distracted with trying to remember their pre-planned answer instead of just answering the question.
6. Borrow or rent the necessary equipment.
University Park
You can rent equipment for your interview from MediaTech in the Wagner Building Annex for three days at a time, free of charge when course-related.
You will need:
- HD camera
- Lavalier (“lav”) microphone1
- Tripod
- Headphones
- Batteries2
Optional:
- SD card (if you choose to get a JVC camera)
- XLR cable (JVC camera)
- Lighting kit
Commonwealth
You will need:
- HD camera
- Lavalier (“lav”) microphone1
- Tripod
- Headphones
- Batteries2
2 Make sure all batteries are charged before going to the interview.
At the Interview
7. Set-up equipment.
Give yourself plenty of time to set-up the camera and microphone. It will likely take longer than you expect.
Go to the interview with at least one other person to help you. That way one person can focus on asking the questions and the other can focus on the equipment.
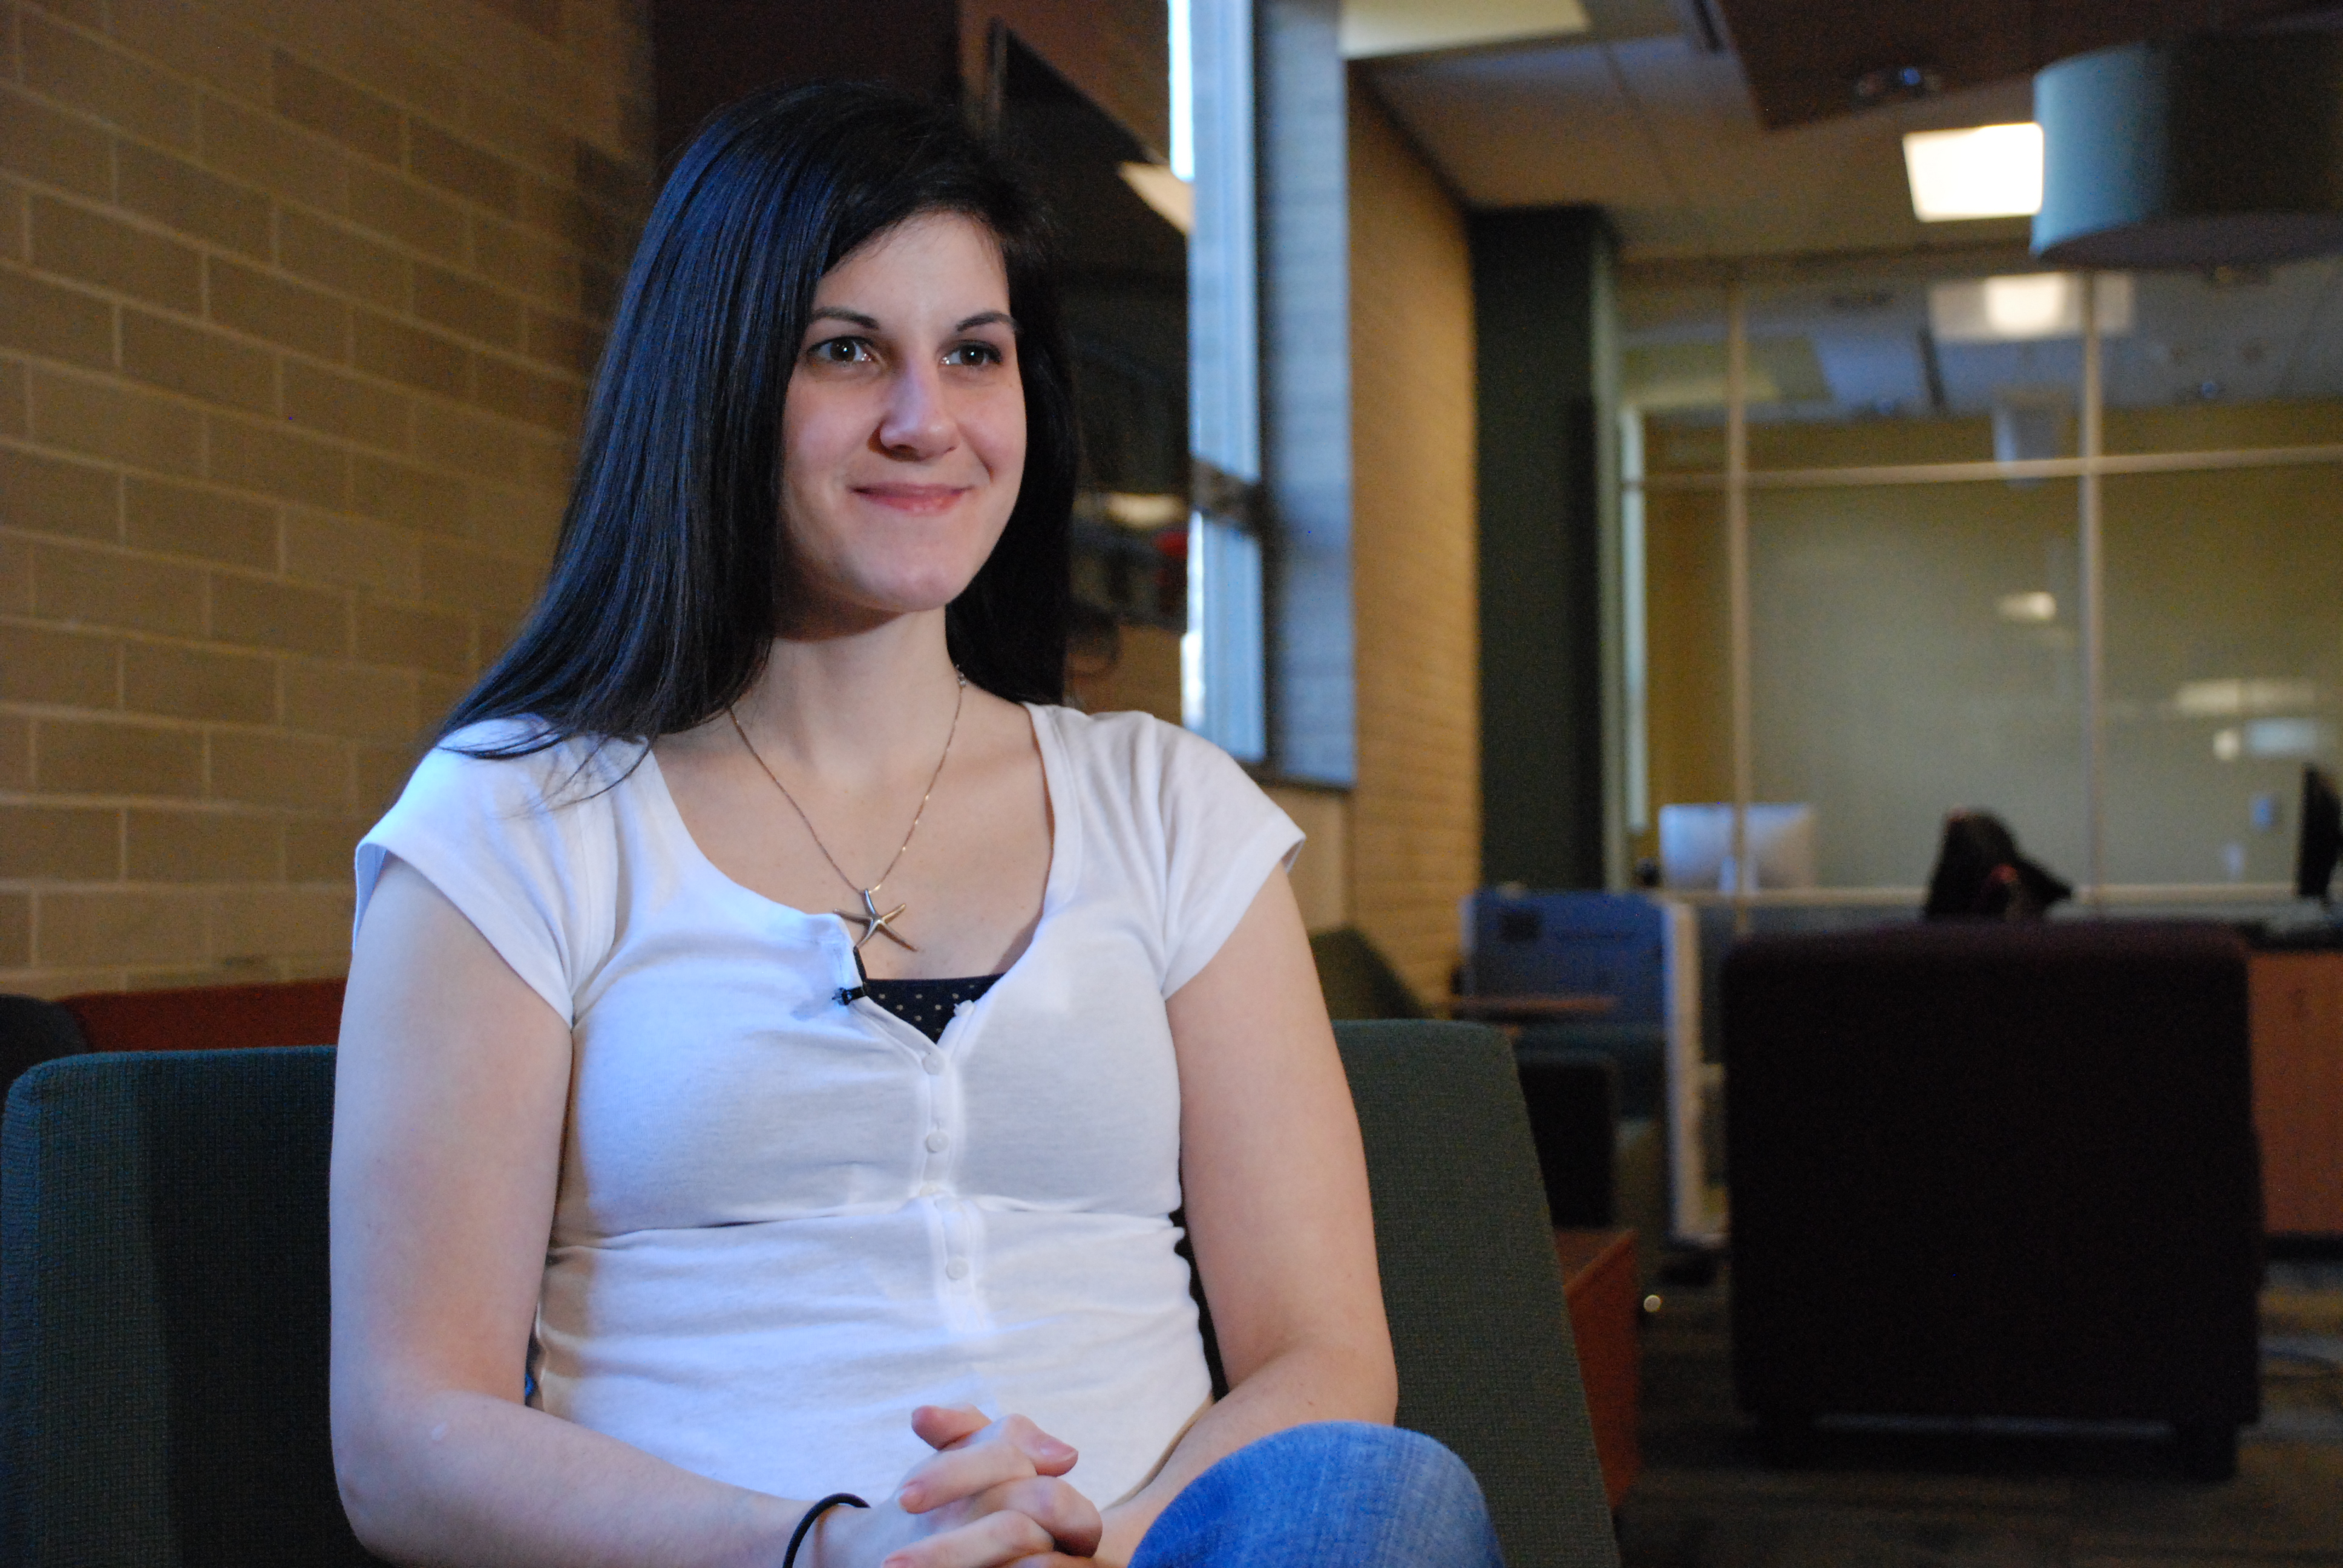
Pick a spot that has plenty of light. Use extra lighting equipment if necessary. Do not place your subject in front of a window with the blinds up or other large, glaring sources of light; this will backlight your subject, making them look too dark.
When putting the lav mic on your subject, keep these rules of thumb in mind:
- Have your subject put the lav mic under their shirt. This is to hide the cord.
- Clip the mic on the lower part of their shirt collar. If they have a jacket or sweater, clip it to the side of the sweater towards the top. If they have a tie, clip it high up on the tie.
- If your subject has long hair, ask them to push it away from the mic so that it does not rustle against it. Otherwise, it will interfere with your sound.
- Always use a tripod! Otherwise, your shot will look shaky instead of steady.
- Use a medium to medium close-up shot of your subject. You want them to be the main subject of the frame, but you don’t want to be zoomed in so close that it’s uncomfortable/too intimate, or so far that other objects in the room will distract the viewer.
- Make sure your subject, and not the background, is in-focus, especially if your camera settings are on “auto.”
- Keep an appropriate amount of head room above your subject.
- Don’t place your subject in the middle of the frame. Use the Rule of Thirds and give them appropriate lead room so the frame is balanced.
- Don’t have your subject look straight into the camera (unless you’re doing a Direct Address style). Place the interviewer to the side of the camera and have your subject talk directly to the interviewer.


- Have your subject do a mic check. Have them speak at the same volume as when they’ll be doing the interview. Make sure your audio levels are as high as they can go without peaking into the red.
- Use headphones throughout the interview to make sure that your sound is coming in well.
8. Conduct interview.
General Interviewing Tips
Pause for a few moments after each answer to make editing easy and clean later.
Don’t hesitate to ask follow-up questions that you may not have planned out beforehand, especially if your subject is talking about something really interesting and relevant.
If the subject stumbles over their words, encourage them to start over.
Record 30 seconds of “room tone.” Have everyone in the room be completely quiet and record 30 seconds of silence.
Interviewer Off-Screen Style
Encourage your interviewee to repeat or rephrase the question into their answer so it will make sense once the questions are edited out.
