
This tutorial will show you how to create your first Premiere Rush project, import and organize media, and use the interface controls.
- Open Adobe Premiere Rush.
The first time you open Premiere Rush, you will be taken through a tutorial for using most of its features.
We suggest that you complete the built-in tutorial, and then return to our written tutorials as needed.

The next time you access Premiere Rush, or if you skip the guided tutorial, you will be presented with the New Project screen.

- Click the blue Create a New Project button to begin your project.
Next, you’ll be taken to the Media Browser to select the files you want in your project. You will also be able to give your project a name and make selections on how Premiere Rush handles your imported media and project.

The Project Name is located on the left, towards the bottom of the screen.
- Click where it says “Untitled” and replace the text with the name you’d like your project to have.
- Leave the Sync with Creative Cloud selection checked.
- Click the box next to Copy Media to select that as well.

- Navigate to where your files are located.
Our files are in a folder on the desktop, but yours could be located in your downloads, documents, on the desktop, or a number of other locations depending on where you imported or stored your files.
- Once you find the files you want to import, click on them in the approximate order you’d like them to play in. You can select video, images, music, and/or sound effects.

- Click the blue Create button in the lower right once you have selected all the files you want in your project.
You’ll now finally see Premiere Rush’s editing interface. You will be able to click and drag your footage to rearrange it in the timeline.

Editing Interface Controls
Playback
Watch what you have so far by clicking the white triangular play button, or by hitting the spacebar on your keyboard.
Control Tracks
To be able to create cutaways with your video or images, click the Control Tracks button, located in the bottom left corner of the interface.

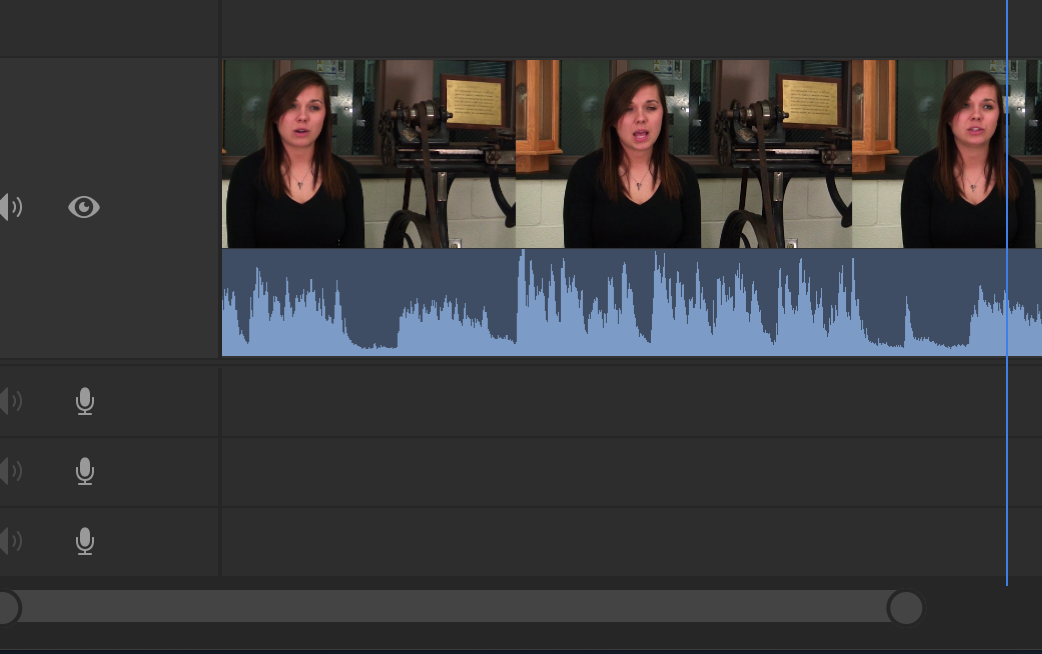
You will now see all 4 video and 3 audio tracks that you may want to use for your project.

Expand Audio
If you are making edits with audio elements that require precision, you’ll want to see your waveforms expanded.
Click the Expand Audio button, located in the bottom left corner of the interface.

You’ll now be able to see your audio waveforms better for more precise editing.

Zoom Timeline
For even more precise editing, or to see more of your project, you can zoom your timeline in and out.
This is done with the circular handles on either side of the slider a the bottom of the screen, which appear when you hover your cursor over the slider.
Click-and-drag one of the handles to make the slider longer to zoom out.

Click-and-drag one of the handles to make the slider shorter to zoom in.
