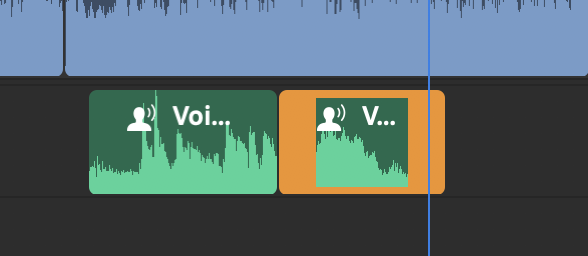
This tutorial will show you how to record and edit voiceovers in Premiere Rush.
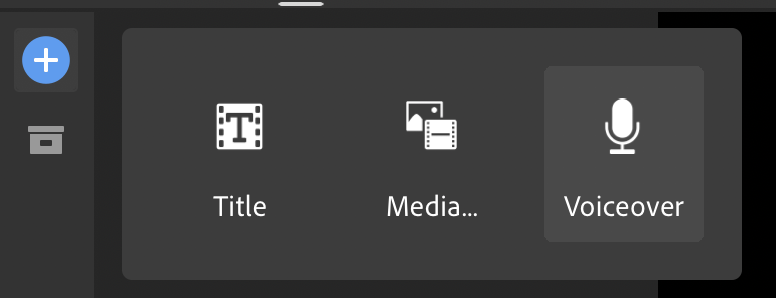
- Click the Add Media button (white “+” in a blue circle).

A selection window will pop-up.
- Click the Voiceover button.
This will enable the voiceover controls for the first audio track, represented by a red circle – the record button.
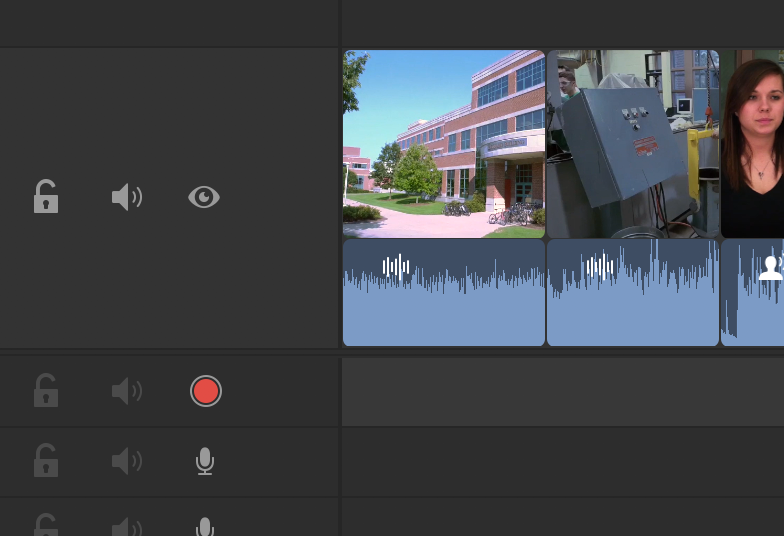
- Position the playhead – the thin, vertical, blue line – by clicking where you want to start recording within your timeline.
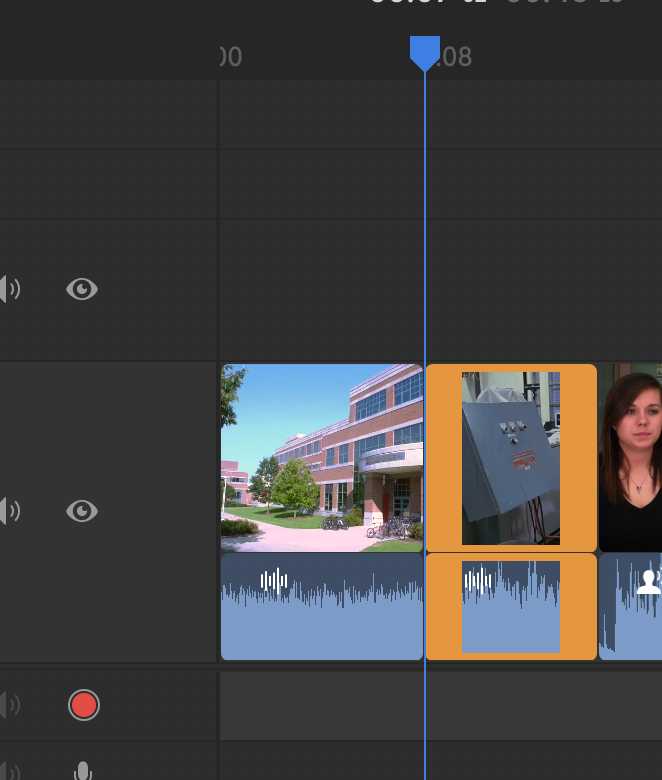
- Click the red Record button. You will be given a 3-second countdown before the recording will begin.
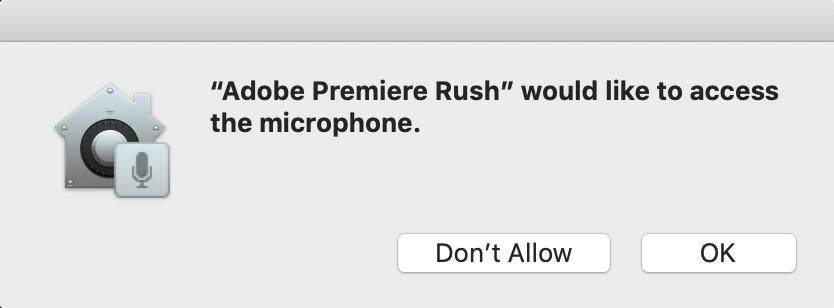
- If you are using Premiere Rush on a computer for the first time, you will be prompted to give Rush access to your microphone. Click OK.
- Once you are done recording, press the Record button again. When you are recording, the Record button will show as a Stop button with a red square.
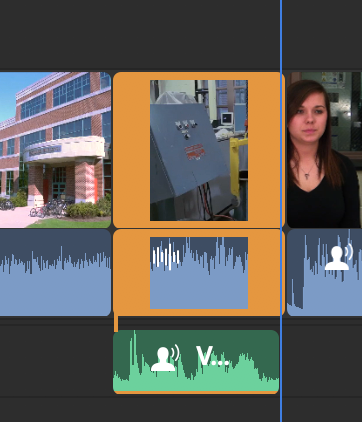
You will see your recording in green in your timeline.
Editing Audio
To edit out part of your voiceover, you can split the audio clip the same way as you can a video clip.
- Click the audio clip where you want to put each split.
- Click the split button or hit “s” on the keyboard for each split.
- Click the section you want to delete.
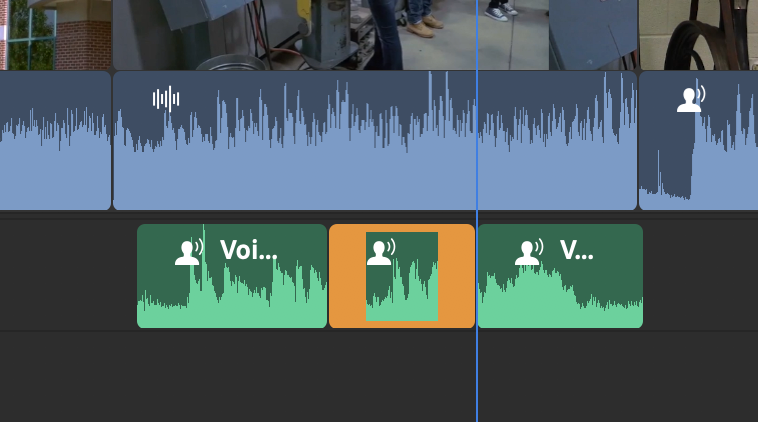
- Hit Delete on the keyboard.
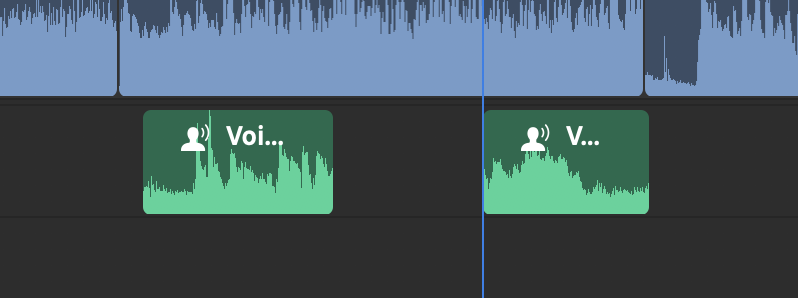
If you want the remaining sections of your recording to be sequential, you will have to manually bring them together by clicking and dragging them into place.
