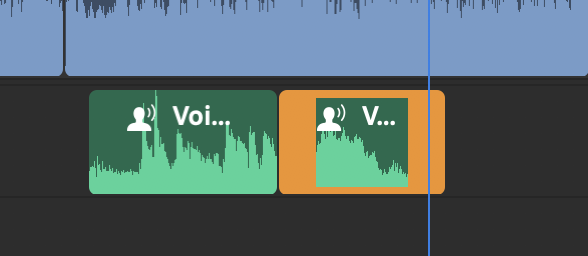
This tutorial demonstrates how to edit and adjust audio elements in Adobe Premiere Rush.
You may need to make adjustments to various audio elements in your project.
Clips
In the screenshot below, the selected clip’s volume is too loud for the voiceover that was recorded.
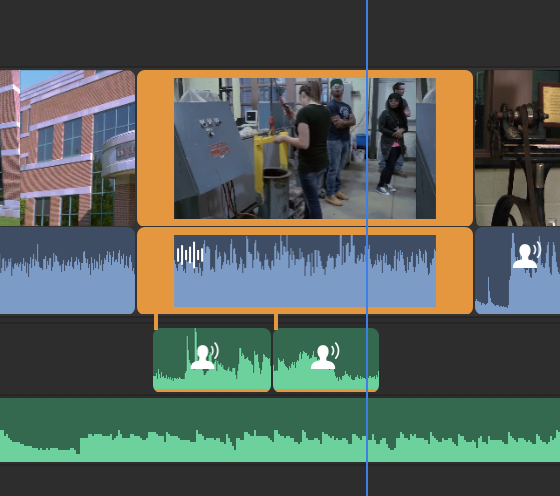
To adjust the volume of this clip we need to access the audio tools.
- Click the Audio button, located towards the top on the right.
By default you will see just the basic adjustments. The Clip Volume slider will allow you to adjust the overall volume of the clip.
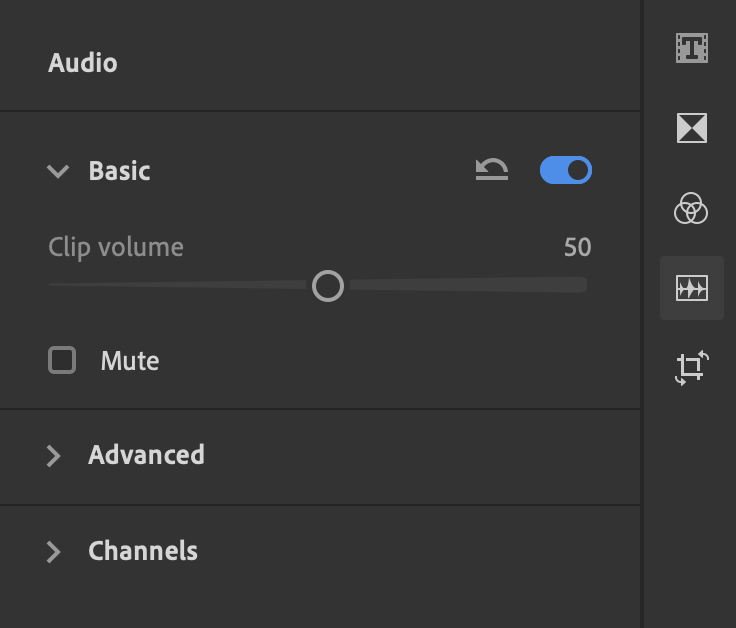
- Adjust the volume to an appropriate level for your clip.
- Select the Advanced label to access the advanced settings.
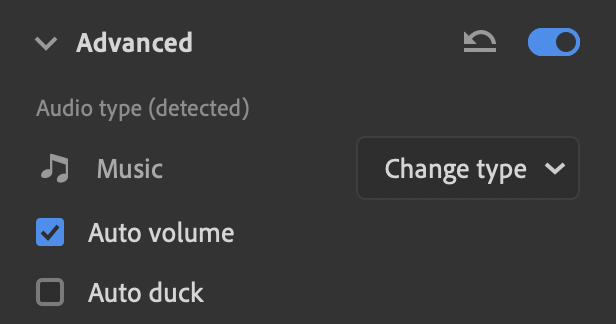
After opening the advanced settings we found that the clip in the example was too loud because Auto Volume was selected. For this clip that doesn’t have any voice in it, it would be better to deselect Auto Volume.
Music Tracks
Another adjustment to consider is the music track.
- Click on the music track to select it.
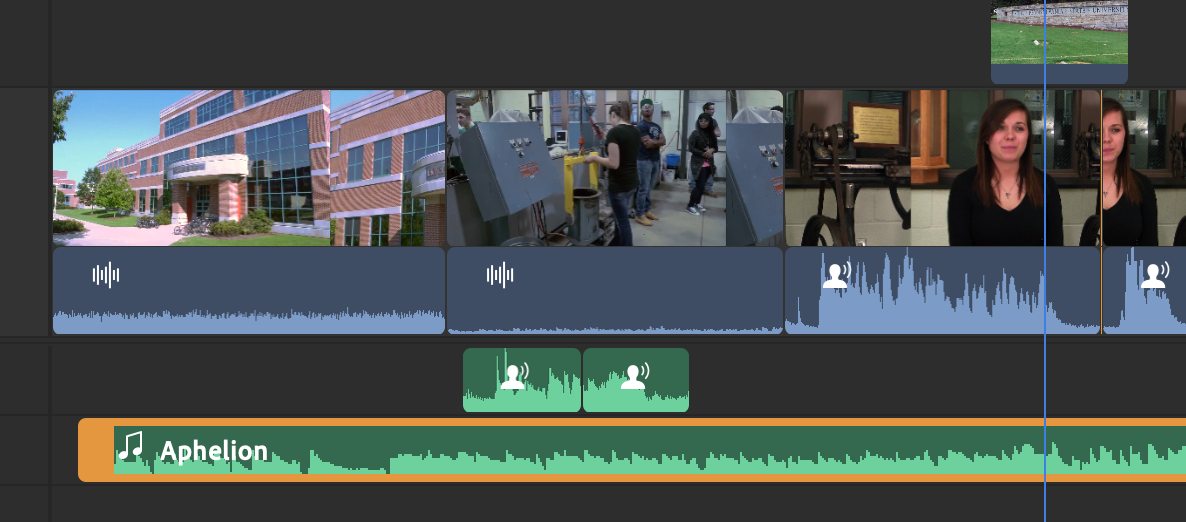
- Click the Audio button.
- Select the Advanced label to access the advanced settings.
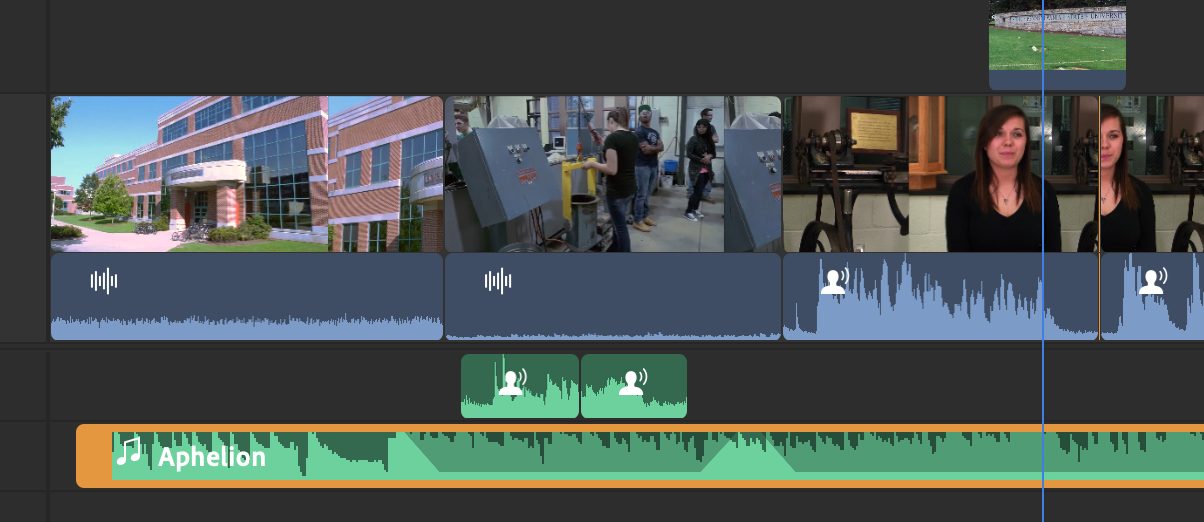
Auto volume may work for your music, but if you have a project like our example above, you might want the music to be full volume during the opening shot, and then be quieter when someone is talking.
To do this, uncheck Auto Volume and instead select Auto Duck.
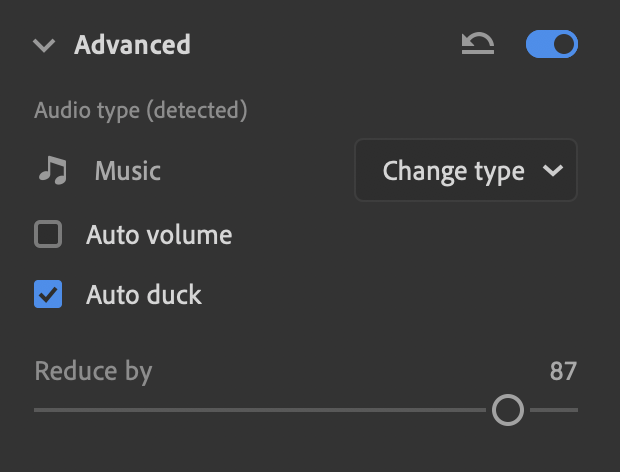
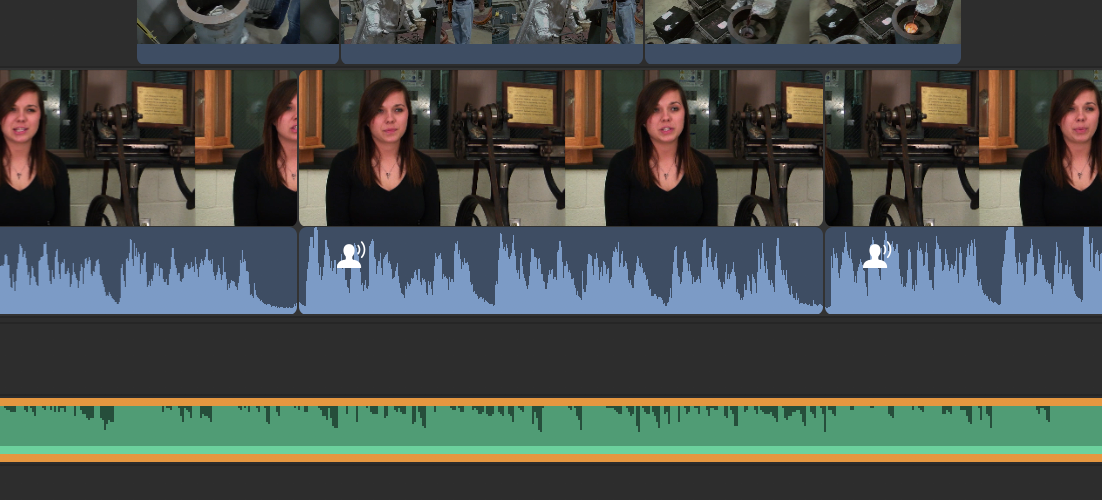
Visually, you will see shadows on the clips that this is applied to that indicates when it’s quieter. The audio will fade down as it approaches voice clips and fade up when the voice clips end.
Audio Clip Types
Music clips are labeled with an icon of a small white music note, voice clips are labeled with an icon of a small white person silhouette, and all other clips are labeled with a small white icon of audio waveforms.

If the Auto Ducking doesn’t work right, it’s likely because an audio clip is miscategorized.
Below, the middle audio clip is categorized as Other, indicated by the icon.
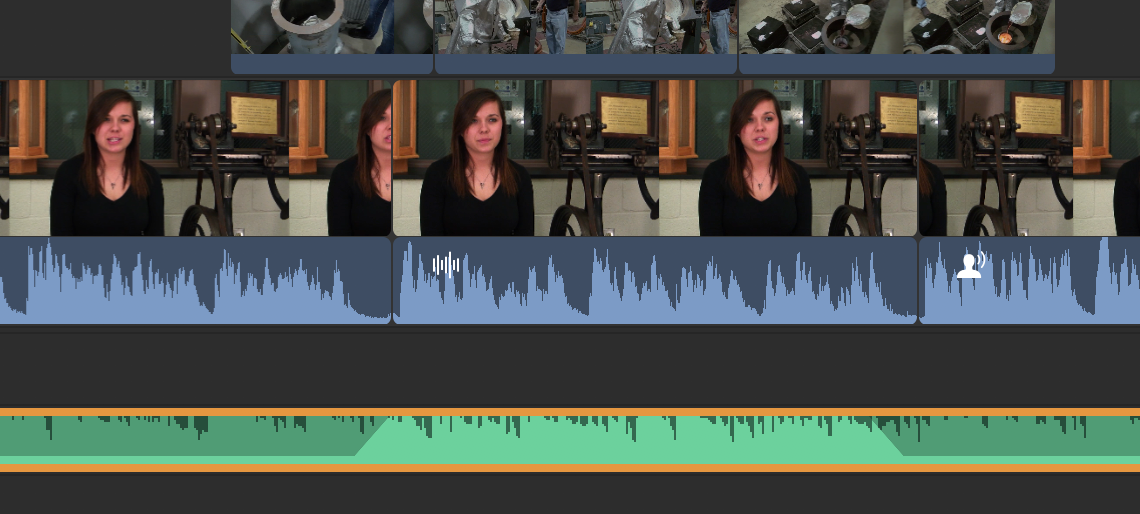
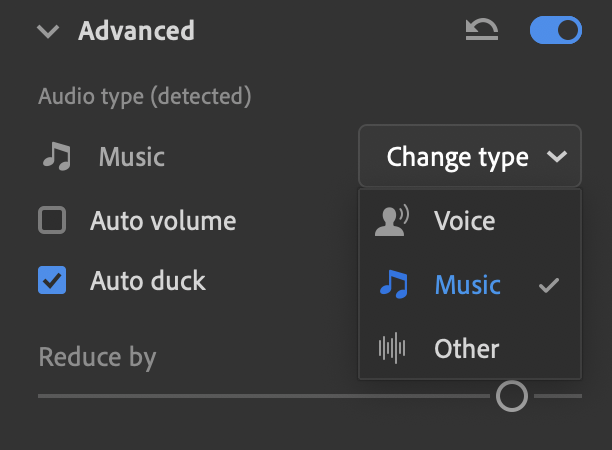
This can be changed in the advanced settings.
- Click the Change Type drop-down to see the options.
- Select the one you want to correctly categorize it.
The music should now duck correctly under the clip.
Editing Audio
To edit out part of your voiceover, you can split the audio clip the same way as you can a video clip.
- Click the audio clip where you want to put each split.
- Click the split button or hit “s” on the keyboard for each split.
- Select the section you want to delete.
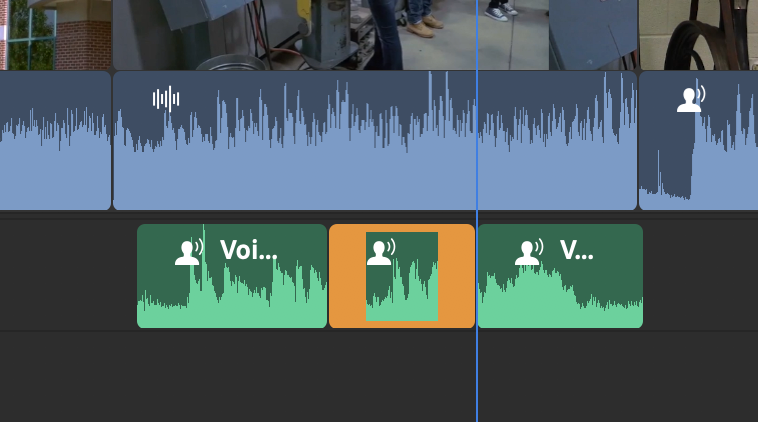
- Hit delete on the keyboard and the clip will disappear.
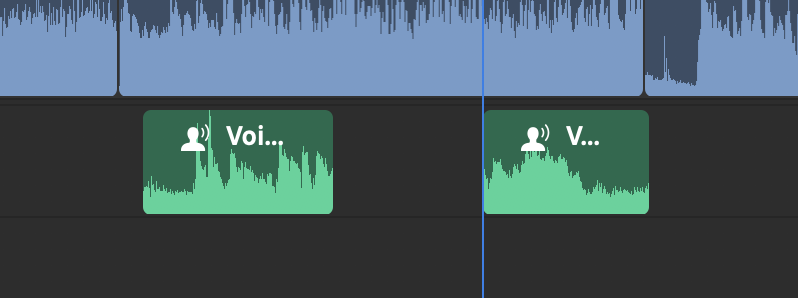
If you want the remaining sections of your recording to be sequential, you will have to manually bring them together by clicking and dragging them into place.
