This tutorial demonstrates how to add and customize titles, add and edit cutaways, and transform titles, images, and video in Premiere Rush.
Adding Cutaways
- Access your image and video files by clicking on the blue Add Media button.

- Select Media from the pop-up menu.

- Select the images and videos you want to add to your project as cutaways.
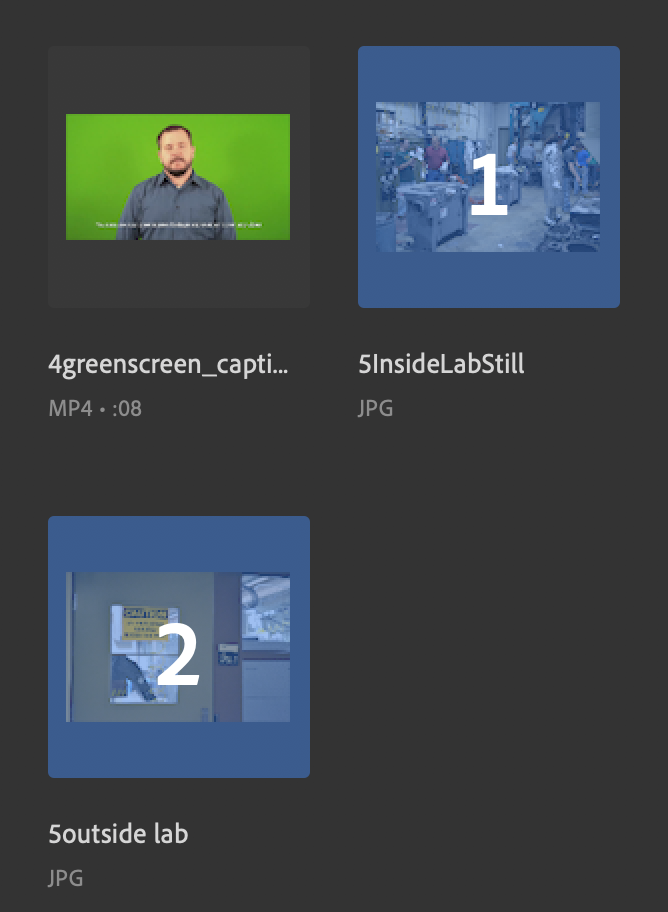
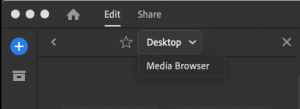
NOTE: If you don’t see the files you want, you will have to navigate to them. Click the drop down at the top of the media browser, and then select “Media Browser” and proceed to where your files are located.
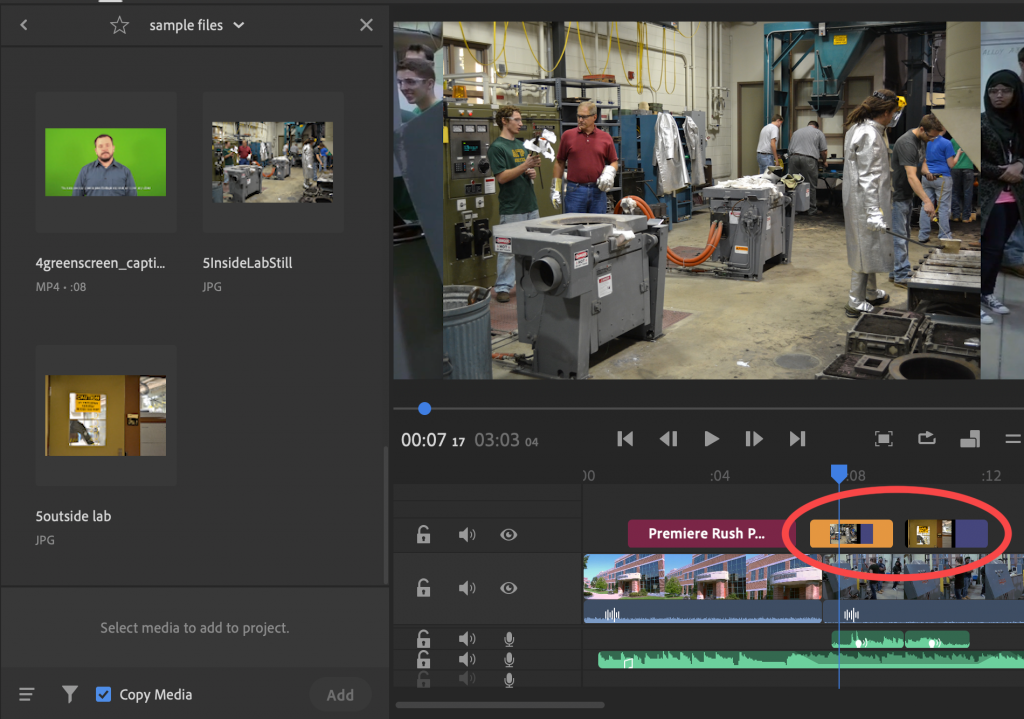
- Drag and drop your files into the timeline where you want them to appear, on the second video track.
You are able to have up to 4 layers of visual elements.
Adjusting Cutaways
You may discover that still images or video clips are the wrong dimensions for the video size. In the image above, there is space on either side of the still image used as a cutaway, in which you can see the video that the image is on top of.
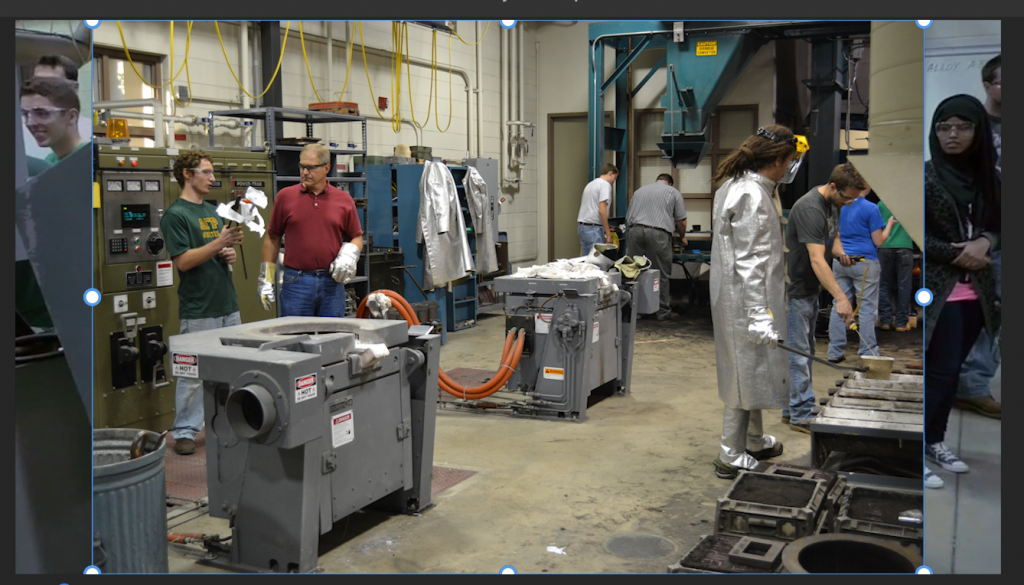
- Select the clip in the timeline.
- Access the Transform menu by clicking the Transform button in the upper right side of the screen.
- Leave Maintain Proportions selected.
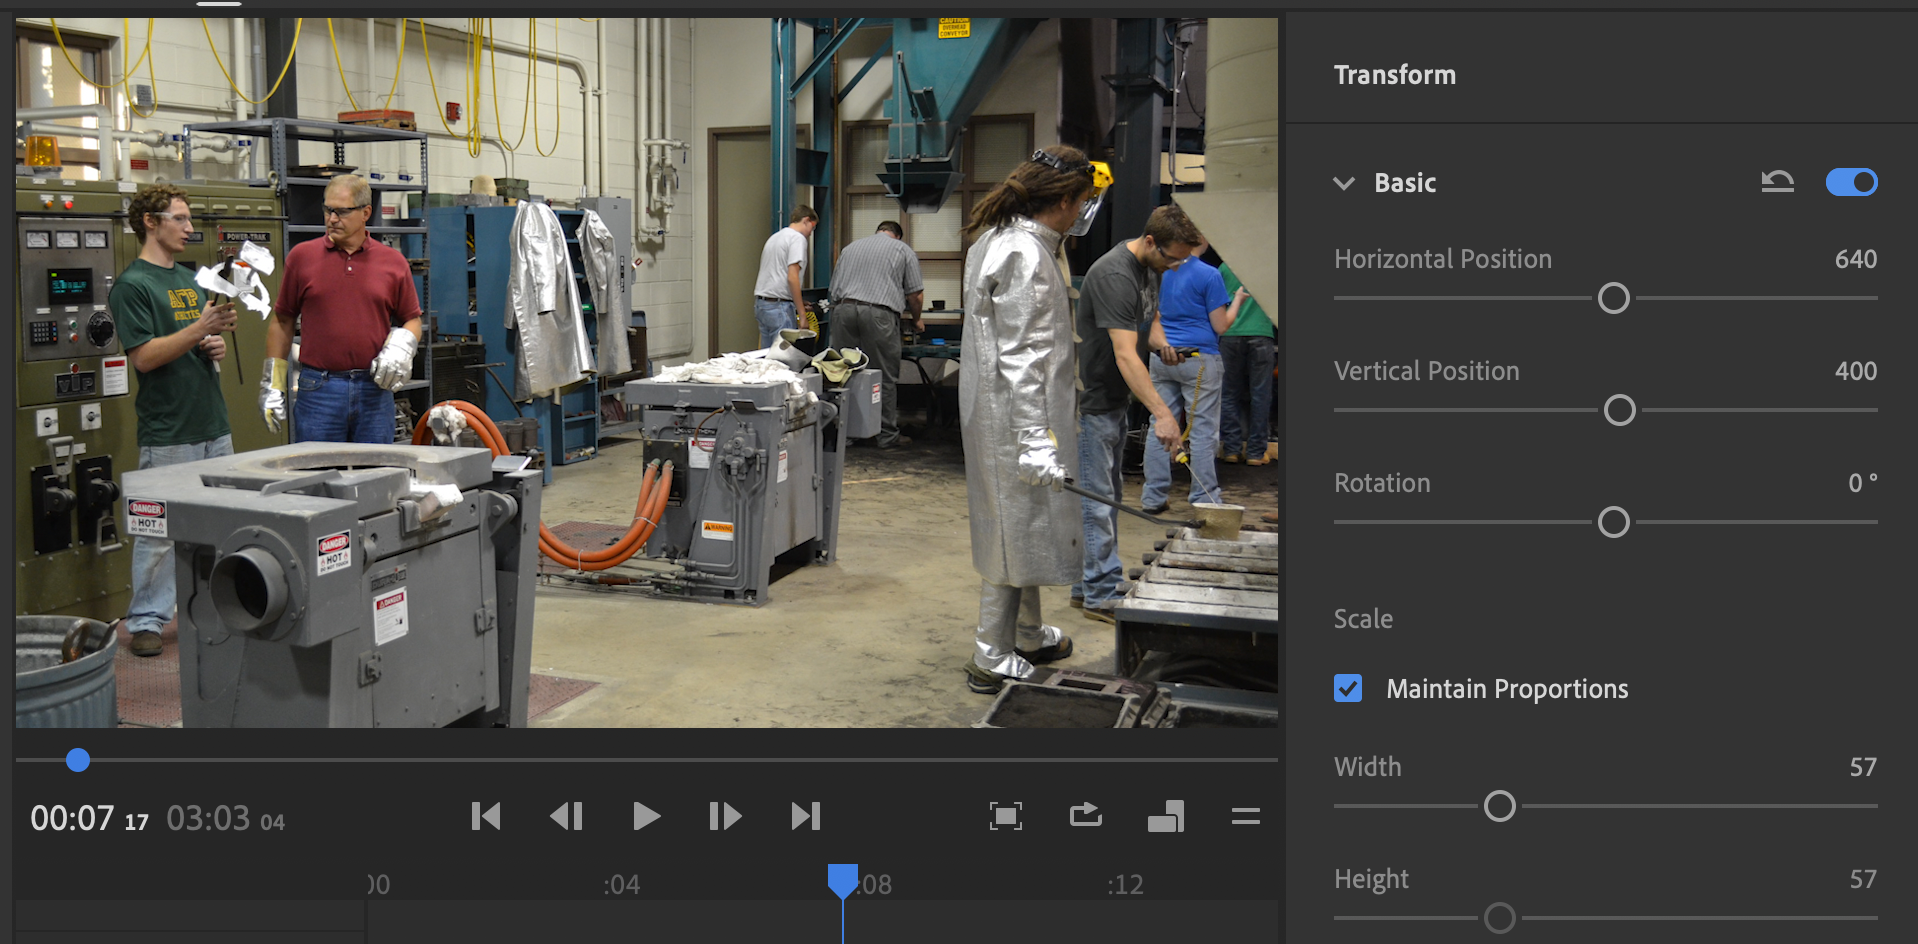
- Use one of the Scale sliders to change the size of the clip.
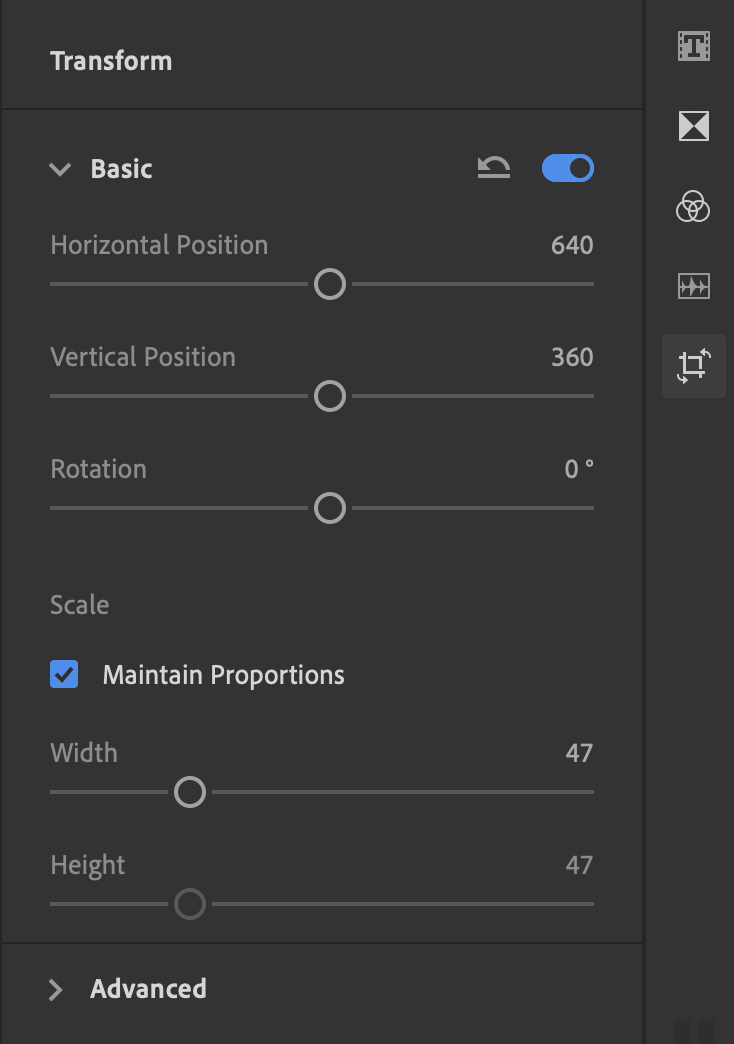
For this example we adjusted the scale from 47 to 57.
Adding Titles
Titles are used to add text to a video project.
- Click the Titles button, located at the upper right side of the screen.

The Titles menu will open on the right side of the screen and you can browse through the different options.
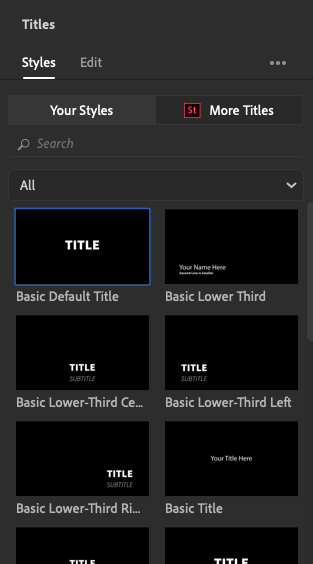
- Click and drag the title you want to use into the timeline.
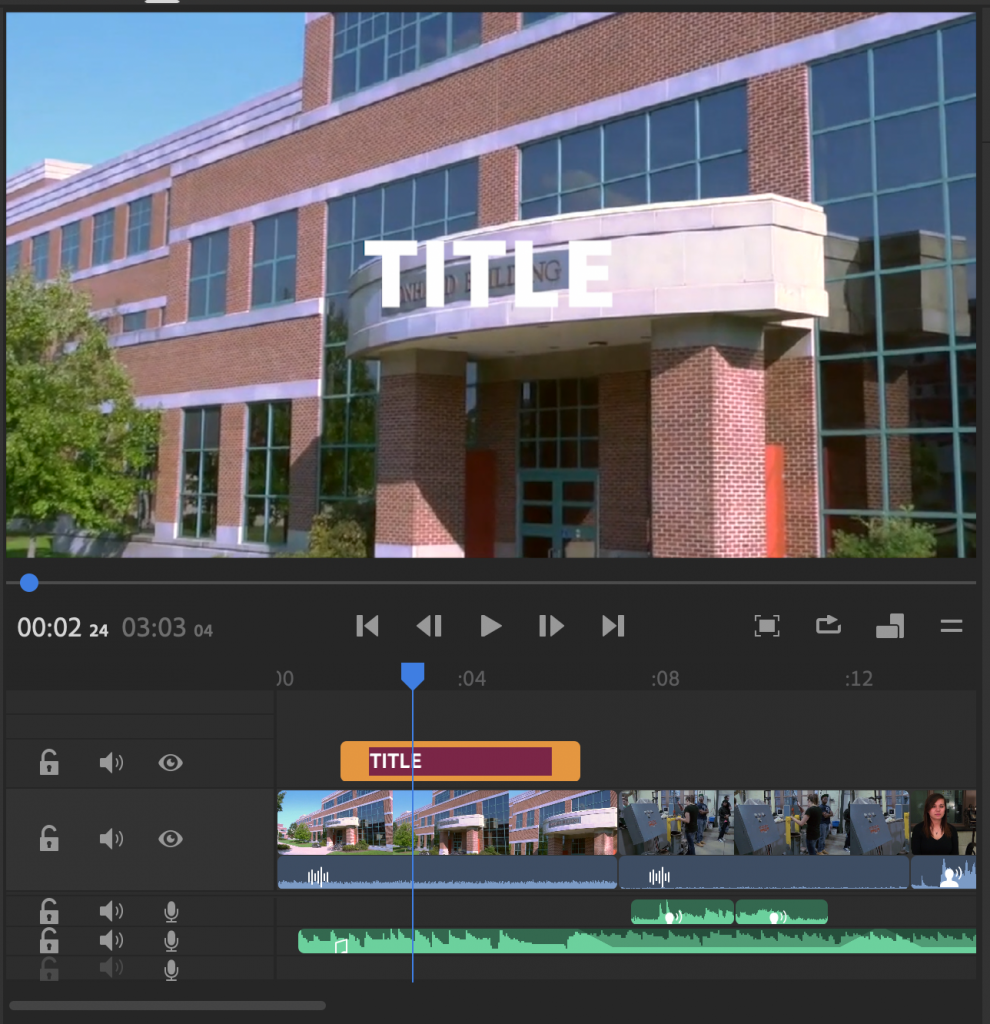
- To change what the title says, make sure it’s selected by clicking on it.
- Select Edit at the top of the Titles menu.
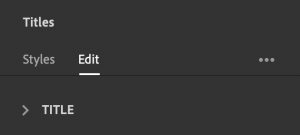
- Click where it says “Title” and the text will highlight so that you can type in what you want it to say.
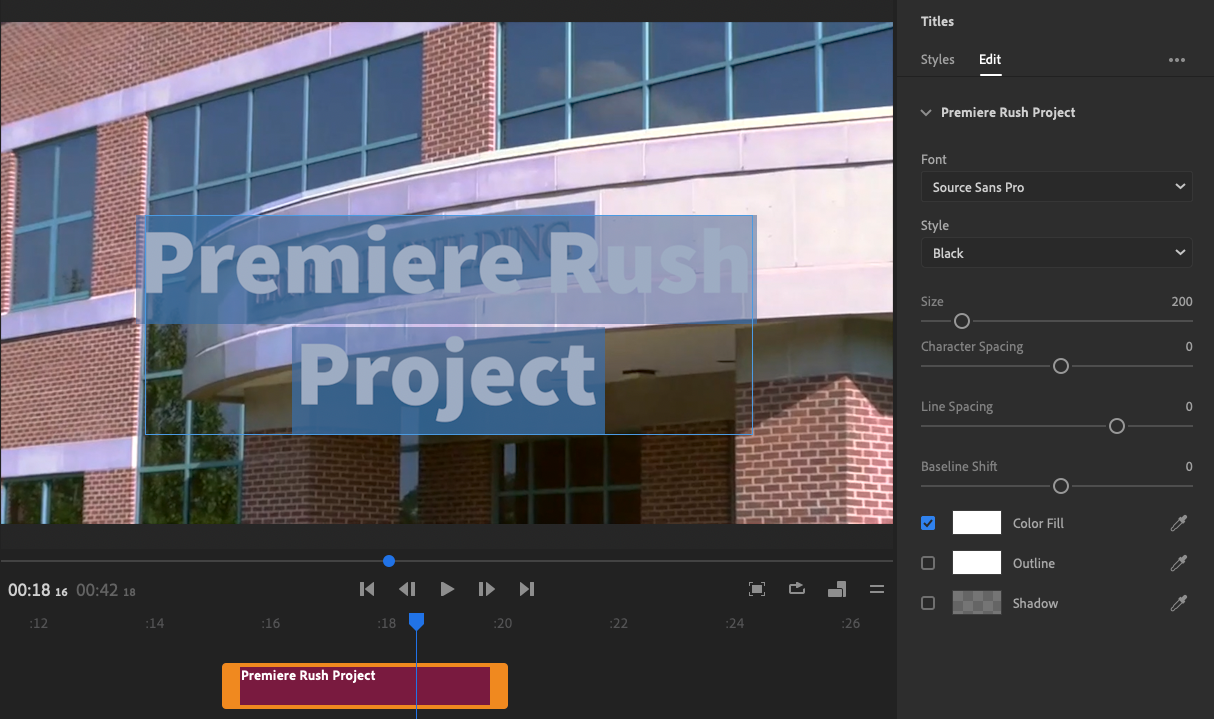
- While the title is selected and you are in the edit menu, you can also change the font, size, color and other adjustments to the text.
Editing Existing Titles
- Select the title you want to update.
- Click the Titles button.

- Click the Edit tab.
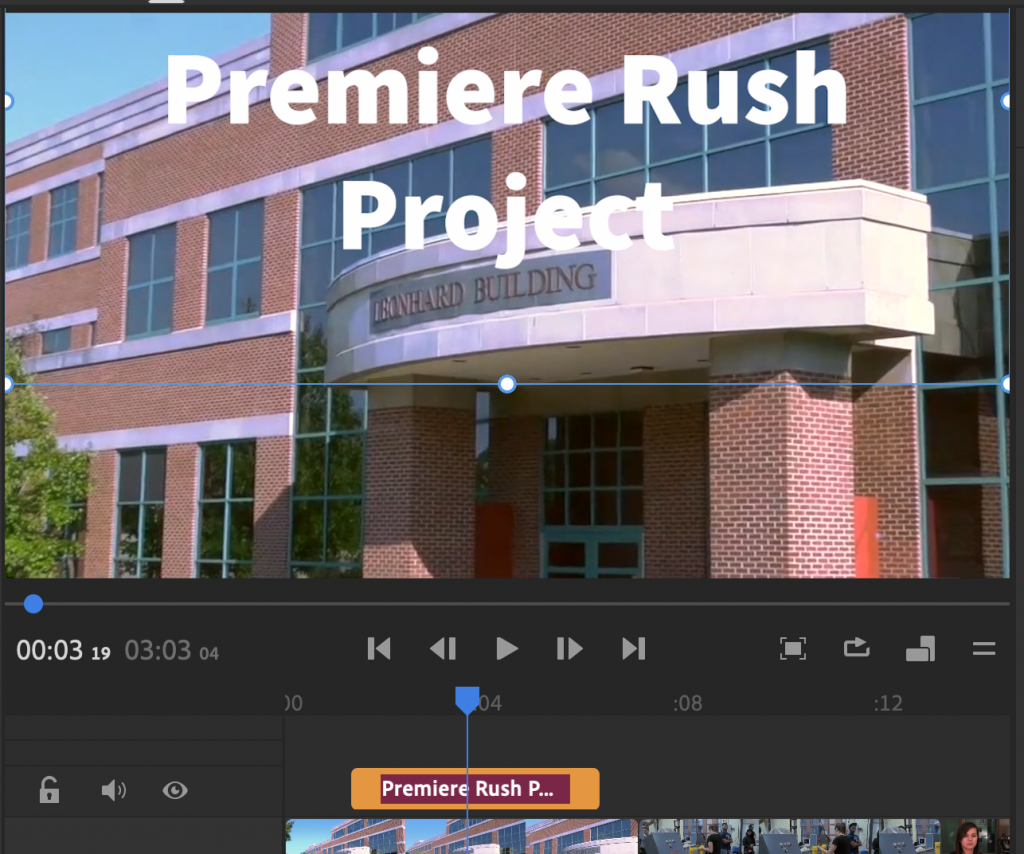
- Select your title text (In this example it’s “Premiere Rush Project”) to access the text editing tools.
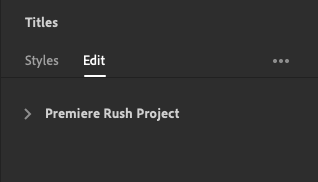
The text displayed here will match whatever the title says.
Changing Image, Video, or Title Position
- Click the item you want to change to select it.
- Access the Transform menu by clicking the Transform button in the upper right side of the screen.
- Use the Horizontal or Vertical Position sliders to adjust it up-and-down or right-and-left.
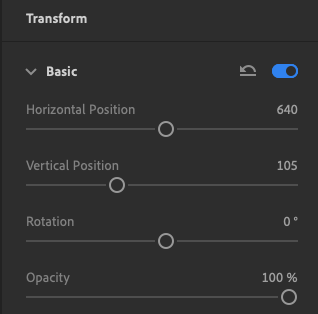
In this example, the title was moved from its position at 360 to 105.
NOTE: If you change the position of an image or video, you will likely need to scale its size up first.
