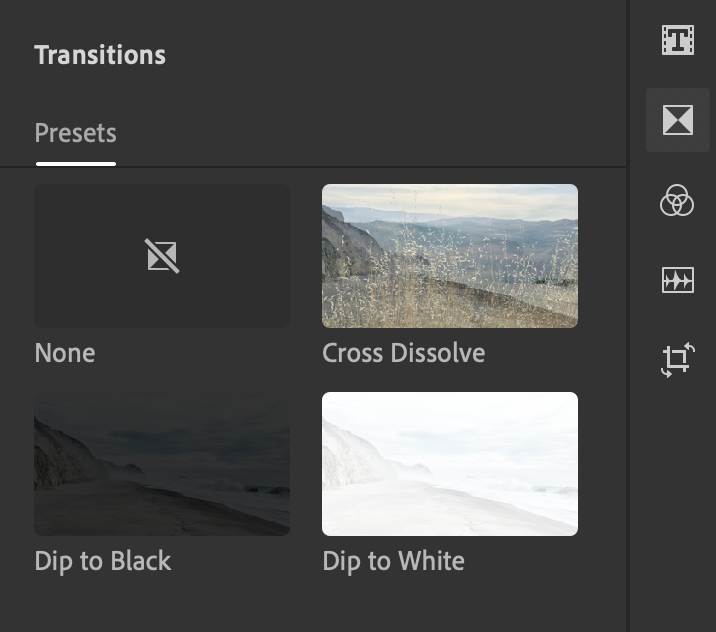
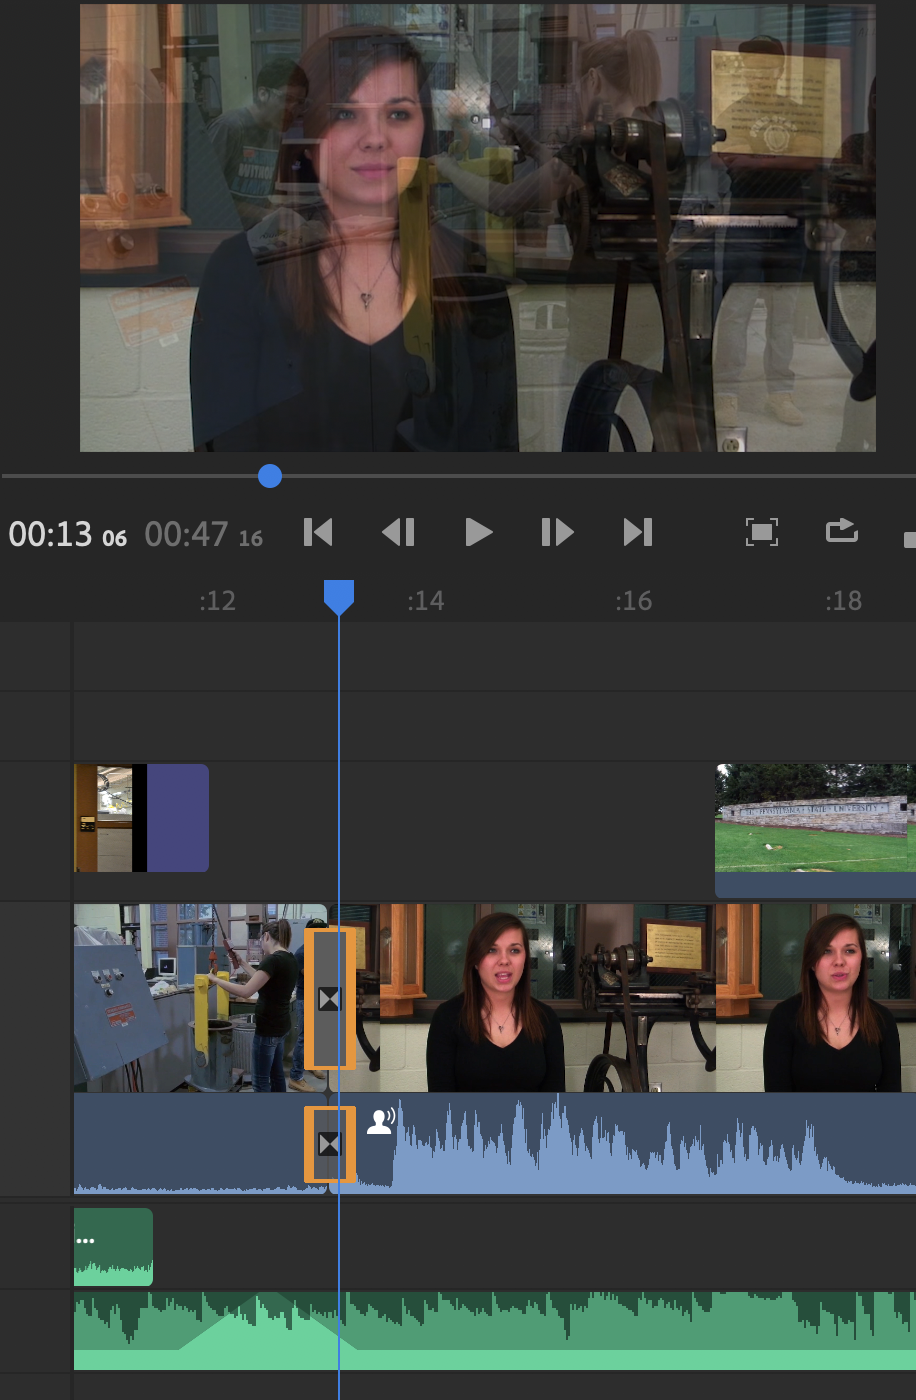
Transitions provide a smooth and easy change between clips. They generally are used to show a passage of time or change of location. This tutorial shows how to add transitions to audio, video, and still images in your Premiere Rush project.
Adding Transitions to Video and Still Images
- Select the Transitions button in the upper right side of the screen.
The Transitions icon is represented by a box split into four triangles.

The Transitions pane will open with four choices: Cross Dissolve, Dip to Black, or Dip to White. You can apply them at the beginning or end of a clip or in between clips.

- Click-and-drag the transition you want to apply to the timeline and drop it on-or-between the clips you’d like to transition.
If the clip has audio, the transition will also be applied as a cross-fade to the audio.

- If you don’t want the audio to fade with the video, select just the audio transition and select None from the transitions pane, or hit delete on your keyboard.
- To fade-in the beginning of your video, use either the Cross Dissolve or Fade to Black at the beginning of the clip.
Adding Transitions to Audio
To apply a fade to an audio clip, follow the same steps as applying transitions to video and still images. All of the three transitions will result in the same fade.

