iMovie has a feature that allows users to place and customize animated maps in their video. This tutorial will outline exactly how to create and include one of these maps in your video.
To start, we want to locate the Maps and Backgrounds section of the Media Browser.
- Select Backgrounds, the third tab in the upper left quadrant of iMovie.

- Click and drag the map style you wish to use to any point in your Timeline and drop it in.
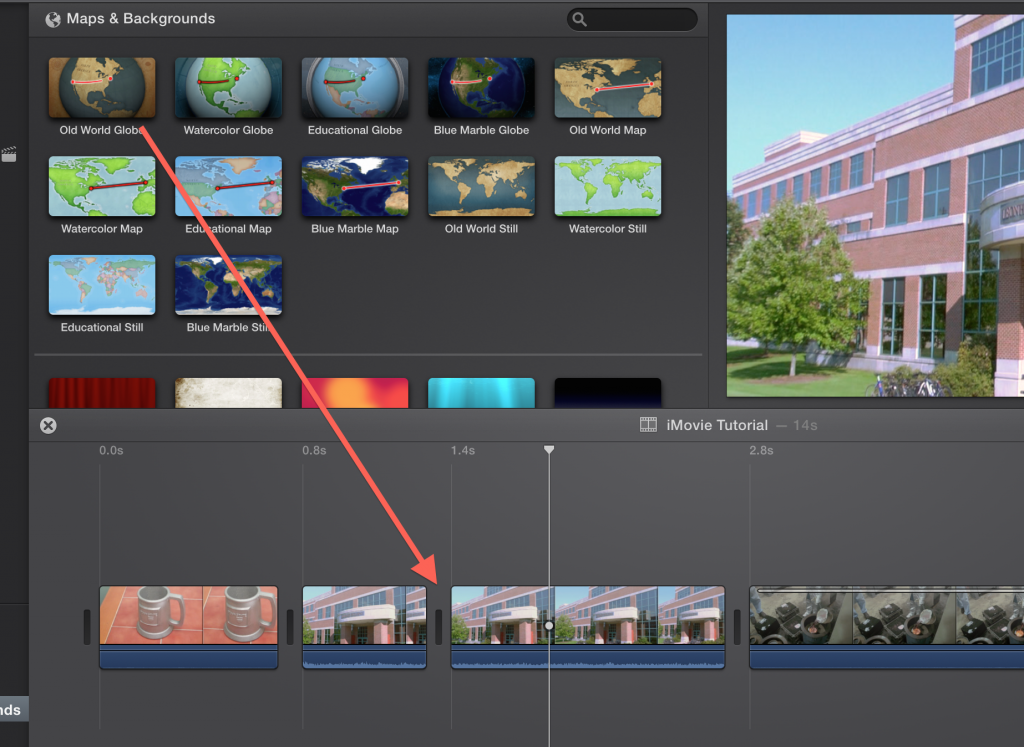
Now you will see the map on your Timeline.
- Select the map clip by double-clicking it, and you will see some new settings appear above your video in the Viewer window of iMovie.
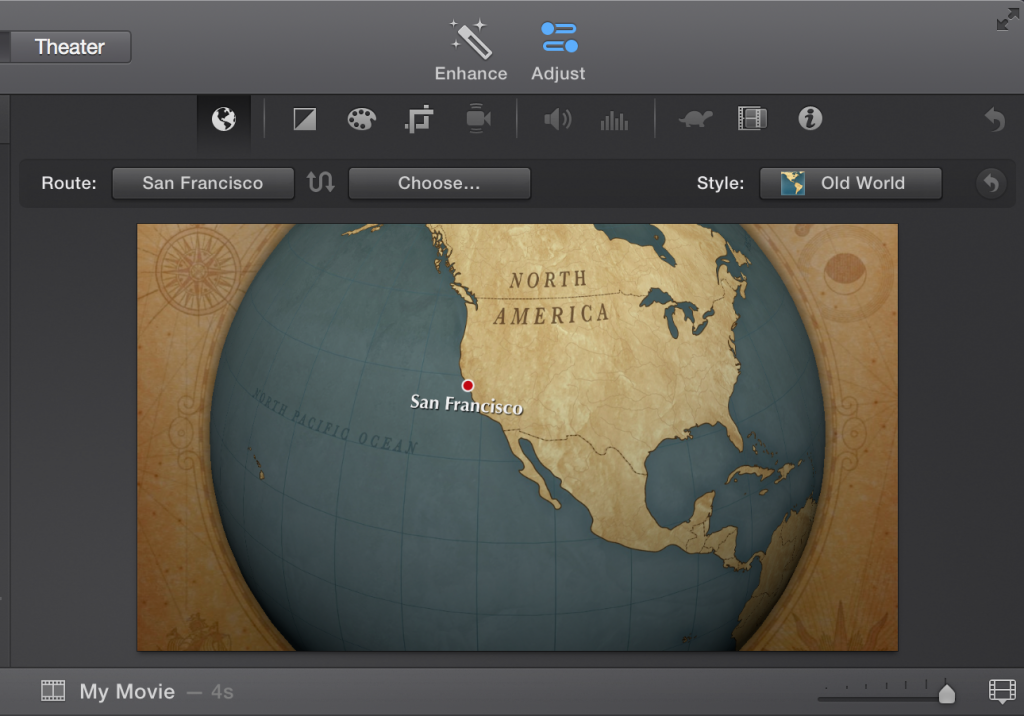
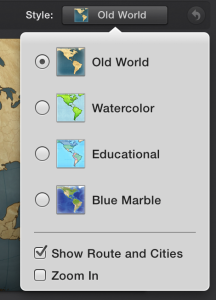
From here, you can change what Style the map will appear in, and the Route that the animation will follow.
- Select the Style button to change the style.
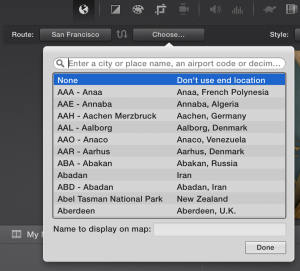
- Select the Route button on the left of the swap button (curved, double-pointed arrow) to search for/choose a starting point. iMovie defaults to San Francisco.
- Change the Name to display on map at the bottom of the search window if desired.
- Click Done.
- Select the Route button on the right of the swap button to search for and select the ending destination.
NOTES:
- Not all cities are available, but you should be able to find something close.
- The left-side location will always be the starting city, and the right-side will always be the destination. Use the swap button to reverse the two.
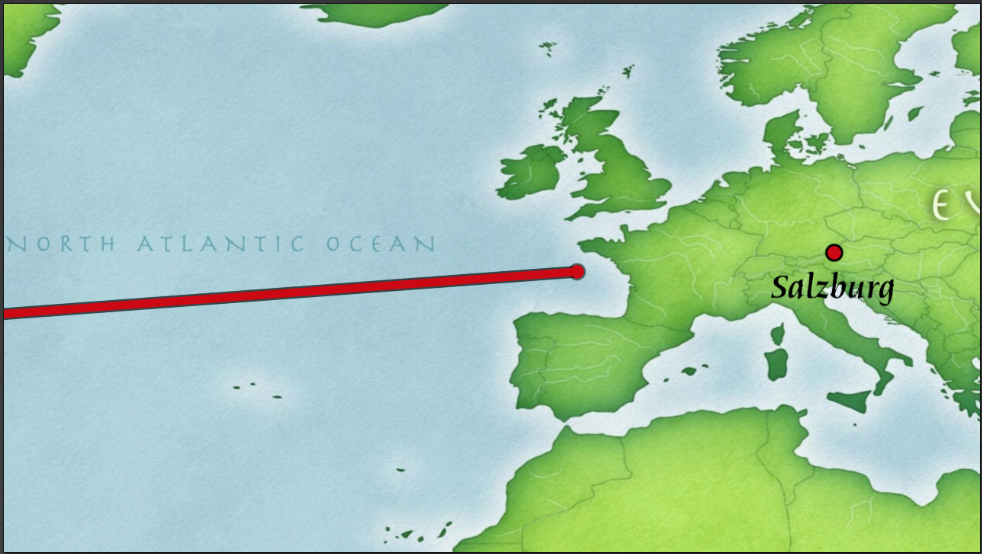
- Once you select your start and end points, iMovie will automatically animate a map between those two places.
- Select your event along the left sidebar of iMovie to exit the Maps & Backgrounds window and return to the clips in your Event Library.

