
This tutorial will show you how to add items to the top navigation of your site
To curate your posts, you will need to set up your site navigation. This is done through setting menus to pull in specific categories that you have created. If you have not created categories yet, please visit the Adding Categories to Posts tutorial.
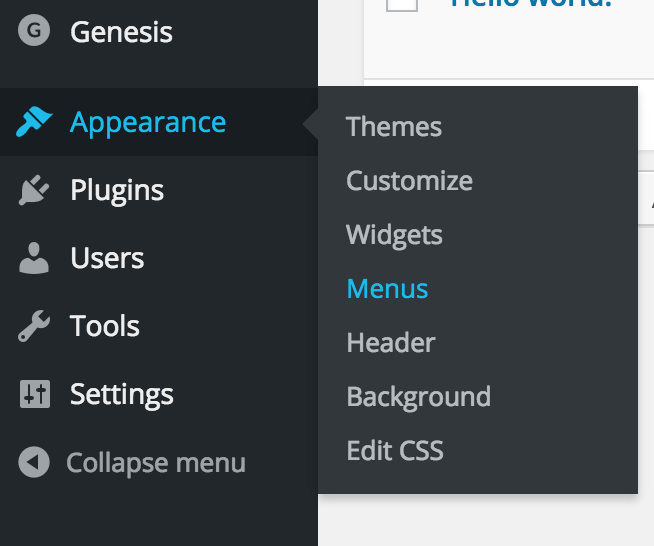
To get started, go to Appearance on the left hand navigation of your dashboard and select Menus.
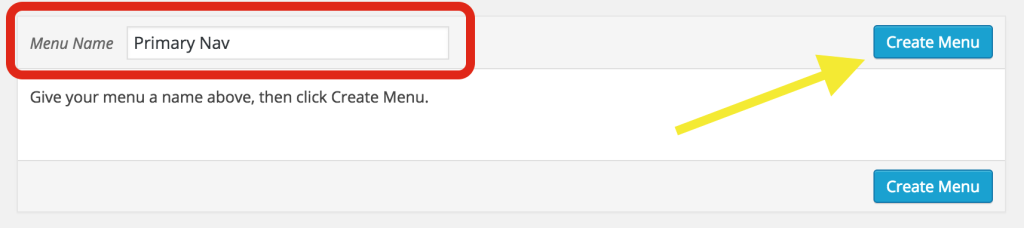
You will see a box to enter your menu name. Type in Primary Nav to create the navigation for the top of your page. Click the blue create menu button.
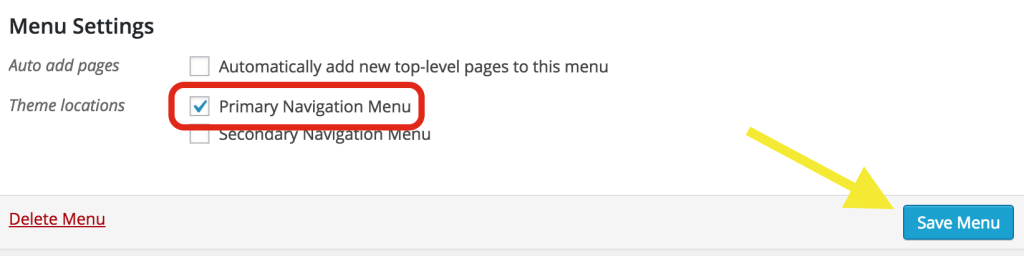
Once the menu is created, you will see Menu Settings appear, select the checkbox next to Primary Navigation Menu and then click the blue save menu button.
The next step is to define the categories that will be listed on your navigation.
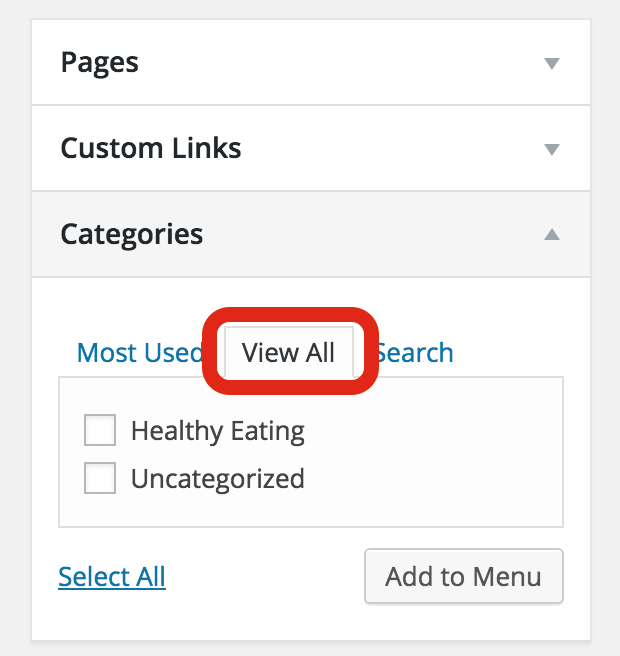
Click on Categories to the left of the Menu option box. Then click on the tab that says View All to see the categories that you’ve created.
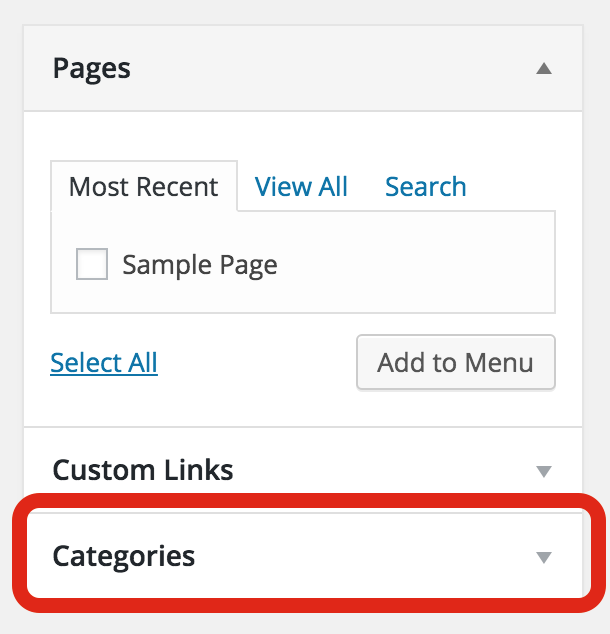
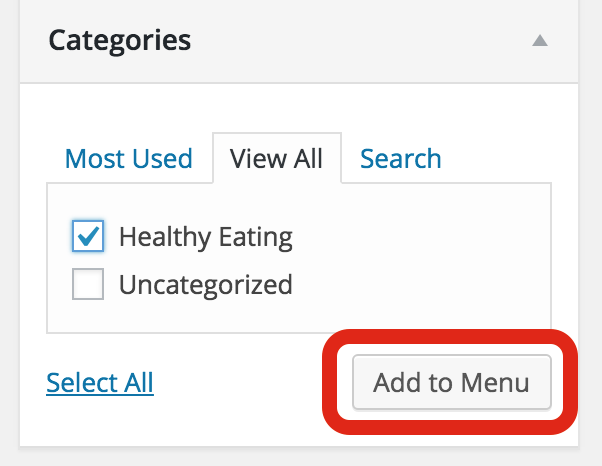
To add the categories to the navigation menu, checkmark the ones you want to add then click Add to Menu.
You will now see the categories added to the menu structure. You can re-order your categories by clicking and dragging to arrange them in the order you want.
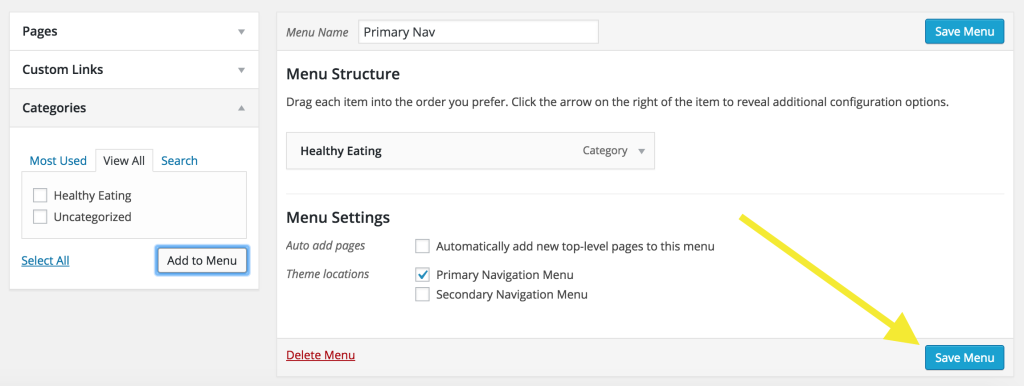
When you have added all of the categories you need, click on Save Menu. You can come back and edit your categories at any time.