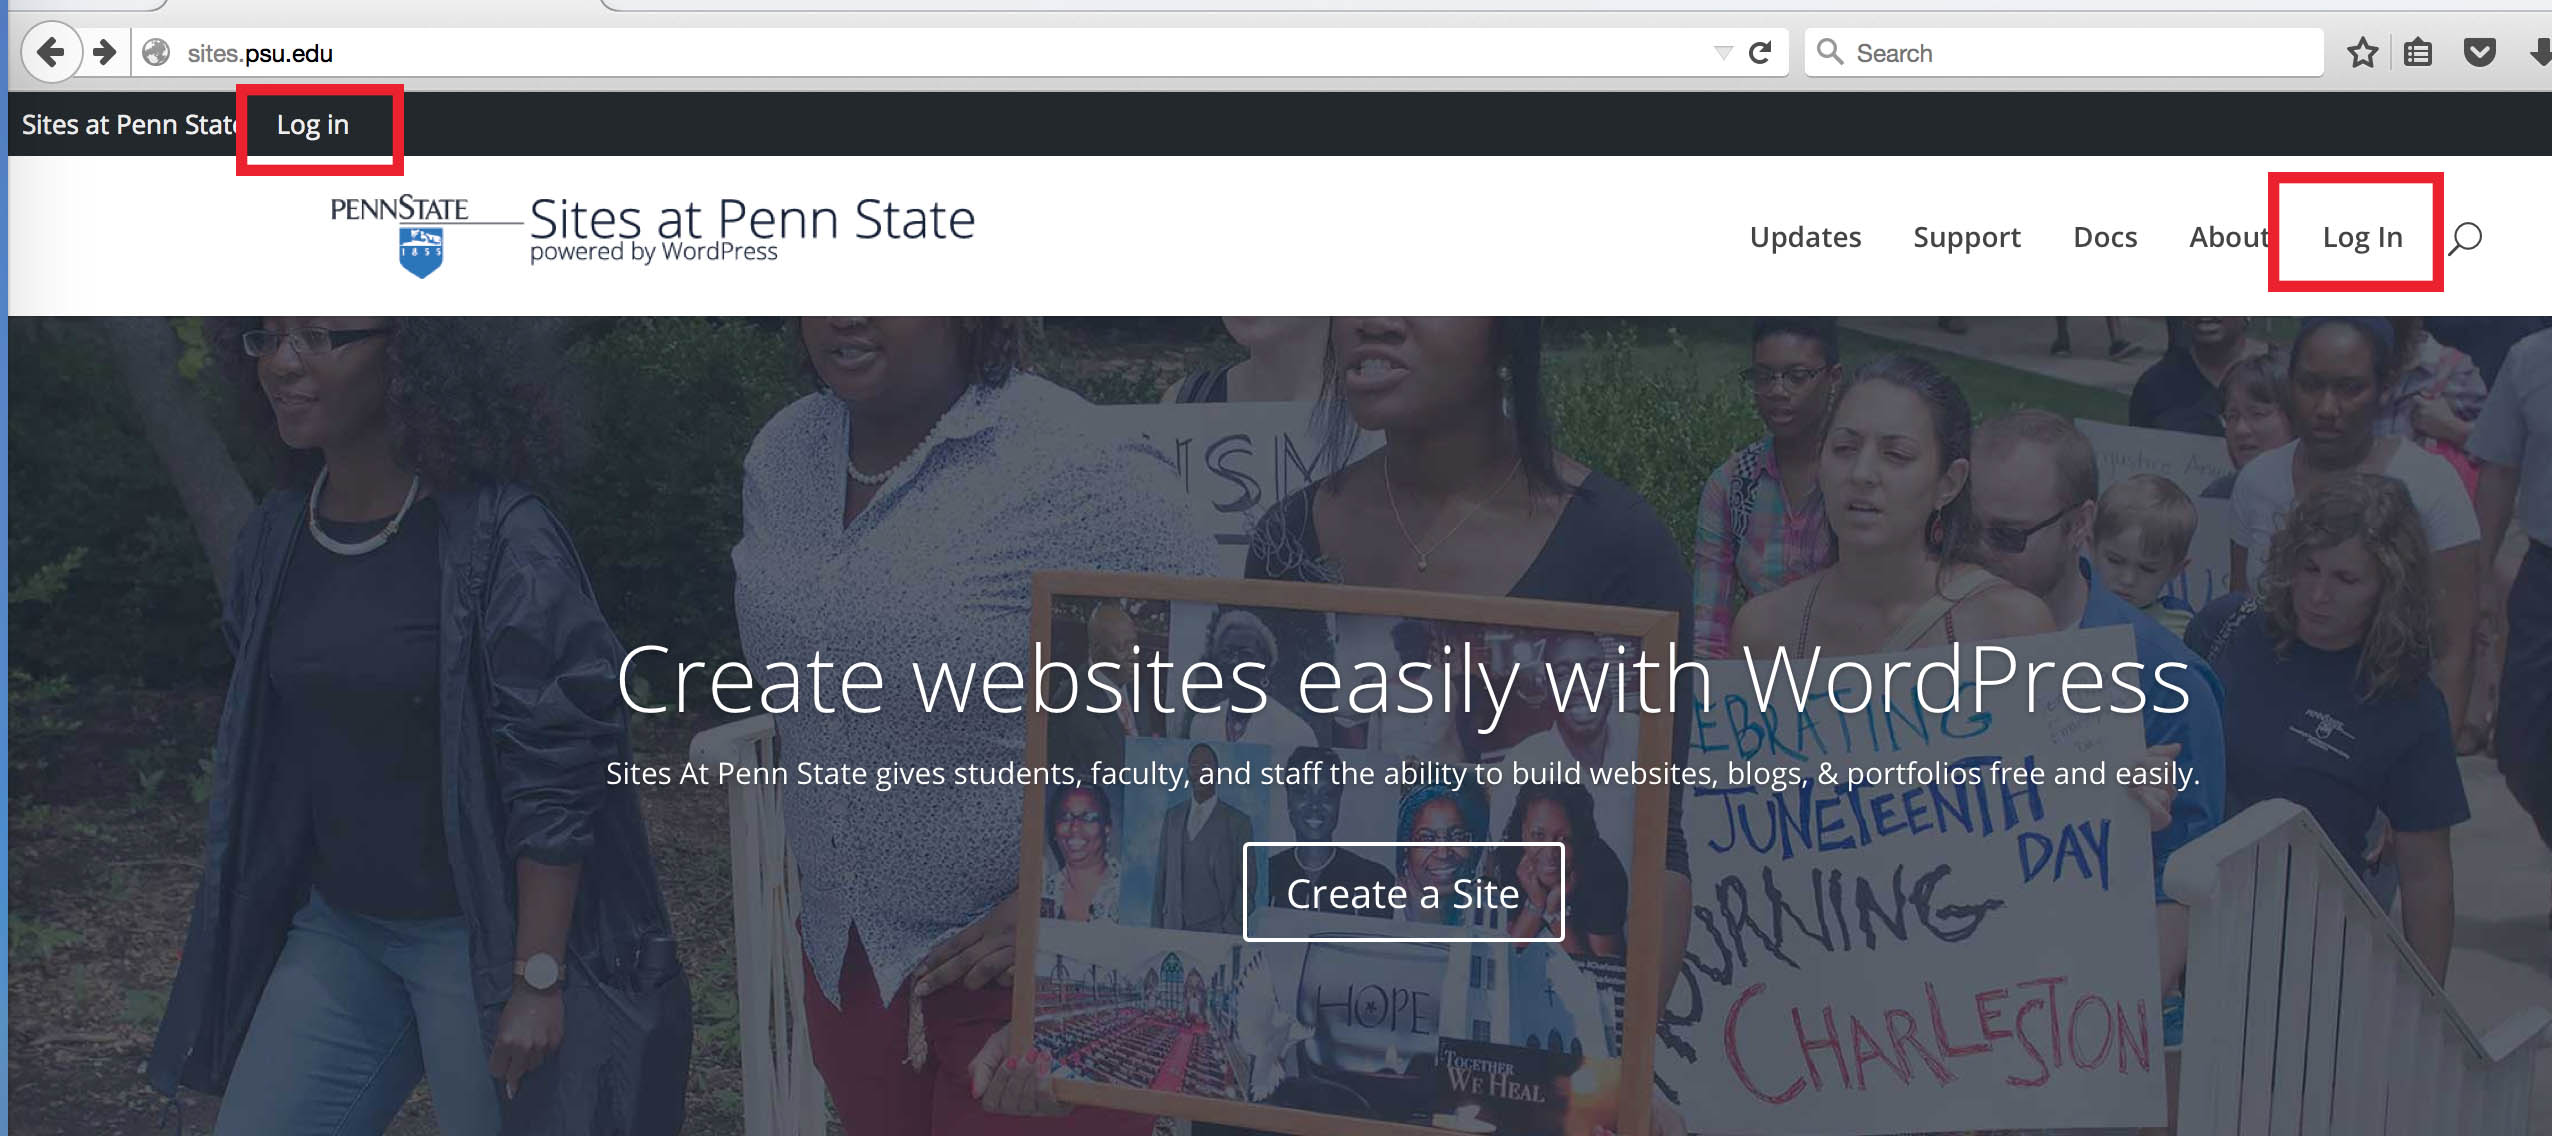
Go to sites.psu.edu and login with your PSU username and password and navigate to your site dashboard.
[For tips on logging in, see the creating a post tutorial]
To add photos into your posts, first create a new post. For information on creating a post, go to the creating a post tutorial.
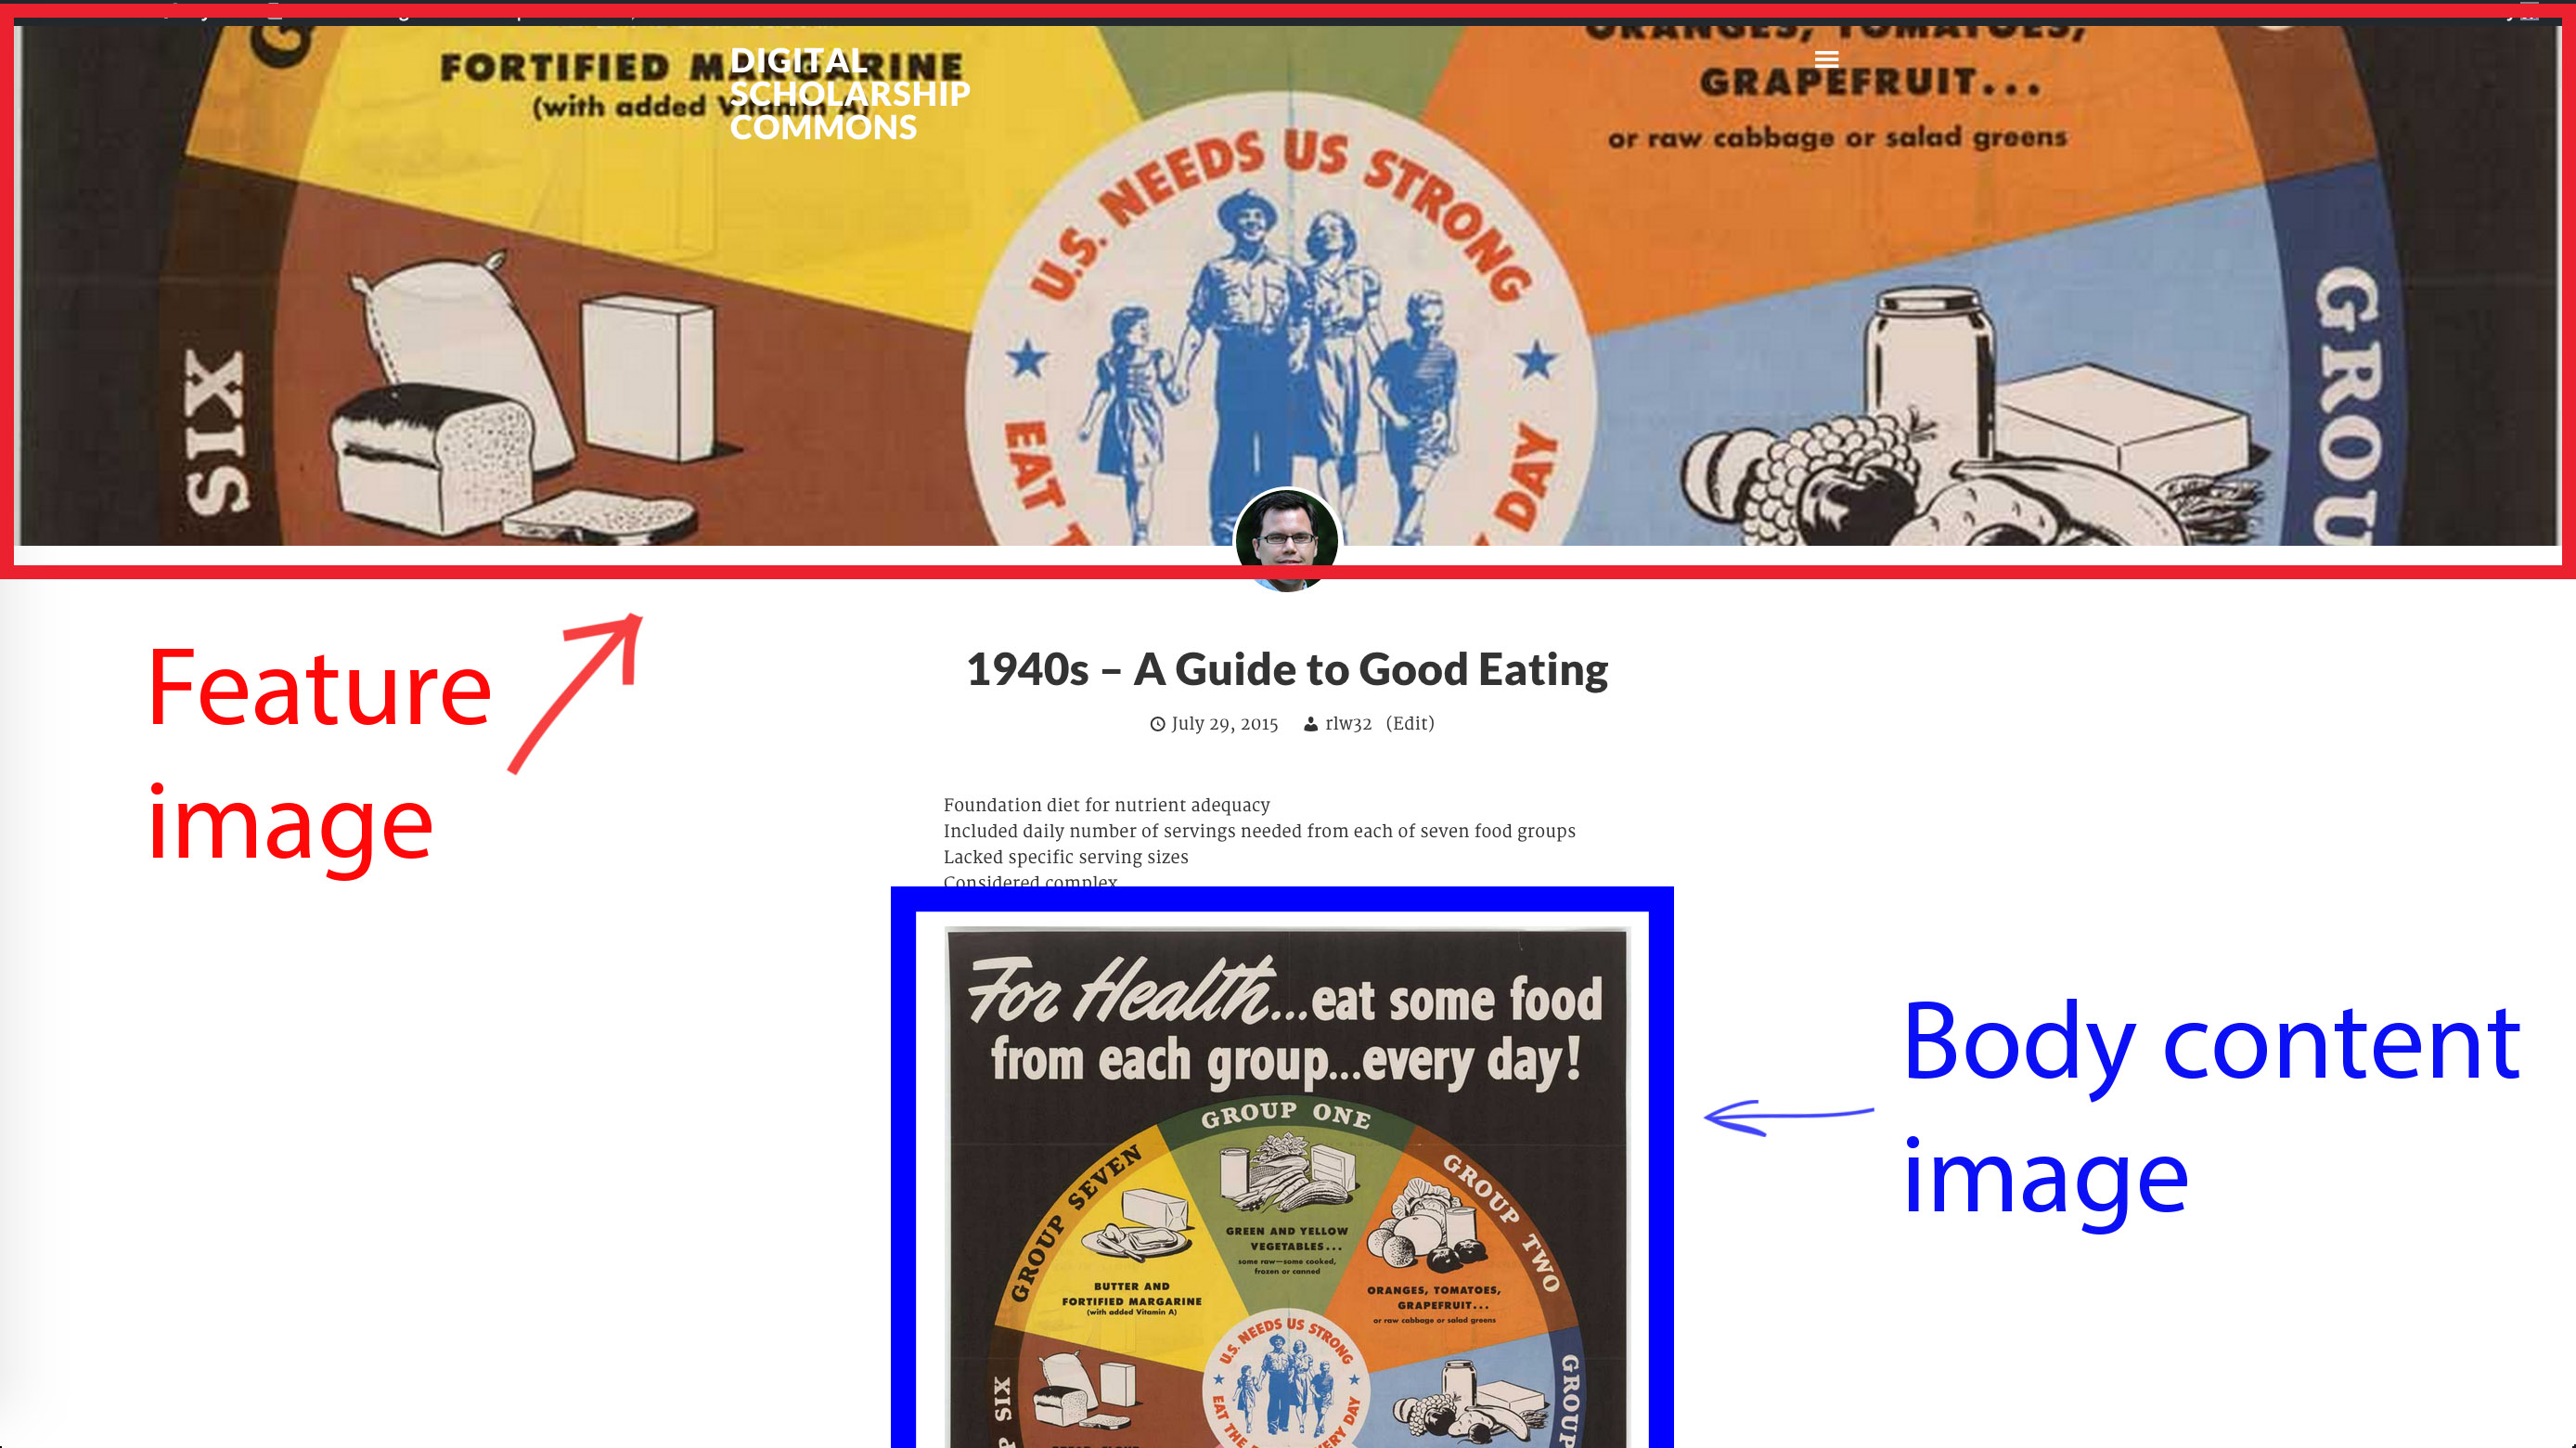
There are two content areas that you can add photos to. The first is called the feature image and it is the image that appears at the top of your page. The second area is within the body of the text.
Setting a feature image
To add a feature image to your post, go to the Set Feature Image section on the right hand toolbar and click on Set Featured Image.

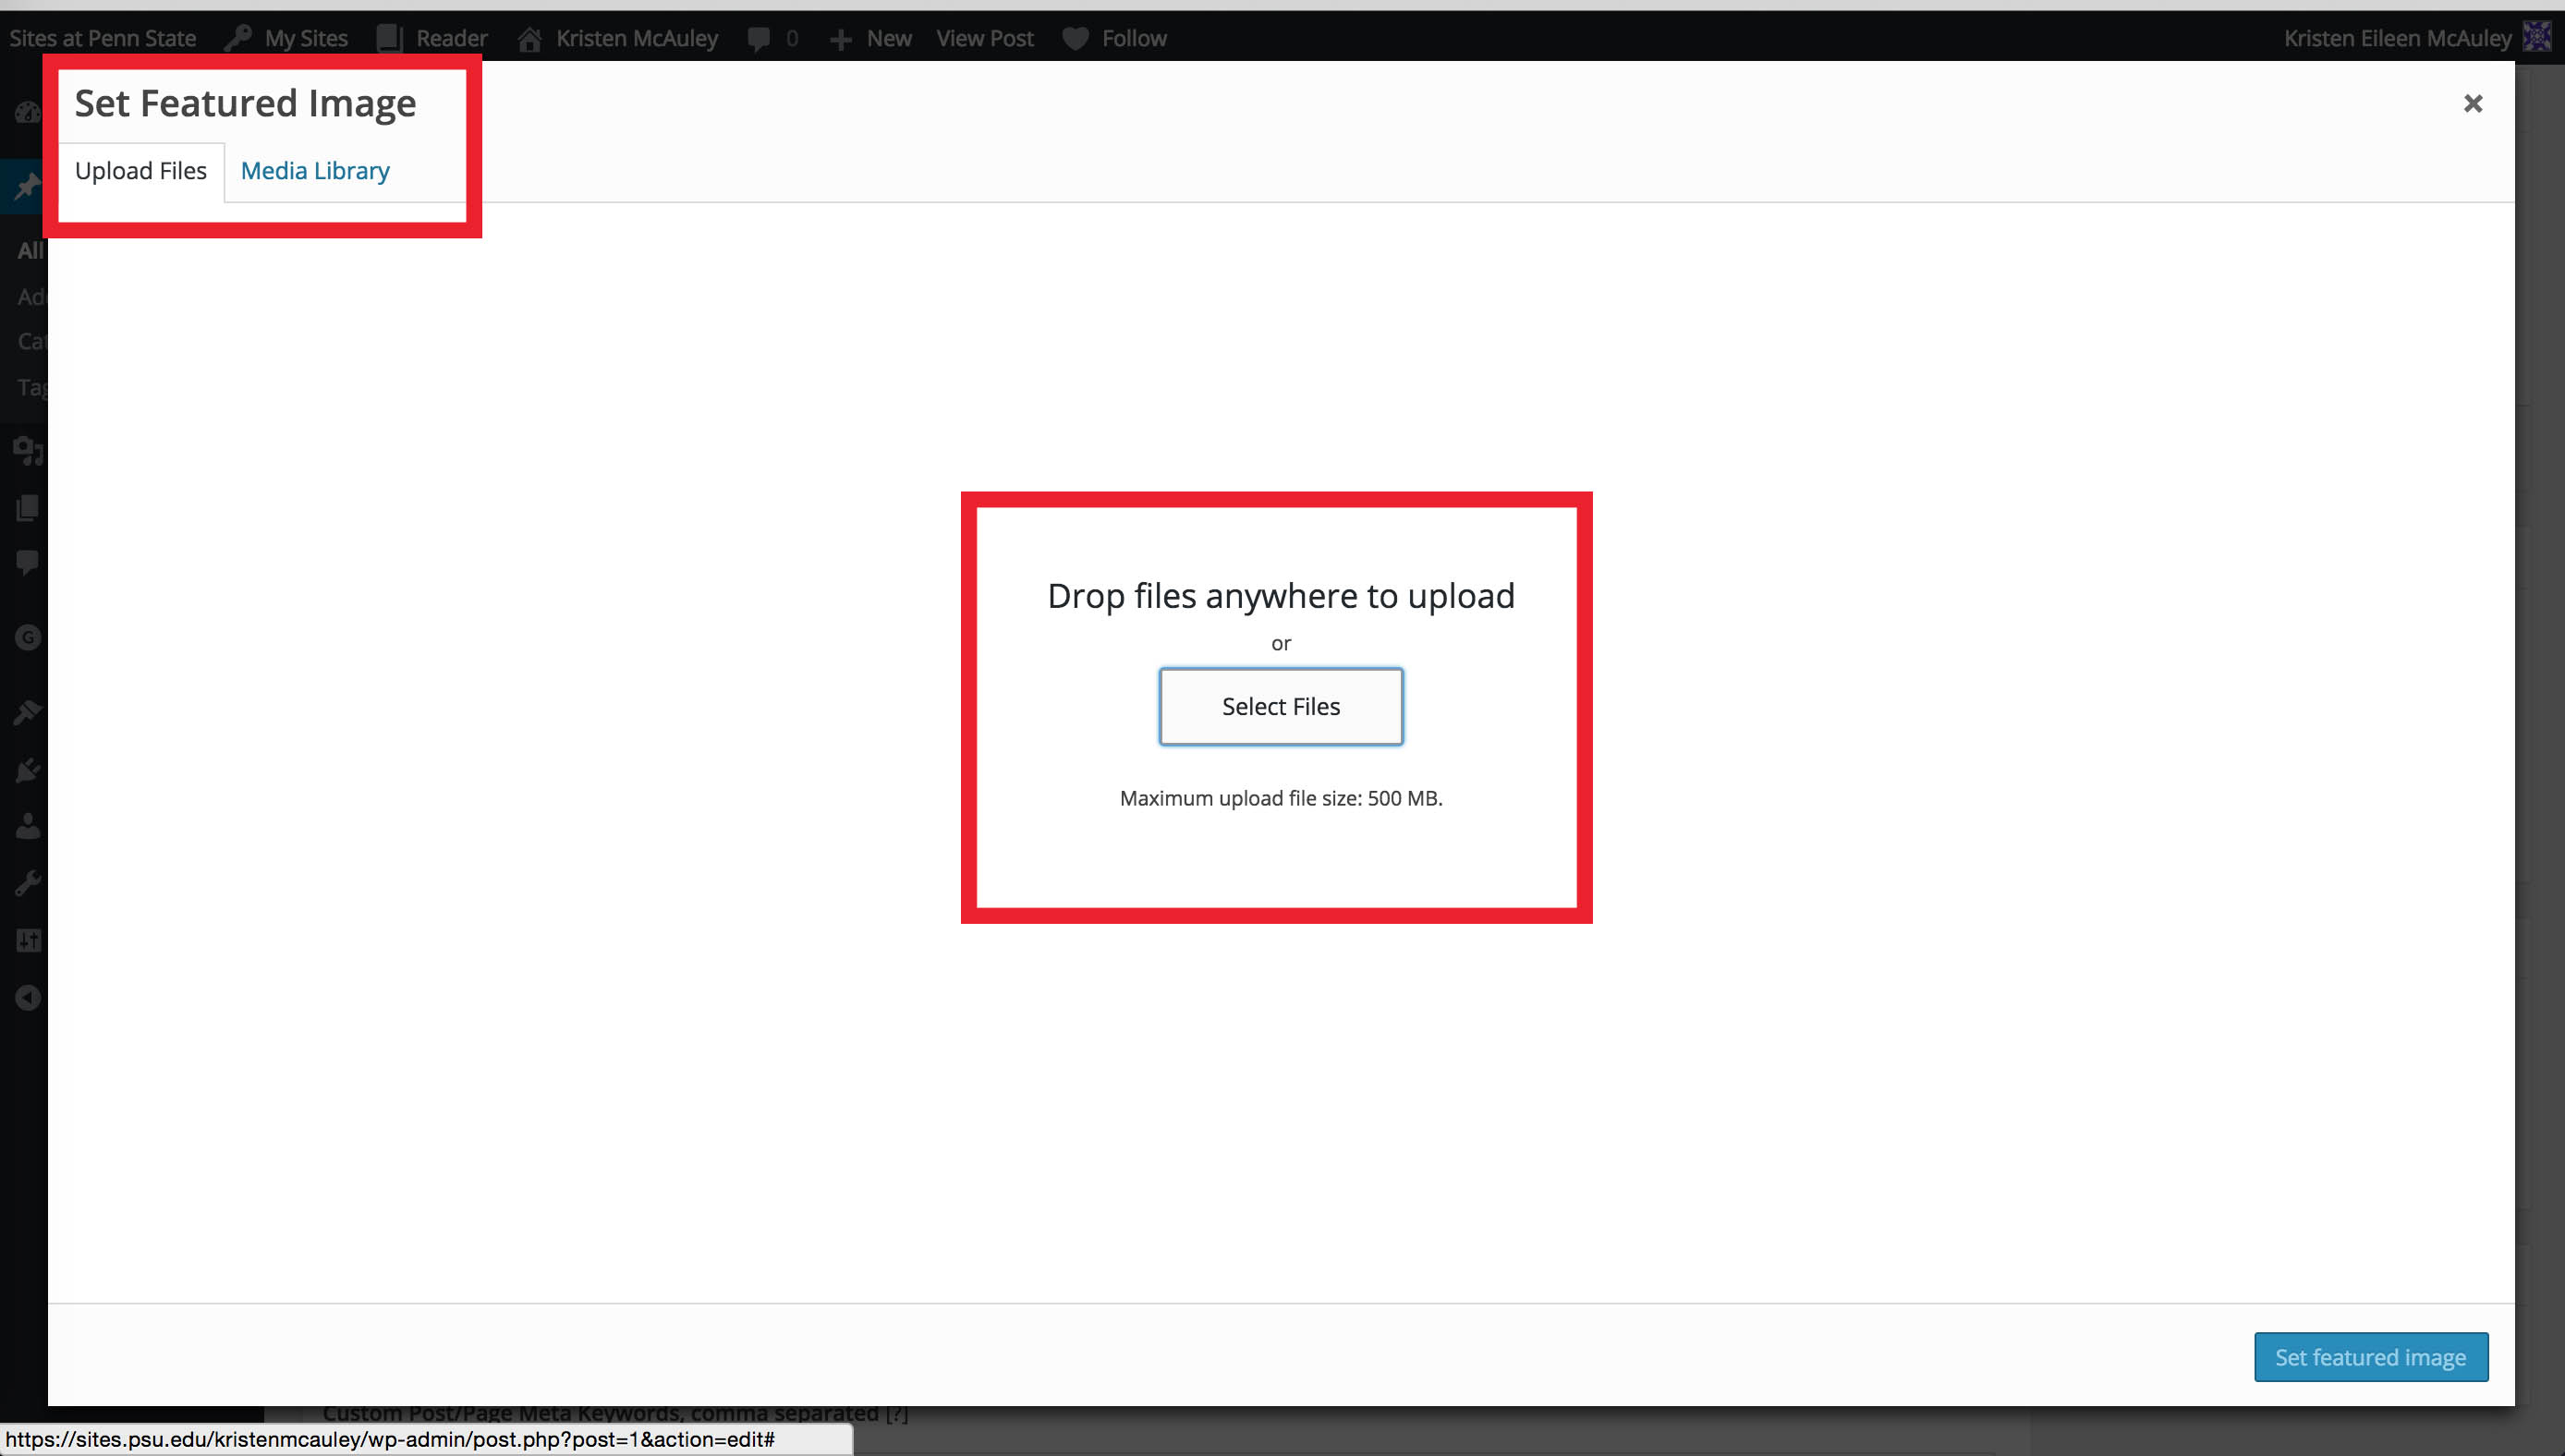
A window will appear with your media library. If you need to upload a new photo, click on the Upload Files tab at the top left corner of the window.
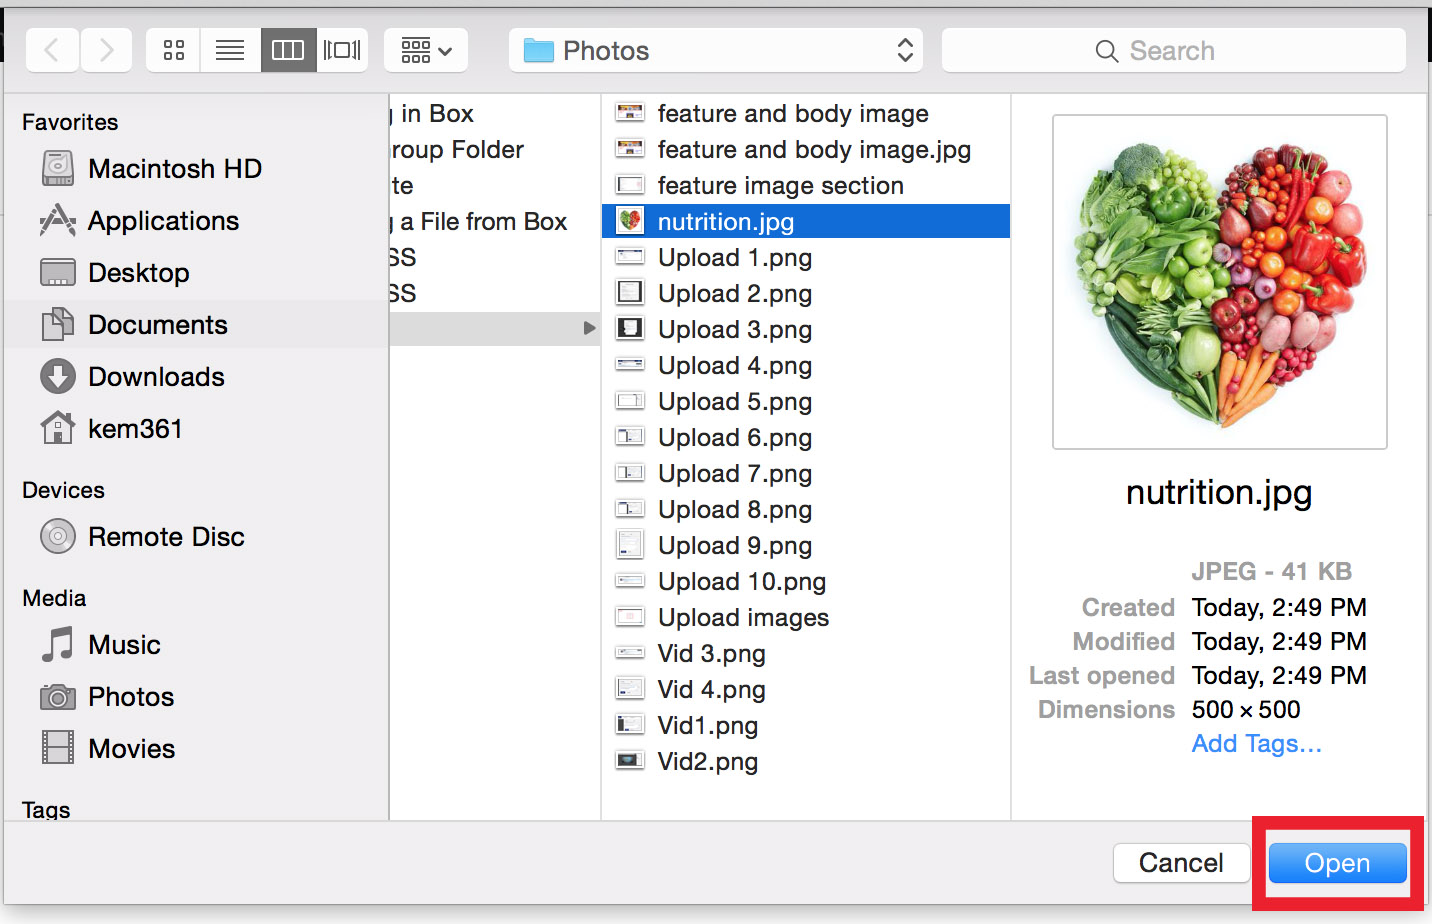
Then click on the Select Files button in the middle of the screen. This will let you browse your computer for files.
Once you’ve found the file you want to upload, click the blue Open button on the bottom right side of the pop-out screen.
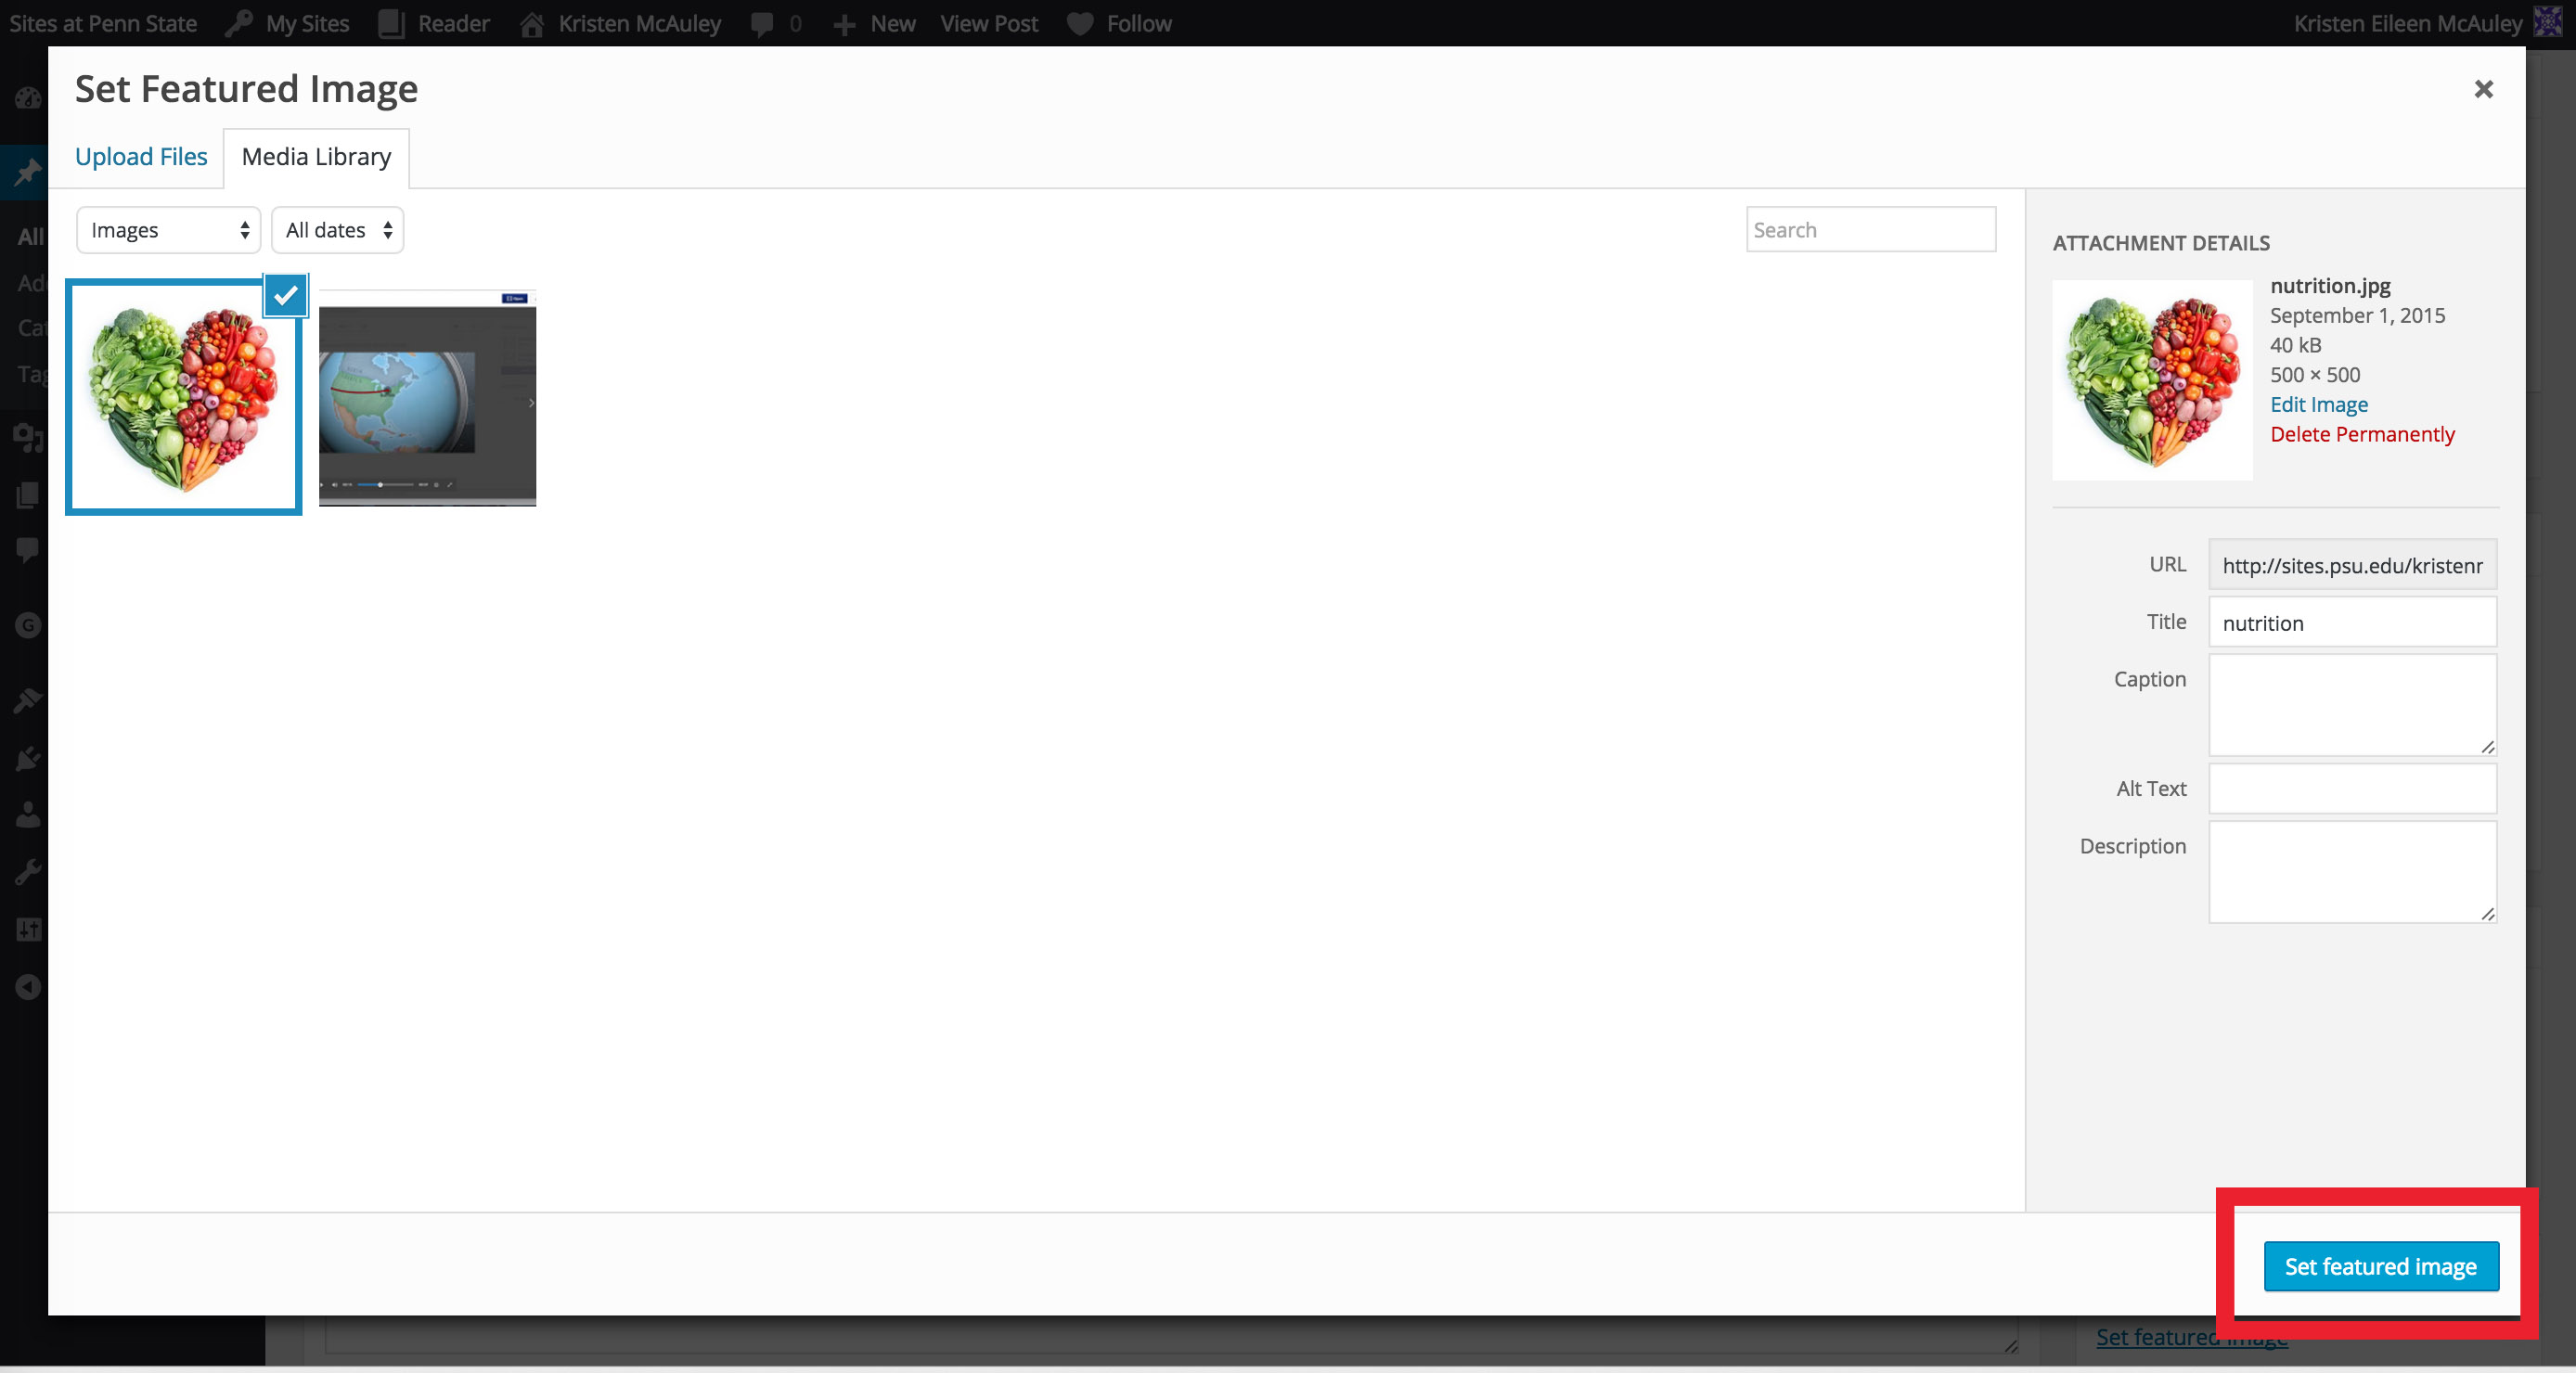
You will now see your image uploaded to your media library. Make sure the image you want is selected, then click the blue Set Featured Image button on the bottom right side of the window to set your image.
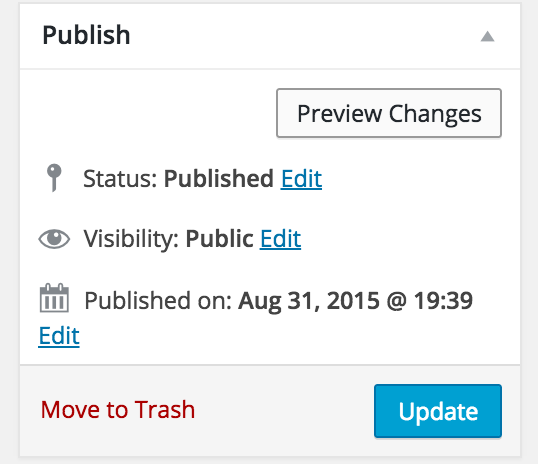
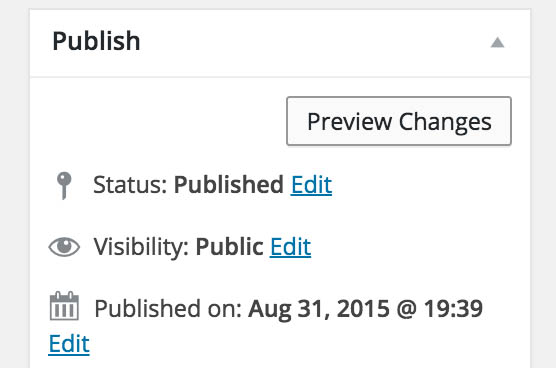
Your featured image will appear in the right hand toolbar. You can remove or replace it by clicking on the photo. To preview your page with the photo you just added, click the preview button at the top of the right hand toolbar under the publishing options.
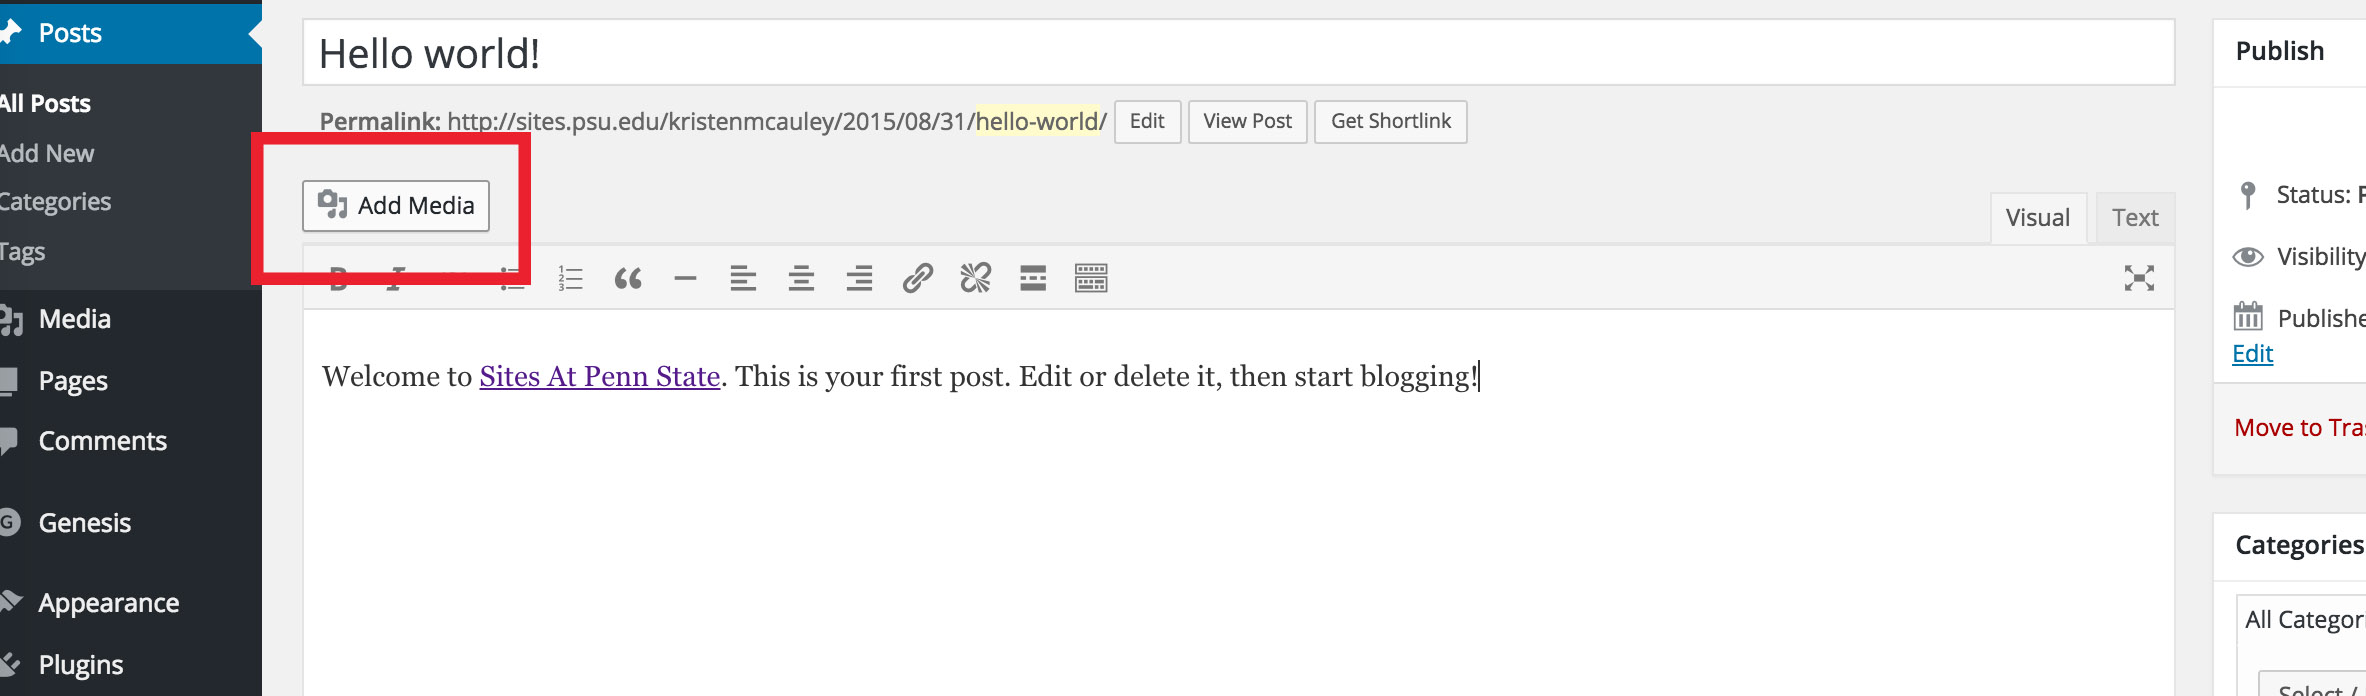
To add a photo to the body text of your page, first place your cursor where you want to insert your photo (before or after your text). There are additional placement options once photo has been added. Click the ‘Add Media’ button above the text editor toolbar. This opens up your media library.
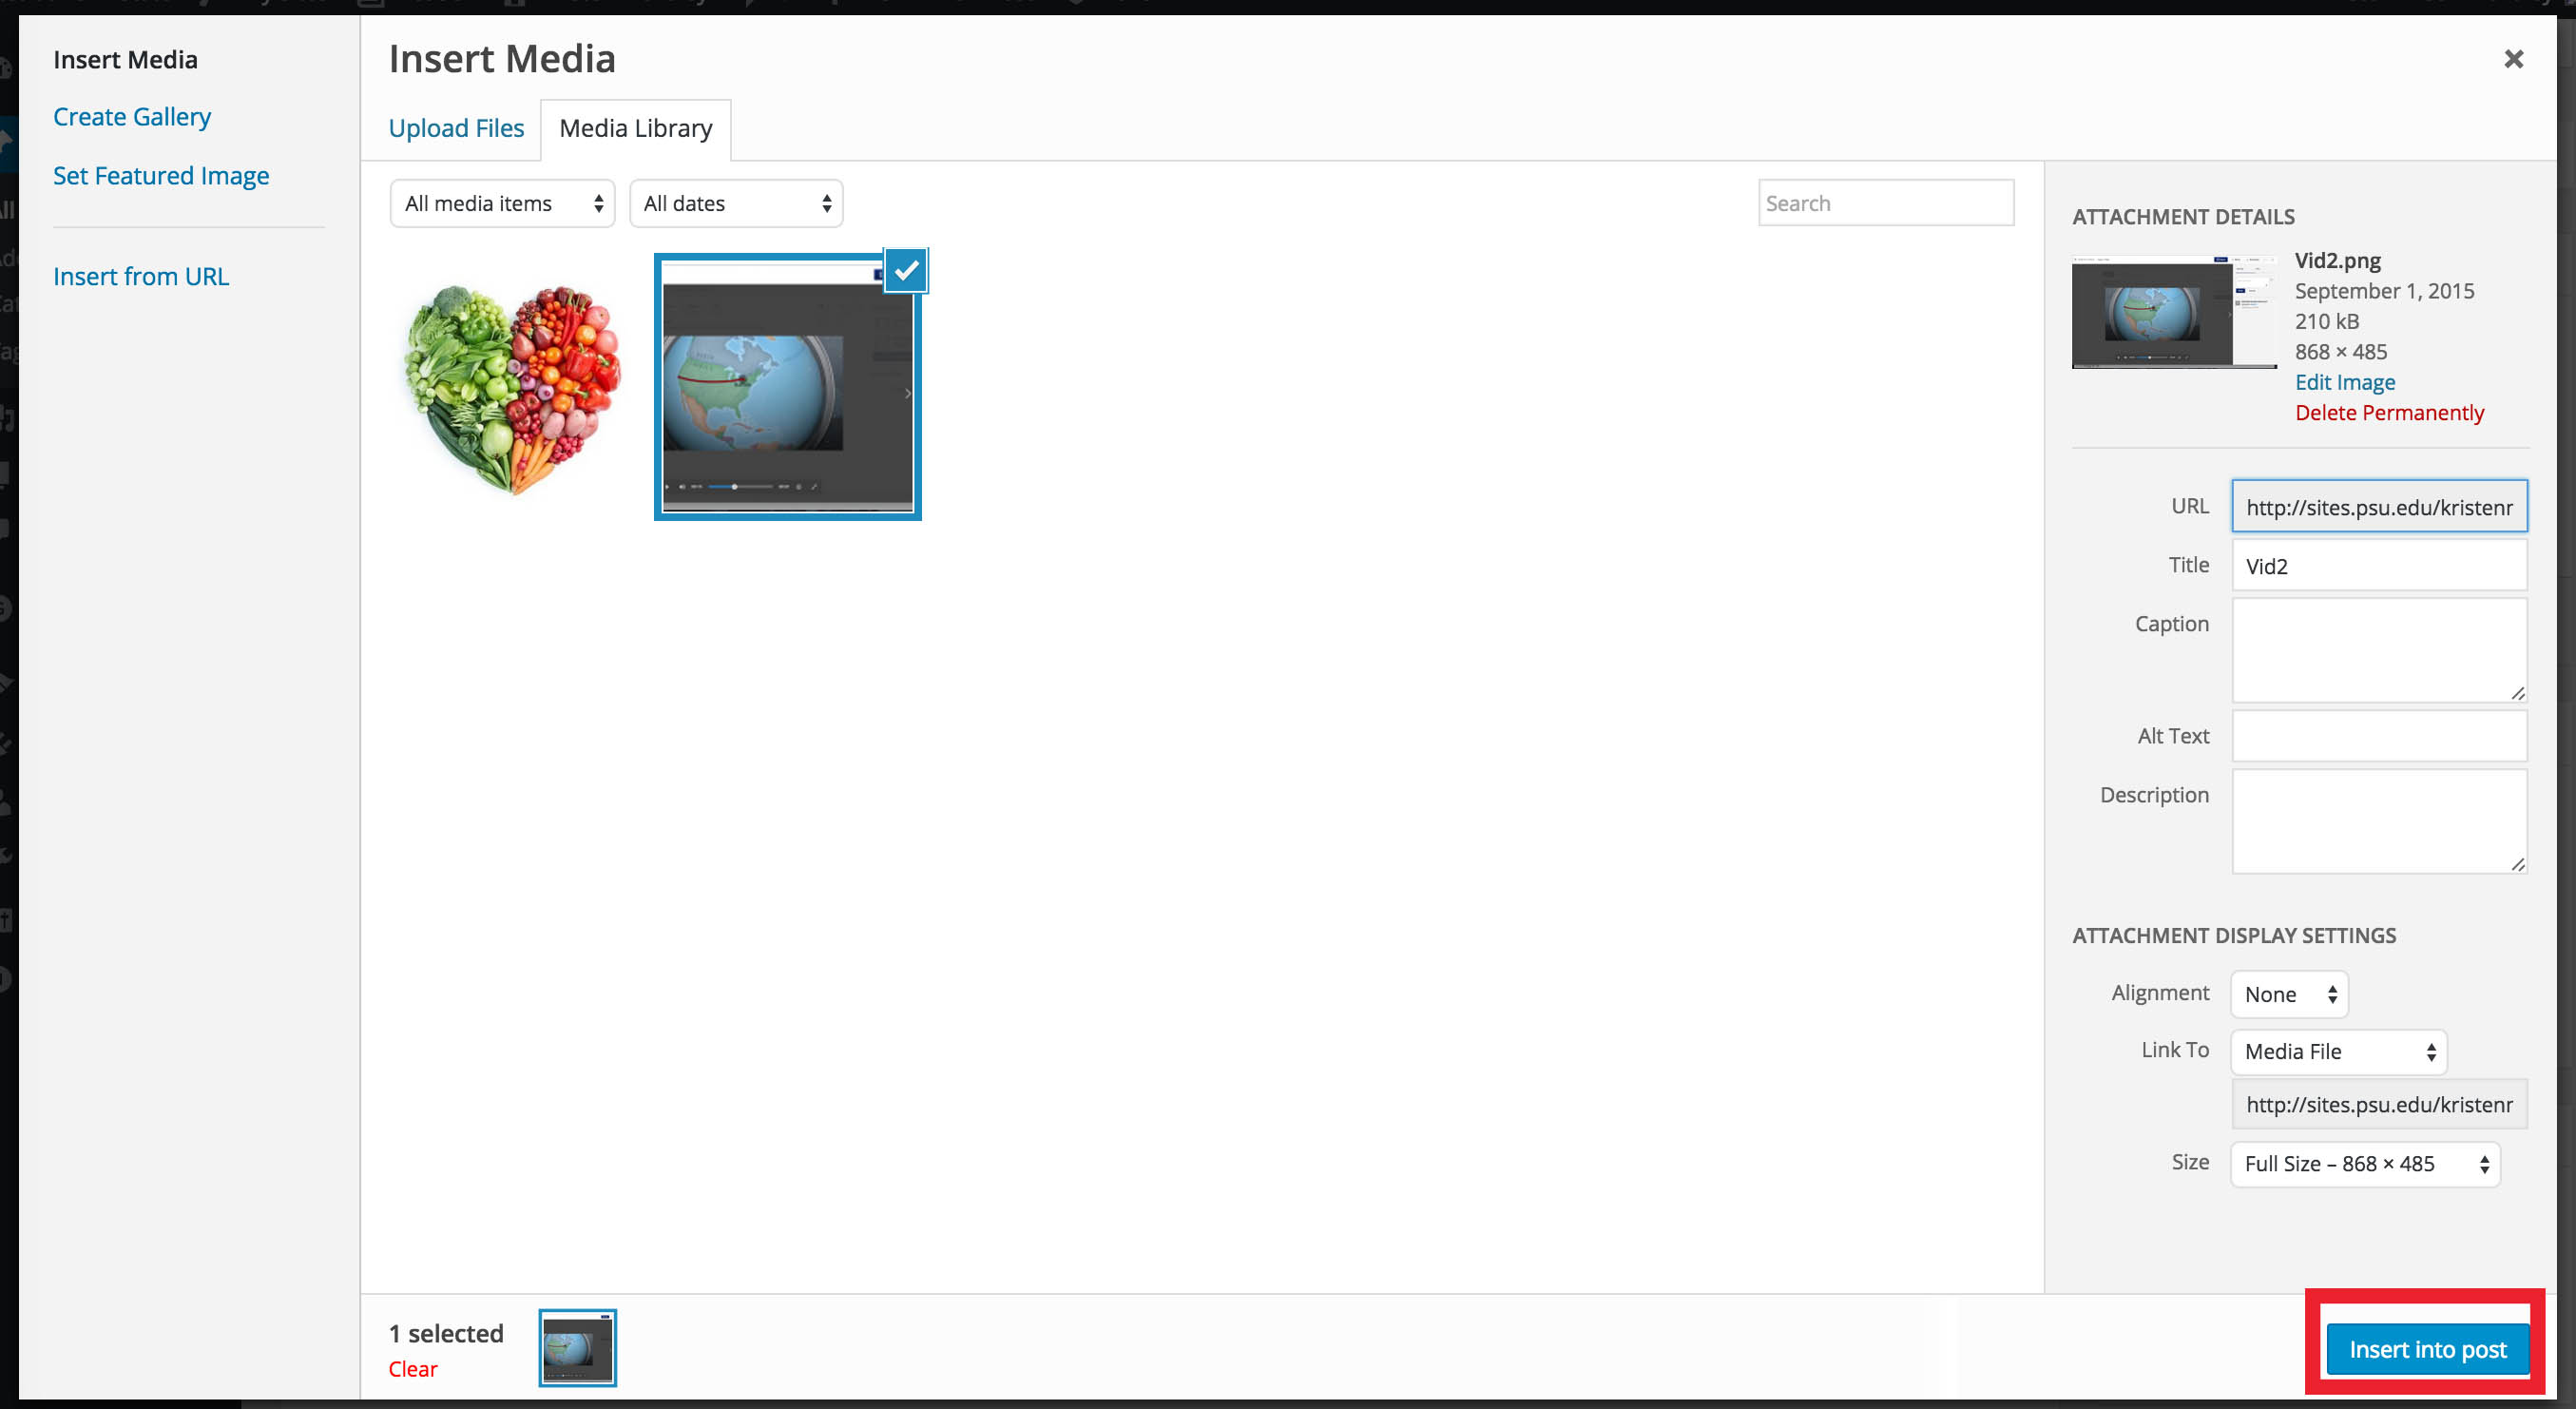
From here, you can upload photos (follow steps from above regarding uploading photos) and select photos to insert into your post. Click on the photo you want to insert and then click the blue insert into post button on the bottom right of the window.
Size does not matter as much when inserting photos into the body of your page, but larger photos with high resolution look best and can be scaled down to a smaller size.
Your photo will appear in the text window. To edit the size of the photo or change the alignment, click on the photo. Alignment and sizing options will appear in a little toolbar above the photo.
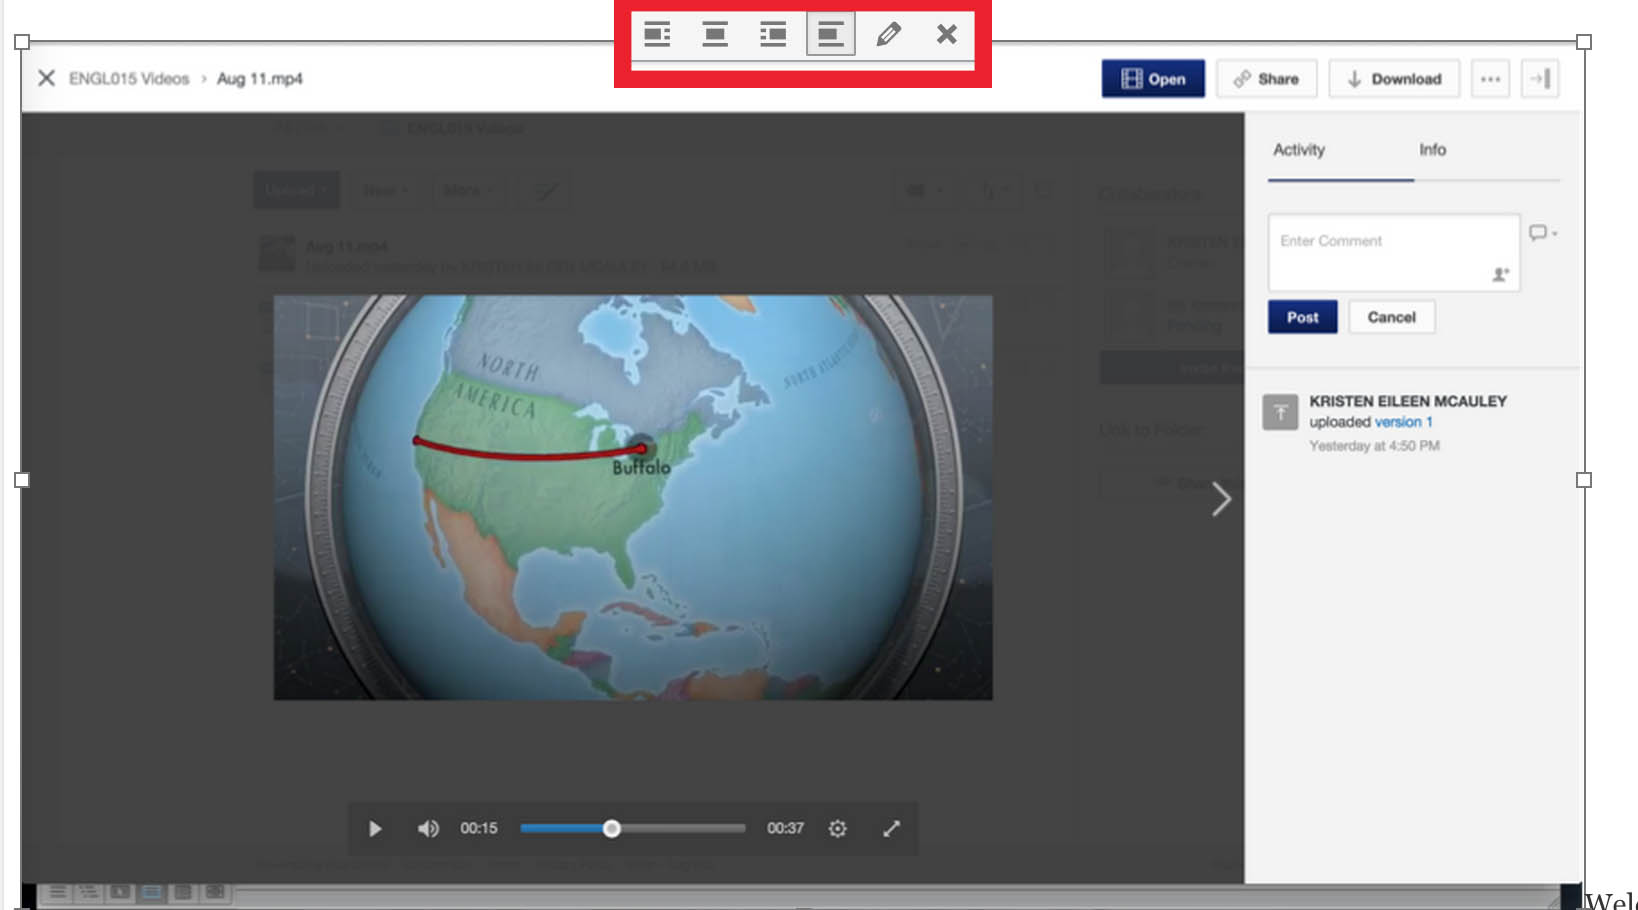
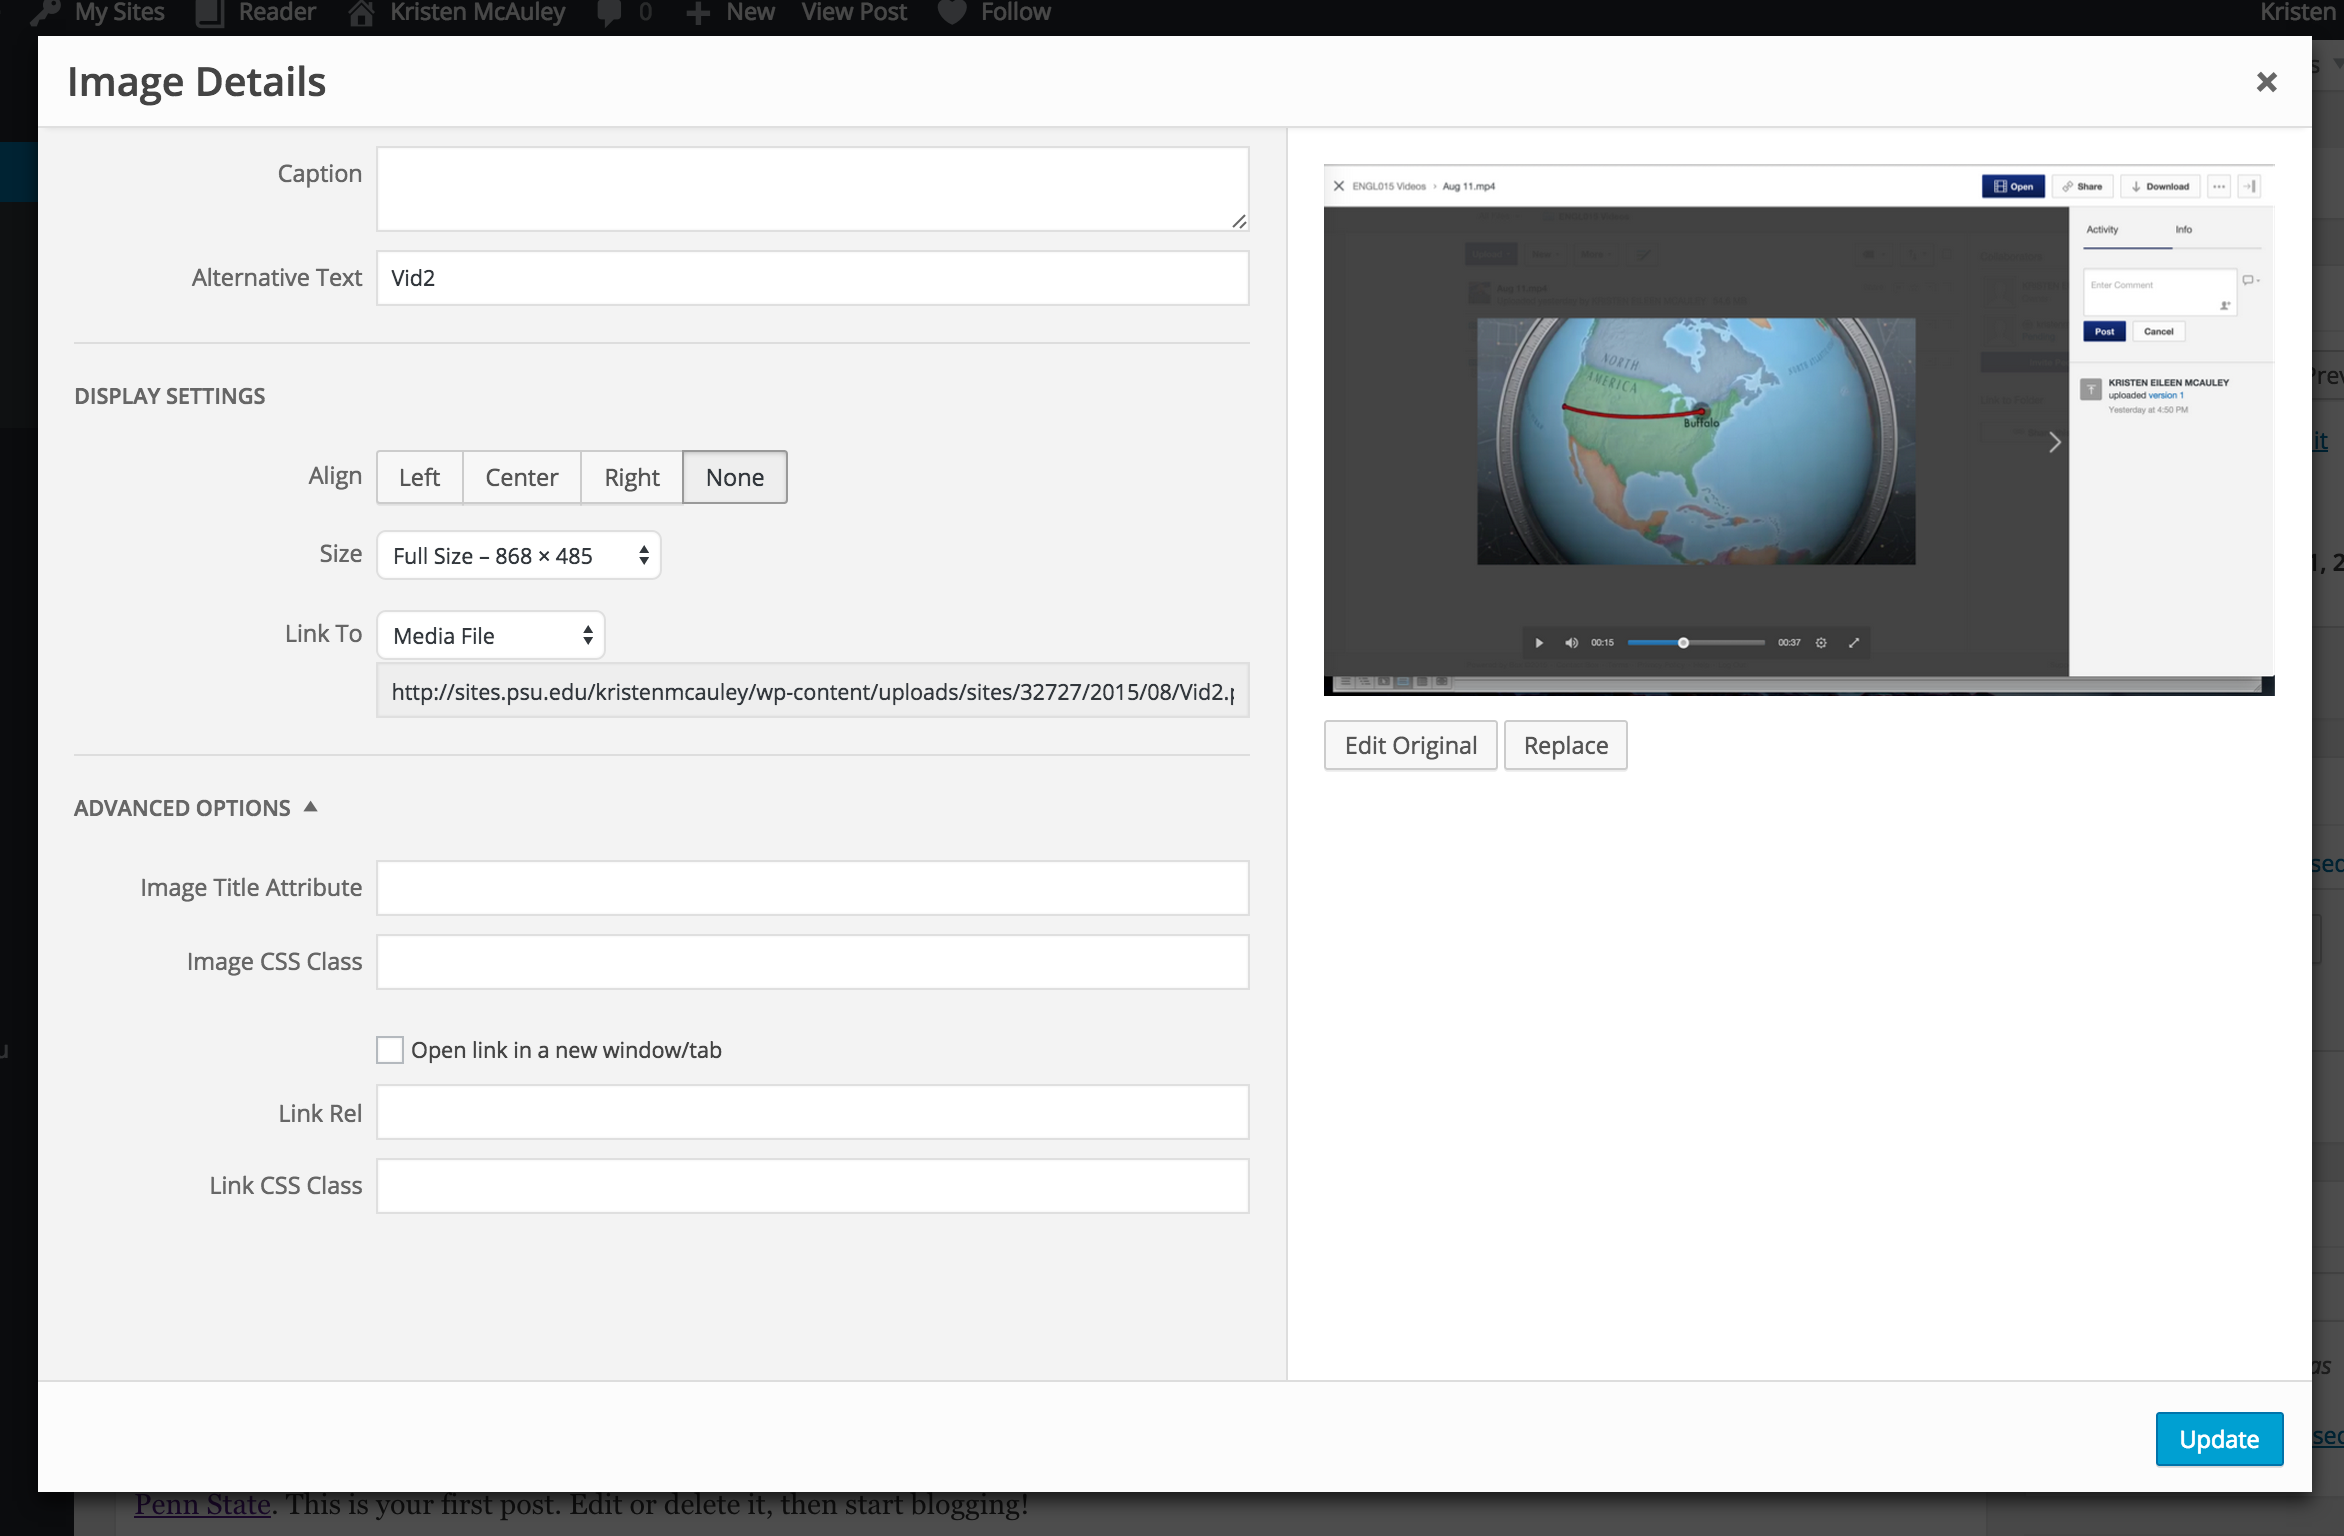
You can choose left, right, or center alignment by clicking on the alignment icons. You can edit the size of the photo, add a caption, and add a URL to it by clicking on the pencil icon. When you click the pencil, the Image Details window will display, allowing you additional editing options.
When you are finished making chances, click on the blue Update or Publish button at the bottom right corner of the pop out screen to save your changes. If you aren’t ready to publish, select Save as draft.